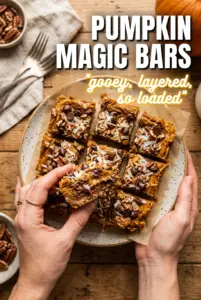
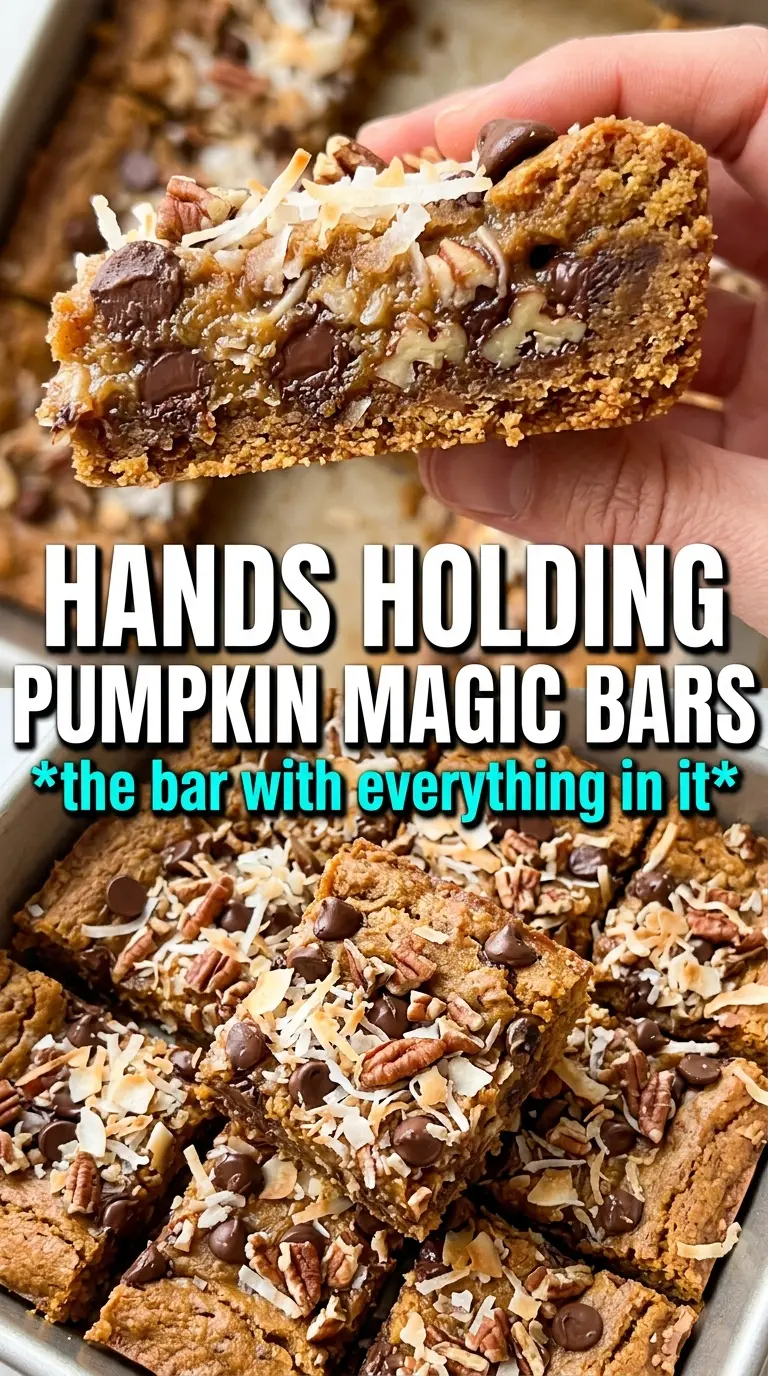
Pumpkin magic bars hit that sweet spot between gooey and sliceable, with a spiced pumpkin layer that anchors all the candy-like topping without turning the whole pan wet or heavy. The gingersnap crust brings a sharp little snap against the creamy filling, and the mix of coconut, white chocolate, butterscotch, pecans, and toffee bits gives every bite a different texture.
What makes this version work is the balance. Pumpkin puree gets mixed into sweetened condensed milk, which keeps the filling rich and smooth while still setting firmly enough to cut clean bars after cooling. The gingersnap crumbs matter too; they hold up better than a plain cookie crumb and give the bars a warm spice note that matches the pumpkin instead of fighting it.
Below, I’m breaking down the one part that matters most for clean layers, plus a few swaps that still keep the bars sturdy and sliceable. If you’ve ever had magic bars slide apart or turn soggy in the middle, this version fixes that.
The pumpkin layer set up beautifully and the gingersnap crust stayed crisp under all the toppings. I cooled them completely like you said, and they cut into neat squares without smearing.
Love the gooey pumpkin layers and crunchy topping on these Pumpkin Magic Bars? Save them to Pinterest for the next time you want an easy layered dessert that slices clean.
The Layer Order That Keeps These Bars From Going Soggy
The biggest mistake with magic bars is treating every layer like it can be piled on any old way. Here, the butter and gingersnap crumbs need to meet first so the crust starts soaking up fat immediately and bakes into a firm base instead of a loose sandy layer. The pumpkin mixture goes over that, not under the toppings, because it needs direct contact with the crust to set into a custardy middle.
The toppings sit on top of the pumpkin layer and get pressed down just enough to anchor them. That light press matters. Push too hard and the bars bake up dense and muddy; don’t press at all and the topping can toast unevenly and fall off when you slice. You want the coconut and chips to settle into the surface without disappearing into it.
What Each Ingredient Is Actually Doing in This Pan
- Gingersnap cookie crumbs — These give the crust its structure and spice. A plain graham crust works in a pinch, but it loses the sharp ginger note that makes the pumpkin taste more defined. Crush them finely so the base packs together instead of crumbling apart.
- Sweetened condensed milk — This is the glue and the sweetness all in one. There isn’t a clean substitute that behaves the same way, because it thickens as it bakes and helps the bars set without a custard base. Use the full can.
- Pumpkin puree — This adds body and earthy flavor, but it needs the condensed milk to keep it from baking up dry. Use plain pumpkin puree, not pumpkin pie filling, or the bars will be too sweet and the spice balance will be off.
- White chocolate chips and butterscotch chips — These melt into the top layer and give the bars their buttery sweetness. If you only have one kind, you can double it, but the mix gives more depth than using just one chip.
- Pecans and toffee bits — These are here for crunch. Chop the pecans roughly so they stay noticeable after baking, and scatter the toffee bits evenly so you get little pockets of caramelized flavor in every slice.
- Shredded coconut — Coconut helps soak up some of the topping and bakes into chewy edges that keep the bars from feeling one-note. Sweetened coconut works best here because it toasts more evenly and blends into the rest of the sweetness.
Building the Bars So They Set Cleanly
Starting the Crust in the Pan
Pour the melted butter straight into the 9×13 pan, then scatter the gingersnap crumbs evenly over the top. The butter needs to coat the crumbs from underneath so the crust firms up as it bakes. If you dump everything in a bowl first, it’s easy to overmix and end up with clumps that bake unevenly.
Mixing the Pumpkin Layer
Whisk the sweetened condensed milk, pumpkin puree, pumpkin pie spice, and cinnamon until the mixture looks smooth and uniform. You’re looking for a thick, pourable filling with no streaks of pumpkin. If it looks loose or separated, keep whisking until the condensed milk fully blends in; that’s what gives the bars their set, creamy center.
Layering the Toppings Without Sinking Them
Sprinkle the coconut, white chocolate chips, butterscotch chips, pecans, and toffee bits over the pumpkin layer in an even blanket. Then press down gently with your hands so the toppings make contact with the filling. That small bit of pressure keeps the top from looking loose after baking, but don’t smash it down or the layer will turn heavy and greasy.
Baking Until the Center Sets
Bake until the edges are golden and the center looks set, not wet. The middle can still have a slight give when you nudge the pan, but it shouldn’t look sloshy. If you pull it too early, the bars will cut soft and messy; if you bake them until they look dry all the way across, the edges will turn hard before the center is fully done.
Cooling Before the First Cut
Let the pan cool completely before slicing. That’s the step most people rush, and it’s the reason the filling smears. Once the bars are fully cool, the pumpkin layer tightens up and the pieces cut into clean squares with distinct layers instead of collapsing into a gooey panful.
How to Adapt These Bars Without Losing the Layers
Gluten-Free Version
Use certified gluten-free gingersnap cookies for the crust. The rest of the ingredients are naturally gluten-free, but the crust is where cross-contamination usually sneaks in. Keep the crumb layer fine so it still packs and bakes into a stable base.
Nut-Free Swap
Leave out the pecans and replace them with extra coconut, sunflower seeds, or more toffee bits if your crowd can have them. You’ll lose some of the earthy crunch, but the bars will still hold their texture and bake up with the same layered look.
Less Sweet, More Spiced
If you want the pumpkin to come through more clearly, cut the butterscotch chips back a bit and add a pinch more cinnamon or pumpkin pie spice. The bars will still be rich, but the spice will sit closer to the front instead of being buried under the candy sweetness.
Storage and Reheating
- Refrigerator: Store in an airtight container for up to 5 days. The bars firm up even more after chilling, which makes them easier to slice.
- Freezer: These freeze well. Wrap individual bars tightly and freeze for up to 2 months, then thaw in the refrigerator so the topping doesn’t sweat.
- Reheating: These are best served at room temperature, not hot. If you want a softer texture, let a bar sit out for 15 to 20 minutes after chilling; microwaving tends to make the chips oily and the crust soft.
Answers to the Questions Worth Asking
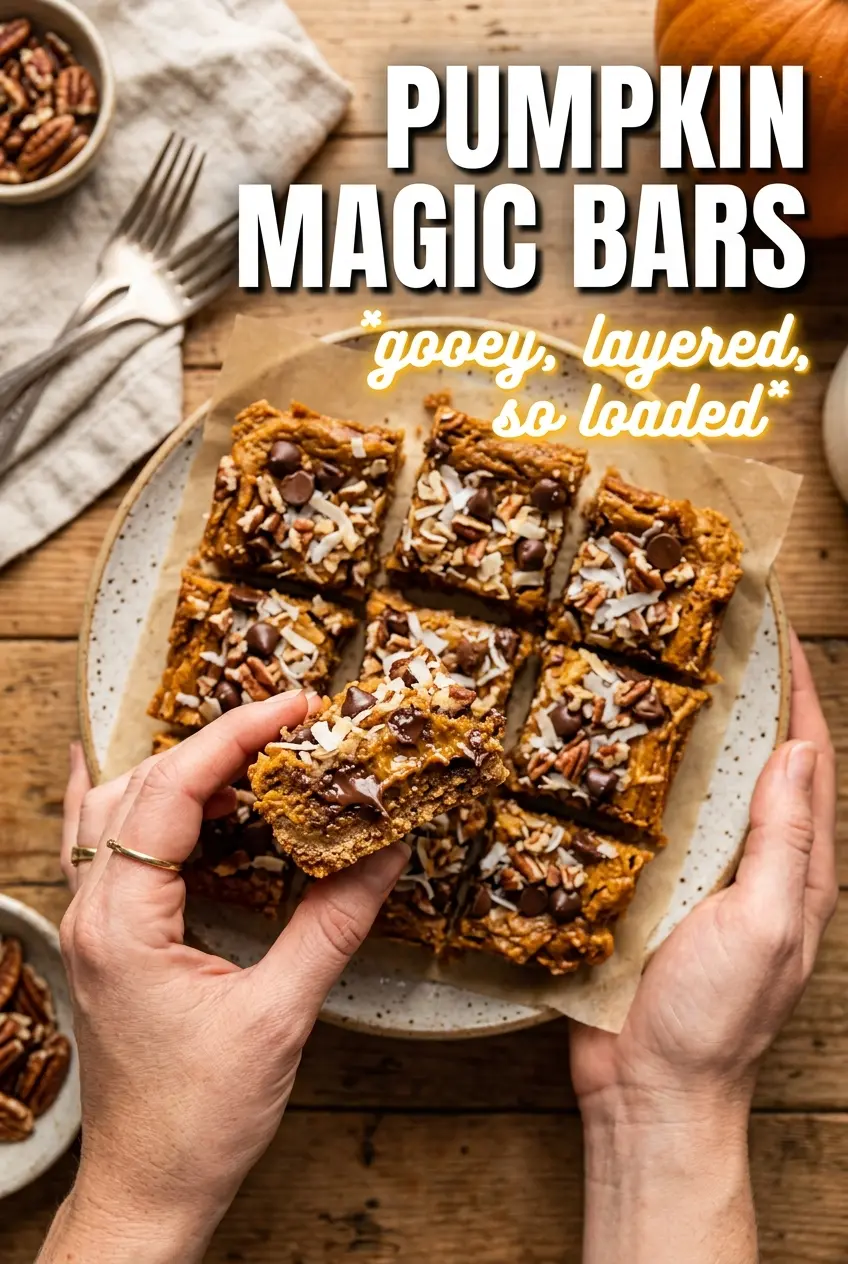
Pumpkin Magic Bars
Ingredients
Equipment
Method
- Preheat the oven to 350°F, then pour the melted butter into a 9x13 baking pan and tilt to coat the bottom evenly.
- Sprinkle the gingersnap cookie crumbs evenly over the butter to form an even crust layer.
- Whisk the sweetened condensed milk, pumpkin puree, pumpkin pie spice, and cinnamon until smooth, then pour it evenly over the crumbs.
- Layer the sweetened shredded coconut, white chocolate chips, butterscotch chips, pecans, and toffee bits evenly over the top so each topping is visible.
- Press down gently with your hands to help the toppings settle into the condensed milk layer.
- Bake for 30-35 minutes at 350°F until the edges are golden and the center is set.
- Cool completely before cutting into bars, so the layers hold together cleanly.