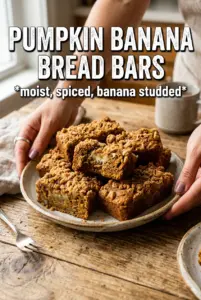
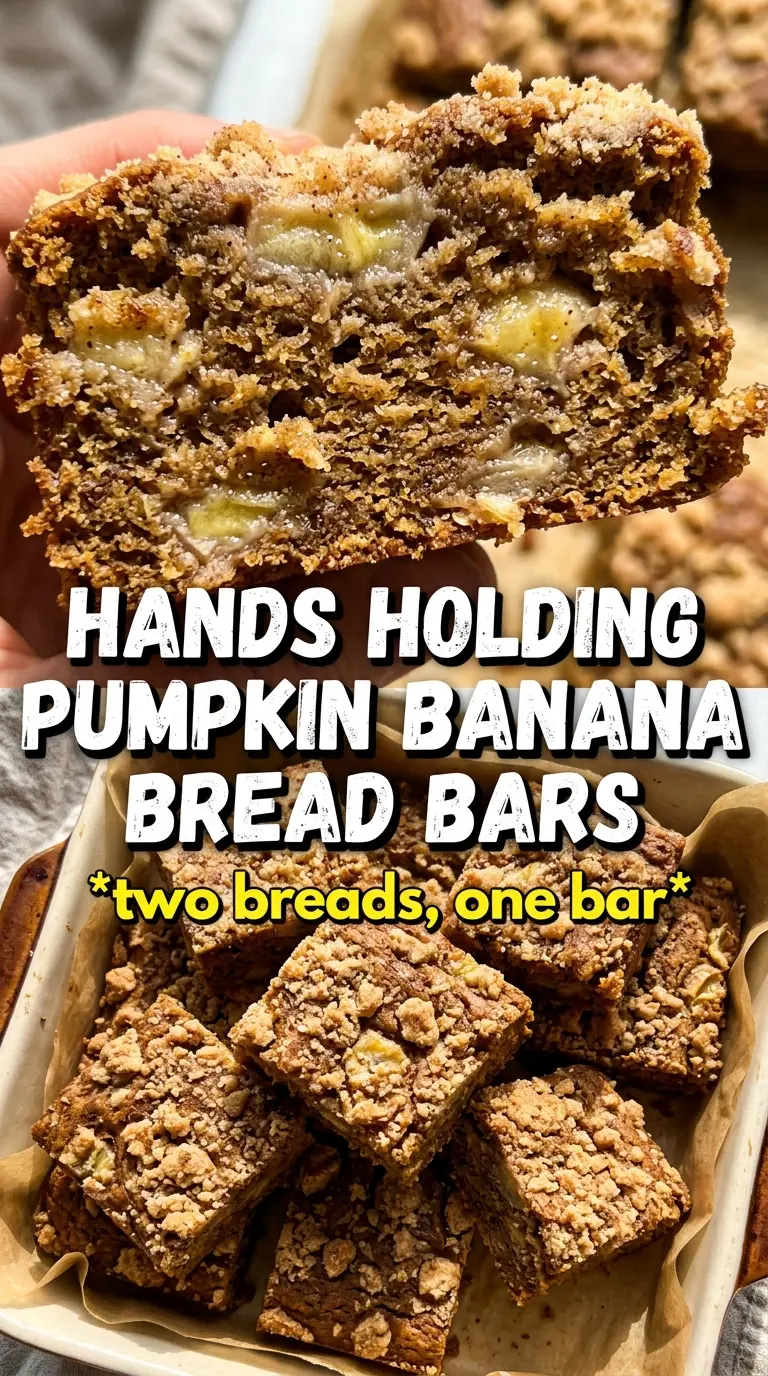
Pumpkin banana bread bars bake up with the kind of tender, moist crumb that makes people come back for a second square before the pan has even cooled. The banana keeps them soft for days, while pumpkin adds body and a mellow earthiness that makes the whole pan taste deeper than plain banana bread. A maple glaze on top gives each bar a little sweetness without burying the spice.
The trick here is using very ripe bananas mashed until smooth, not chunky. That helps the batter bake evenly and keeps the bars from turning gummy in spots. Pumpkin puree adds moisture too, so the batter looks thick but still spreads easily in the pan. The other key is stopping the mixing as soon as the flour disappears; overmixing is the fastest way to lose that soft, cakey texture.
Below, I’ve included the little details that matter most, from how to tell when the bars are actually done to the best way to glaze them so it doesn’t melt right off.
The bars came out incredibly soft, and the maple glaze set just enough that it didn’t soak in. I baked mine right at 28 minutes and they sliced cleanly once cooled.
Pumpkin banana bread bars with maple glaze are the kind of breakfast bars worth keeping on repeat for quick mornings and easy snacking.
Why These Bars Stay Soft Instead of Dense
Banana bread bars can go heavy fast when there’s too much mixing or too much flour packed into the measuring cup. This version stays tender because the batter leans on both banana and pumpkin for moisture, then gets just enough structure from flour, baking soda, and baking powder to lift without turning dry. The result is a soft bar that slices cleanly once cooled, not a gummy slab that sticks to the knife.
The other thing working in your favor is the balance of sugars and oil. Brown sugar brings a little chew and deeper flavor, while the granulated sugar helps the tops bake up with a gentle set. Oil keeps the crumb soft at room temperature, which matters here because these bars are meant to be eaten over a few days, not just warm from the pan.
- Bananas — Very ripe bananas matter here more than pumpkin does. They bring sweetness and that familiar banana bread aroma, and they should be mashed until almost smooth so the batter bakes evenly.
- Pumpkin puree — Use plain pumpkin puree, not pumpkin pie filling. Pie filling already contains sugar and spices, and it throws off both texture and seasoning.
- Oil — Vegetable oil keeps these bars soft longer than butter would. Butter adds flavor, but it also firms up more once cooled, which makes the bars less tender by day two.
- Leaveners — The combination of baking soda and baking powder gives lift without making the bars cakey in a bad way. If one is old, the bars will bake up flatter and heavier.
What Each Ingredient Is Doing in the Pan
- All-purpose flour — This gives the bars structure without making them bready. Spoon it into the measuring cup and level it off; scooping directly from the bag can pack in too much flour and dry the bars out.
- Pumpkin pie spice and cinnamon — Pumpkin pie spice does the warm, rounded background work, and cinnamon sharpens it a little. If you don’t have pumpkin pie spice, use extra cinnamon plus a pinch of nutmeg and ginger.
- Brown sugar and granulated sugar — Brown sugar adds moisture and a little caramel note, while granulated sugar keeps the crumb lighter. Using both gives the bars a better texture than either one alone.
- Maple glaze ingredients — Powdered sugar makes the glaze smooth, maple syrup gives it the flavor that fits the bars, and just enough milk loosens it to drizzle. If the glaze is too thin, it runs off the bars instead of sitting in ribbons on top.
Mixing the Batter Without Overworking It
Start with the smooth wet base
Whisk the mashed bananas, pumpkin puree, both sugars, oil, eggs, and vanilla until the mixture looks thick but smooth. You want the sugar mostly dissolved and the eggs fully broken up, because streaks of egg can bake into uneven pockets. If the bananas are still chunky, press them more before you add the dry ingredients; chunks won’t disappear in the oven.
Add the dry ingredients at the last moment
Stir the flour, baking soda, baking powder, pumpkin pie spice, cinnamon, and salt together first, then fold them into the wet mixture just until no dry streaks remain. This is where most dense bars start: too much stirring builds gluten and turns the crumb tight. Stop as soon as the batter looks evenly blended, even if it still looks a little rough.
Watch the pan, not the clock alone
Spread the batter evenly in a greased 9×13 pan and bake until the top looks set and a toothpick comes out clean or with just a few moist crumbs. If the center still looks shiny, give it a few more minutes. Pulling it too early leaves a sunk middle, and pulling it too late dries out the edges before the middle is done.
How to Adapt These Bars for Different Kitchens and Diets
Make them dairy-free without changing the texture
The bars themselves are already dairy-free as written. For the glaze, use any unsweetened non-dairy milk, or skip the milk entirely and add a few drops of water until the glaze drizzles cleanly. The flavor stays the same, and the topping still sets nicely.
Swap the glaze for a simpler finish
If you want less sweetness, dust the cooled bars with powdered sugar instead of glazing them. You’ll lose the maple flavor on top, but the bars stay lighter and more breakfast-friendly. A thin drizzle of maple syrup on the plate works too if you still want that maple note.
Use fresh pumpkin puree only if it’s thick
Homemade pumpkin puree can work, but it needs to be thick and not watery. If it looks loose, drain it in a fine-mesh strainer or the bars may bake up soft in the center and too wet to slice cleanly. Canned puree is easier because the moisture level is consistent.
Make them gluten-free with a cup-for-cup flour blend
A good 1:1 gluten-free baking blend usually works here because the bars are tender rather than chewy. The texture will be a touch more delicate, so let them cool completely before slicing. If your blend doesn’t include xanthan gum, use one that does for the cleanest cut.
Storage and Reheating
- Refrigerator: Store in an airtight container for up to 5 days. They stay moist, but the glaze will soften a little in the fridge.
- Freezer: These freeze well. Wrap the unglazed bars tightly and freeze for up to 2 months, then thaw at room temperature before glazing.
- Reheating: Warm individual bars for 10 to 15 seconds in the microwave if you want them soft again. If they’re already glazed, heat only briefly so the topping doesn’t melt off.
Answers to the Questions Worth Asking
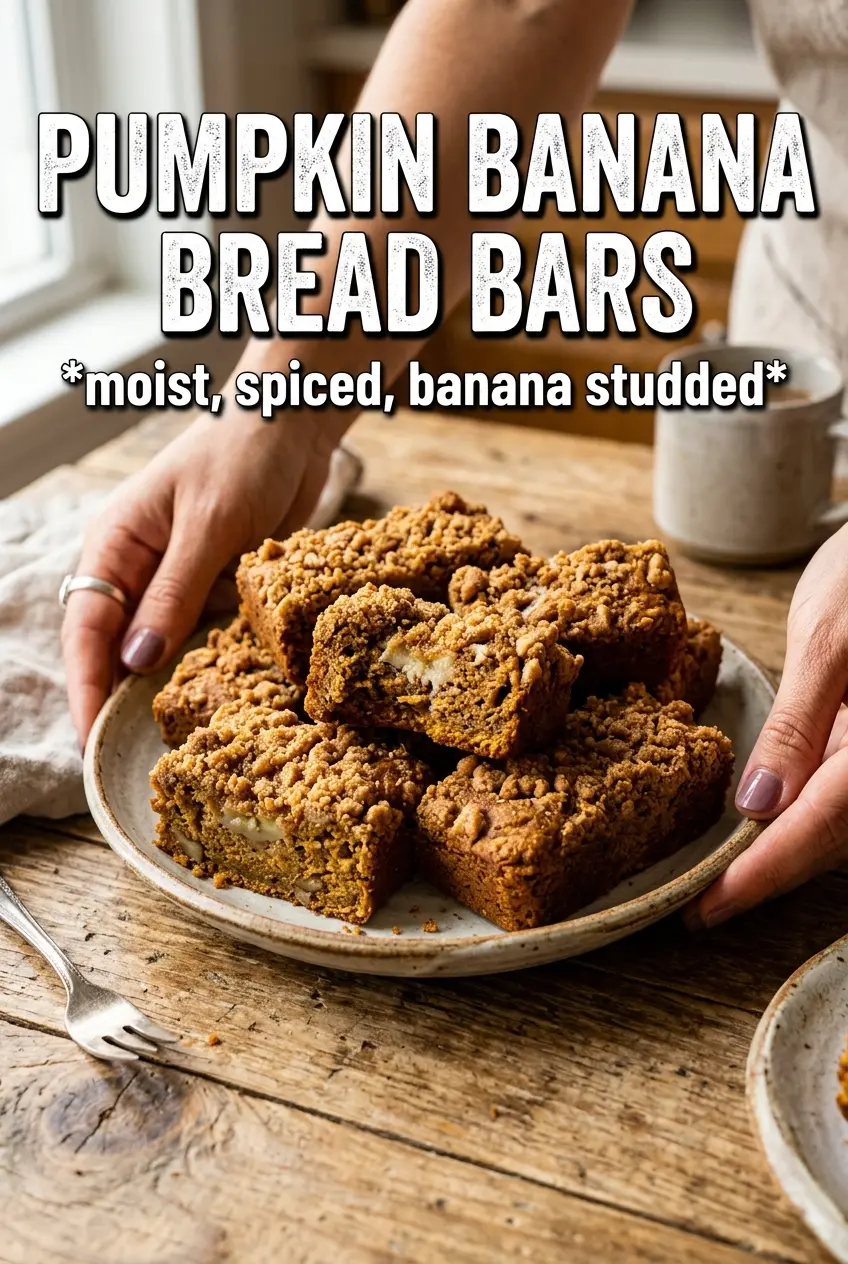
Pumpkin Banana Bread Bars
Ingredients
Equipment
Method
- Preheat the oven to 350°F and grease a 9x13 baking pan so the bars release cleanly after baking.
- Mash the bananas very smooth until no large lumps remain.
- Whisk together the all-purpose flour, baking soda, baking powder, pumpkin pie spice, cinnamon, and salt until evenly combined and speckled.
- Whisk the mashed banana, pumpkin puree, granulated sugar, brown sugar, vegetable oil, eggs, and vanilla until smooth and glossy.
- Fold the dry mixture into the wet mixture until just combined, then spread evenly in the greased pan in an even layer.
- Bake at 350°F for 25-30 minutes, until the top is set and a toothpick comes out clean.
- Cool completely to help the bars firm up, then drizzle the maple glaze over the top in ribbons.
- Cut into bars and serve after glazing for clean slices.