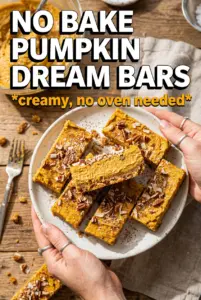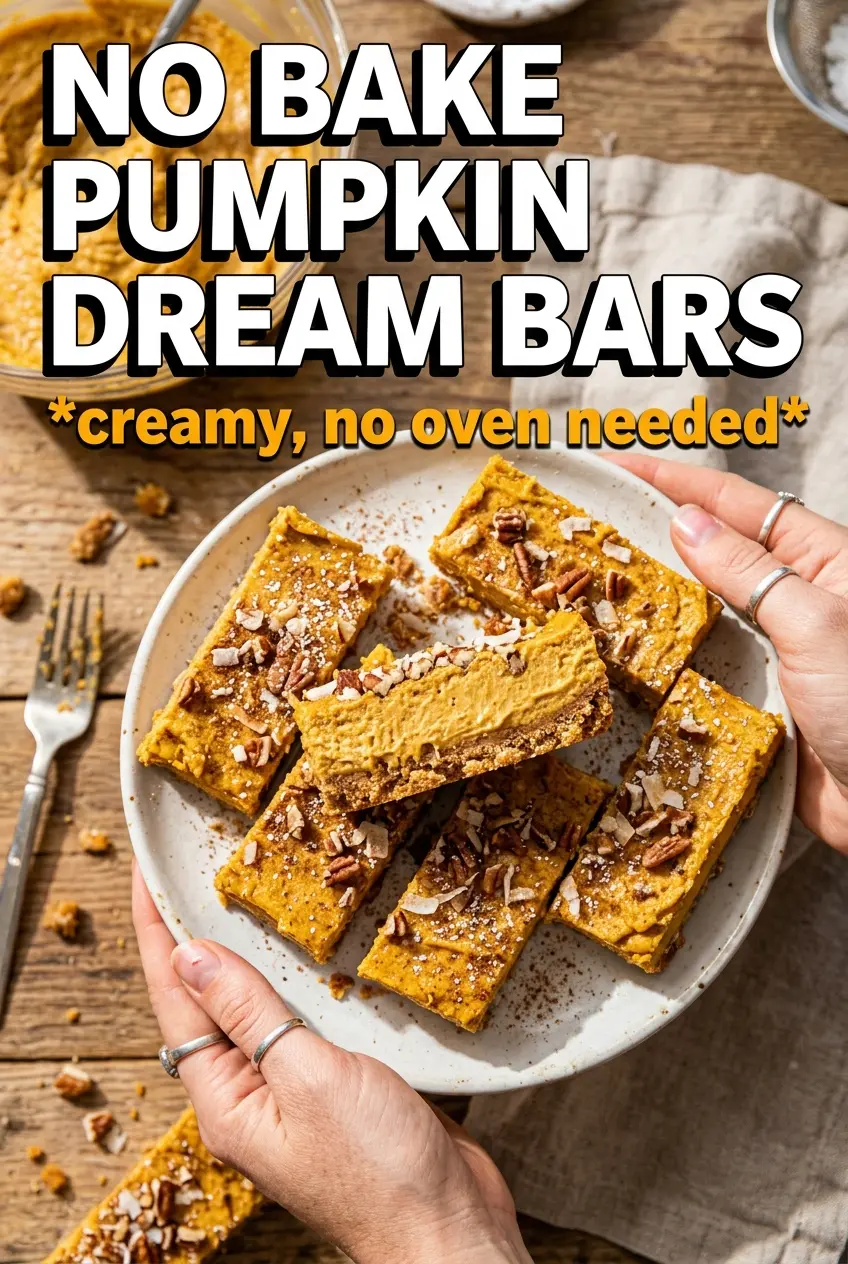
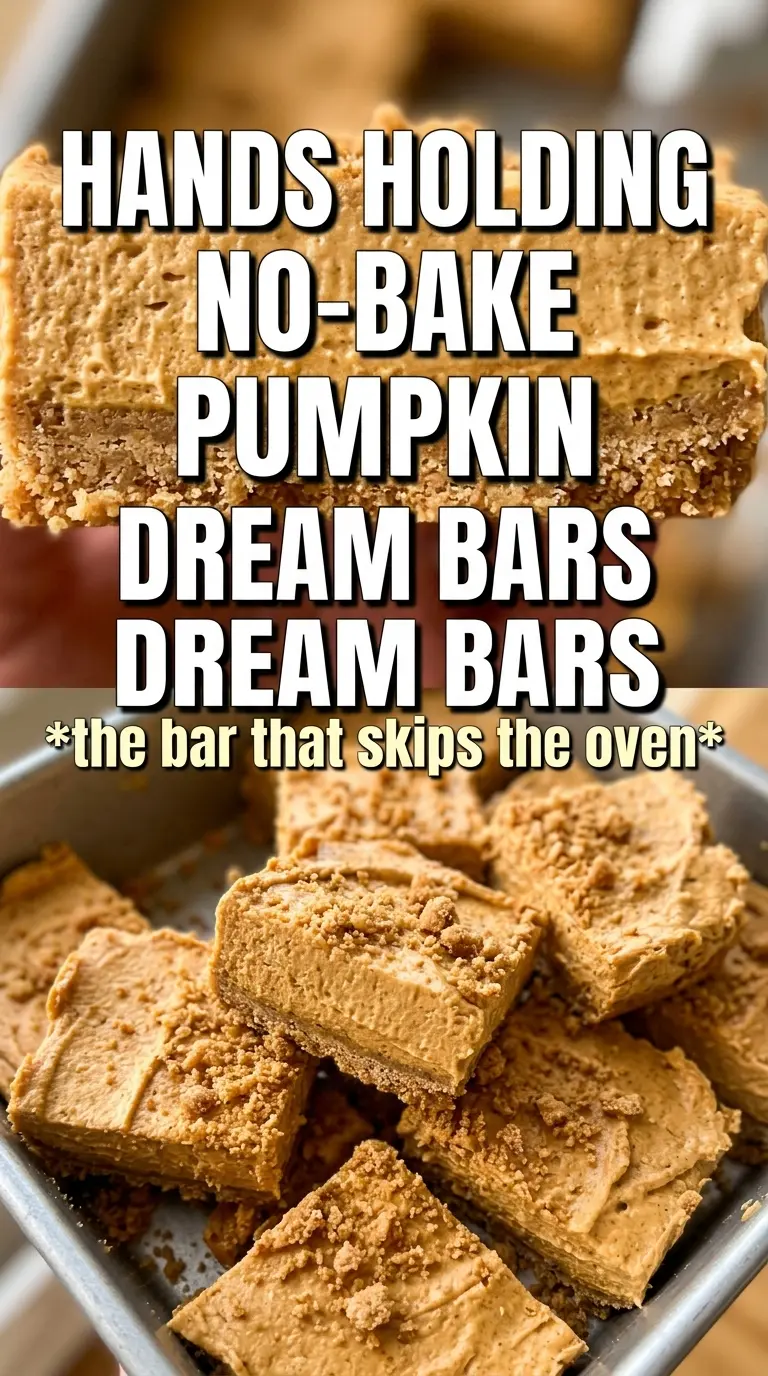
These no bake pumpkin dream bars land somewhere between pumpkin cheesecake and a chilled pudding dessert, with a graham crust that stays crisp enough to hold a clean square. The filling sets up light and creamy, not dense, and the whipped topping keeps each bite soft without turning it loose. After a few hours in the fridge, the layers settle into the kind of dessert that slices neatly and disappears fast.
The part that makes these work is balance. The cream cheese needs to be beaten smooth before anything else goes in, or you’ll end up chasing little lumps through the filling later. The pumpkin puree brings the flavor, but the powdered sugar and whipped topping are what give the layer that dreamy, mousse-like texture. A quick chill on the crust before the filling goes on helps keep the bottom from softening too quickly.
Below you’ll find the trick for getting the filling thick enough to slice, plus a few smart swaps if you want to change up the topping or make the bars a little less sweet.
I chilled them overnight and the layers sliced perfectly clean. The pumpkin filling was fluffy, not runny, and the gingersnap crumbs on top gave it just enough crunch.
Save these no bake pumpkin dream bars for the chilled pumpkin layer, graham crust, and gingersnap finish.
The Part That Keeps the Bars from Going Soft
A chilled crust is what keeps these bars from collapsing into a pudding pan. The graham crumbs need enough butter to hold together when pressed, but not so much that they turn greasy and slippery once the filling goes on. A short rest in the refrigerator firms the crumbs just enough so the bottom layer stays structured under the creamy topping.
The other point that matters is the filling order. Cream cheese goes first so it can become completely smooth before the pumpkin puree is added. If the cream cheese is even a little stiff, it will leave tiny bits in the finished bars, and those show up the moment you cut into them. The final chill is not optional here; it’s what turns a soft filling into bars you can lift cleanly from the pan.
What Each Layer Is Actually Doing Here
- Graham cracker crumbs — These make the base taste like a real dessert crust instead of a sweet biscuit layer. Store-bought crumbs work fine, but crush them finely so the bars cut cleanly. If you use sheets, pulse them until they look like damp sand.
- Cream cheese — This is the backbone of the filling. Full-fat cream cheese gives the best set and the richest texture; reduced-fat versions tend to soften more as the bars sit. Let it come fully to room temperature so it beats smooth without fighting the mixer.
- Pumpkin puree — Use pure pumpkin, not pumpkin pie filling. Pie filling already has sugar and spice mixed in, which throws off the texture and makes the bars sweeter than they need to be. If your puree looks watery, stir it first so the moisture is evenly distributed.
- Whipped topping — This gives the filling its airy, mousse-like finish and helps it set without baking. Homemade whipped cream won’t hold quite the same way over several hours, so Cool Whip is the more reliable choice if you want bars that slice neatly the next day.
- Gingersnap cookies — These add the sharp, spicy finish that keeps the bars from tasting flat. Crush them just before serving if you want more crunch, or add them earlier if you want them to soften slightly into the topping.
Building the Layers So They Slice Cleanly
Pressing the Crust
Mix the graham crumbs, sugar, and melted butter until every crumb looks evenly damp, then press the mixture firmly into the pan. Use the bottom of a measuring cup to compact it into the corners so there are no loose spots that crumble when you lift the bars out. Refrigerating the crust for 20 minutes gives the butter time to firm up, which matters more than people think when the filling is soft.
Making the Pumpkin Filling
Beat the cream cheese until it looks smooth and glossy before adding anything else. Once the pumpkin, powdered sugar, spice, cinnamon, and vanilla go in, mix only until the filling is uniform. Overbeating after the whipped topping is added can knock out the air and leave the layer heavier than it should be.
Folding in the Whipped Topping
Add about two-thirds of the whipped topping and fold it in gently with a spatula. The goal is to keep the mixture light, not whip more air into it. If you stir hard here, the filling can loosen instead of fluffing up, and you’ll lose that soft, dream-bar texture.
Finishing and Chilling
Spread the pumpkin layer over the cold crust, then top with the remaining whipped topping in an even layer. Dust with cinnamon and scatter the crushed gingersnaps across the top for contrast. Chill for at least 4 hours, and overnight is even better if you want the cleanest slices; if you cut them early, the middle will still be too soft to hold its shape.
How to Adapt These Bars Without Losing the Creamy Texture
Make them gluten-free
Swap the graham crackers for a gluten-free graham-style crumb or cookie crumb. The filling doesn’t need any changes, and the bars still set the same way as long as the crust is pressed and chilled firmly.
Use homemade whipped cream
Whipped cream can work if you serve the bars the same day, but it won’t hold as long as frozen whipped topping. If you go this route, whip it to medium-stiff peaks and fold it in gently, then keep the bars well chilled until serving.
Make the bars less sweet
Cut the sugar in the crust back slightly and use a lighter hand with the gingersnap topping. Don’t reduce the powdered sugar in the filling too much, or the cream cheese layer can taste flat and won’t set with the same plush texture.
Storage and Reheating
- Refrigerator: Store covered for up to 4 days. The crust softens a little after the first day, but the bars still slice and taste great.
- Freezer: These freeze well. Cut into bars, wrap tightly, and freeze in a single layer before stacking. Thaw in the refrigerator so the filling doesn’t weep.
- Reheating: No reheating needed. Serve straight from the fridge for the best texture; at room temperature, the filling gets too soft and the layers lose their clean edges.