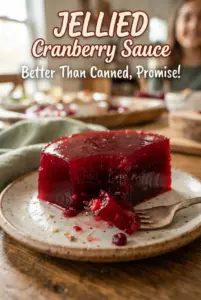
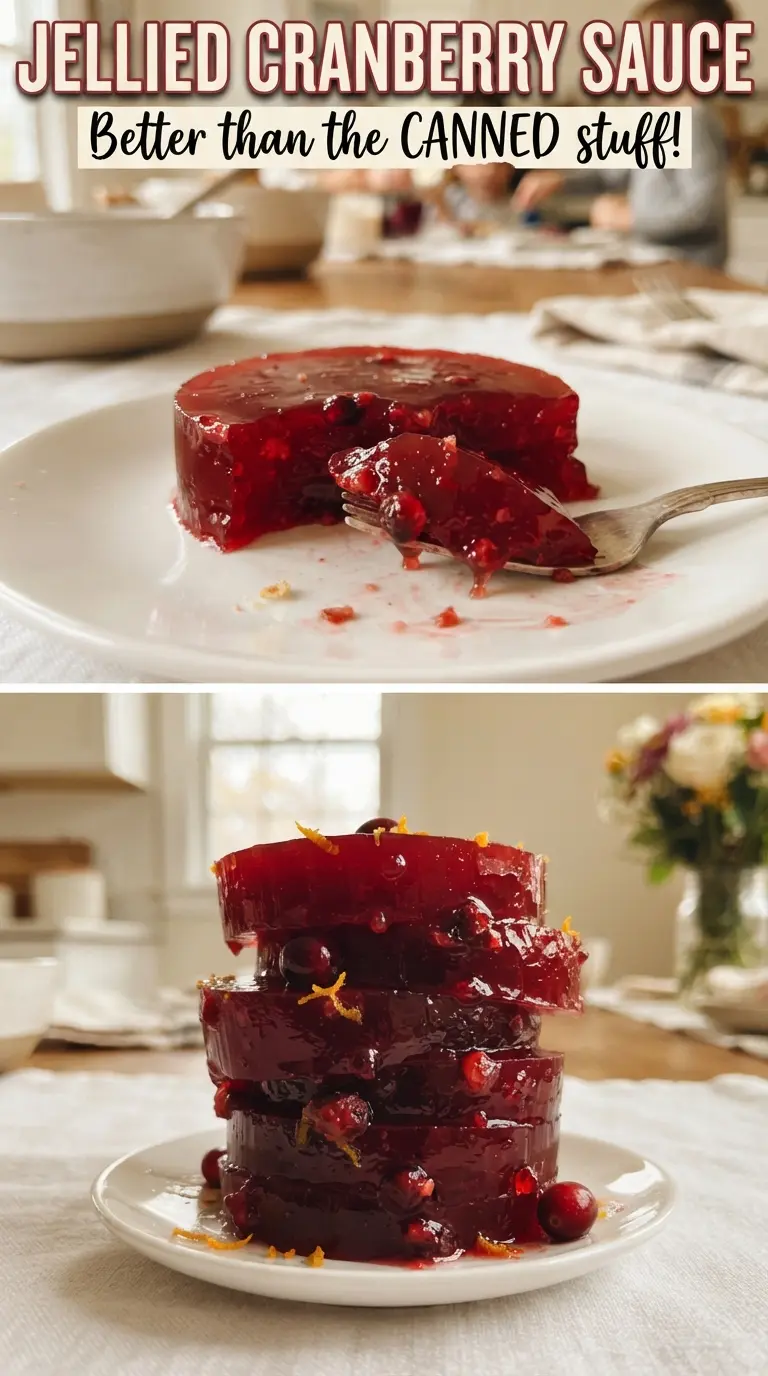
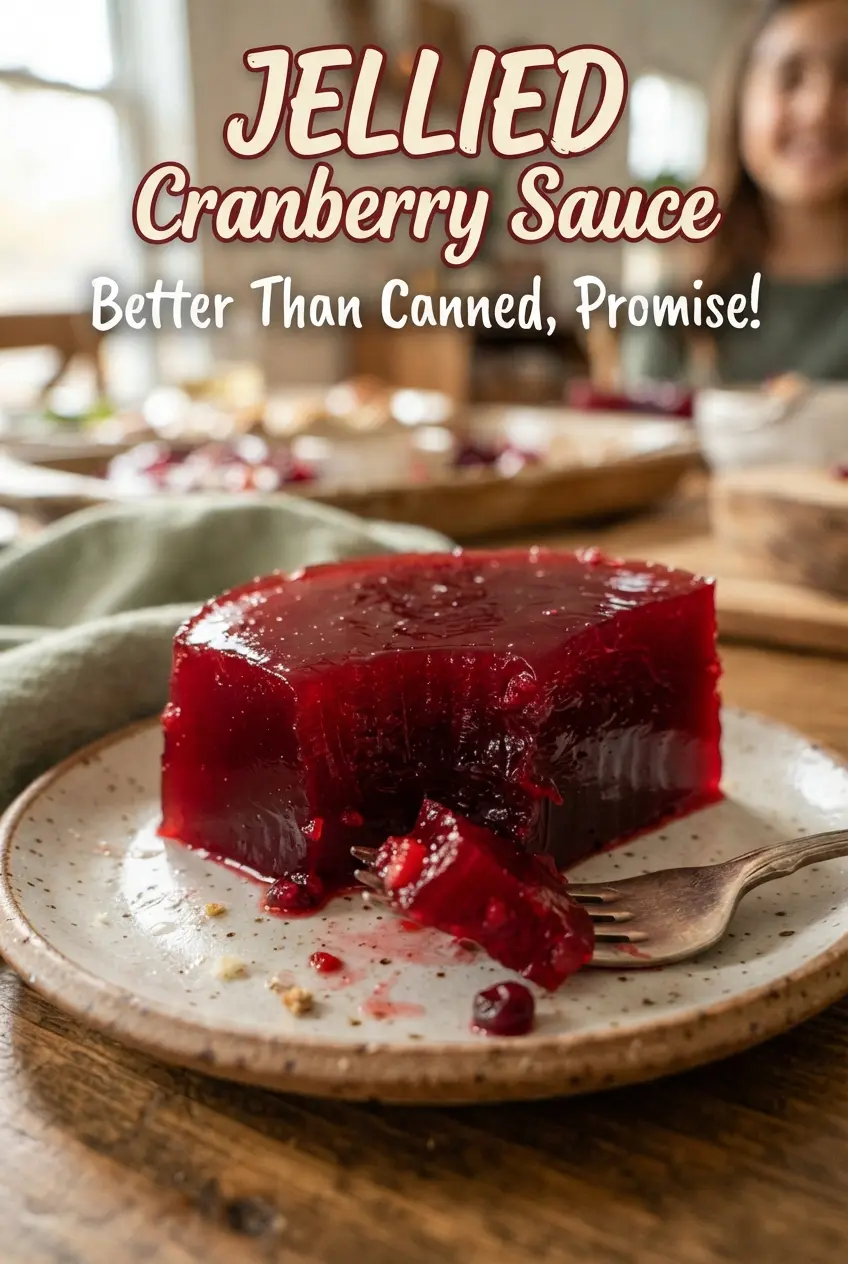
Jellied cranberry sauce sets up into that glossy, sliceable log that holds its shape on the plate and still tastes bright enough to cut through a rich meal. The texture is clean and smooth, not chunky or loose, with a firm wobble that slices into neat rounds instead of collapsing into a spoonable pile. When it’s done right, it looks like the can in the best possible way, only with fresher cranberry flavor and a sharper citrus edge.
This version works because the berries are fully cooked before straining, which gives you enough pectin from the cranberries for a proper set. The sugar isn’t just for sweetness; it helps the sauce gel and keeps the finished texture from tasting tart and thin. A short second boil after straining tightens the puree before it goes into the mold, and that extra minute or two makes the difference between a sauce that unmolds cleanly and one that slumps.
Below, I’ve included the part that matters most: how to strain it without leaving behind all the good body, how to know when it’s cooked long enough, and what to do if you want to serve it in a loaf pan, a mold, or even a clean can for that classic ridged look.
The sauce set up with that perfect clean slice, and the lemon kept it from tasting too sweet. I chilled it overnight and it slid right out of the loaf pan.
Love that glossy, sliceable jellied cranberry sauce? Save it to Pinterest for holiday plates, leftovers, and those moments when you want the classic ridged look.
The Secret to a Sliceable Cranberry Set
The part that trips people up is stopping the cook at the right point. Cranberries need to burst fully before the sauce is strained, because that’s where the pectin and body come from. If you pull it too early, the mixture stays thin and the mold won’t hold once chilled.
The second boil matters too. After straining, the puree looks smooth but still needs a few minutes over the heat to concentrate enough to set. Don’t rush that step by turning the heat down too low; you want active bubbling for those final 3 to 4 minutes so the finished sauce firms up cleanly instead of turning soft around the edges.
- Fully burst berries — Every cranberry needs to split open before straining. Whole berries left behind mean lost body and a looser set.
- Fine-mesh strainer — This gives you the smoothest finish. A coarse sieve lets too much skin through, which makes the sauce rustic instead of jellied.
- Gentle but real boil after straining — That final reduction tightens the puree. It’s the difference between a tidy slice and a soft mound.
What Each Ingredient Is Actually Doing in This Sauce
- Fresh cranberries — These bring the pectin, tartness, and color that define the sauce. Frozen cranberries work too, and you can use them straight from frozen without thawing.
- Sugar — This balances the sharp cranberry bite and helps the sauce set. Cutting it much lower changes both texture and how firmly the sauce unmolds.
- Water — It gives the berries enough liquid to burst and cook evenly before straining. Using less can scorch the fruit before it softens.
- Lemon juice — A small amount brightens the finished flavor and keeps the sweetness from flattening out. Fresh lemon is best here because the sauce is so simple.
- Salt — Just a pinch wakes up the fruit and keeps the flavor from reading one-note.
Getting the Glaze Right From Boil to Mold
Cooking the Berries Until They Burst
Bring the cranberries, sugar, and water to a steady boil, then simmer until every berry has split and the mixture looks thick and jammy, about 10 minutes. The sound changes as the berries burst; it goes from sharp popping to a softer simmer. If you stop while a lot of berries still look whole, the sauce won’t have enough structure after chilling.
Straining Without Leaving the Good Stuff Behind
Press the hot mixture through a fine-mesh strainer and scrape the bottom of the strainer with a spoon so the pulp goes through. This is where the smooth, jellied texture comes from, so don’t just let it drain on its own. The skins hold back color and pectin, but the puree underneath is what gives you the clean slice.
The Final Boil Before It Sets
Return the strained puree to the pot with lemon juice and salt, then boil for 3 to 4 minutes while stirring. You want a thicker, shinier mixture that coats the spoon and mounds slightly before falling back into the pot. If it still looks loose and watery, give it another minute; the sauce should look concentrated before it goes into the mold.
Chilling for a Clean Unmold
Pour the sauce into a lightly oiled mold, loaf pan, or even a clean can, then chill until completely firm, at least 6 hours. Overnight gives the most reliable set. To unmold, run a knife around the edge and dip the outside of the pan briefly in warm water if needed, but don’t overdo it or the edges will melt before the center releases.
How to Adapt This for Different Tables and Timelines
Use orange zest for a brighter holiday version
Swap the lemon juice for half lemon juice and a little orange zest if you want a rounder citrus note. The sauce stays jelled and sliceable, but the flavor reads softer and a bit more festive.
Lower-sugar version for a tarter finish
You can reduce the sugar a little, but don’t cut it aggressively or the sauce won’t set as firmly and the tartness will take over. If you want a less sweet result, trim it slightly and expect a softer unmold.
Make it dairy-free and gluten-free without changing anything
This recipe already fits both diets as written, which is part of why it’s such an easy side dish to bring to a mixed table. Just check that your mold or pan is clean and odor-free so the cranberry flavor stays crisp.
Storage and Reheating
- Refrigerator: Keeps for up to 5 days, tightly covered. The texture stays firm and slices cleanly after the first day.
- Freezer: Not my first choice. Freezing can make the gel weep a little after thawing, which softens the neat slice.
- Reheating: This isn’t meant to be reheated. Serve it chilled or at cool room temperature so it keeps its shape; warming it turns the set loose.
Answers to the Questions Worth Asking
Jellied Cranberry Sauce
Ingredients
Equipment
Method
- Bring fresh cranberries, sugar, and water to a boil in a pot, then simmer for 10 minutes until all the berries burst, stirring occasionally to keep it moving.
- Maintain a gentle simmer for the full 10-minute time so the mixture thickens slightly and the berries break down.
- Press the hot mixture through a fine-mesh strainer, scraping to push all the pulp through, then discard the skins.
- Return the strained puree to the pot and stir in lemon juice and salt.
- Boil the puree for 3-4 minutes, stirring often so it stays glossy and evenly thickened.
- Stop heating when the mixture looks lightly thickened and holds a brief trail when stirred.
- Pour into a lightly oiled mold, loaf pan, or clean can, smoothing the top for even slicing.
- Chill at least 6 hours or overnight until firm, keeping it covered to prevent refrigerator odors.
- Run a knife around the edge, invert onto a plate, and let it release cleanly from the mold.
- Slice into rounds and serve chilled for a fully jellied texture.