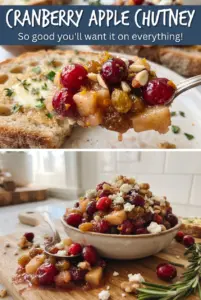
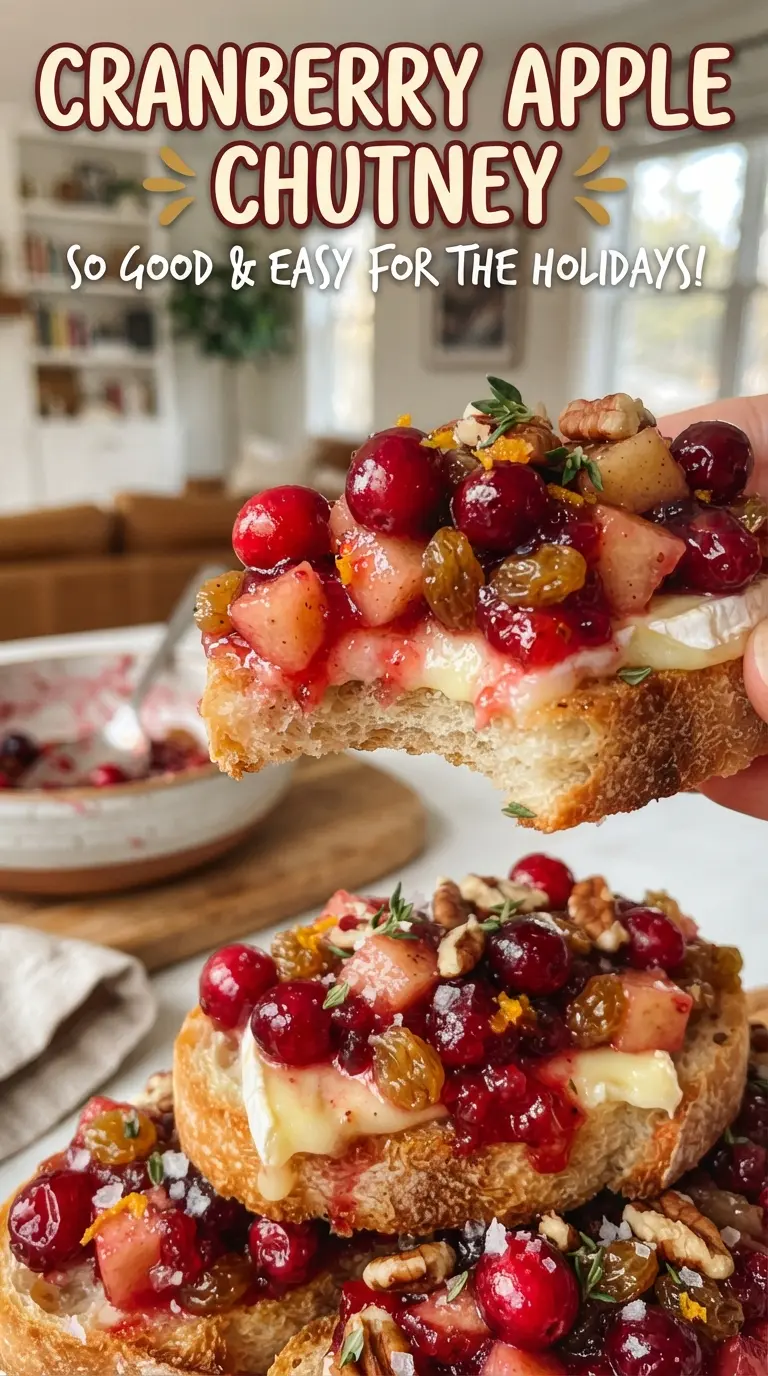
Thick, glossy cranberry apple chutney brings the kind of sweet-tart bite that wakes up everything next to it. The cranberries break down into a jammy base while the apples hold enough shape to give each spoonful some texture, and the golden raisins round out the sharp edges without turning it into jam. It’s the sort of side that earns its place beside roast turkey, pork, and a good cheese board because it cuts richness instead of just sitting there.
The trick is building the flavor in stages. The vinegar, sugar, and water go first so the fruit cooks in a balanced syrup instead of tasting flat. A short simmer with the onion, ginger, and spices softens the sharpness and gives the chutney a deeper base before the fruit even goes in. Once the cranberries hit the pan, they’ll start popping fast, so the real job is keeping the heat steady and stirring often until the mixture looks thick, glossy, and spoonable.
Below, I’ve included the best cues for knowing when it’s done, plus a few practical swaps if you need to work with what’s already in the pantry. This one tastes even better after a night in the fridge, which makes it an easy make-ahead side for a holiday table or a week of leftovers.
The chutney thickened up beautifully and the apples still had a little bite, which made it perfect with leftover turkey sandwiches the next day.
Keep this cranberry apple chutney handy for turkey, pork, or a sharp cheese board when you want something sweet-tart and chunky.
The Part That Keeps Cranberry Chutney From Turning Mushy
The biggest mistake with cranberry chutney is cooking the apples until they collapse before the cranberries have had time to do their thing. Apples need enough simmer time to soften and absorb the syrup, but they should still hold some shape when the pan comes off the heat. That contrast is what keeps the chutney from reading like baby food.
The other thing that matters is heat. Once the cranberries go in, they’ll burst and release a lot of pectin, which is what gives the chutney that thick, jammy finish. If the burner is too high, the sugar can scorch before the fruit thickens. Keep it at a steady simmer and stir often, especially around the edges of the pan where the mixture can catch first.
- Cranberries — Fresh cranberries give the chutney its tart backbone and the natural thickening that frozen fruit can’t quite match as cleanly. Frozen cranberries will work in a pinch; add them straight from frozen and expect a slightly longer simmer.
- Apples — A firm, crisp apple keeps its shape and gives the chutney texture. Granny Smith, Honeycrisp, or Pink Lady all work well. Soft apples break down too fast and make the mixture look more like sauce than chutney.
- Apple cider vinegar — This is what sharpens the sweetness and makes the whole pot taste alive. If you swap in white vinegar, the chutney tastes harsher; if you use less acid, it can taste dull and overly sweet.
- Golden raisins — They add little pockets of sweetness and help the chutney taste fuller without extra sugar. Regular raisins will work, but they taste darker and a little heavier.
What Each Ingredient Is Actually Doing in This Recipe
- Primary ingredient (the star) — Quality matters most. Choose the best you can find.
- Cooking medium (oil, butter, or broth) — This carries flavors and prevents dryness.
- Seasonings (salt, pepper, spices, herbs) — Layer flavors so nothing overpowers. Build depth gradually.
- Aromatics (garlic, onion, herbs) — Cook with fat to bloom flavors. Become the foundation.
- Supporting ingredients — Complement the main ingredient without overpowering it.
- Sauce or liquid (if applicable) — Brings flavors together. Balance richness with acid.
- Acid (lemon, vinegar, wine, or other) — Brightens and prevents flat-tasting results.
- Final finish (garnish, glaze, or sauce) — Prevents one-dimensional taste and adds visual appeal.
How to Cook It Down Until It’s Thick and Glossy
Building the Syrup Base
Start by boiling the brown sugar, vinegar, and water just until the sugar dissolves and the mixture looks clear. That first boil sets the stage for the whole chutney, because it gives the fruit a seasoned syrup to simmer in instead of forcing everything to cook dry. Add the onion, ginger, cinnamon, cloves, red pepper flakes, and salt next, then let them soften for about 5 minutes. The onion should look translucent and smell mellow, not raw and sharp.
Letting the Fruit Break at Its Own Pace
Stir in the cranberries, apples, and raisins, then keep the pan at a steady simmer. The cranberries will start popping within a few minutes, which is exactly what you want. Stir often so the sugar doesn’t settle and catch on the bottom. If the bubbles are violent enough to spit at you, the heat is too high and the fruit will cook down before the syrup has time to thicken properly.
Knowing When to Stop the Heat
After 20 to 25 minutes, the chutney should look thick, shiny, and a little loose while it’s still hot. It tightens a lot as it cools, so don’t wait for it to look fully set in the pot. If you drag a spoon through the middle and the line holds for a second before filling in, you’re there. Cool it completely before refrigerating so the texture sets correctly instead of turning watery from trapped steam.
How to Adjust This Chutney for Different Tables
Dairy-Free and Naturally Gluten-Free
This chutney already fits both of those boxes as written. The important part is serving it with the right companions, since some crackers, breads, and cheese-board extras may not. The chutney itself stays bright, thick, and safe for a mixed-diet table without any changes at all.
Less Sweet, More Tangy
Cut the brown sugar back to 1/2 cup if you want a sharper chutney that leans more savory than jammy. The texture will still work, but the fruit will taste brighter and the sauce will set a little looser. That version is especially good with rich meats and sharp cheddar.
Swap the Spice Direction
If you want a warmer finish, add a pinch of allspice or nutmeg with the cinnamon and cloves. If you want a fresher edge, skip the red pepper flakes and add a little orange zest at the end. The first option pushes it deeper and more holiday-like; the second makes it brighter and easier to pair with cheese.
Storage and Reheating
- Refrigerator: Store in a covered jar or container for up to 2 weeks. The chutney gets thicker and more integrated after a day in the fridge.
- Freezer: It freezes well for up to 3 months. Leave a little headspace if you’re using a jar, since the mixture expands as it freezes.
- Reheating: Warm only what you need on low heat or in short bursts in the microwave. Don’t boil it hard again or the apples can go soft and the texture will turn loose.
Answers to the Questions Worth Asking
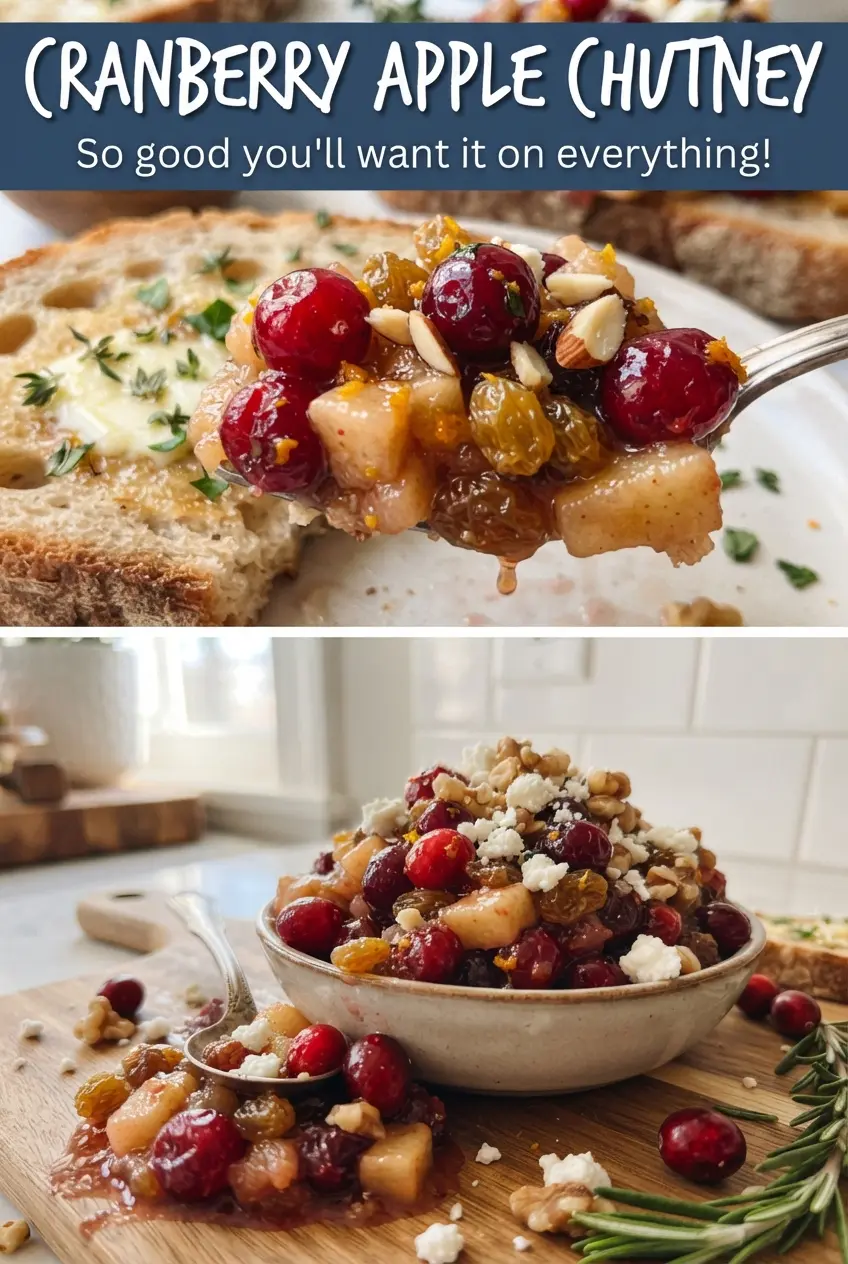
Cranberry Apple Chutney
Ingredients
Equipment
Method
- In a saucepan, combine brown sugar, apple cider vinegar, and water, then bring to a boil over medium-high heat.
- Add the red onion, grated fresh ginger, ground cinnamon, ground cloves, red pepper flakes, and salt, then simmer for 5 minutes, stirring occasionally.
- Stir in the fresh cranberries, diced apples, and golden raisins until evenly distributed.
- Simmer for 20-25 minutes, stirring often, until the mixture is thick and jammy.
- Remove from heat and cool completely to room temperature.
- Refrigerate, then serve chilled with turkey, pork, or on a cheese board.