Biscoff apple crumble bakes into the kind of dessert that disappears while it's still warm from the oven. The apples turn soft and jammy underneath a topping that stays sandy in the best way at the edges and clumps into buttery, cookie-studded nuggets on top. Every spoonful gives you spiced fruit, caramelized cookie butter, and enough crunch to keep the filling from feeling heavy.
The trick here is using Biscoff two ways: a spoonful goes into the apples so the filling tastes deeper and more caramel-like, then melted spread gets drizzled into the crumble so the topping bakes up with little pockets of that same flavor. Cornstarch keeps the juices in check, which matters because apples can flood a pan fast, and the cold butter gives the topping structure instead of turning it into paste. If the crumble ever looks too dry before baking, it usually needs a little more mixing with the melted Biscoff, not more flour.
Below, I've laid out the exact points that matter most: how to keep the apples from going soupy, what the crumble should look like before it hits the oven, and a few swaps that still keep the dessert tasting like itself.
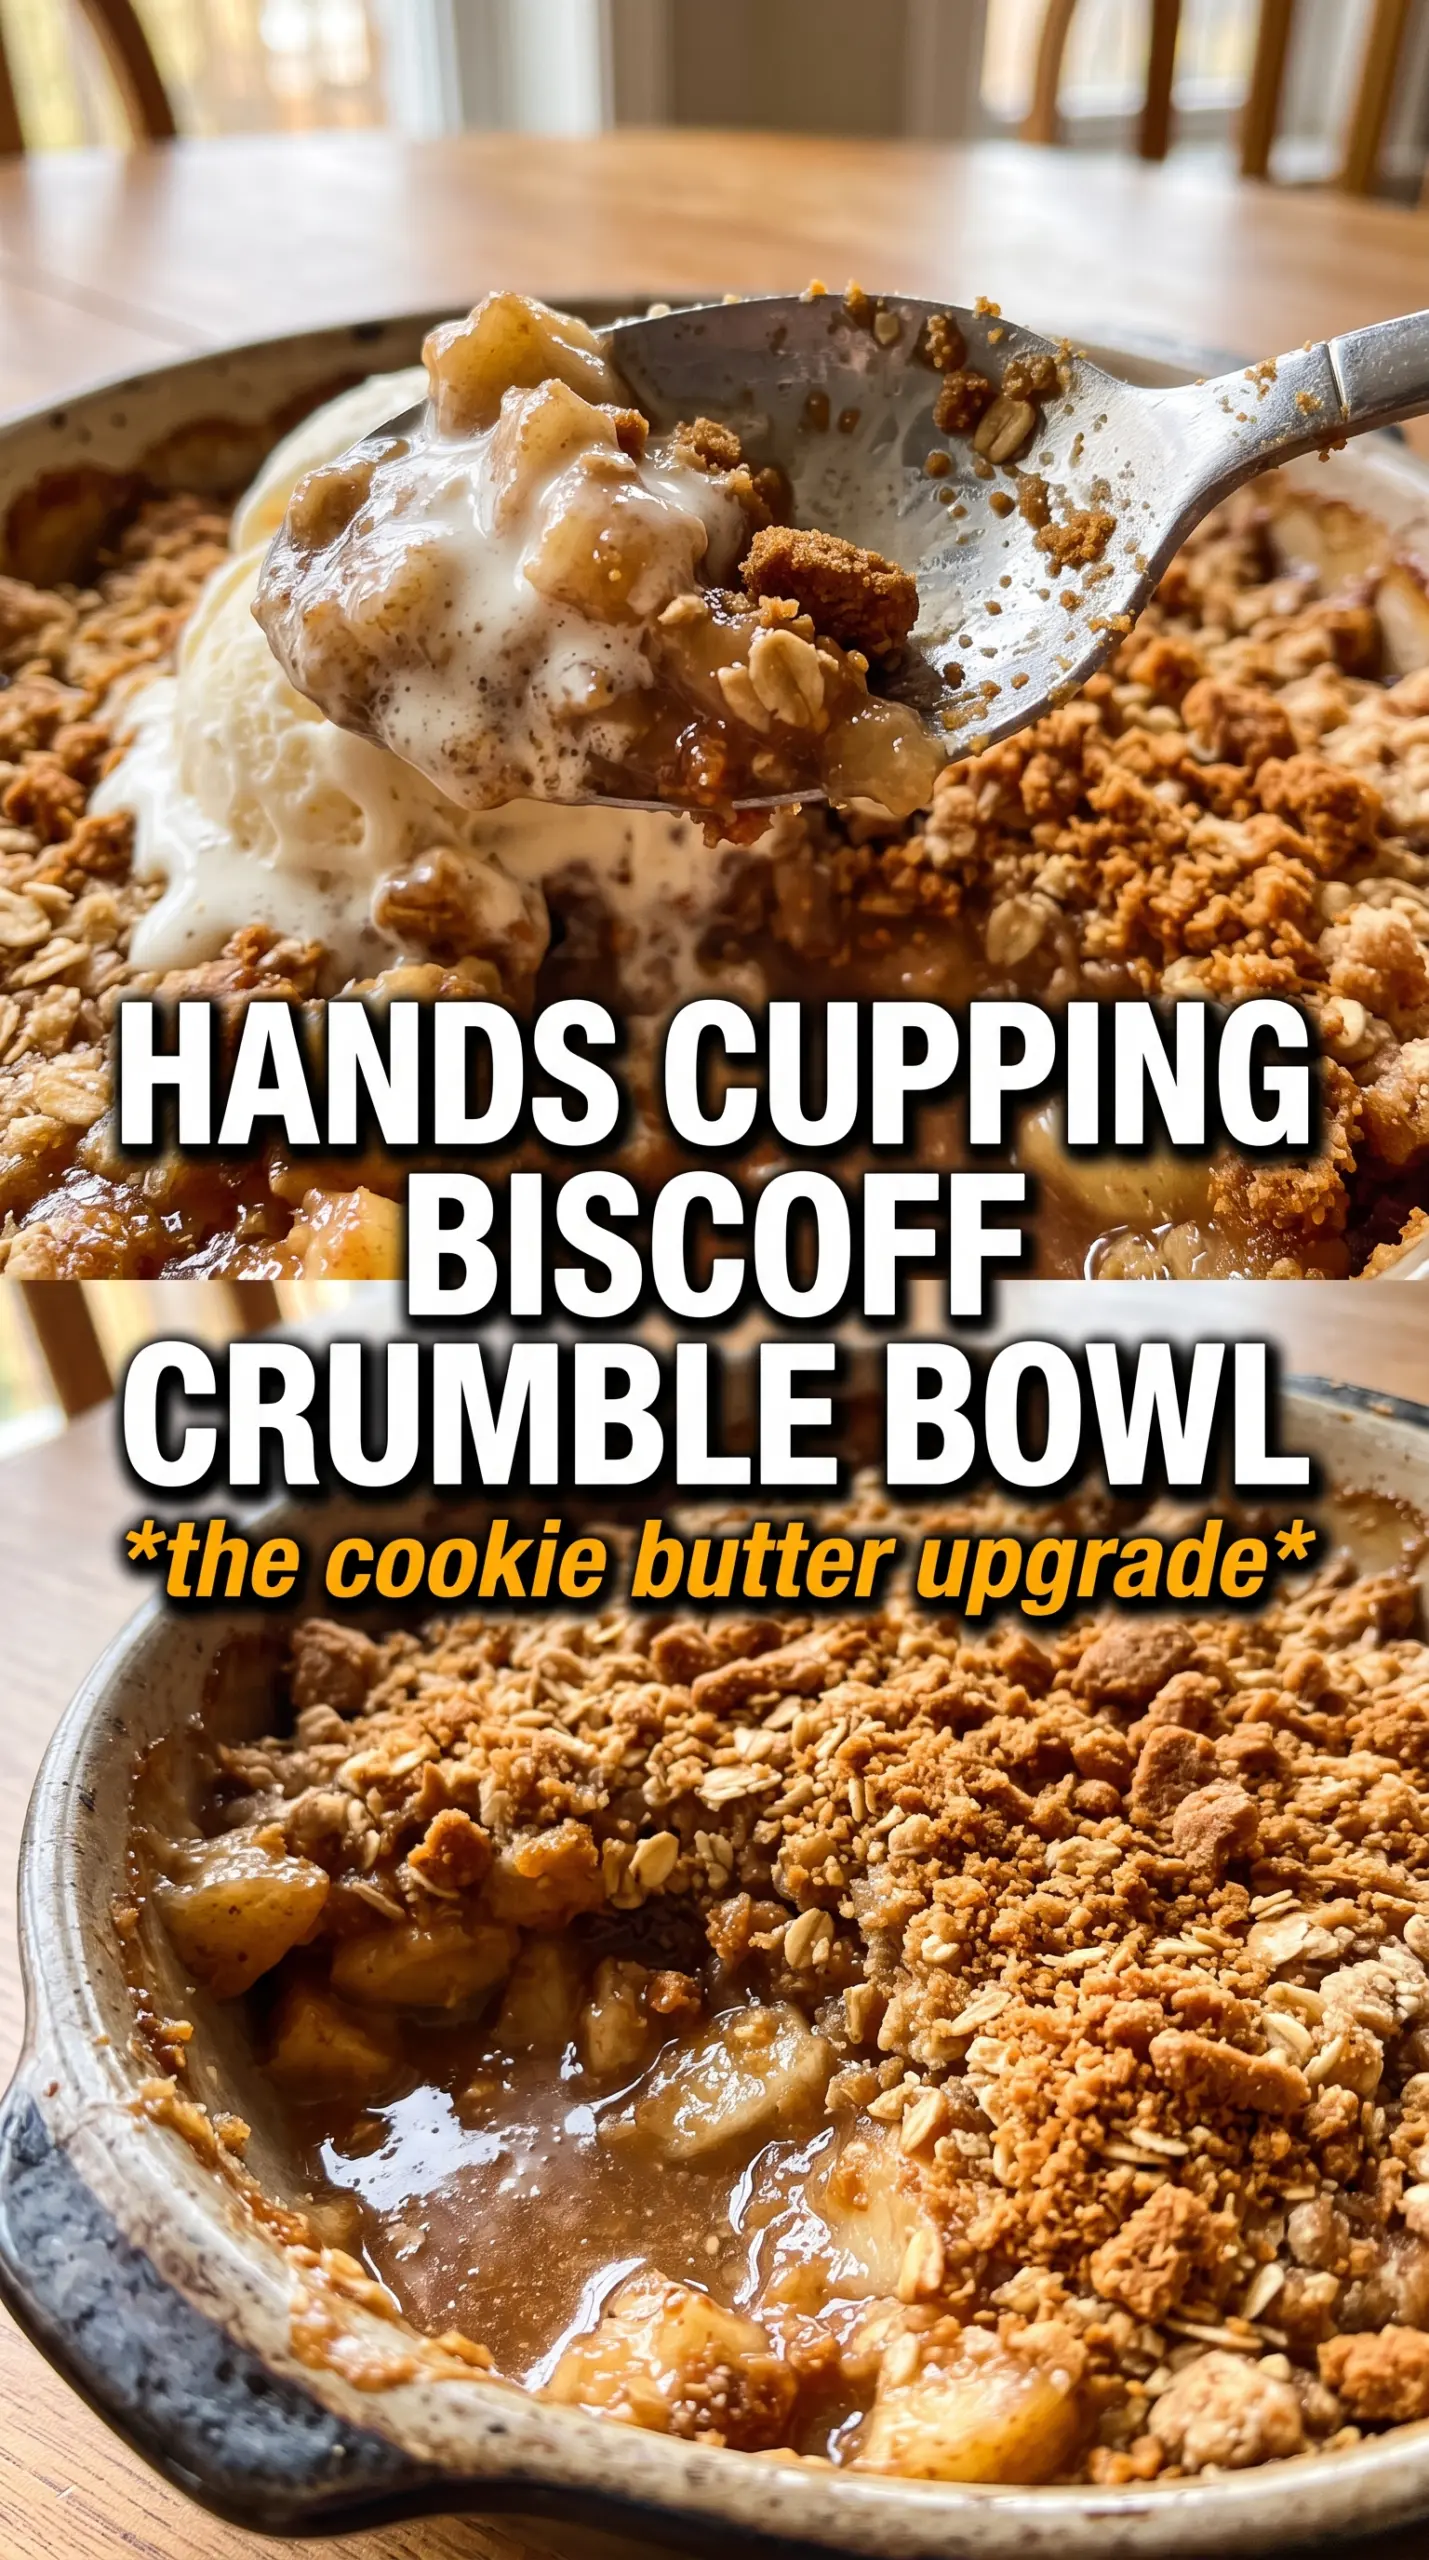
The topping baked up crisp on top but stayed a little chewy around the edges, and the Biscoff in the apple filling made the whole dish taste deeper instead of just sweeter. I served it with vanilla ice cream and the pan was basically empty in ten minutes.
Love a crisp Biscoff crumble with bubbling spiced apples? Save this Biscoff Apple Crumble for the nights you want a warm dessert with a cookie-butter twist.
The Part That Keeps the Apples from Turning Watery
The filling needs more than just sugar and spice, because apples release a lot of juice once the heat hits them. Cornstarch gives that juice something to bind with, so you get a thick, glossy sauce instead of a puddle at the bottom of the dish. The Biscoff cookie butter deepens the flavor, but it also adds a little richness that keeps the filling from tasting one-note.
The other place people run into trouble is with the apple slice size. Cut them too thin and they collapse before the crumble has a chance to brown; leave them too thick and the center stays firm while the topping is already done. A medium slice gives you apples that soften into the sauce without disappearing.
What Each Ingredient Is Doing in the Crumble
- Apples — Use a firm baking apple if you can. You want slices that hold their shape long enough to stay distinct after 40 minutes in the oven, not apples that dissolve into applesauce.
- Biscoff cookie butter — This is the signature flavor, and it's worth keeping in the mix. The spoonful in the filling gives the fruit a caramelized edge, while the melted spread in the topping helps the crumble clump instead of staying powdery.
- Crushed Biscoff cookies — These bring the unmistakable spiced cookie flavor and add a finer crunch than oats alone. Don't grind them into dust; a little texture makes the topping more interesting after baking.
- Cold butter — Cold butter is what gives you a real crumble. If it softens too much before baking, the topping turns dense and greasy instead of sandy and crisp.
- Oats — Rolled oats keep the topping from baking up like a straight cookie layer. They add chew and help absorb some of the apple juices from below.
How to Build the Topping So It Stays Craggy, Not Pastey
Coating the Apples First
Toss the sliced apples with the sugar, spices, cornstarch, lemon juice, and Biscoff cookie butter until every slice looks lightly coated. That step matters because the cornstarch needs to be evenly distributed before the apples start giving off juice in the oven. If you dump the filling into the dish without mixing well, some bites turn soupy while others stay dry.
Cutting in the Butter
Work the cold cubed butter into the cookie crumbs, flour, oats, sugar, and cinnamon until you have clumps the size of peas and coarse crumbs in between. Those uneven pieces are what bake into a topping with texture. If the mixture starts looking smooth, you've gone too far and the crumble will bake up flat.
Adding the Melted Biscoff at the End
Drizzle the melted Biscoff spread over the crumb mixture and toss just until you get a few sticky clusters. You're not trying to make a dough. You want some spots that hold together and some loose crumbs that toast into crisp edges. If the mixture is wet all the way through, the topping can bake into a dense sheet instead of a crumble.
Baking Until the Filling Bubbles
Bake until the top is deep golden and you can see the fruit filling bubbling at the edges. That bubbling is the sign that the cornstarch has activated and the apples are tender. If you pull the dish too early, the center may still taste raw and the sauce underneath won't thicken properly.
How to Adapt This for Different Kitchens and Diets
Make It Gluten-Free
Swap the all-purpose flour for a good 1:1 gluten-free baking blend and use gluten-free oats if needed. The texture stays close to the original, though the topping may be a little more delicate once cooled. The Biscoff cookies themselves would need a gluten-free substitute, since the standard version contains wheat.
Use Pears Instead of Apples
Firm pears work if you want a softer, more floral filling. Cut back the bake time by a few minutes and watch for the same bubbling edge cue, because pears break down faster than apples. The result is less tart and a little silkier under the topping.
Make It Nut-Free and Dairy-Free
This recipe is already nut-free as written, and it can be made dairy-free by using a plant-based butter that bakes well. The topping won't brown quite as deeply, but the crumble still works if the butter stays cold and you don't overmix it. Serve with a dairy-free vanilla ice cream to keep the same finish.
Storage and Reheating
- Refrigerator: Store covered for up to 4 days. The topping softens as it sits, but the flavor stays great.
- Freezer: Bake and cool completely, then freeze in portions or as a whole dish wrapped tightly. The crumble will lose some crispness after freezing, but it still reheats well.
- Reheating: Warm in a 325F oven until the center is hot and the topping has crisped back up, usually 15 to 20 minutes for portions or longer for a full dish. The common mistake is microwaving it until the apples slump and the topping turns soggy.
Questions I Get Asked About This Recipe
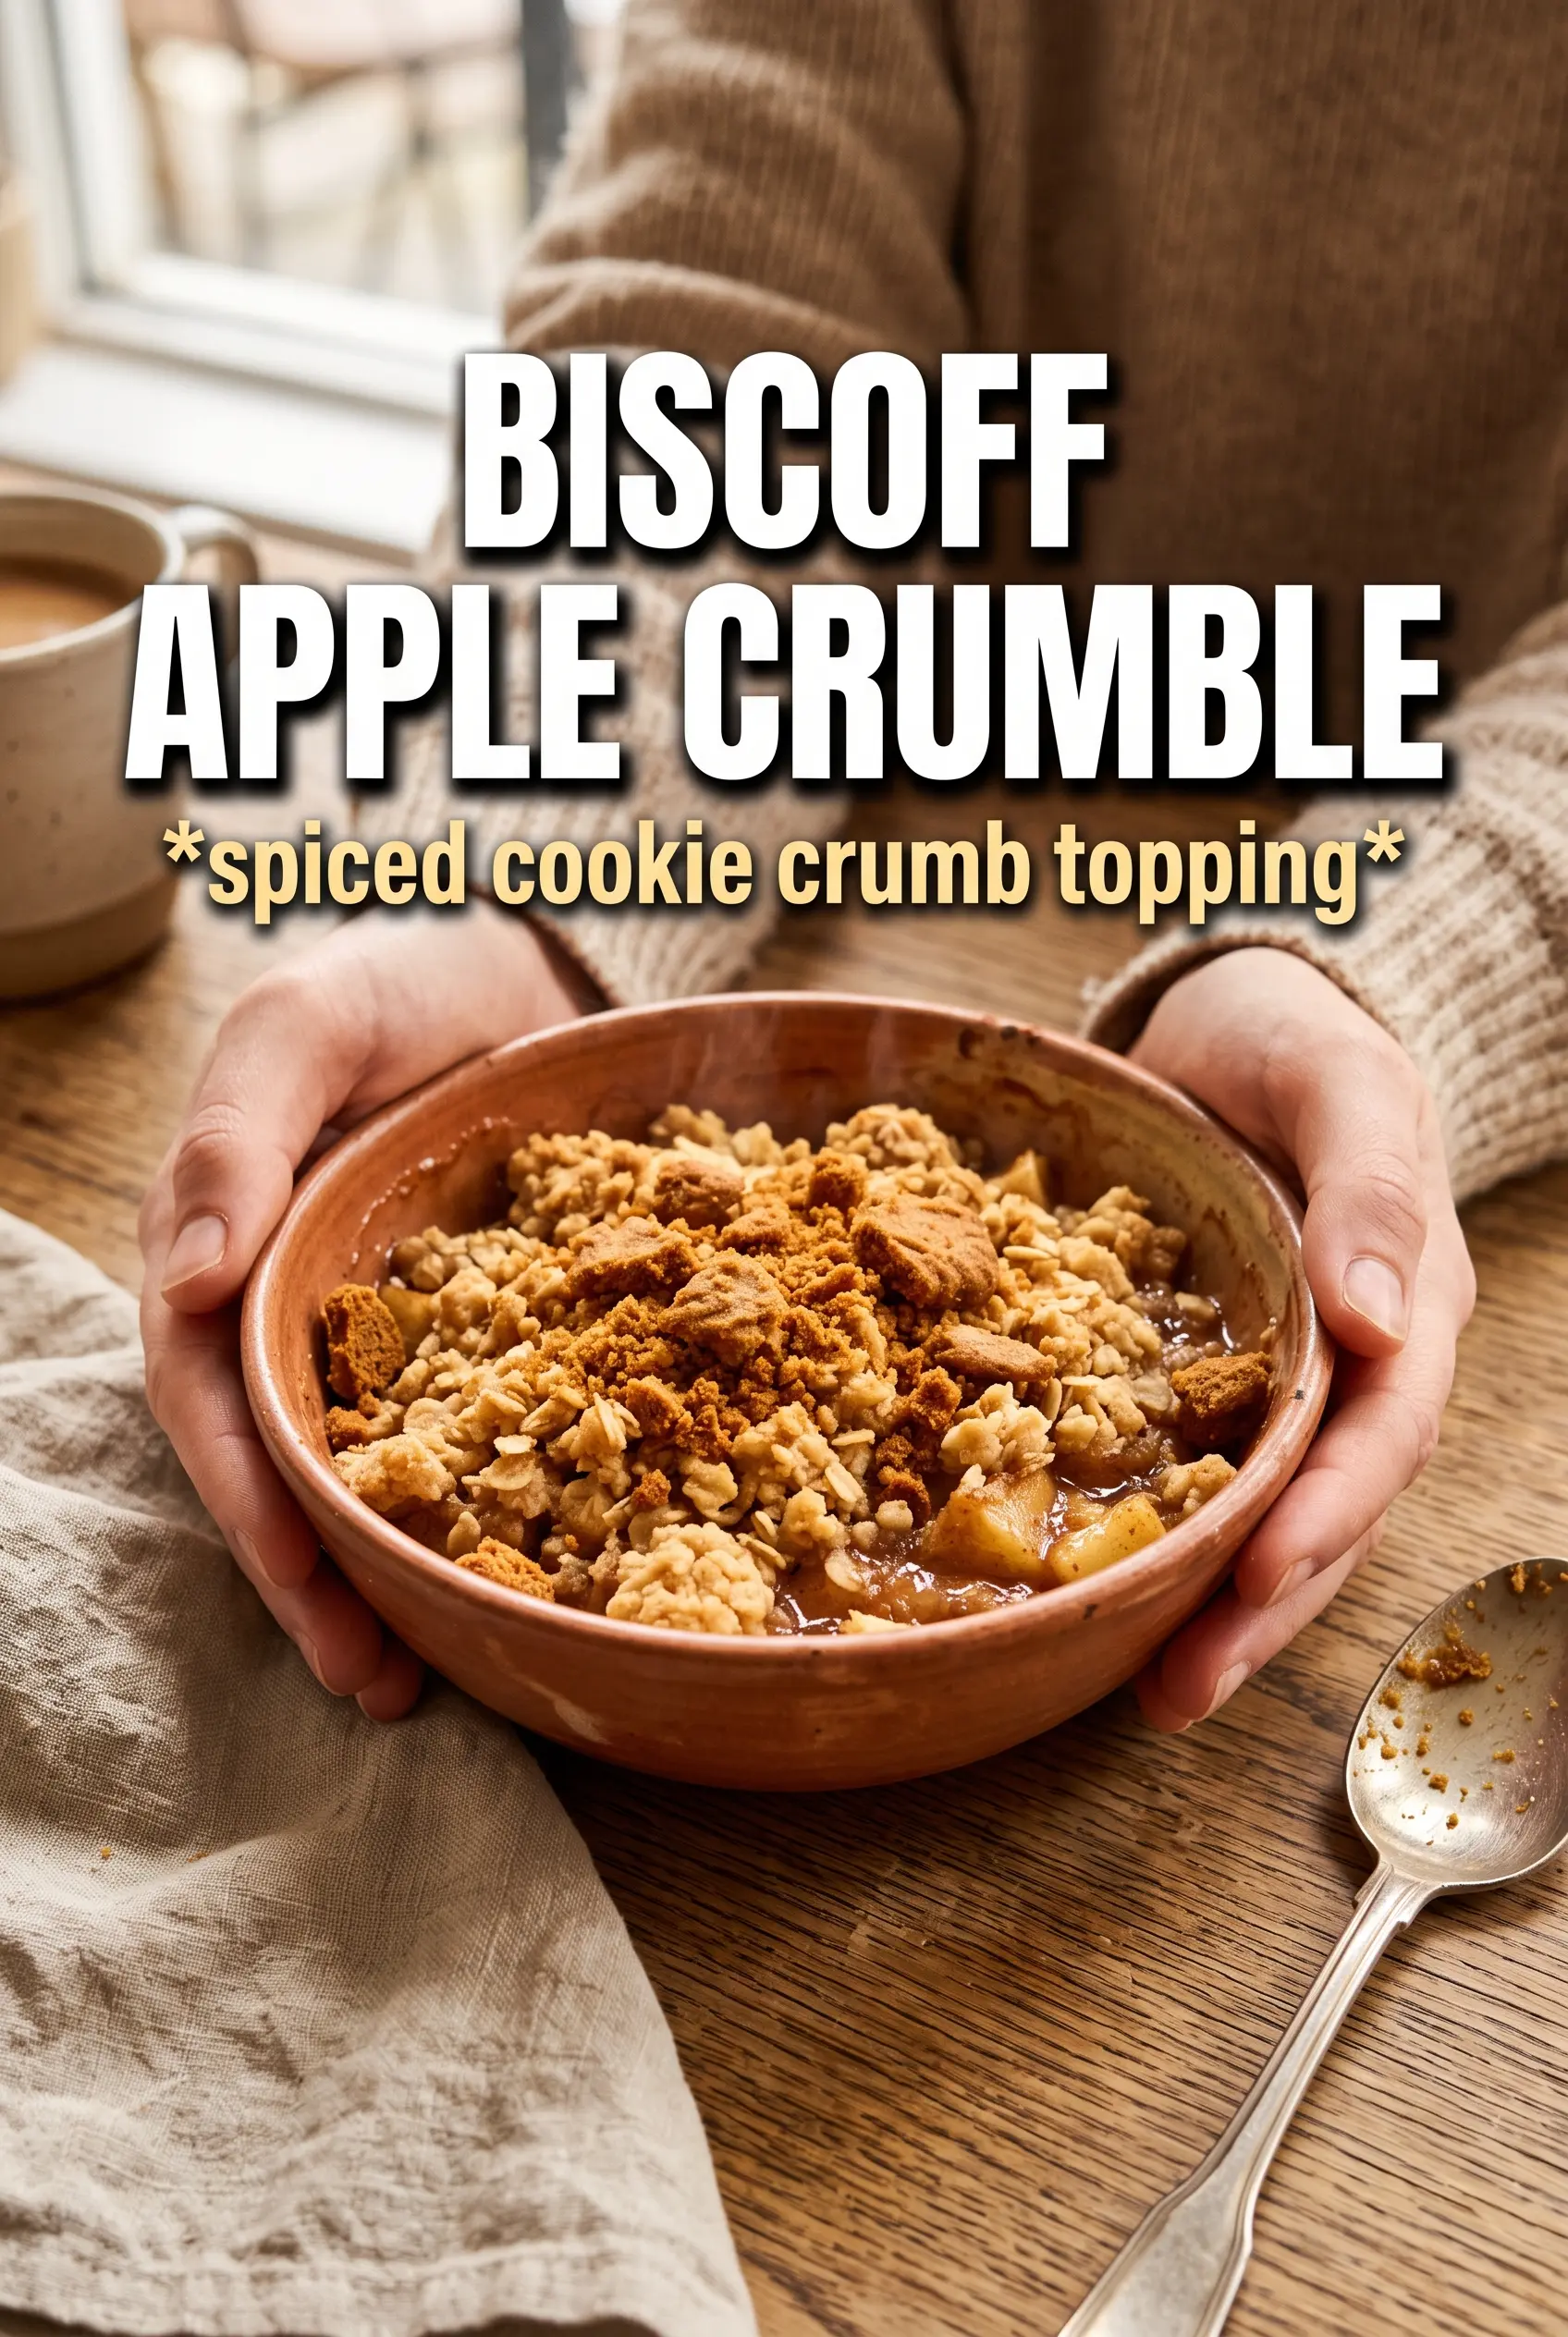
Biscoff Apple Crumble
Ingredients
Equipment
Method
- Preheat the oven to 375°F and grease a 9x13 baking dish so the crumble releases easily.
- Toss the sliced apples with granulated sugar, cinnamon, nutmeg, cornstarch, and lemon juice until the slices look evenly coated and glossy.
- Stir in the Biscoff cookie butter until combined and thickly slicked across the apple pieces.
- Spread the apple filling in the prepared dish in an even layer so it bakes uniformly.
- Combine the crushed Biscoff cookies, flour, rolled oats, brown sugar, and cinnamon, then cut in the cold cubed butter until the mixture looks clumpy.
- Drizzle the melted Biscoff spread over the crumble and toss briefly so streaks of Biscoff distribute through the topping.
- Scatter the crumble generously over the apples, covering them fully for a thick, golden top.
- Bake at 375°F for 35-40 minutes, until the topping is golden and the filling bubbles at the edges.
- Serve warm with vanilla ice cream alongside for a cold, creamy contrast.