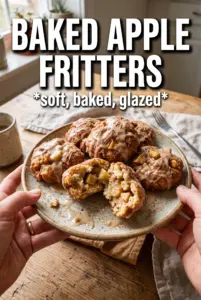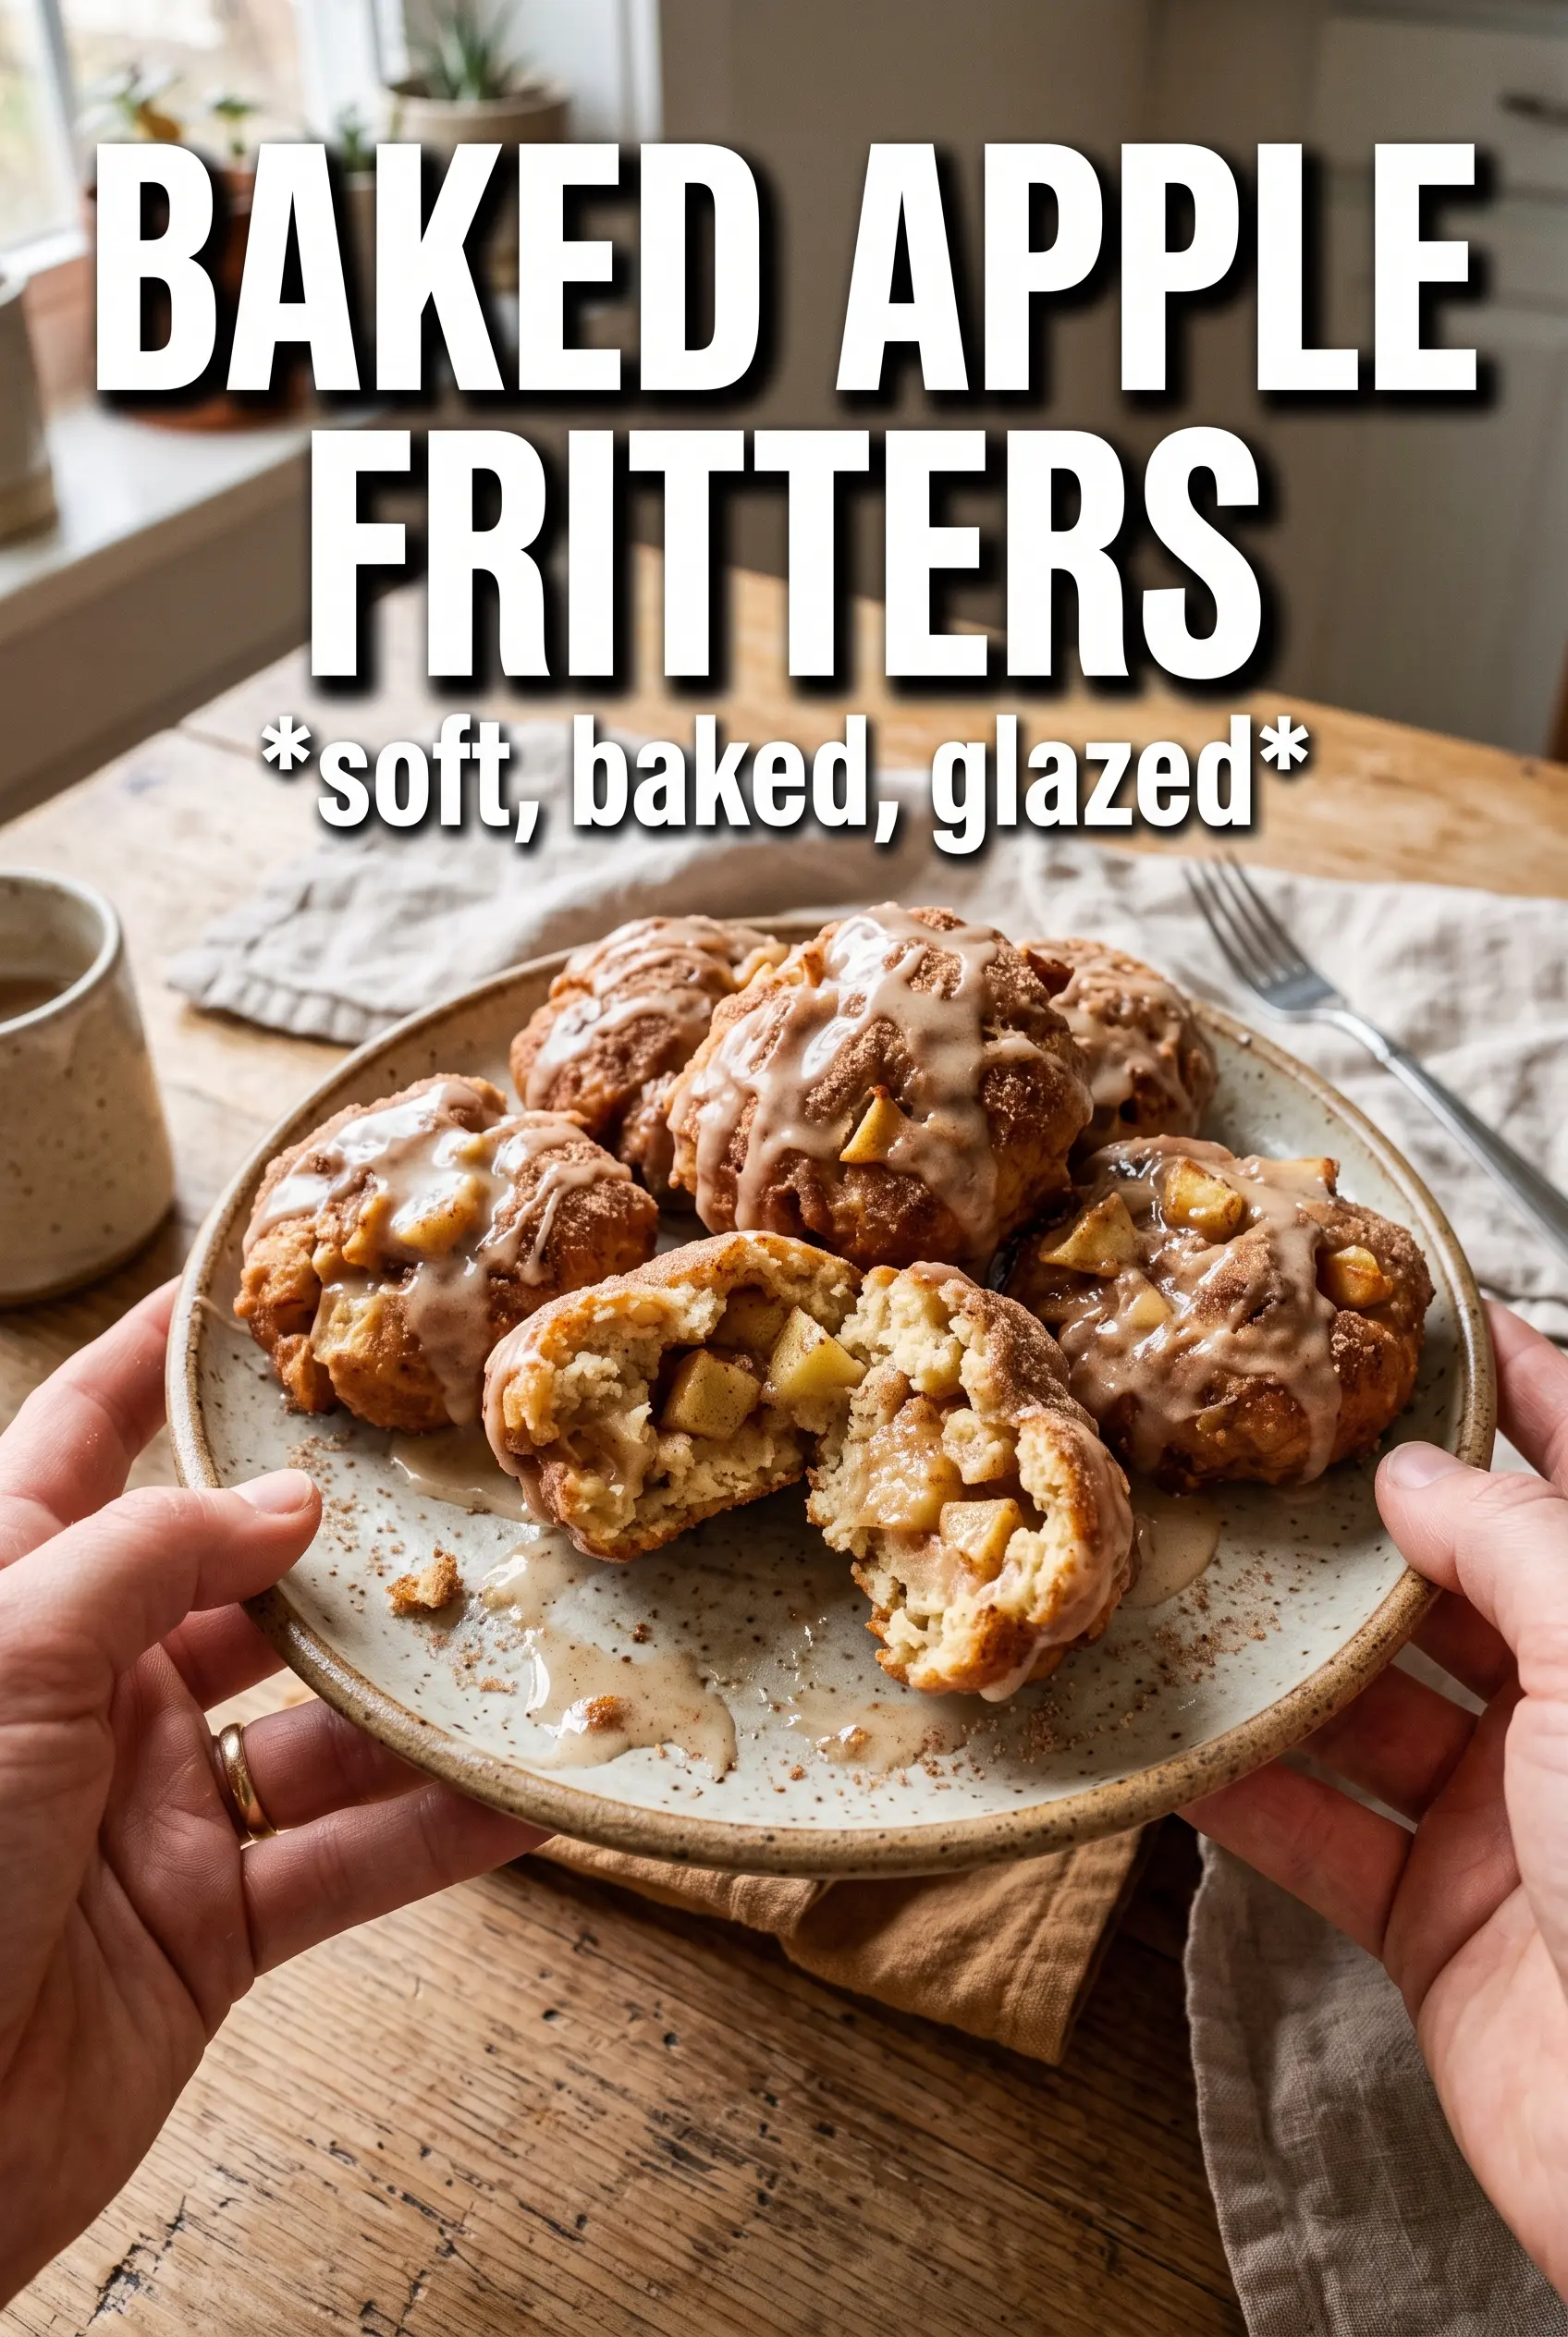
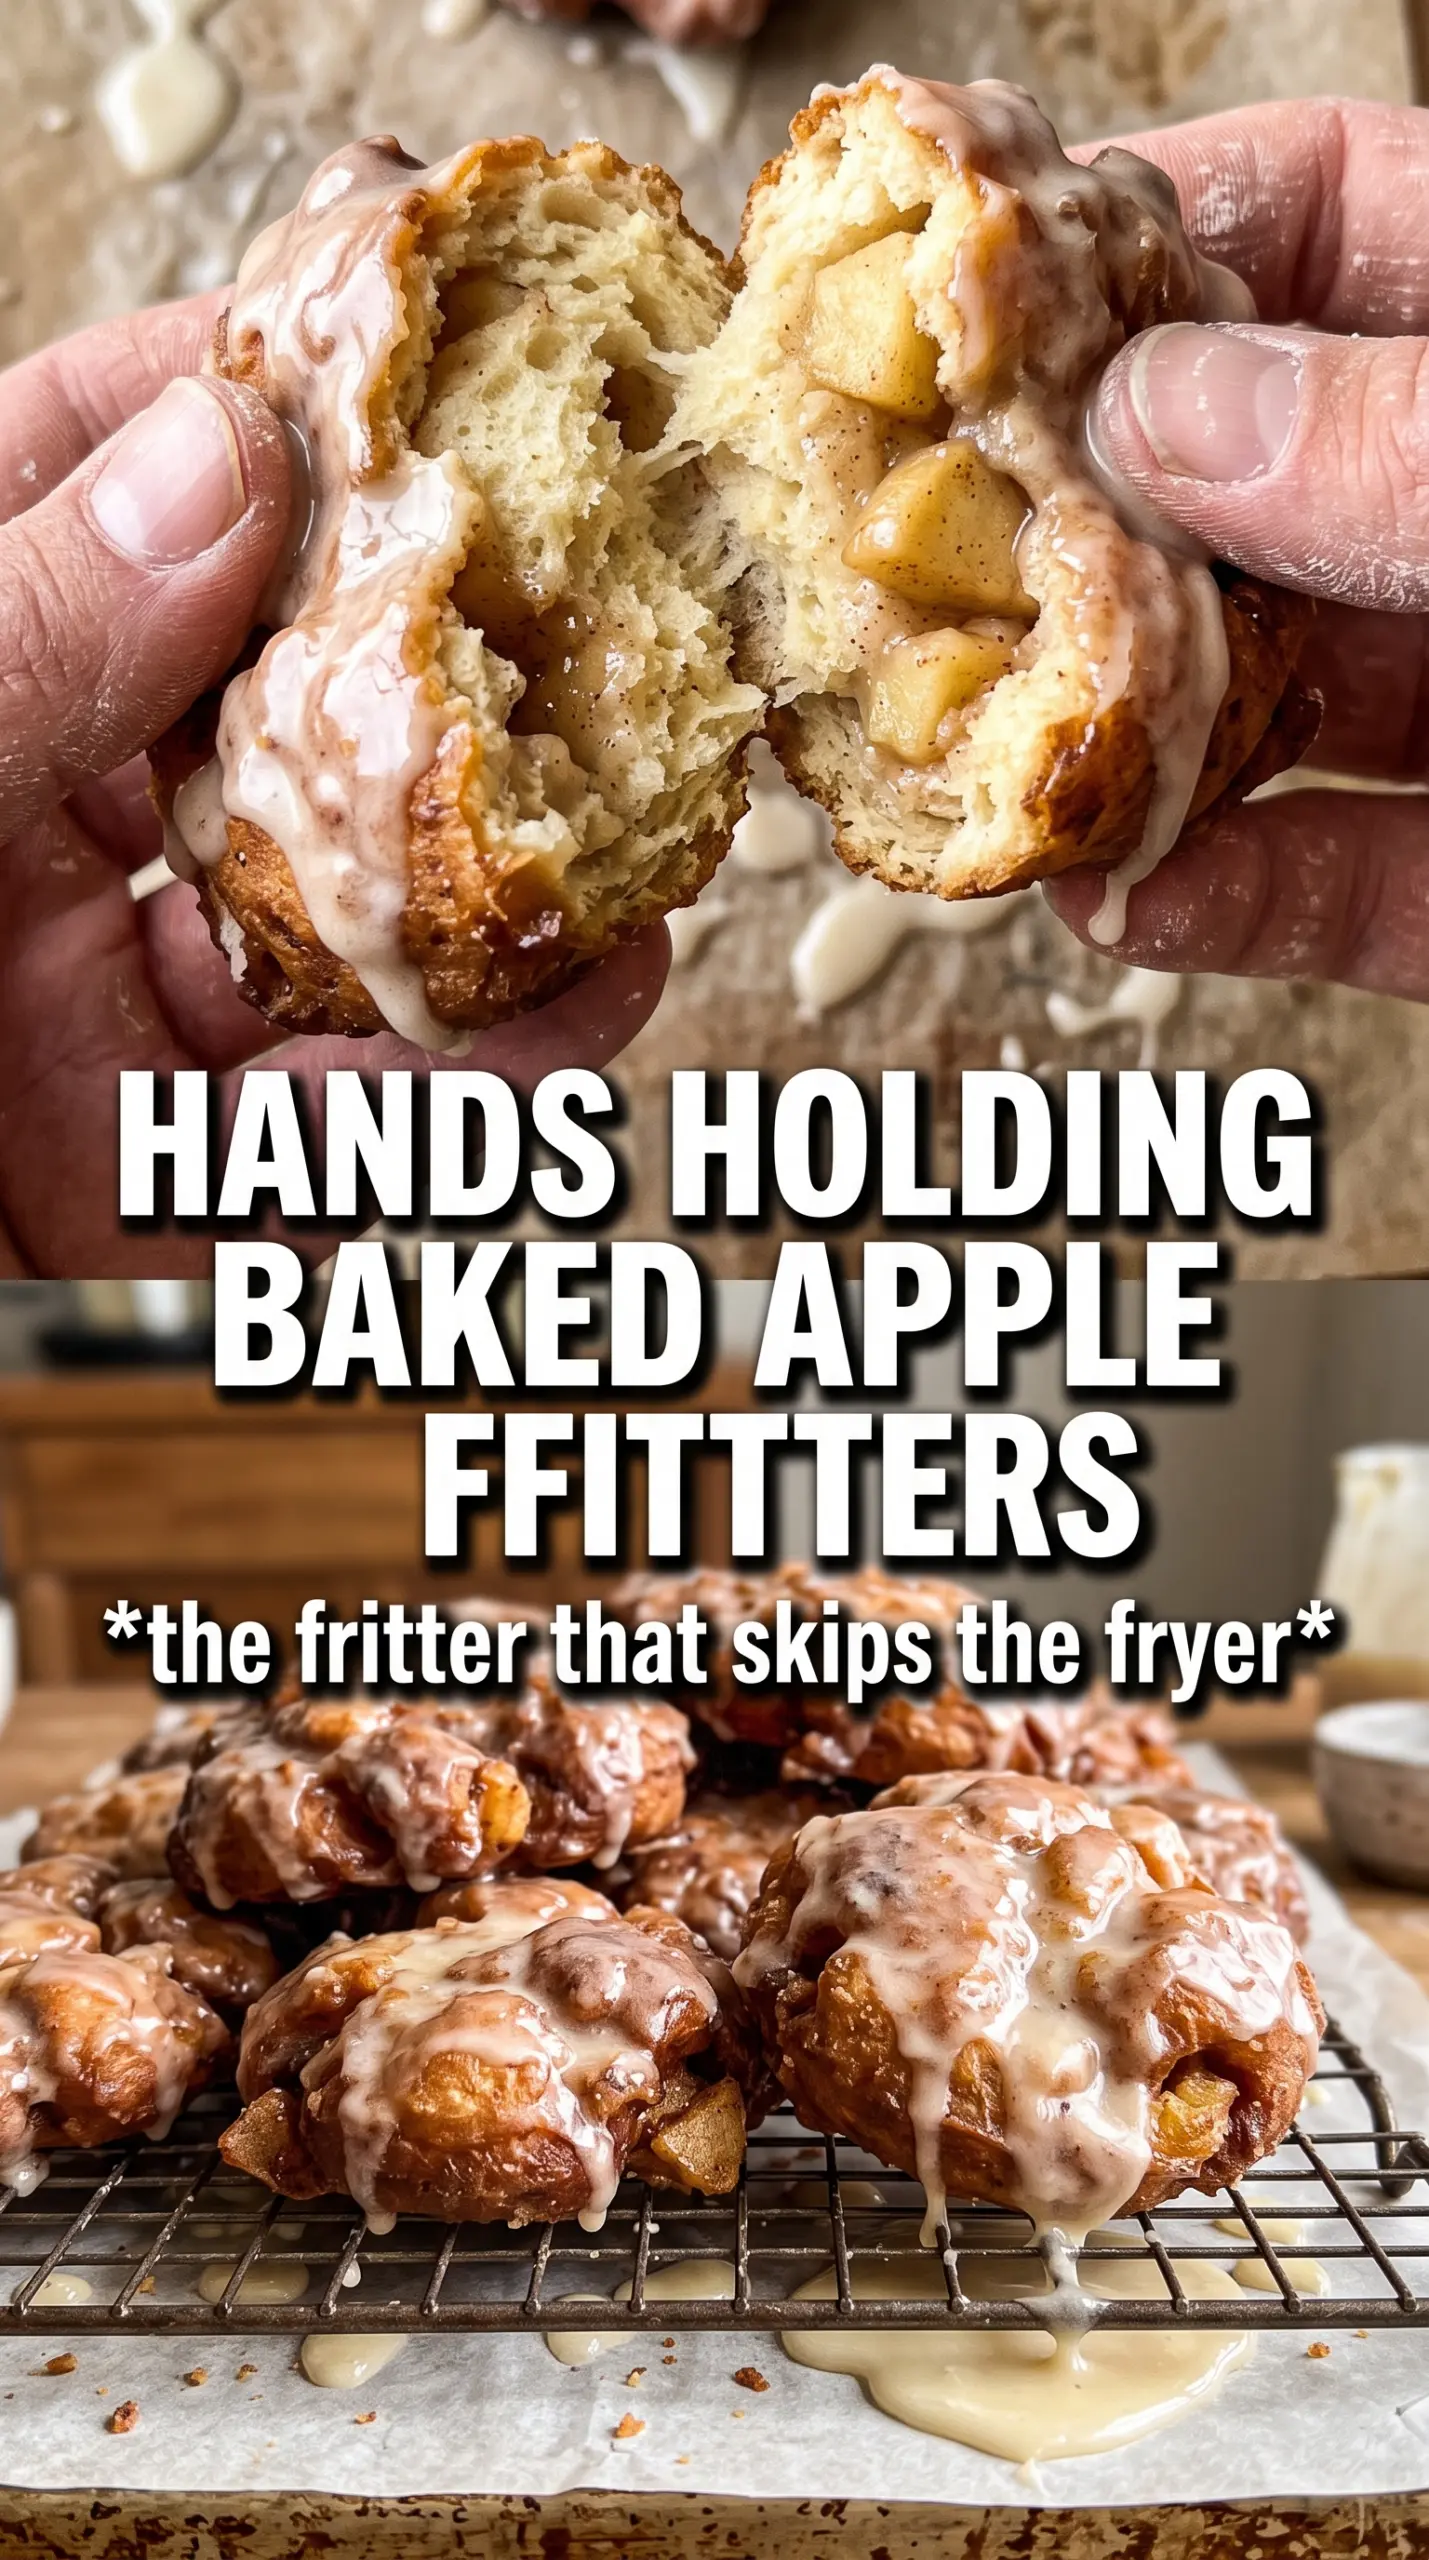
Warm, bakery-style baked apple fritters come out with crisped edges, tender centers, and little pockets of cinnamon-spiced apple in every bite. The glaze drapes over the top instead of soaking them into a greasy mess, which is exactly what makes this version worth keeping around for breakfast or a quick sweet treat.
The trick is keeping the batter thick enough to hold its shape while still folding in the apples at the very end so they stay evenly distributed. A generous spray of cooking spray on the baking sheet and on top of the fritters helps them brown in the oven, and the flip halfway through gives you that fuller fritter look without needing a fryer.
Below you’ll find the small details that matter most, from the best apple size for clean bites to the glaze texture that lands right between drizzle and icing.
The fritters baked up with crisp edges and a soft middle, and the diced apples stayed tender without turning mushy. I liked that the glaze set just enough so they weren’t sticky, even after sitting for a bit.
Save these baked apple fritters for the mornings when you want a bakery-style treat with crisp edges and a cinnamon glaze.
The Part That Keeps These From Turning Heavy
The biggest problem with baked fritters is overmixing. Once the flour is hydrated, the batter starts tightening up fast, and if you keep stirring, you end up with a dense, bready fritter instead of something light with a tender crumb. Mix until the dry streaks disappear, then stop. The batter should look a little rough.
Grated apples can turn watery and disappear into the batter. Finely diced apples hold their shape better and give you distinct bites of fruit after baking. They also settle less than big chunks, so each fritter bakes evenly and keeps that classic fritter look.
- Baking powder — This does the lift work that frying would normally give you. Old baking powder will leave these flat, so use fresh if yours has been sitting in the cupboard for a while.
- Whole milk — The fat helps the batter bake up richer and softer than low-fat milk. In a pinch, 2% works, but the texture won’t be quite as plush.
- Apples — A firm apple holds up best here. Granny Smith gives you tart contrast, while Honeycrisp or Fuji bring more sweetness and a softer bite. Soft apples turn mushy in the oven.
- Cooking spray — This is what helps the fritters brown on the pan and flip cleanly. A light mist isn’t enough; the baking sheet and the tops both need a generous coating.
What Each Ingredient Is Actually Doing in This Recipe
- Primary ingredient (the star) — Quality matters most. Choose the best you can find.
- Cooking medium (oil, butter, or broth) — This carries flavors and prevents dryness.
- Seasonings (salt, pepper, spices, herbs) — Layer flavors so nothing overpowers. Build depth gradually.
- Aromatics (garlic, onion, herbs) — Cook with fat to bloom flavors. Become the foundation.
- Supporting ingredients — Complement the main ingredient without overpowering it.
- Sauce or liquid (if applicable) — Brings flavors together. Balance richness with acid.
- Acid (lemon, vinegar, wine, or other) — Brightens and prevents flat-tasting results.
- Final finish (garnish, glaze, or sauce) — Prevents one-dimensional taste and adds visual appeal.
Building the Batter, Browning the Tops, Glazing While Warm
Mix the dry base first
Whisk the flour, sugar, baking powder, cinnamon, nutmeg, and salt until the spices are evenly distributed. That keeps the cinnamon from clumping in one spot and gives every fritter the same warm flavor. If you see streaks of baking powder in the batter later, the dry ingredients weren’t mixed well enough at the start.
Combine the wet ingredients gently
Whisk the eggs, milk, melted butter, and vanilla until smooth, then pour them into the dry mixture. Stir just until the batter comes together. If the butter is scorching hot, it can scramble the eggs or leave greasy streaks, so let it cool for a minute before adding it in.
Fold in the apples and portion the batter
Use a spatula to fold in the diced apples so they stay intact and don’t break down into the batter. Drop about 1/4 cup of batter for each fritter onto the prepared baking sheet, leaving space around each one because they spread slightly as they bake. A cookie scoop works well here and keeps the fritters close to the same size, which helps them finish at the same time.
Bake, flip, and finish with glaze
Bake until the bottoms are set and the tops look puffed and matte, then flip each fritter once so both sides pick up color. If you skip the flip, the bottoms brown but the tops stay pale and cakey. Whisk the glaze until smooth and spoon it over the fritters while they’re still warm so it clings in thick ribbons instead of sliding off.
How to Adapt These Fritters When You Need a Small Change
Make Them Dairy-Free
Swap the milk for an unsweetened non-dairy milk like almond, oat, or soy, and use a neutral dairy-free butter substitute for the melted butter. The fritters still bake up tender, though oat milk gives the most neutral flavor and the closest texture.
Use Gluten-Free Flour
A good 1:1 gluten-free baking blend works here, especially one that already includes xanthan gum. The fritters will be a touch more delicate, so let them bake until the edges are fully set before flipping them.
Change the Apple Flavor
A tart apple gives the cleanest contrast against the glaze, but a sweeter apple makes these taste more like a dessert fritter. If your apples are especially sweet, keep the glaze as written; if they’re tart, the balance lands nicely without changing a thing.
Storage and Reheating
- Refrigerator: Store leftovers in an airtight container for up to 3 days. The glaze softens the tops, but the flavor stays good.
- Freezer: Freeze the unglazed fritters on a tray, then move them to a freezer bag for up to 2 months. Add the glaze after reheating so it stays fresh and glossy.
- Reheating: Warm them in a 325F oven or air fryer until heated through. The mistake to avoid is microwaving too long, which makes the crumb rubbery and the glaze slide off.