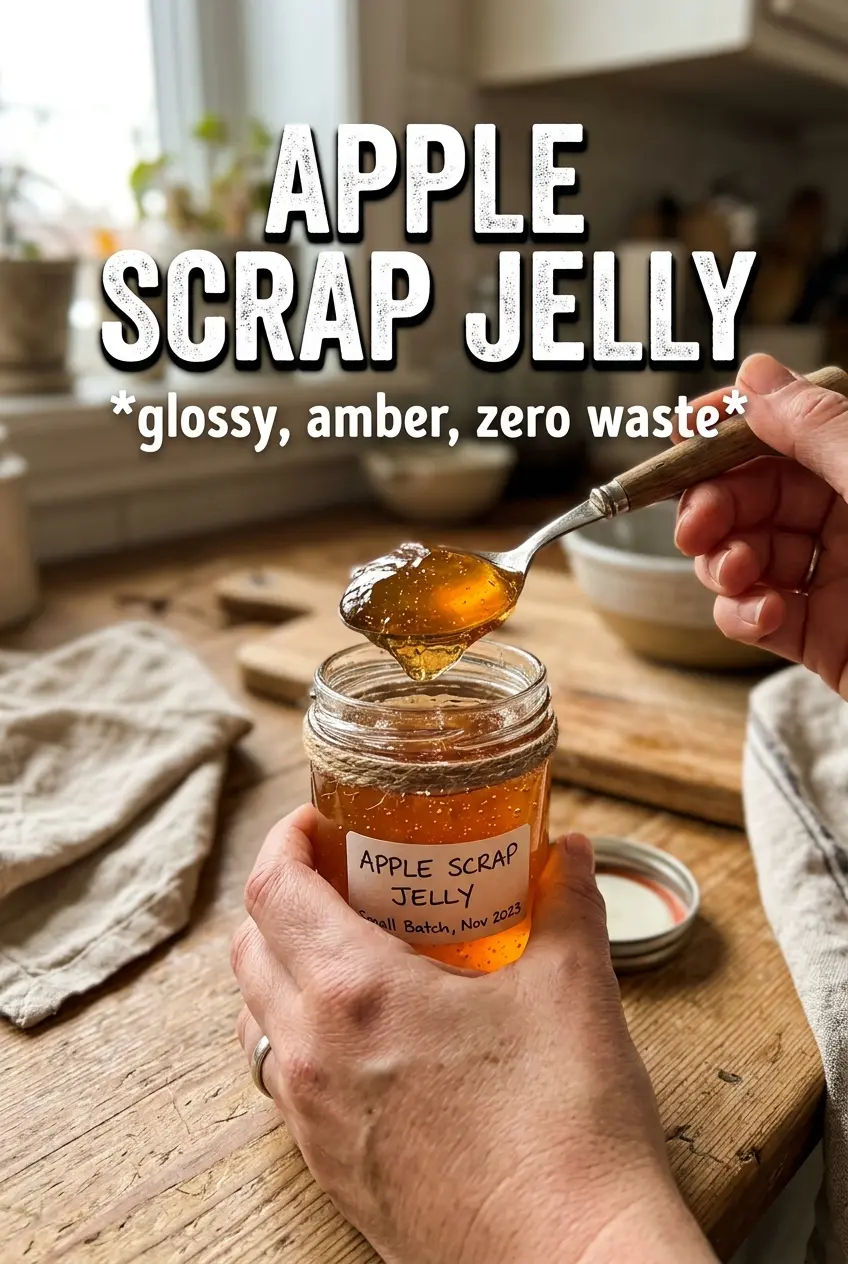
Apple scrap jelly turns the parts most people throw away into a clear, golden spread with a bright apple flavor and a clean set. It tastes like the orchard distilled into a spoonful: sweet, lightly tart, and just firm enough to hold its shape on toast without running off the plate. The best part is the texture. When it’s done right, the jelly is glossy and jewel-like, not cloudy or grainy.
The trick is in the juice. You simmer the peels and cores until they give up their flavor, then strain them without pressing so the finished jelly stays clear instead of murky. After that, the sugar is measured to the juice you actually have, which keeps the set balanced instead of guessing from the start. A little lemon juice sharpens the flavor and helps the jelly tighten up, and cinnamon stays optional because the apple taste is good enough on its own.
Below, I’ve laid out the part that matters most: how to get a clean strain, how to know when the jelly has reached its set point, and what to do if you want to adjust the flavor without losing that bright apple color.
The jelly set up beautifully and stayed crystal clear because I didn’t press the fruit through the strainer. It was the first time my apple scraps made something this pretty.
Like this Apple Scrap Jelly? Save it to Pinterest for the next time you’ve got a basket of peels and cores and want them turned into a clear, glossy jelly.
The Clear Jelly Secret: Don’t Press the Strainer
Apple scrap jelly gets cloudy fast if you rush the juice stage. Once the peels and cores have simmered down to mush, the temptation is to squeeze every last drop through the sieve or cheesecloth. Don’t. Pressing forces fine pulp through the mesh, and that’s what turns a pretty amber jelly into something hazy and dull.
The other mistake is guessing at the sugar before you know how much juice you have. Apple scraps vary a lot from batch to batch, so the finished yield changes too. Measuring after straining keeps the jelly balanced and helps it set the way it should. If your jelly has ever stayed loose, it was often because the ratio was off or the boil never got hot enough to reach gel stage.
- Apple peels and cores — These carry the flavor, color, and natural pectin that make the jelly work. Use fresh scraps without seeds if you can; seeds add nothing useful here and should be avoided.
- Lemon juice — This brightens the apple flavor and helps the jelly set. Bottled lemon juice works fine here because consistency matters more than freshness.
- Sugar — Do not swap in less sugar and expect the same set. The sugar is part of the structure, not just the sweetness.
- Cinnamon — Optional, but only add it if you want a warm note in the background. Too much cinnamon can cover up the clean apple flavor that makes this jelly special.
What Each Ingredient Is Actually Doing in This Recipe
- Primary ingredient (the star) — Quality matters most. Choose the best you can find.
- Cooking medium (oil, butter, or broth) — This carries flavors and prevents dryness.
- Seasonings (salt, pepper, spices, herbs) — Layer flavors so nothing overpowers. Build depth gradually.
- Aromatics (garlic, onion, herbs) — Cook with fat to bloom flavors. Become the foundation.
- Supporting ingredients — Complement the main ingredient without overpowering it.
- Sauce or liquid (if applicable) — Brings flavors together. Balance richness with acid.
- Acid (lemon, vinegar, wine, or other) — Brightens and prevents flat-tasting results.
- Final finish (garnish, glaze, or sauce) — Prevents one-dimensional taste and adds visual appeal.
From Scraps to Set Jelly
Cooking the Apple Scraps Down
Put the peels and cores in a large pot and cover them with water. Bring it to a boil, then drop it to a steady simmer until the scraps are very soft and the water smells strongly of apples, usually 30 to 40 minutes. If the pot boils hard the whole time, the liquid can reduce too quickly and you’ll end up with less juice than expected. You want the fruit fully broken down, not just warmed through.
Straining Without Clouding the Juice
Pour the cooked mixture through a fine mesh sieve or cheesecloth and let it drip on its own for about 30 minutes. Gravity is your friend here. If you press or twist the solids, the juice turns murky and the final jelly loses that clear, polished look. If the dripping seems slow, leave it alone; patience gives you the cleanest result.
Boiling to the Gel Point
Measure the strained juice, then add 3/4 cup sugar for every 1 cup juice, along with the lemon juice. Bring it to a full boil and keep it there, stirring often so the sugar doesn’t stick to the bottom. The jelly is ready at 220F or when a cold plate test wrinkles after a minute in the fridge. If it still runs like syrup, it needs more time; if you pull it too early, it will stay loose even after cooling.
Jarring While It’s Still Glossy
Stir in the cinnamon only if you’re using it, then ladle the jelly into sterilized jars. Work while it’s hot and fluid, because jelly thickens fast as it cools. If you’re refrigerating it, let the jars cool undisturbed before moving them. If you’re processing for shelf storage, follow your usual safe canning method for jelly and headspace. The finished jelly should look clear, glossy, and just thick enough to mound slightly on a spoon.
How to Tweak Apple Scrap Jelly Without Losing the Set
Apple Scrap Jelly With Cinnamon
Add the cinnamon at the end, after the jelly reaches its set point. That keeps the spice warm and clean instead of cooked flat, and it prevents the pot from tasting heavier than the jelly should.
Lower-Sugar Version
You can reduce the sugar a little, but the jelly will be softer and may need a longer boil to reach gel stage. Go too far and you lose both the set and the shine, because sugar is doing more than sweetening here.
No-Cardamom, No-Cinnamon, Straight Apple Jelly
Leave out the spice and the jelly tastes cleaner, brighter, and more like fresh apples. This is the best version if you want it for toast, glaze, or pairing with cheese.
Refrigerator Storage
- Refrigerator: Keep sealed jars chilled for up to 3 weeks. The jelly may firm up a bit more after the first day.
- Freezer: It freezes well in freezer-safe containers with headspace. Leave room at the top so the jars don’t crack as the jelly expands.
- Reheating: If it becomes too stiff to spread, warm the jar briefly in a bowl of hot water. Don’t microwave the whole jar unless it’s microwave-safe and the lid is off.