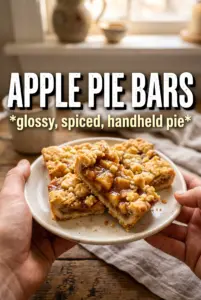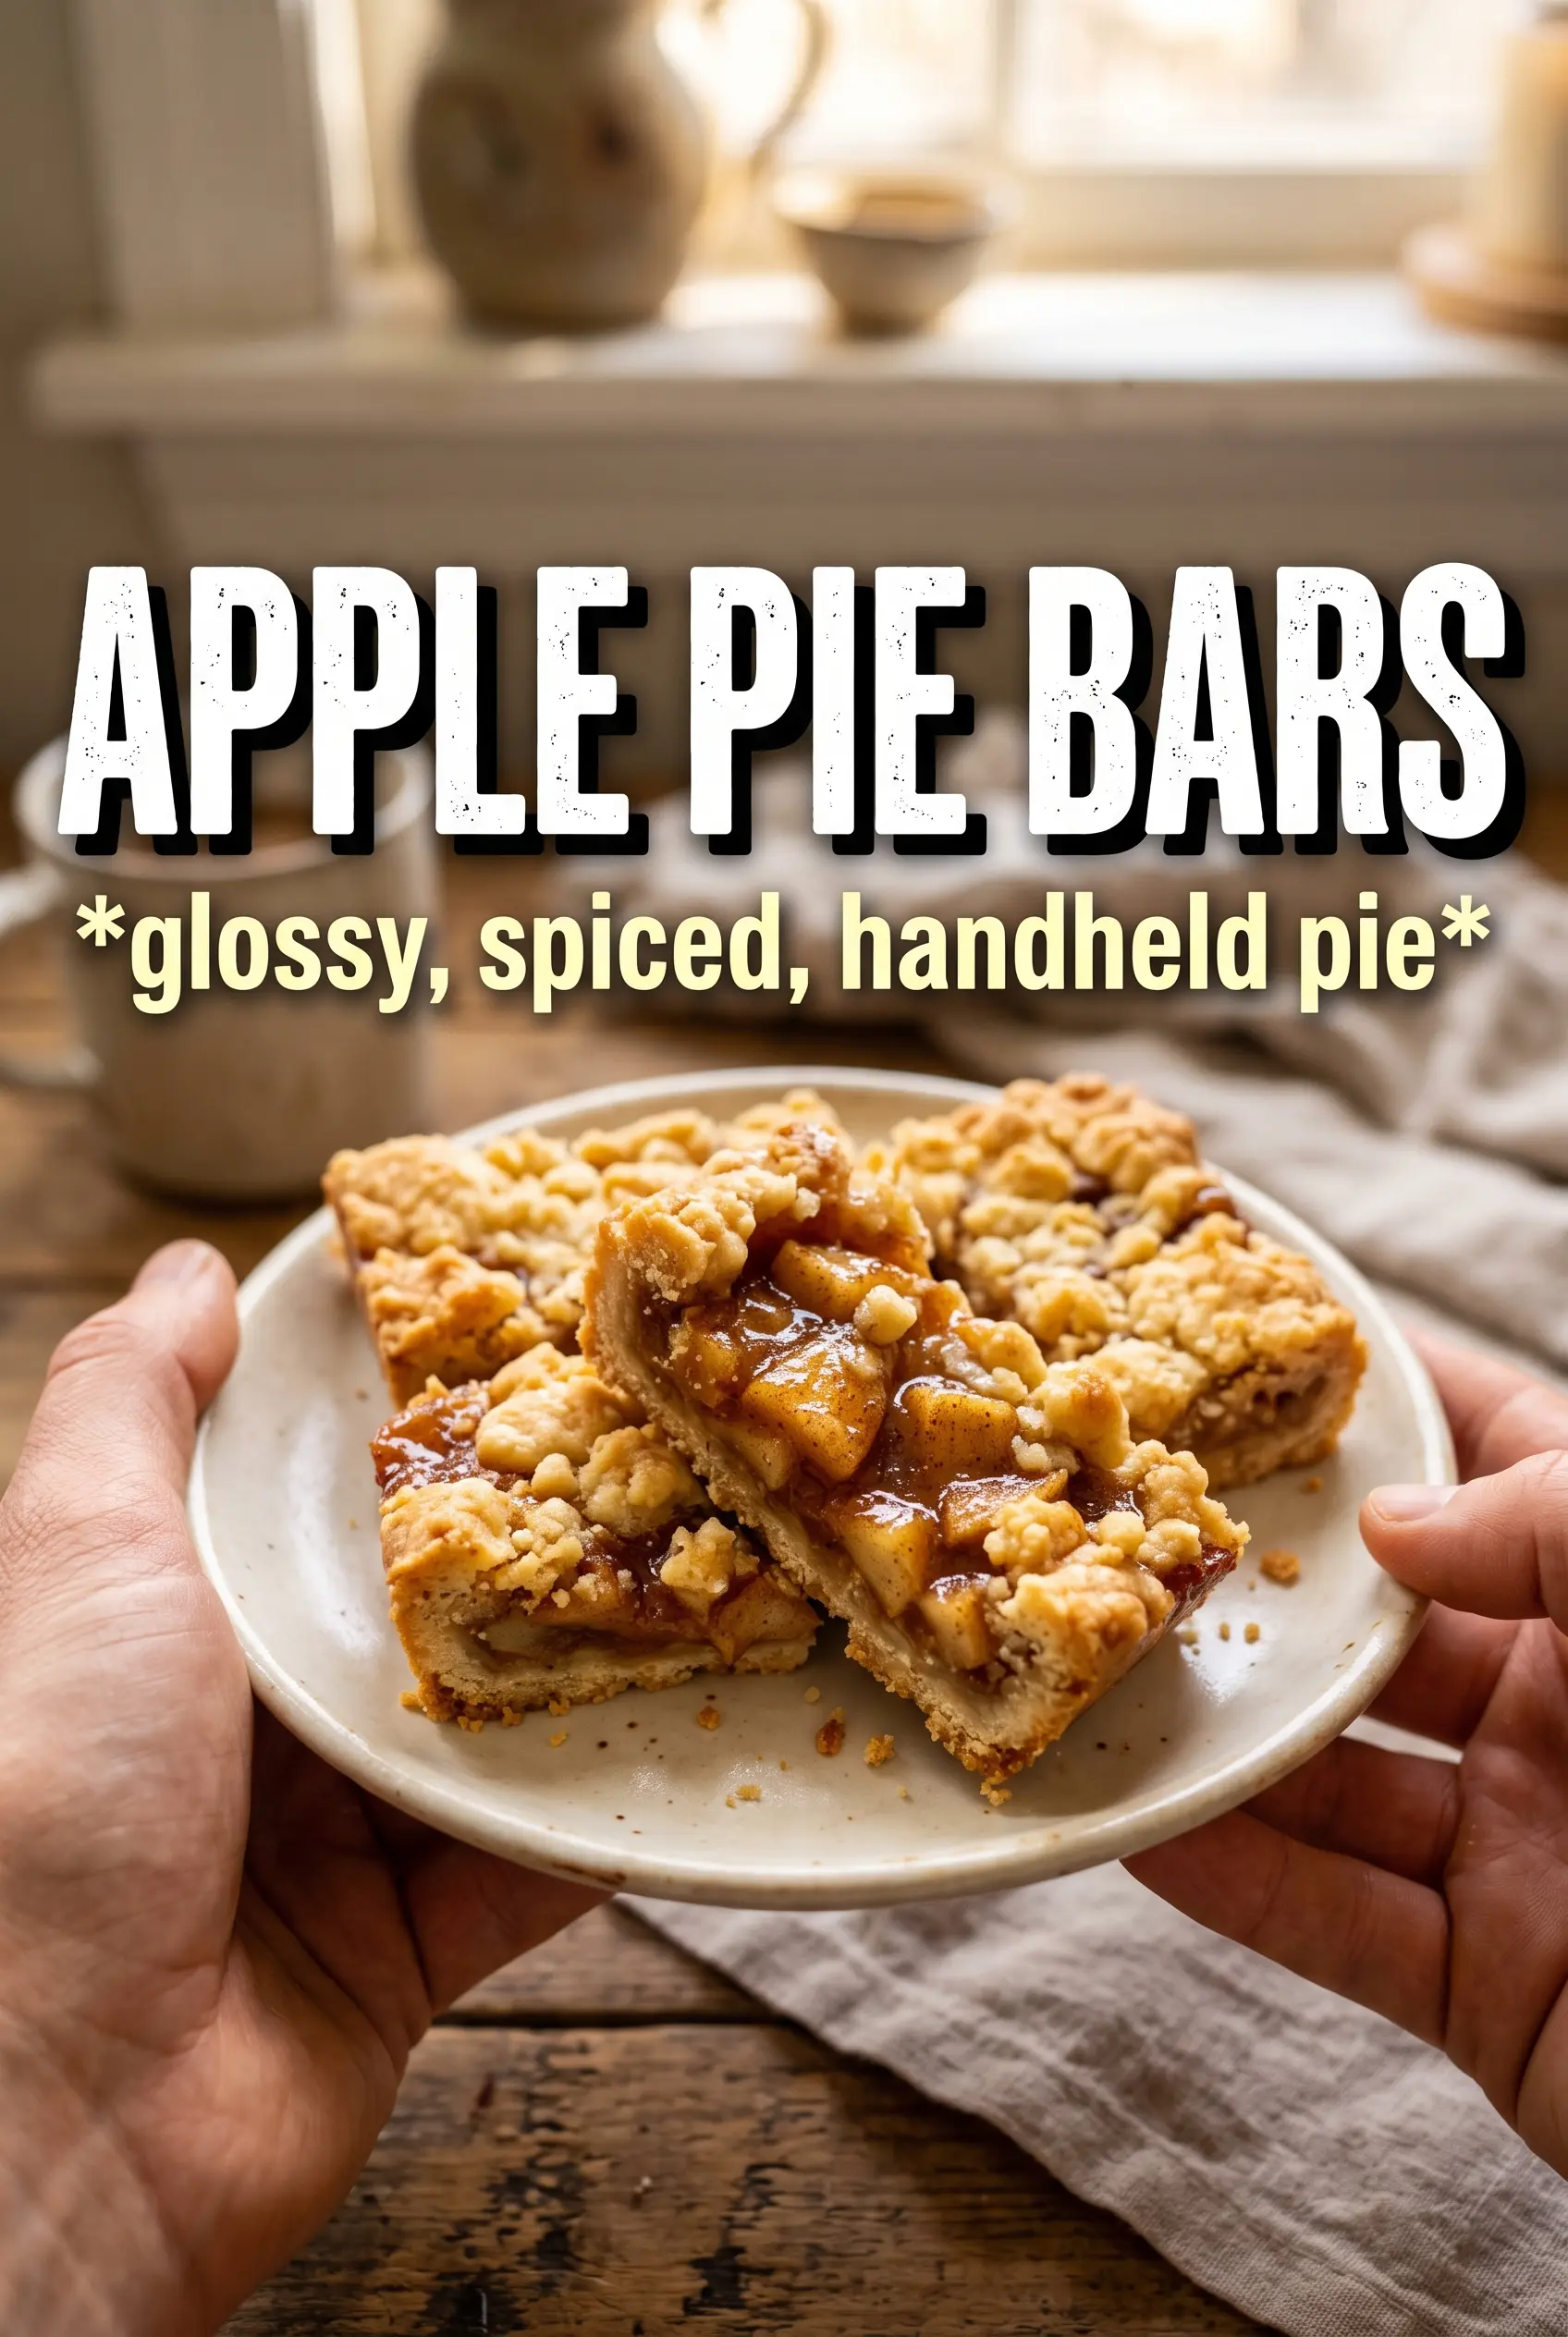
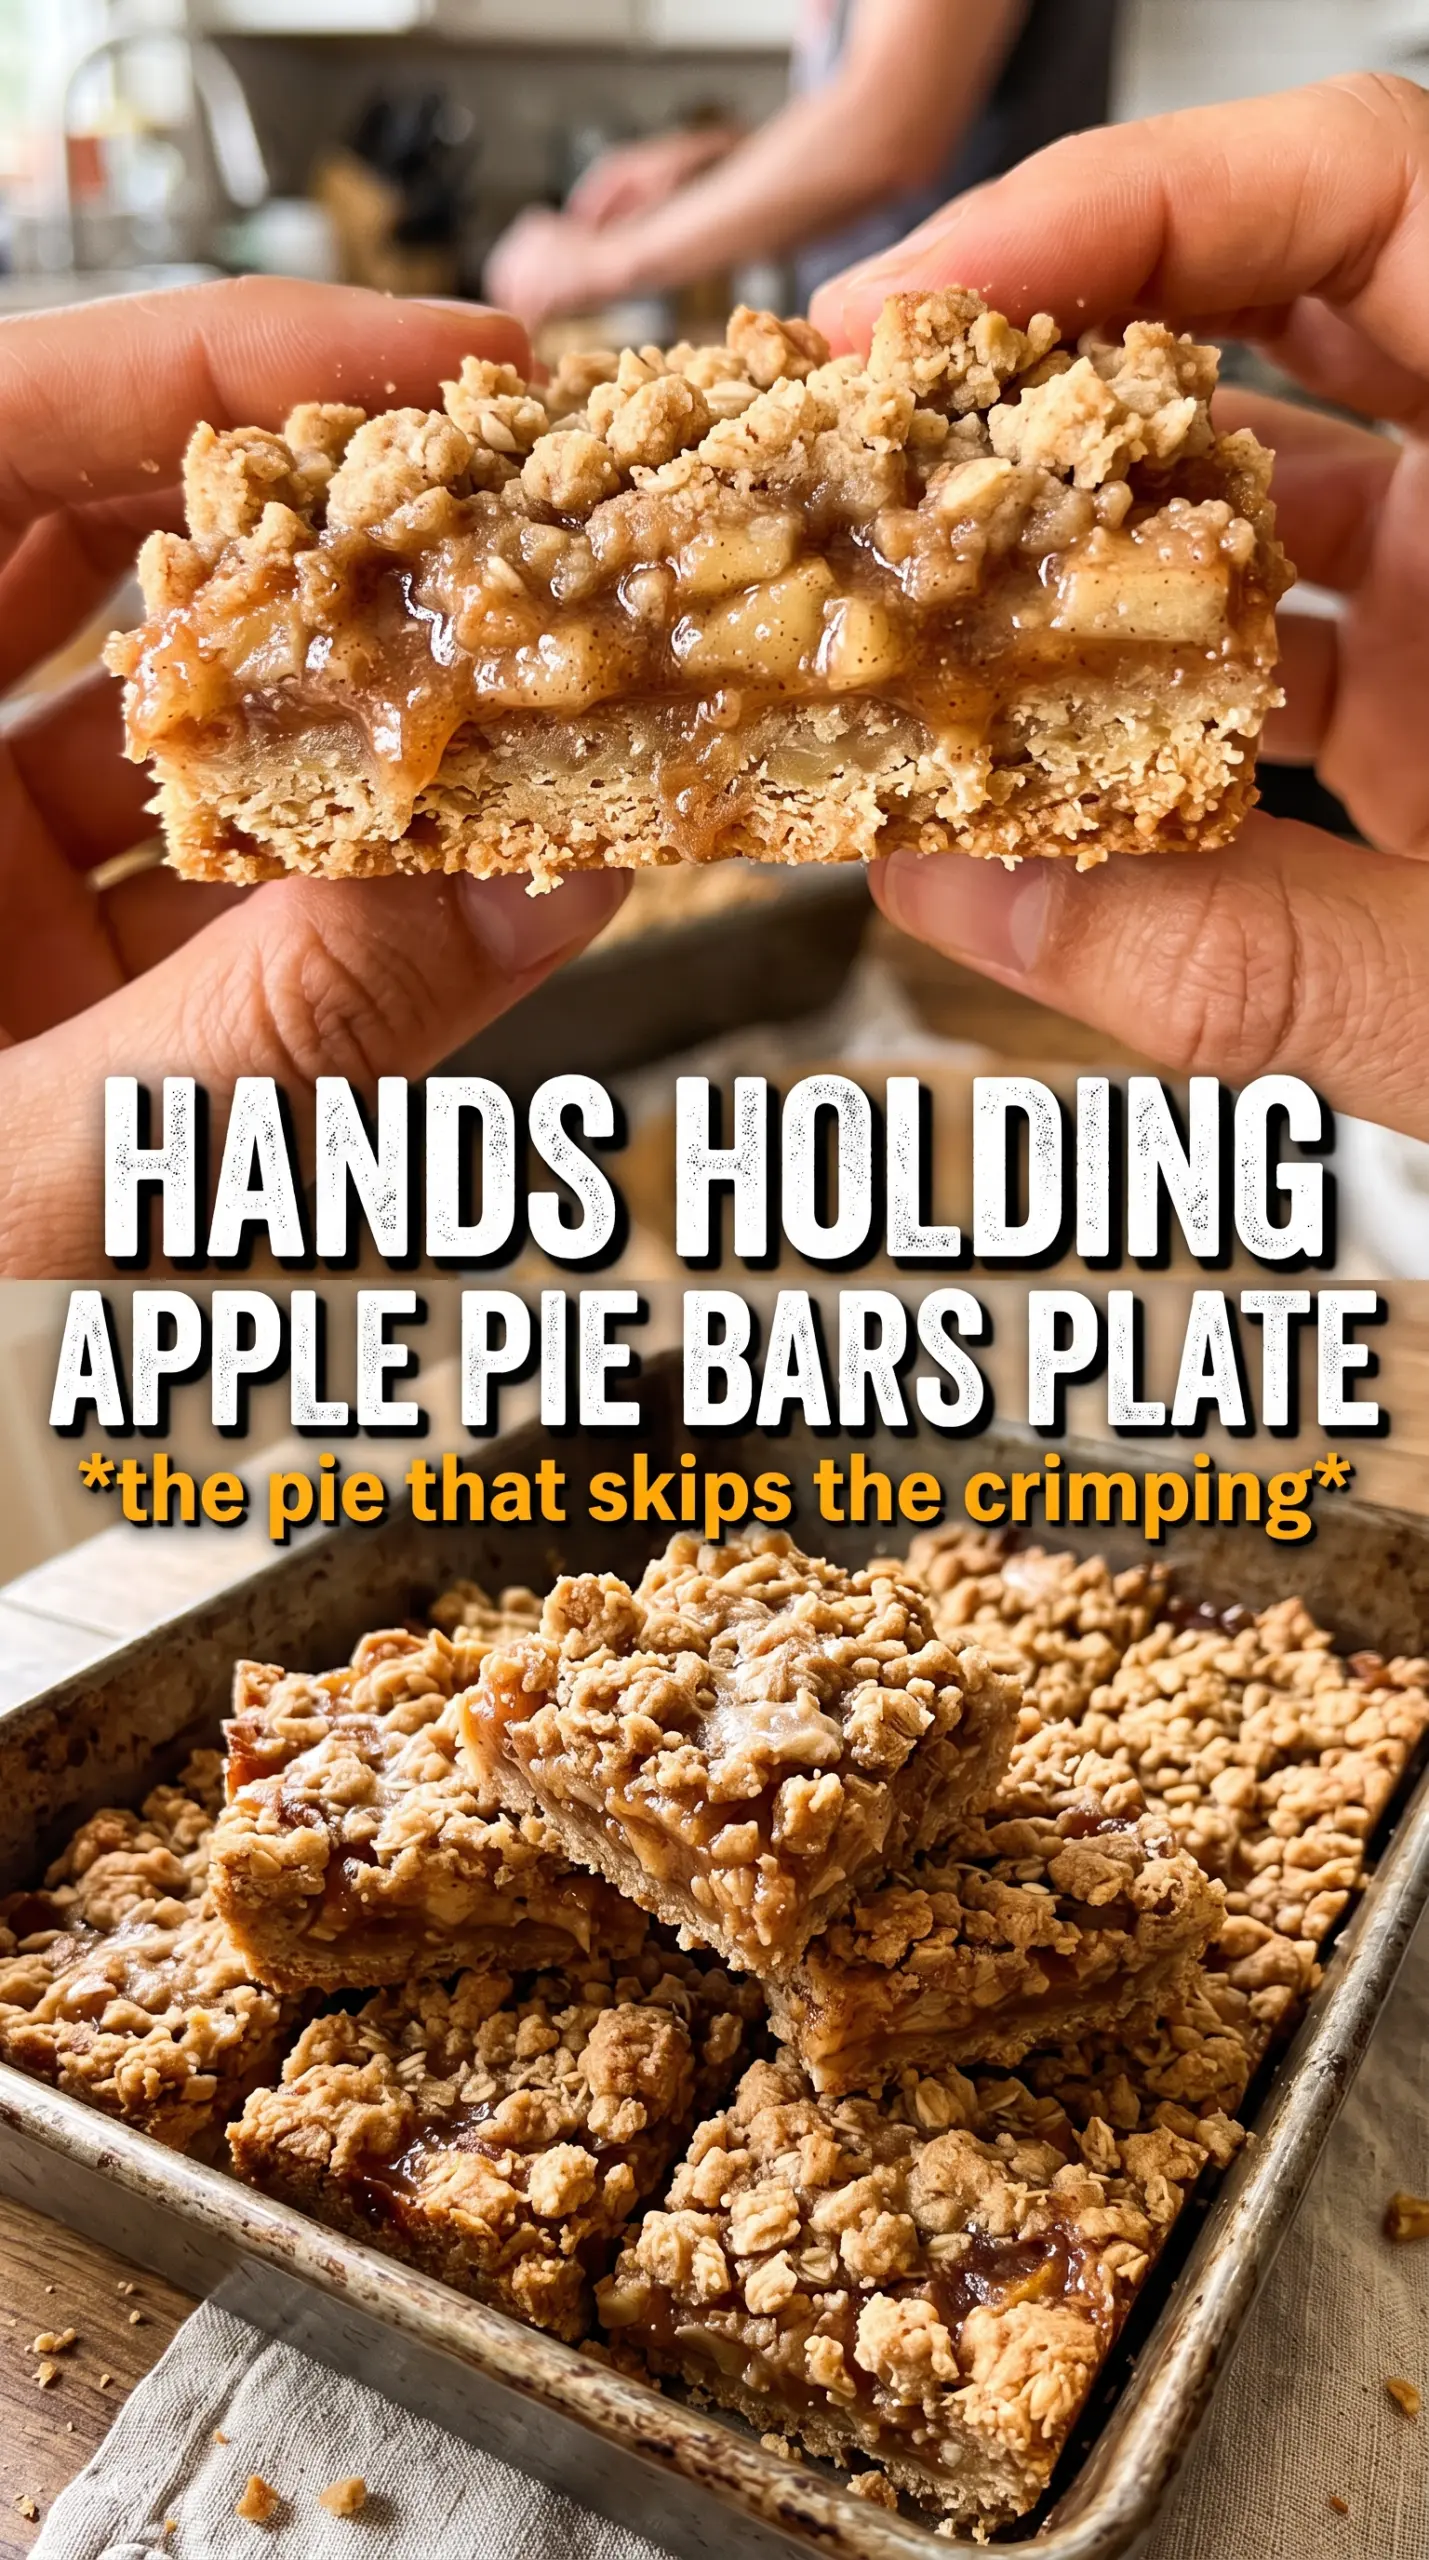
Apple pie bars deliver all the cozy, spiced apple flavor people want from a pie, but with a sturdier base and clean squares that slice without drama. The shortbread crust bakes up buttery and crisp, the apple layer softens into a jammy filling, and the crumb topping gives you those crunchy edges that make the first bite hard to beat.
What makes this version work is the balance between structure and moisture. The bottom crust gets a head start in the oven, which keeps it from turning soggy under the apples, and the cornstarch pulls the filling together as the fruit releases juice. Cold butter matters here because it leaves little pockets in the dough that bake into a tender, crumbly topping instead of a dense, dry layer.
Below, I’ll walk through the one step that keeps the bars neat enough to lift from the pan, plus the apple choices and swaps that make a real difference when you bake these at home.
The crust stayed crisp under the apples and the glaze set up instead of running everywhere. I cut them into clean squares once they cooled, and the cinnamon came through without overpowering the fruit.
Save these apple pie bars for the days when you want flaky shortbread, soft cinnamon apples, and a neat pan of squares with a vanilla glaze.
The One Move That Keeps Apple Pie Bars From Getting Soggy
The biggest mistake with apple bars is piling raw fruit straight onto an unbaked crust and hoping the oven sorts it out. Apples give off a lot of juice as they soften, and if the base hasn’t had time to set first, that liquid sinks right in and turns the bottom layer dense instead of crisp. A quick pre-bake changes the structure of the bars before the filling ever goes in.
The second thing that matters is the cornstarch mixed through the apples before they hit the pan. It doesn’t make the filling gummy when used in this amount; it just catches the juices so the bars slice cleanly after cooling. If you cut them while they’re still warm, the filling will spread and the layers will look loose, even if they taste fine.
What Each Part of the Dough Is Doing Here
- All-purpose flour — This gives the bars their shortbread structure. A pastry flour can make the crust a touch more delicate, but all-purpose holds up better under the apple layer and keeps the bars sturdy enough to lift from the pan.
- Cold unsalted butter — This is what creates the crumbly, tender texture in both the base and the topping. If the butter softens too much before mixing, the dough turns paste-like and bakes up compact instead of sandy and crisp.
- Powdered sugar and granulated sugar — The powdered sugar softens the crust and helps it melt in the mouth, while the granulated sugar gives the apples a little more sparkle and structure. I wouldn’t swap both for one type of sugar unless you want a noticeably different texture.
- Apples — Use a firm baking apple or a mix of sweet-tart apples. Softer varieties collapse too quickly and can turn the filling mushy before the crust is done.
- Cornstarch — This is the ingredient that keeps the filling from sliding apart. Tapioca starch can work in a pinch, but cornstarch gives the cleanest slice for this style of bar.
- Lemon juice — It brightens the filling and keeps the apples from tasting flat. Fresh juice is best, though bottled will work if that’s what you have.
Building the Crust, Filling, and Crumble in the Right Order
Mixing the Shortbread Base
Start by cutting the cold butter into the flour and sugar mixture until it looks like coarse crumbs with some pea-size bits still visible. That uneven texture is what gives you a shortbread layer that bakes up tender instead of tough. Add the egg yolk last and stop as soon as the dough comes together; if you keep mixing, the crust turns dense and loses its crumbly bite.
Pressing and Pre-Baking the Bottom
Press about two-thirds of the dough into the pan in an even layer, paying attention to the corners so they don’t end up thin. Bake it until the surface looks matte and just barely set, not deeply browned. That head start is what keeps the filling from soaking into the crust and makes the bars cut cleanly later.
Preparing the Apples
Toss the sliced apples with the sugars, cinnamon, nutmeg, cornstarch, and lemon juice until every slice looks lightly coated. Thin slices matter here because they soften at the same rate and tuck neatly into the bars. If the pieces are too thick, the filling can stay uneven and the bars will be hard to cut without dragging the top apart.
Finishing the Bake
Scatter the remaining dough over the apples in loose crumbles so some of the fruit still peeks through. Bake until the top is golden and the juices are bubbling around the edges. That bubbling tells you the cornstarch has activated; if you pull the pan too early, the filling can stay loose after cooling.
Make It With Pears Instead of Apples
Replace up to half the apples with firm pears for a softer, more floral filling. Pears release juice faster than apples, so keep the cornstarch in place and bake until the filling is visibly bubbling at the edges before you stop the oven.
Gluten-Free Bars
Use a 1:1 gluten-free flour blend that includes xanthan gum. The texture will be a little more delicate and less crisp than the original, but the bars still slice well once fully cooled.
Dairy-Free Version
Swap in a firm plant-based butter block rather than a soft tub spread. The block-style substitute holds the dough together better and gives you a closer match to the original shortbread texture.
Storage and Reheating
- Refrigerator: Store covered for up to 4 days. The crust stays firm, though the topping softens a little after the first day.
- Freezer: These freeze well. Wrap individual bars tightly and freeze for up to 2 months, then thaw in the refrigerator so the glaze doesn’t sweat off.
- Reheating: Warm bars in a 300F oven for about 8 minutes if you want the crust to perk back up. The microwave softens the base and makes the crumble lose its texture, so I’d avoid it unless you don’t mind a softer bar.