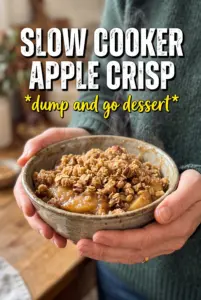
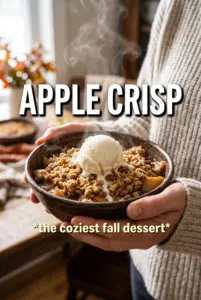
Apple crisp lands in that sweet spot between comfort and restraint: tender baked apples, a thick cinnamon syrup, and a topping that stays craggy instead of turning cakey. The best bites have a little crunch from the oats, a buttery edge where the topping caramelizes, and just enough sauce underneath to soak into the ice cream without turning the whole dish soggy.
The trick is balancing fruit that softens at the same rate. Granny Smith brings tartness and structure, while Honeycrisp gives you sweetness and juiciness, so the filling tastes layered instead of flat. Cornstarch does the quiet work here, turning the apple juices into a glossy sauce as the crisp bakes. If you skip it, the bottom of the dish can turn watery before the apples are fully tender.
Below you’ll find the exact texture cues that tell you when the topping is done, plus a couple of ways to adapt it if your apples are extra sweet or you need to make it ahead.
The topping stayed crisp around the edges and the filling thickened up instead of running all over the plate. I used Honeycrisp and Granny Smith like suggested, and the balance was spot on.
Save this apple crisp for the nights when you want bubbling cinnamon apples and a thick oat crumble straight from the oven.
The Secret to Crisp, Not Soggy, Apple Filling
The filling turns watery when the apples are cut too thin or the thickener can’t catch up with the juice. Here, cornstarch and a hot oven work together: the apples soften, release liquid, and that liquid thickens before the topping has time to go pale. Granny Smith helps because it keeps some shape, which is what gives you that spoonable filling instead of applesauce.
The other piece that matters is the lemon juice. It doesn’t make the crisp taste lemony; it wakes up the fruit and keeps the apples from tasting dull. Toss the apples until the cornstarch disappears into the sugar and spices, then spread them in an even layer so the filling cooks at the same rate from edge to center.
What the Oats, Butter, and Apples Are Each Doing Here
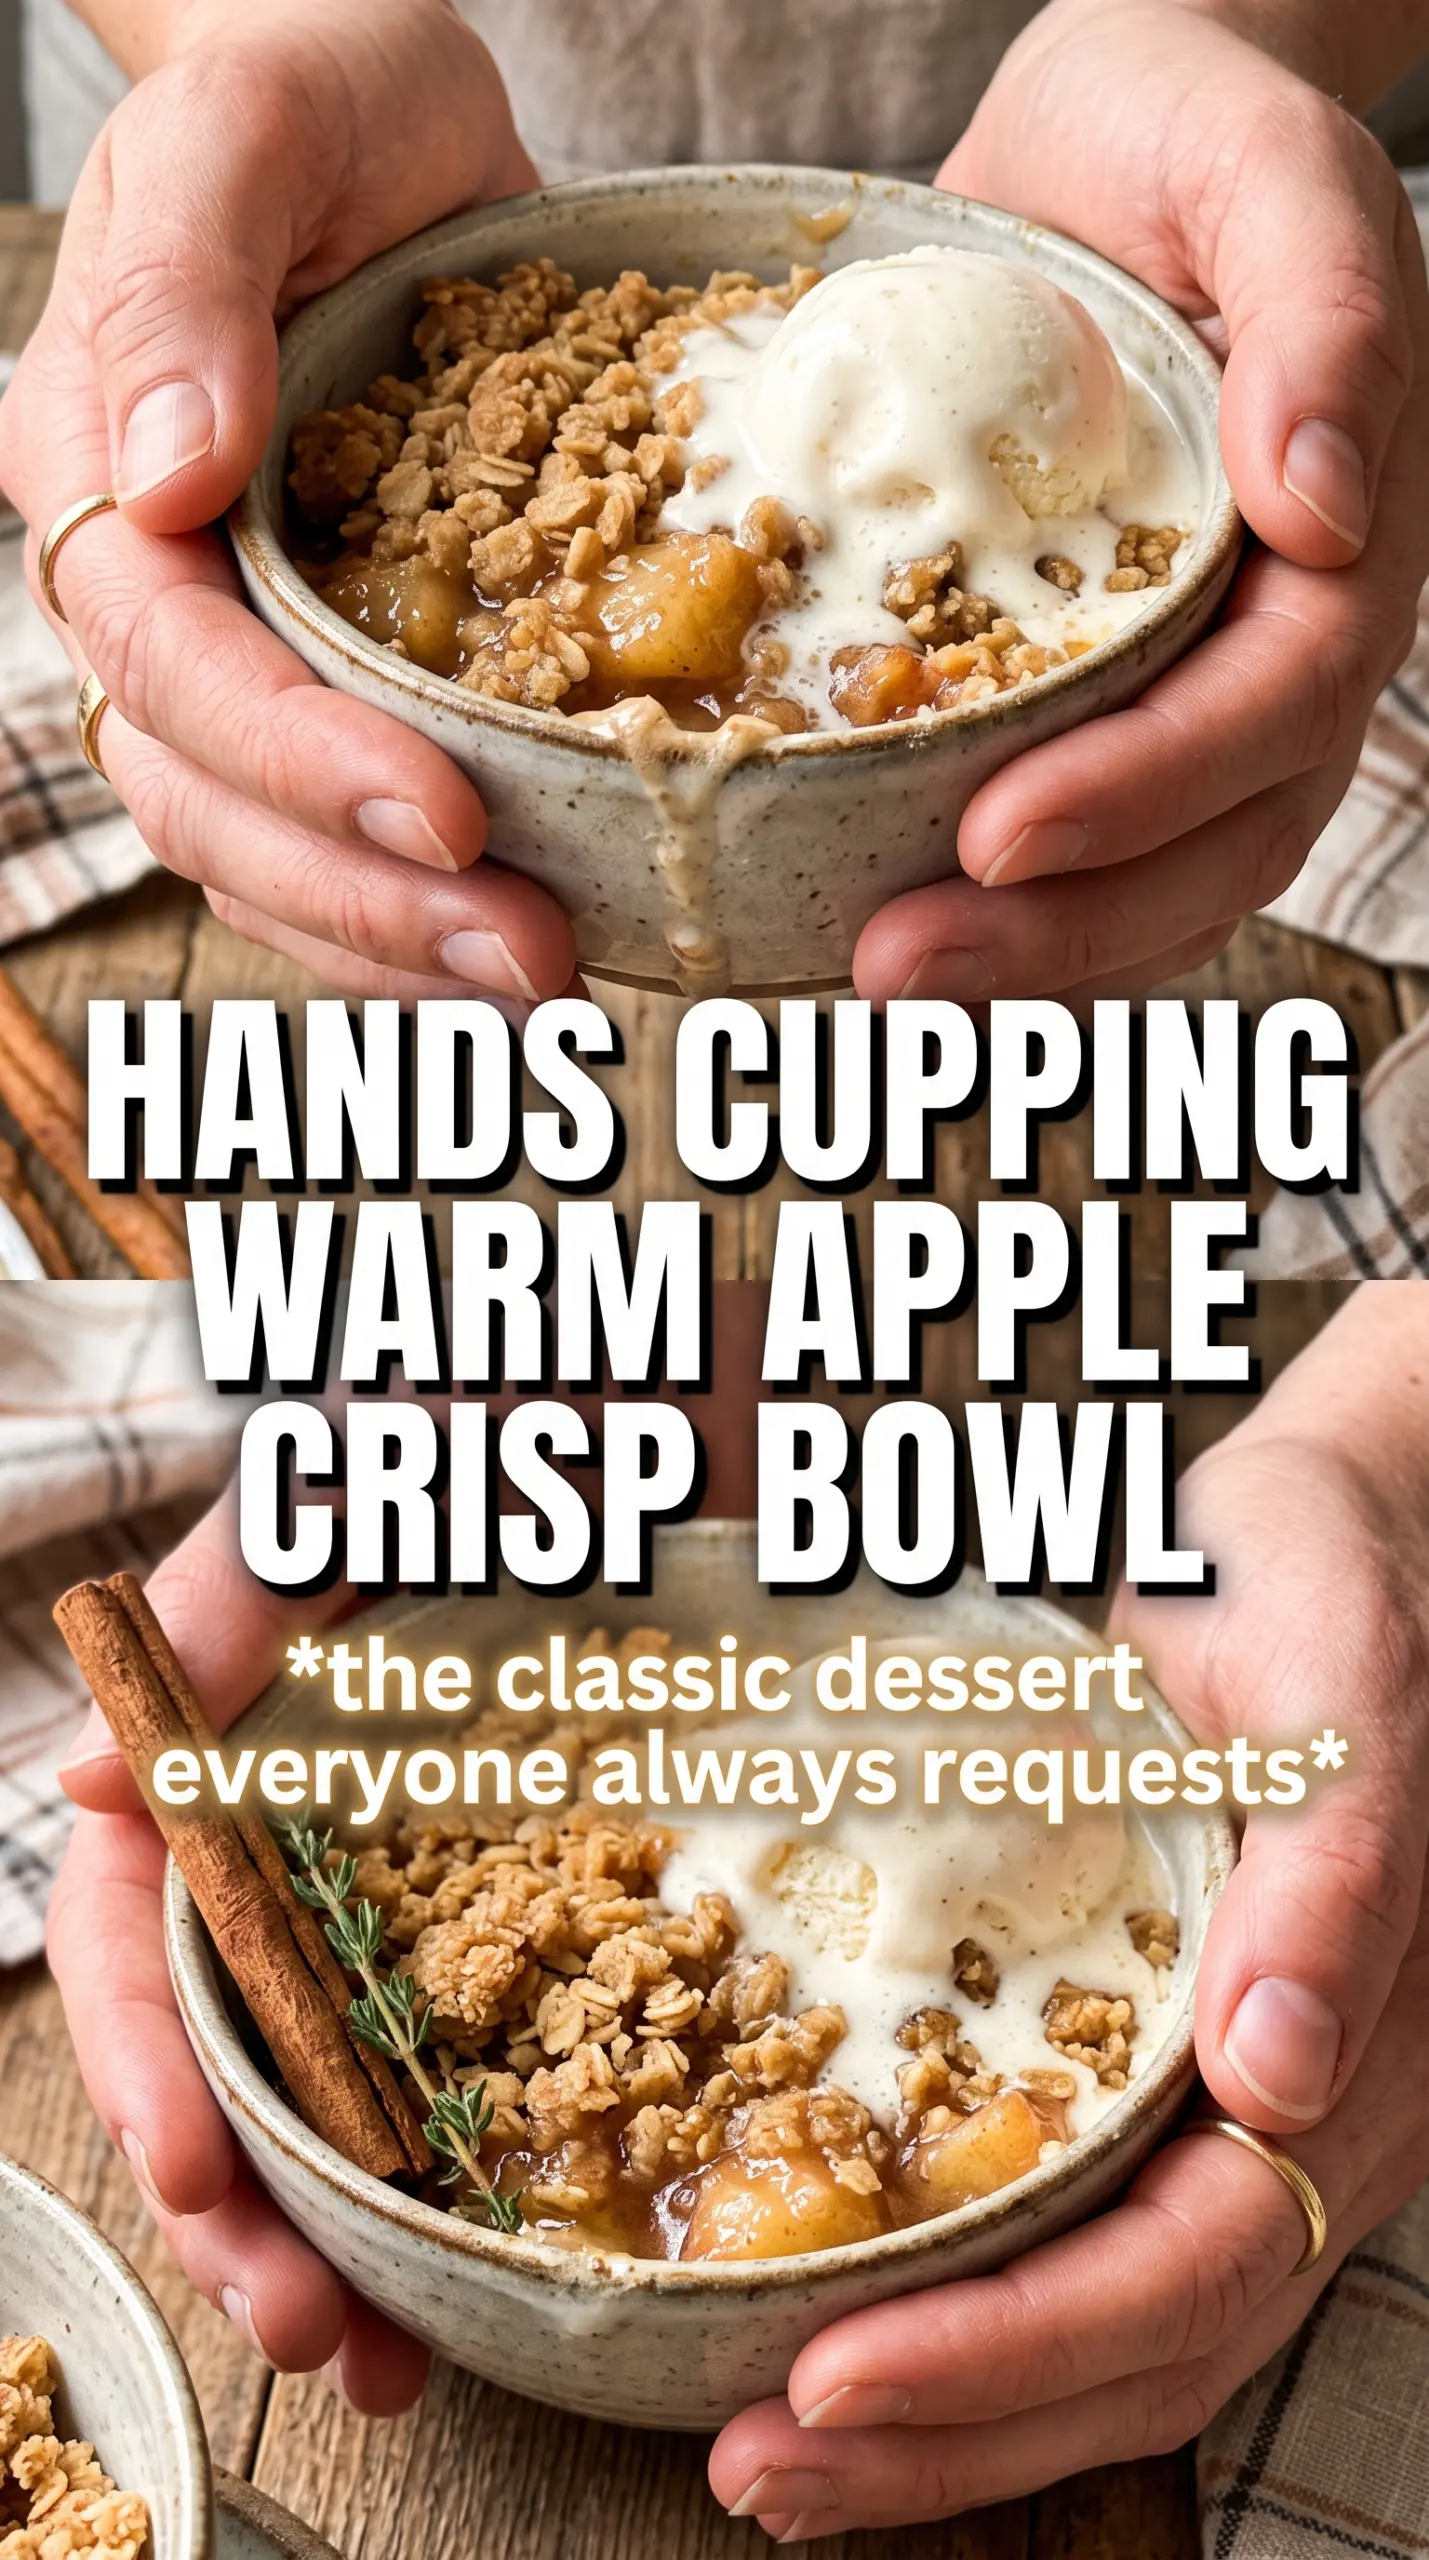
- Granny Smith apples — These hold their shape and bring the sharpness that keeps the dessert from tasting one-note. If you only have sweeter apples, use them, but add an extra tablespoon of lemon juice so the filling still tastes bright.
- Honeycrisp apples — They soften into juicy pockets without collapsing completely. Any crisp, firm apple works here, but very soft varieties turn mushy before the topping is done.
- Cornstarch — This is what turns the juices into that glossy, spoonable filling. Flour won’t thicken as cleanly, and tapioca can leave a slightly bouncy texture, so cornstarch is the safest choice for a classic crisp.
- Cold butter — Cold butter is what gives the topping those uneven craggy clumps. If the butter gets warm and pasty, you’ll end up with a sandy layer instead of crunchy rubble, so cube it first and keep it chilled until the last minute.
- Rolled oats — They bring chew and toast up around the edges. Quick oats can work in a pinch, but the texture is finer and less rustic.
Building the Topping So It Browns Before the Apples Collapse
Seasoning the apples first
Mix the sliced apples with the sugars, cinnamon, nutmeg, cornstarch, and lemon juice until every slice looks lightly coated. The sugar starts pulling out juice right away, and that’s what the cornstarch needs to thicken, so don’t let the bowl sit around too long before baking. Spread the apples in a 9×13 dish and keep the layer even so the center doesn’t lag behind the edges.
Cutting in the butter
Work the cold butter into the oats, flour, sugar, cinnamon, and salt until the mixture forms irregular clumps the size of peas and walnuts. Those chunks are what bake into a crisp topping; if you rub the butter in until everything looks uniform, the result turns dusty instead of crunchy. If the kitchen is warm, stop before the butter softens and chill the bowl for 10 minutes.
Baking until the edges bubble
Scatter the topping over the apples without pressing it down. Pressure compacts the layer and blocks the hot air that helps it crisp. Bake until the top is deeply golden and the filling is bubbling around the edges, not just steaming in the center. If the topping is browning too fast, tent it loosely with foil for the last 10 minutes and keep baking until the fruit is visibly bubbling.
Ways to Tweak the Crisp Without Losing the Crunch
Make it gluten-free
Swap the all-purpose flour for a 1:1 gluten-free baking blend and keep the oats certified gluten-free. The texture stays close to the original, though the topping may brown a little faster, so watch the last 10 minutes closely.
Lean into a deeper caramel flavor
Replace half of the granulated sugar in the filling with more brown sugar. The crisp will taste a little more molasses-like and less bright, which works well if your apples are very tart.
Make it dairy-free
Use a firm plant-based butter that bakes well, not a soft tub spread. The topping will still clump and brown, though it may taste slightly less rich than the original.
Storage and Reheating
- Refrigerator: Store covered for up to 4 days. The topping softens as it sits, but the flavor stays good.
- Freezer: Freeze baked crisp for up to 2 months, tightly wrapped. Thaw overnight in the refrigerator before reheating.
- Reheating: Warm in a 350F oven until the filling is hot and the top crisps back up, usually 15 to 20 minutes. The microwave will heat the apples, but it softens the crumble and gives you a limp topping.
Answers to the Questions Worth Asking
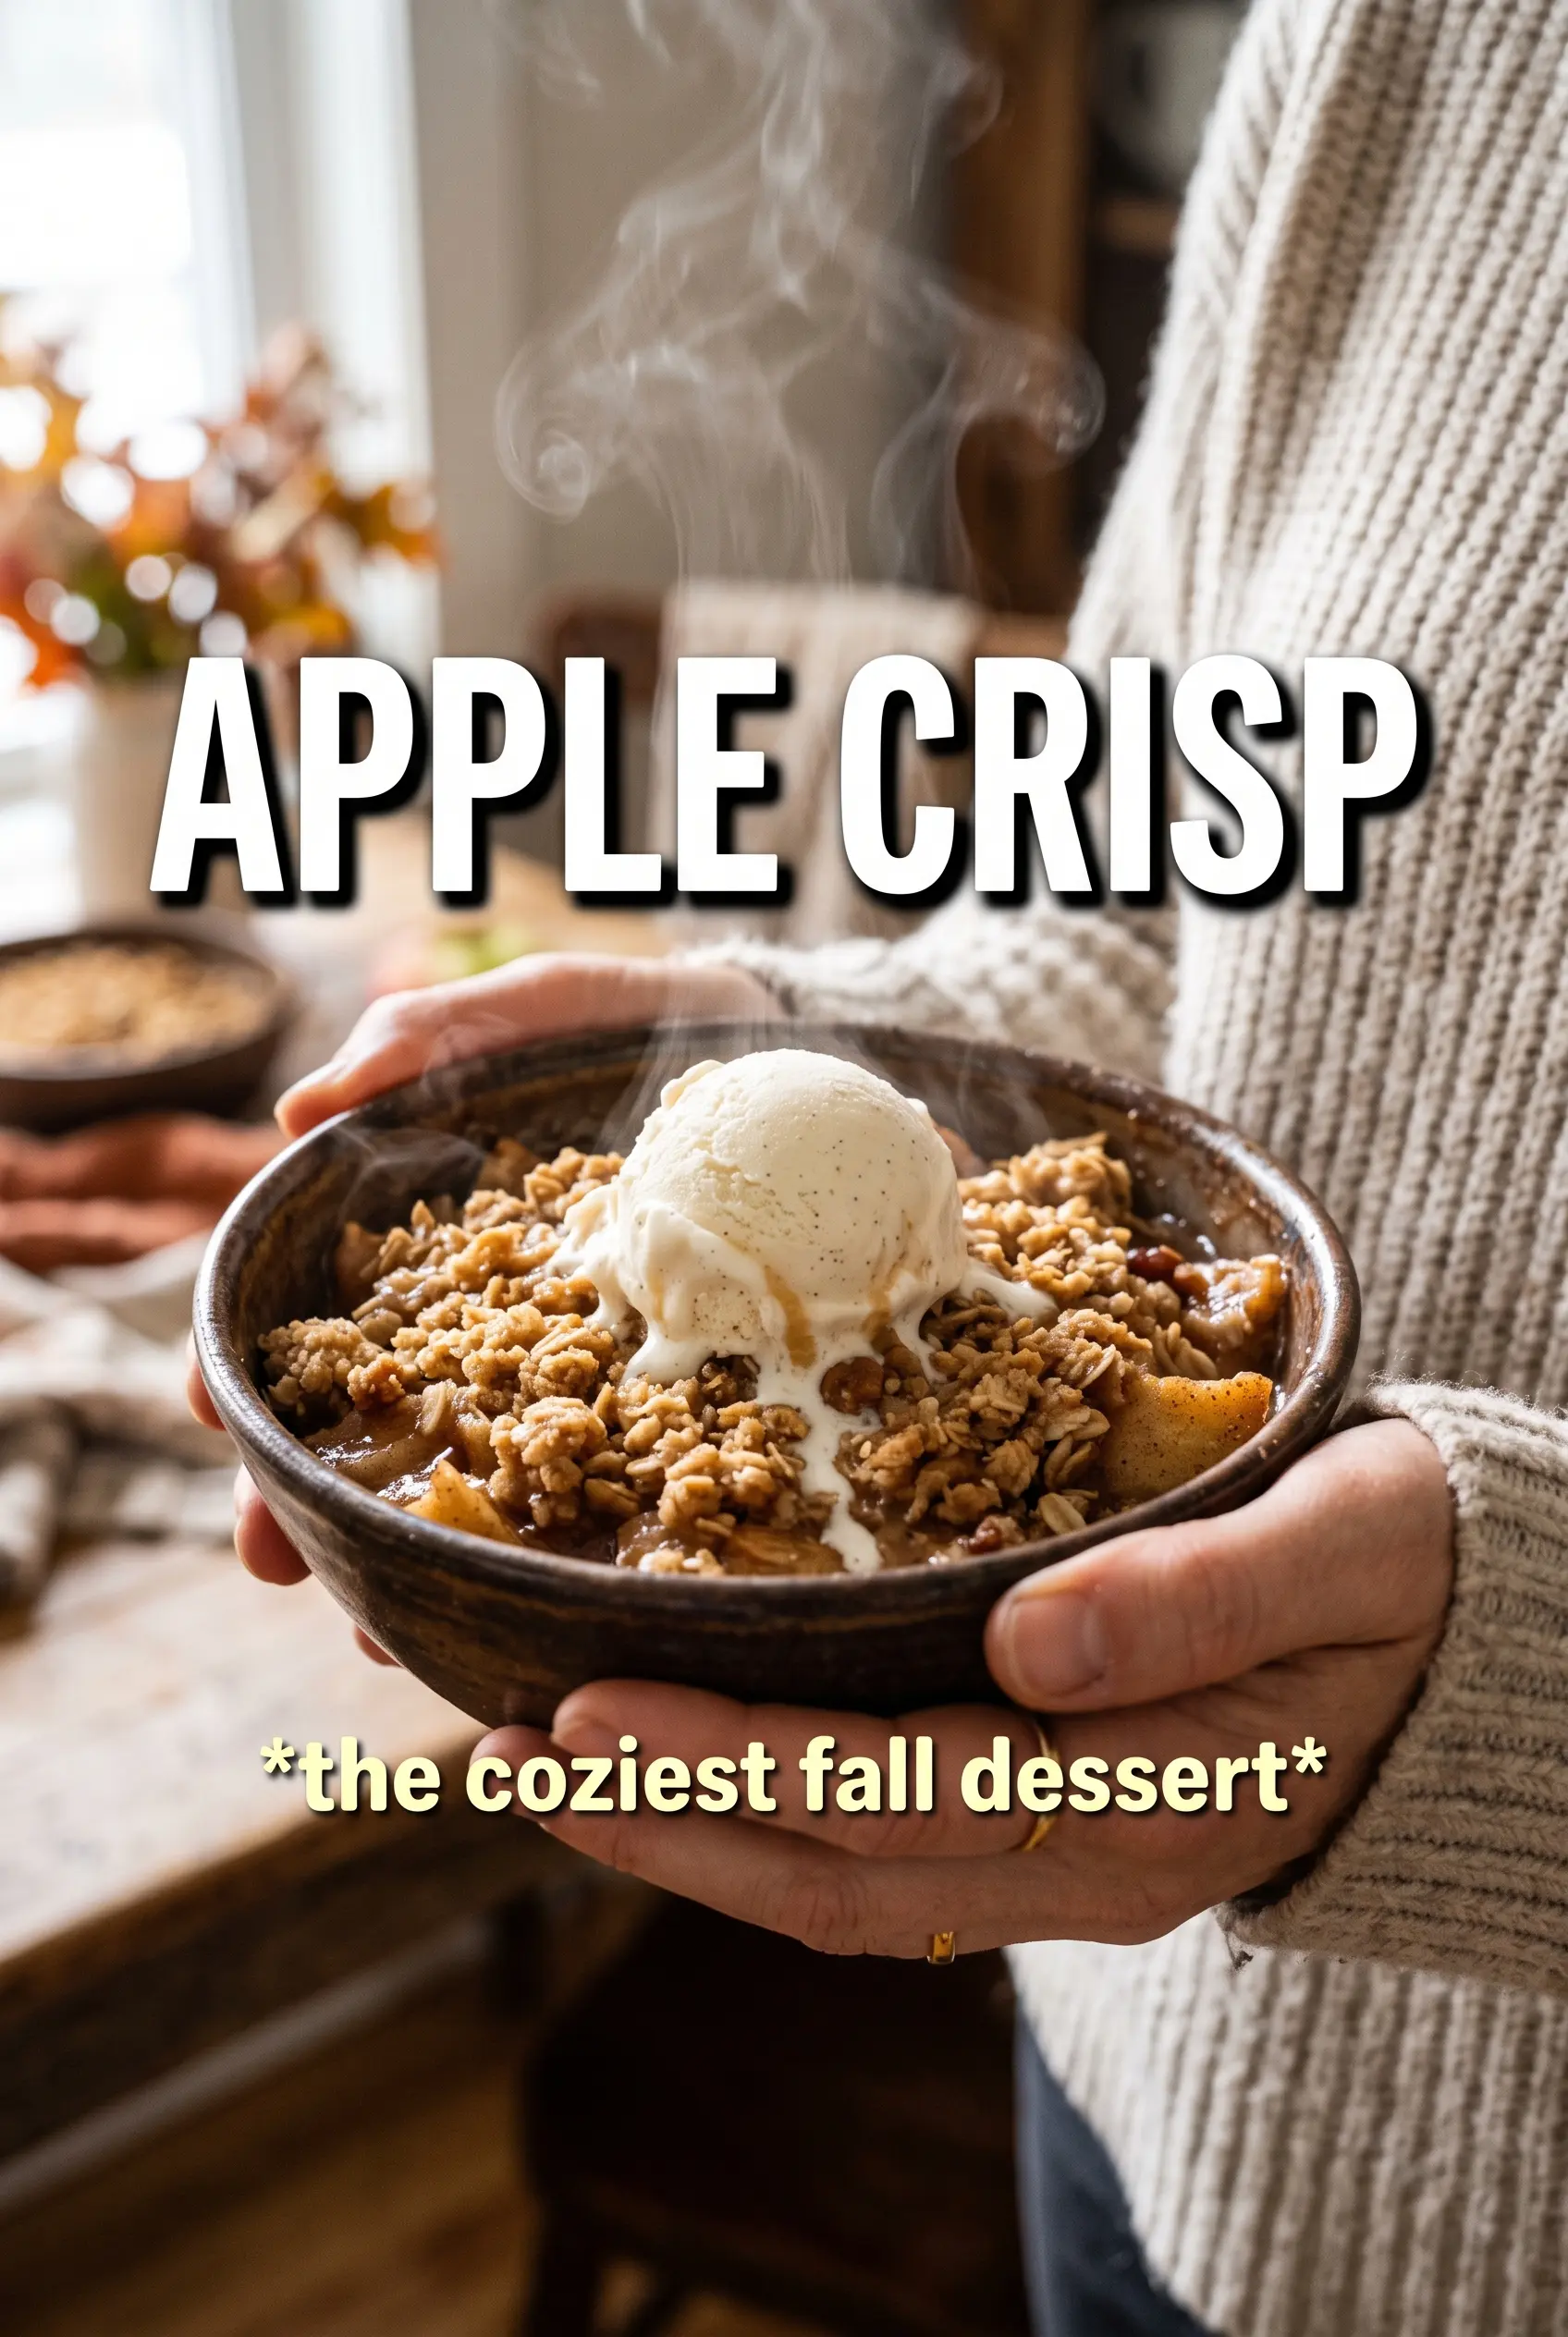
Apple Crisp
Ingredients
Equipment
Method
- Preheat oven to 375°F and grease a 9x13 baking dish. Set it up so the apples can go in as soon as the oven is ready.
- Toss sliced apples with granulated sugar, brown sugar, cinnamon, nutmeg, cornstarch, and lemon juice, then spread them in the prepared dish. Make an even layer so the filling bubbles consistently.
- Combine rolled oats, all-purpose flour, packed brown sugar, cinnamon, and salt for the crumble topping. Cut in cold cubed unsalted butter with a pastry cutter or your fingers until large, chunky clumps form.
- Scatter the crumble topping evenly over the apples without pressing down. This helps create crispy, caramelized edges as it bakes.
- Bake for 40-45 minutes at 375°F until the topping is deeply golden and the apple filling is bubbling around the edges. Look for visible bubbling at the sides of the dish.
- Rest the apple crisp for 10 minutes before serving warm. This sets the filling so it scoops cleanly.
- Serve each portion with vanilla ice cream. Let it melt slightly over the warm crumble and apples.