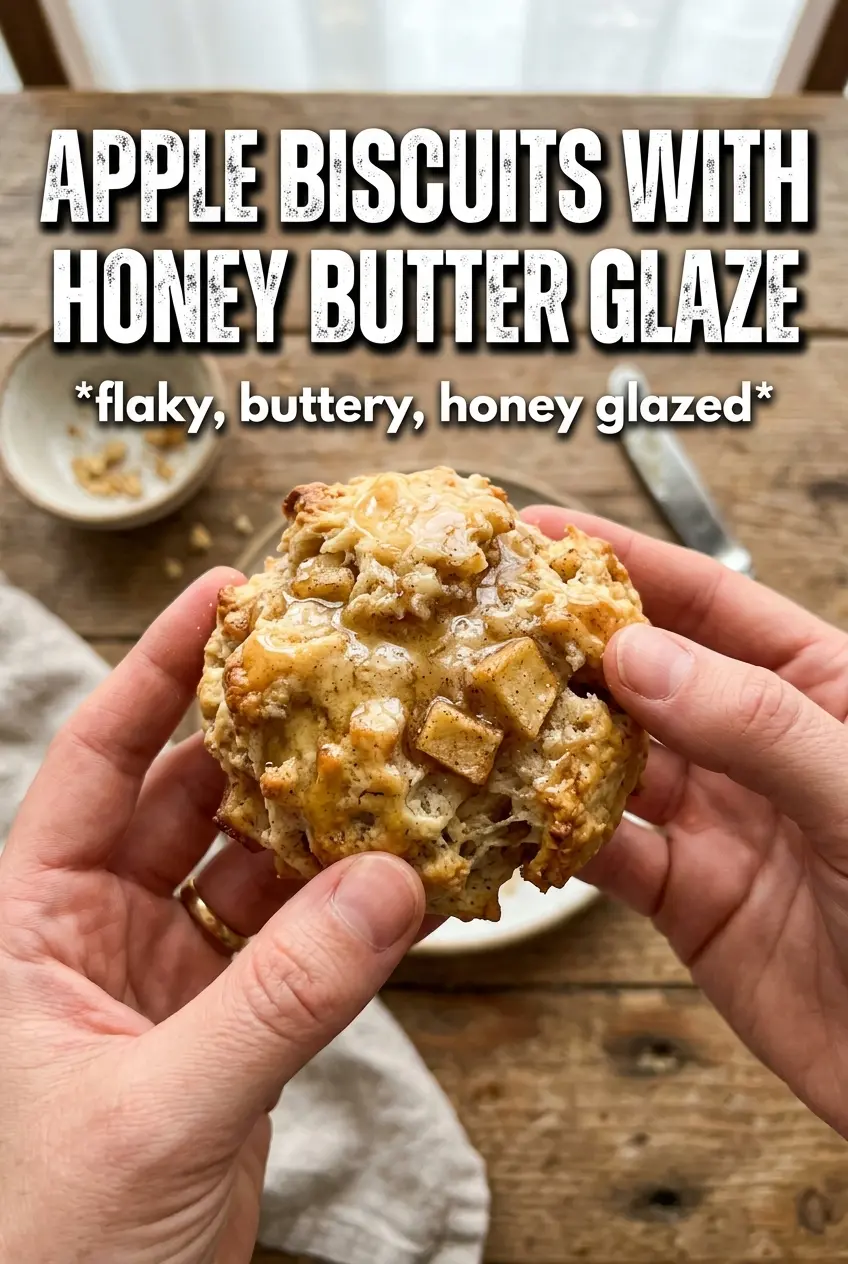
These apple biscuits bake up tall, flaky, and lightly sweet with little pockets of tender apple in every bite. The edges turn deeply golden, the centers stay soft, and the honey butter glaze sinks into the warm layers instead of sitting on top like frosting. That’s what makes them worth repeating: they taste homemade in the best possible way, with just enough fruit and spice to keep each biscuit interesting.
The trick is keeping everything cold and handling the dough as little as possible. Cold butter gives you those biscuit layers, while finely diced apple that’s been patted dry keeps the dough from turning sticky or heavy. A quick fold in thirds before cutting the biscuits is the other piece that matters — it gives you height without making the texture tough.
Below, I’ve included the one step that keeps these biscuits from spreading, plus a few useful swaps if you need to work with what’s already in the kitchen.
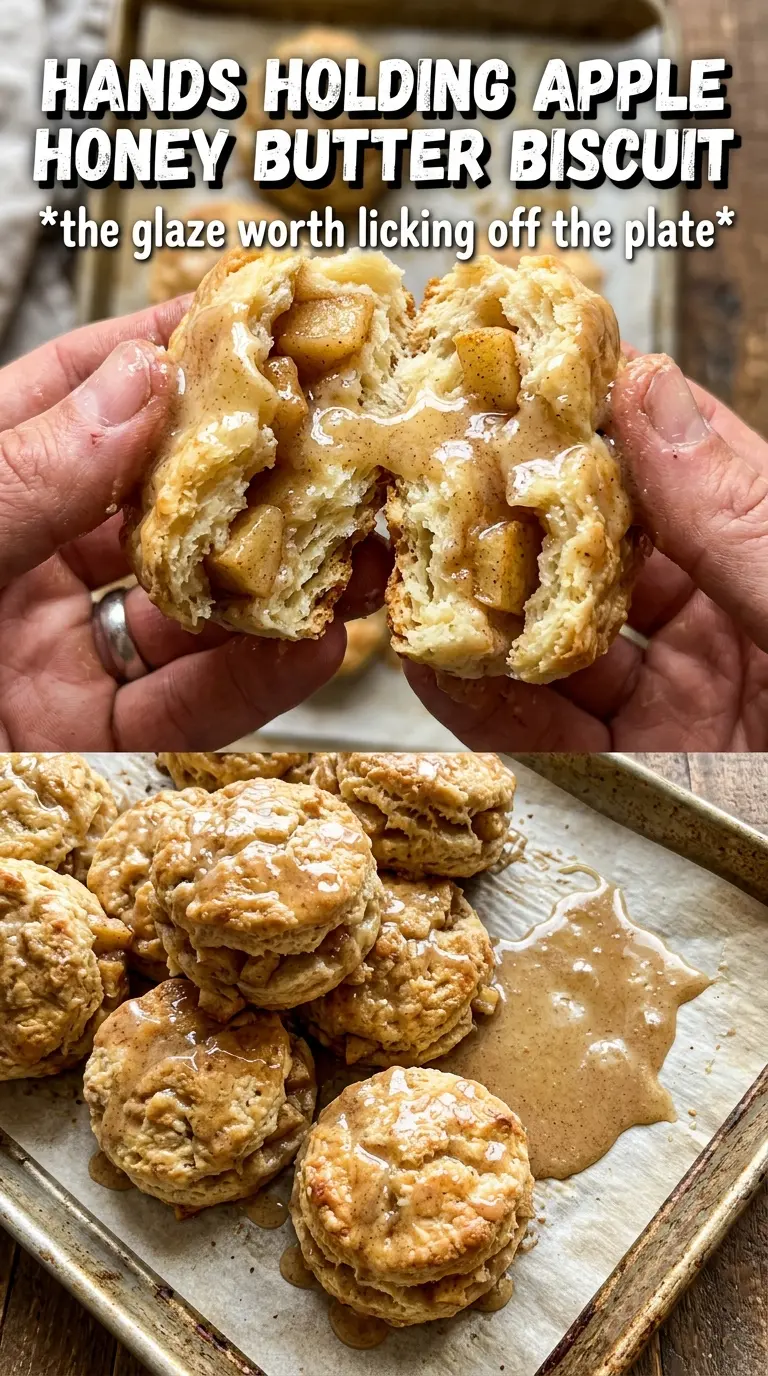
The biscuits came out flaky instead of dense, and the little apple pieces stayed tender without making the dough soggy. That honey butter glaze on top was the part that had everyone reaching for seconds.
Save these apple biscuits with honey butter glaze for mornings when you want flaky layers, tender apple, and a glossy finish on the table fast.
The Dough Trick That Keeps Apple Biscuits Tall Instead of Heavy
Apple is the ingredient that can quietly wreck biscuits if it isn’t handled right. Too much moisture turns the dough sticky, and sticky dough gets overworked, which is how you end up with dense, flat biscuits instead of flaky ones. Patted-dry apple and cold butter are the two details that protect the texture here.
The folding step matters for the same reason. A simple pat-and-fold gives the dough layers without making it look perfect, and that’s a good thing. Once the biscuit dough starts holding together, stop working it. If the apple pieces break down into the flour, you’ve gone too far and the biscuits will bake up bready instead of tender.
- Cold butter — This is what creates the flaky pockets. If the butter softens before the biscuits hit the oven, you lose the lift and the crumb turns cakier.
- Buttermilk — The acid helps the baking soda do its job and adds a slight tang that balances the honey glaze. Regular milk works in a pinch, but the biscuits won’t have the same depth.
- Finely diced apple — Small pieces distribute better and bake through without leaving wet pockets. Larger chunks can steam the dough from the inside.
- Honey butter glaze — Brush it on the biscuits while they’re hot so it melts into the cracks. If you wait too long, it sits on top instead of soaking in.
What Each Ingredient Is Actually Doing in These Biscuits
- All-purpose flour — This gives the biscuits enough structure to rise while still staying tender. A low-protein flour isn’t necessary here, but don’t add extra flour unless the dough is truly sticky.
- Baking powder and baking soda — The baking powder provides the main rise, while the baking soda reacts with the buttermilk for lift and browning. If either one is old, the biscuits won’t climb well.
- Cinnamon and nutmeg — These warm the apple without making the biscuits taste like dessert bread. Nutmeg is subtle, but it gives the glaze and dough a little roundness.
- Unsalted butter — Unsalted butter gives you control over the salt level and the flavor. It should be cold enough to cut into visible pea-sized bits, not blended into the flour.
- Honey — Honey is what turns the glaze from plain melted butter into something that clings and shines. Maple syrup can work, but it will taste more assertive and less floral.
How to Build the Layers So the Biscuits Rise Cleanly
Cutting in the Butter
Work the cold butter into the dry ingredients until the mixture looks like coarse crumbs with a few pea-sized pieces still visible. Those larger pieces are what steam inside the oven and create the flake. If the butter disappears completely, the biscuits lose their layers and bake up tighter.
Adding the Apple and Buttermilk
Stir the buttermilk and diced apple in just until the dough comes together. It should look a little shaggy, not smooth. If the dough feels wet, the apple likely held too much moisture, and that’s when you should stop and dust the counter lightly rather than kneading in more flour.
Patting, Folding, and Cutting
Turn the dough onto a floured surface and pat it to about 3/4-inch thick, then fold it in thirds and pat again. That one fold builds layers without overworking the dough. Cut straight down with a 2 1/2-inch cutter; twisting seals the edges and reduces the rise.
Baking and Glazing
Bake until the tops are deeply golden and the edges look set, not pale and soft. The bottoms should have enough color to hold up to the glaze. Brush the honey butter on immediately after the biscuits leave the oven so it melts into the surface and gives you that glossy finish.
How to Adapt These Apple Biscuits Without Losing the Flaky Crumb
Dairy-Free Version
Use a plant-based butter that comes in sticks and a thick dairy-free buttermilk substitute made with unsweetened milk and a little vinegar or lemon juice. The texture will be slightly less rich, but the biscuits will still rise and the glaze will still set if you brush it on while warm.
Make Them More Savory
Cut the cinnamon and nutmeg in half and skip the glaze, then serve the biscuits with sharp cheddar or ham. You’ll still get the apple aroma and tender layers, but the result leans breakfast sandwich instead of sweet biscuit.
Using Whole Wheat Flour
Replace up to 1/2 cup of the all-purpose flour with whole wheat flour for a nuttier flavor. Any more than that and the biscuits start to feel heavier, so keep the swap small if you want the same soft, layered texture.
Storage and Reheating
- Refrigerator: Store cooled biscuits in an airtight container for up to 3 days. They’ll soften a little from the apple, but they’ll still reheat well.
- Freezer: Freeze baked biscuits without glaze for up to 2 months. Wrap them well so the butter flavor doesn’t pick up freezer odors.
- Reheating: Warm in a 325F oven for 8 to 10 minutes or until heated through. The microwave makes them soft and a little rubbery, which is the fastest way to lose the flaky texture.