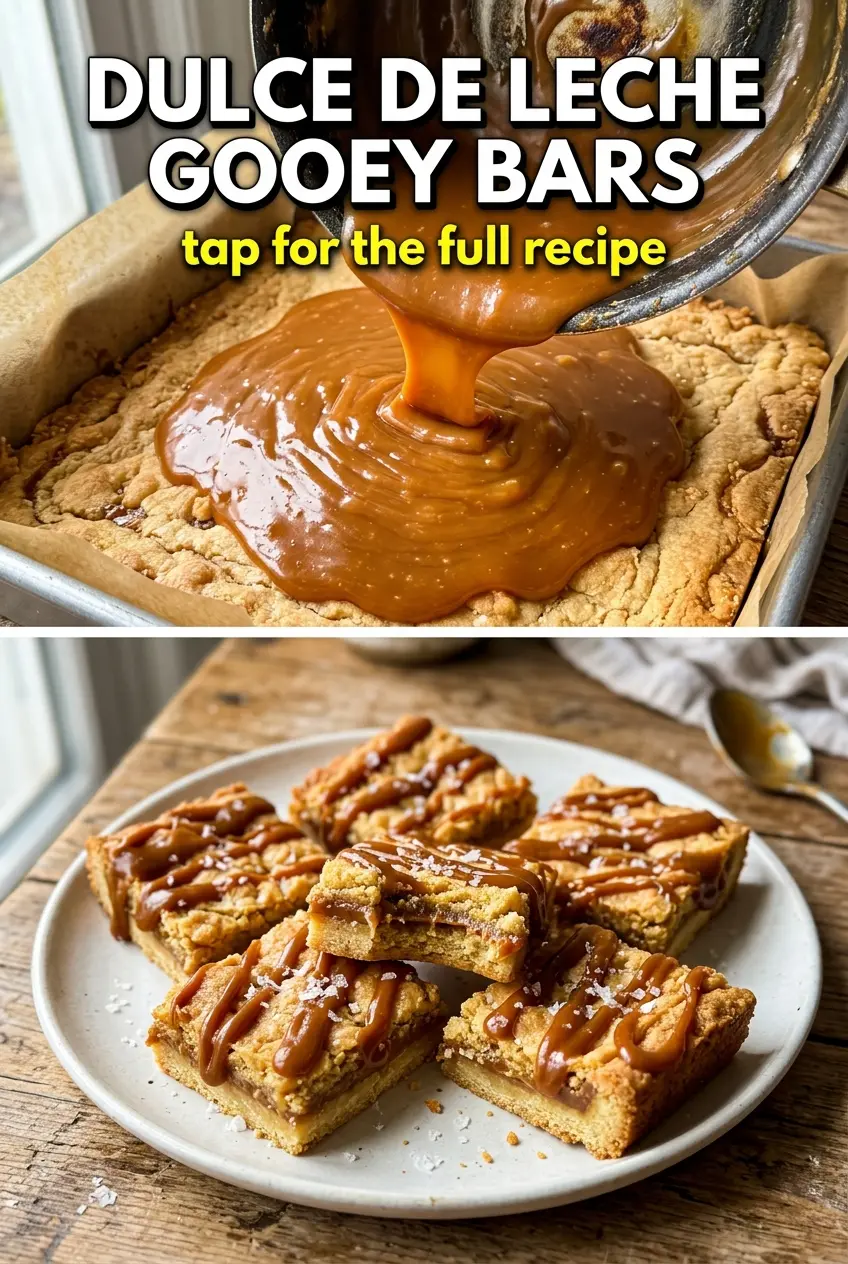
Golden shortbread, glossy caramel, and a thin cap of dark chocolate make these bars the kind of dessert that disappears fast. The crust stays sturdy enough to lift cleanly, but the center keeps that soft, almost spoonable dulce de leche layer that gives every bite a little stretch before the chocolate sets it off. A pinch of fleur de sel at the end keeps the sweetness from flattening out.
What makes these work is the contrast. The crust needs to be baked long enough to turn lightly golden before the caramel goes on, or it turns soft instead of crisp. The dulce de leche layer goes over the warm crust so it loosens just enough to spread without tearing the base, and the butter in the chocolate helps it melt into a smooth, sliceable top instead of a dry shell.
Below, you’ll find the part that matters most: how to keep the bars neat enough to cut, what to do if your dulce de leche is too thick to spread, and a few smart swaps if you want to change the chocolate or make them gluten-free.
The crust baked up buttery and firm, and the dulce de leche stayed gooey without sliding all over the pan. I followed the chill time and got clean squares with that perfect salted chocolate top.
These Dulce de Leche Gooey Bars keep that soft caramel center and clean chocolate finish, so they’re perfect when you want a cut-and-serve dessert with a little drama.
The Shortbread Base Has to Bake Before the Caramel Goes On
The biggest mistake with bars like this is rushing the base. If the crust goes in pale, it never gets the clean, buttery snap that keeps the whole dessert from feeling sticky and dense. You want the edges lightly golden and the center set before you add the dulce de leche.
Pressing the dough firmly into the pan matters more than people think. A loose crust falls apart when you cut the bars, and an uneven layer bakes unevenly, which means some bites turn sandy while others go soft. An 8×8 pan gives you the right thickness for a chewy middle and a firm base that still feels rich.
What Each Ingredient Is Actually Doing in These Bars
- All-purpose flour — This is the structure of the crust. It keeps the base short and tender, but firm enough to hold the caramel layer without collapsing. A 1:1 gluten-free baking blend can work here, though the crust may be a little more delicate.
- Butter — Softened butter in the crust gives you that sandy, press-in texture, while the extra butter in the chocolate helps it melt into a smooth topping. Use real butter here; margarine changes the flavor and the crust won’t bake up with the same clean richness.
- Granulated sugar — Just enough to sweeten the crust and help it brown. You don’t want a heavy hand here because the dulce de leche already brings plenty of sweetness.
- Dulce de leche — This is the center of the whole dessert, so quality matters. Use a thick, spoonable canned version or a well-cooked homemade one that holds its shape; a thin caramel sauce will run and soak into the crust instead of sitting in a gooey layer.
- Dark chocolate chips — The slight bitterness keeps the bars from becoming one-note. If you want a softer, sweeter finish, semisweet chips work too, but milk chocolate will taste flatter against the caramel.
- Fleur de sel — This is the finishing move. Regular salt works in a pinch, but the delicate flakes give you little hits of salt instead of a sharp bite.
Building the Layers Without Letting the Bars Collapse
Mixing and Pressing the Crust
Work the flour, softened butter, sugar, and salt until the mixture looks crumbly and evenly moistened, then press it hard into the pan. If the dough feels too dry to hold together, keep mixing for a few more seconds rather than adding liquid. The goal is a compact layer with no loose sandy patches, because those dry spots turn into weak points once the caramel goes on.
Baking the Base to the Right Color
Bake until the crust is lightly golden across the top and just deeper at the edges. Pale crust tastes undercooked and stays soft under the filling, while an overbaked crust can go dry and crumbly. Pull it when it still smells buttery and looks set in the center, not when it has browned heavily.
Spreading the Dulce de Leche
Spread the dulce de leche over the warm crust in an even layer. Warm crust helps the caramel loosen, but if it is too hot and the filling starts melting into the base, let it sit for a minute or two first. If your dulce de leche is thick and stubborn, warm the can or jar slightly in a bowl of hot water so it spreads without tearing the crust.
Finishing With Chocolate and Chill Time
Melt the chocolate chips with the butter until smooth, then drizzle or spread it over the caramel. You want the chocolate glossy and fluid, not overheated and grainy. After the final bake, cool the bars completely and chill them long enough for the layers to firm up; that rest time is what gives you neat squares instead of a gooey pile in the pan.
Three Useful Ways to Adapt These Bars
Make them gluten-free without changing the filling
Swap the all-purpose flour for a 1:1 gluten-free baking blend. The bars will still slice and hold, though the crust may be a touch more tender, so chill them fully before cutting. The filling doesn’t need any change.
Use semisweet chocolate for a less sweet finish
Semisweet chips keep the top smooth but cut a little of the sweetness from the caramel layer. If you use milk chocolate instead, the bars will taste softer and sweeter, which some people love, but the contrast won’t be as sharp.
Add toasted pecans for more crunch
Scatter a small handful of chopped toasted pecans over the dulce de leche before the chocolate goes on. You get a little crunch in every bite, and the nutty flavor plays well with the caramel. Keep the amount modest so the bars still cut cleanly.
Storage and Reheating
- Refrigerator: Store in an airtight container for up to 5 days. The bars will firm up in the fridge, and the chocolate top may lose a little shine.
- Freezer: They freeze well. Layer parchment between squares and freeze up to 2 months, then thaw in the refrigerator so the caramel doesn’t weep.
- Reheating: These bars are best served chilled or at room temperature, not warmed. Heat softens the caramel too much and can make the layers slide, so let refrigerated bars sit out for 10 to 15 minutes before serving instead.
Answers to the Questions Worth Asking
Dulce de Leche Gooey Bars
Ingredients
Equipment
Method
- Mix all-purpose flour, softened butter, granulated sugar, and salt until crumbly, with no dry flour pockets remaining. Press the mixture firmly into an even layer in an 8x8 baking dish.
- Bake at 350°F for 12-15 minutes, until the edges look golden and the surface is set but not deeply browned. Keep the oven at 350°F for the next bake.
- Spread dulce de leche over the warm crust in an even layer, reaching the corners for uniform ooze. Warmth helps it flow smoothly and settle into the crust.
- Melt dark chocolate chips with 2 tablespoons butter until glossy, then drizzle or spread over the dulce de leche for an even chocolate cap. Bake at 350°F for 8-10 minutes, until the chocolate is set and looks firm.
- Cool completely on the counter until the bars are no longer warm to the touch, about 1 hour. This prevents the caramel layers from smearing when cut.
- Refrigerate for at least 30 minutes to firm the caramel and chocolate for cleaner squares. Cut into 16 squares and sprinkle with fleur de sel.
- Serve at room temperature or chilled, so the dulce de leche remains gooey rather than fully set.