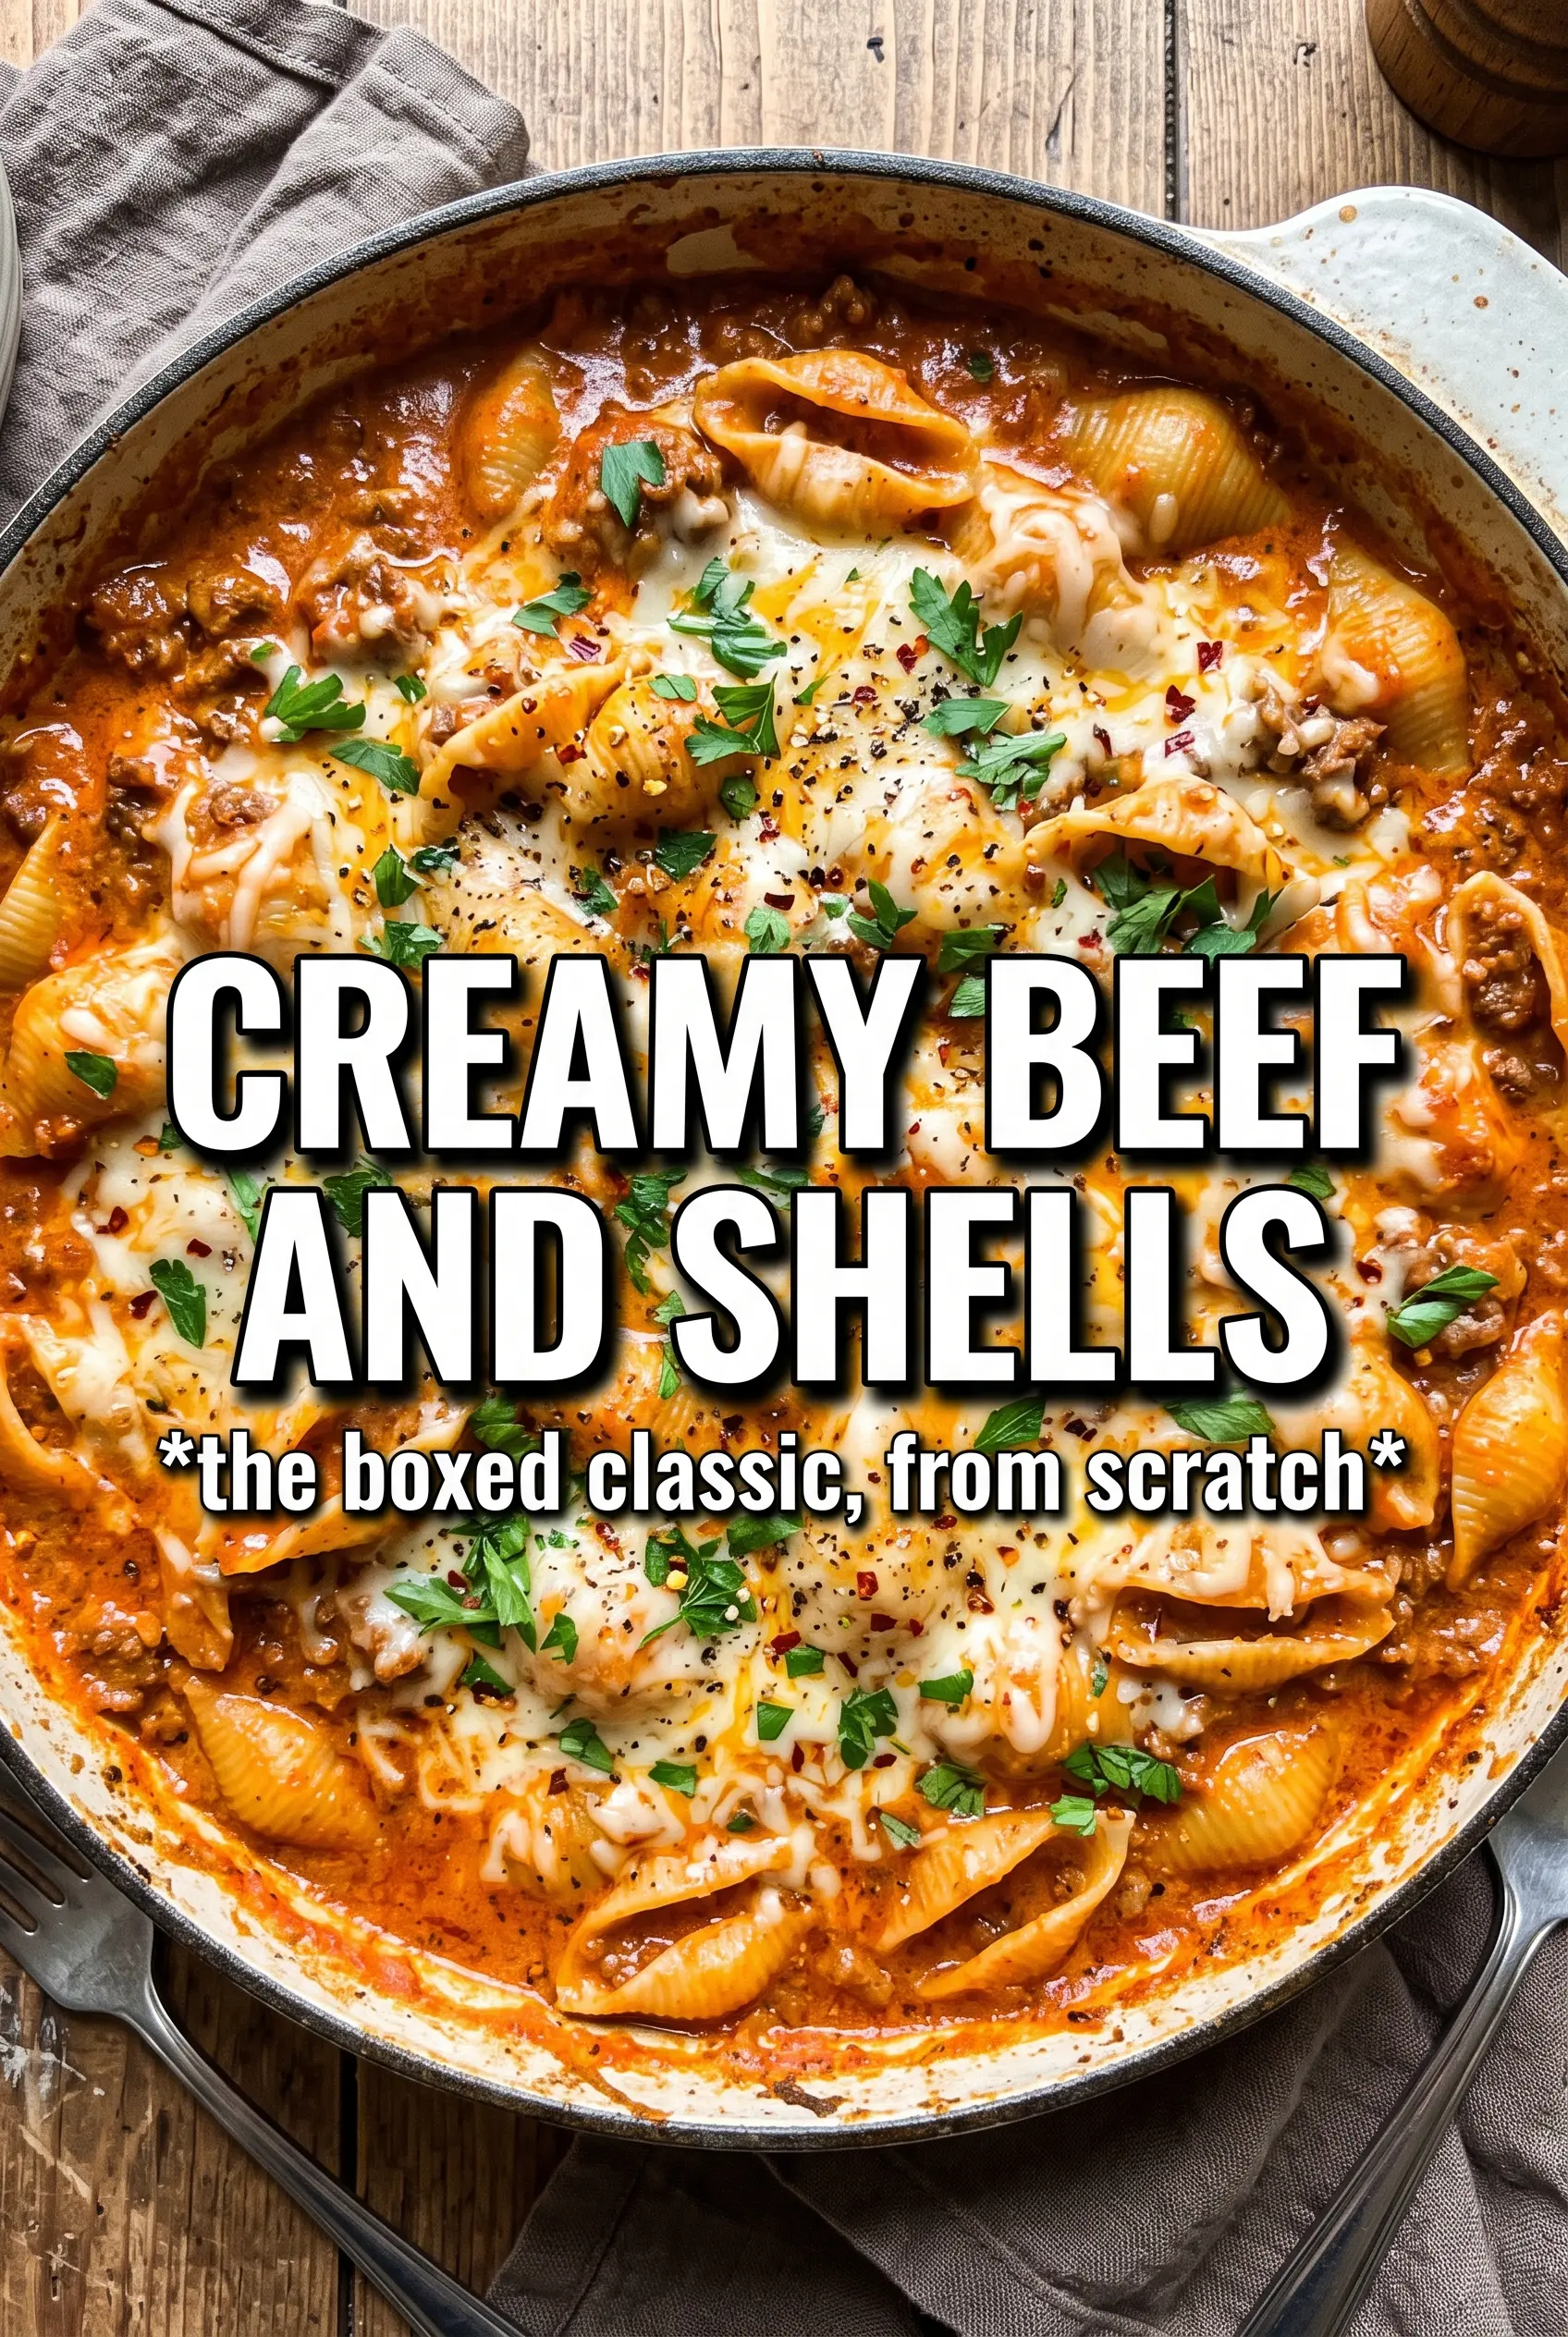
Rich, beefy, and coated in a sauce that clings to every shell, creamy beef and shells hits that sweet spot between cozy and practical. The pasta cooks right in the skillet, so the shells pick up flavor from the broth, tomatoes, and browned beef instead of tasting like plain noodles dragged through sauce at the end. The finish is thick, cheesy, and just loose enough to spoon over a bowl without feeling heavy.
What makes this version work is the order. The beef browns first for depth, the dry pasta goes in early so it absorbs seasoning as it cooks, and the cream goes in only after most of the liquid has reduced. That keeps the sauce smooth instead of thin or broken. Sharp cheddar adds the final punch, but it melts best when the pan is off the heat and the sauce has settled into a gentle simmer.
Below, I’ve included the little details that matter most: how to keep the pasta from going mushy, what to do if the sauce looks too thick before the cheese goes in, and a few ways to adapt the skillet for different diets or what’s already in your pantry.
The pasta cooked right in the sauce and came out perfectly tender, not mushy, and the cheddar melted into that orange creaminess I was hoping for. My husband went back for seconds before I’d even sat down.
Love the way these creamy beef and shells turn rich, cheesy, and skillet-thick? Save it to Pinterest for the nights when you want one pan, big flavor, and dinner on the table fast.
The Part That Keeps the Sauce Creamy Instead of Grainy
The biggest mistake in a dish like this is rushing the dairy. Heavy cream and cheddar both behave better when the liquid has already reduced and the pan isn’t screaming hot. If you add the cream too early, the sauce stays thin while the pasta keeps drinking up broth. If you add the cheese over high heat, it can turn greasy or stringy instead of melting into that smooth orange coating you want.
The other thing that matters is texture timing. The shells need enough simmering time to finish in the sauce, but not so much that they burst or go soft. You want them tender with a little bite left when the cream goes in, because they’ll keep softening as the cheese melts and the skillet sits for a minute before serving.
- Browned ground beef — This is where the flavor starts. Let it take on some color before draining; pale beef makes a flat sauce. Lean or regular both work, but if the pan looks greasy after browning, drain off most of it so the finished sauce doesn’t separate.
- Rotel and diced tomatoes — The combination gives you both body and brightness. Regular diced tomatoes alone can taste a little subdued, while Rotel adds the gentle heat and seasoning that make the sauce taste finished.
- Heavy cream — This is the ingredient that turns the skillet from tomatoy pasta into creamy beef and shells. Half-and-half will work in a pinch, but the sauce will be thinner and less stable. If you use it, reduce the broth slightly so the pan doesn’t stay soupy.
- Sharp cheddar — Mild cheddar melts fine, but sharp cheddar gives the sauce a stronger savory edge so the dish doesn’t taste muted. Shred it yourself if you can; pre-shredded cheese has anti-caking starches that can make the sauce a little less smooth.
- Shell pasta — The curves trap sauce and bits of beef in a way straight pasta doesn’t. Medium shells are the sweet spot here because they cook through in the simmer time without collapsing.
What Each Ingredient Is Actually Doing in This Recipe
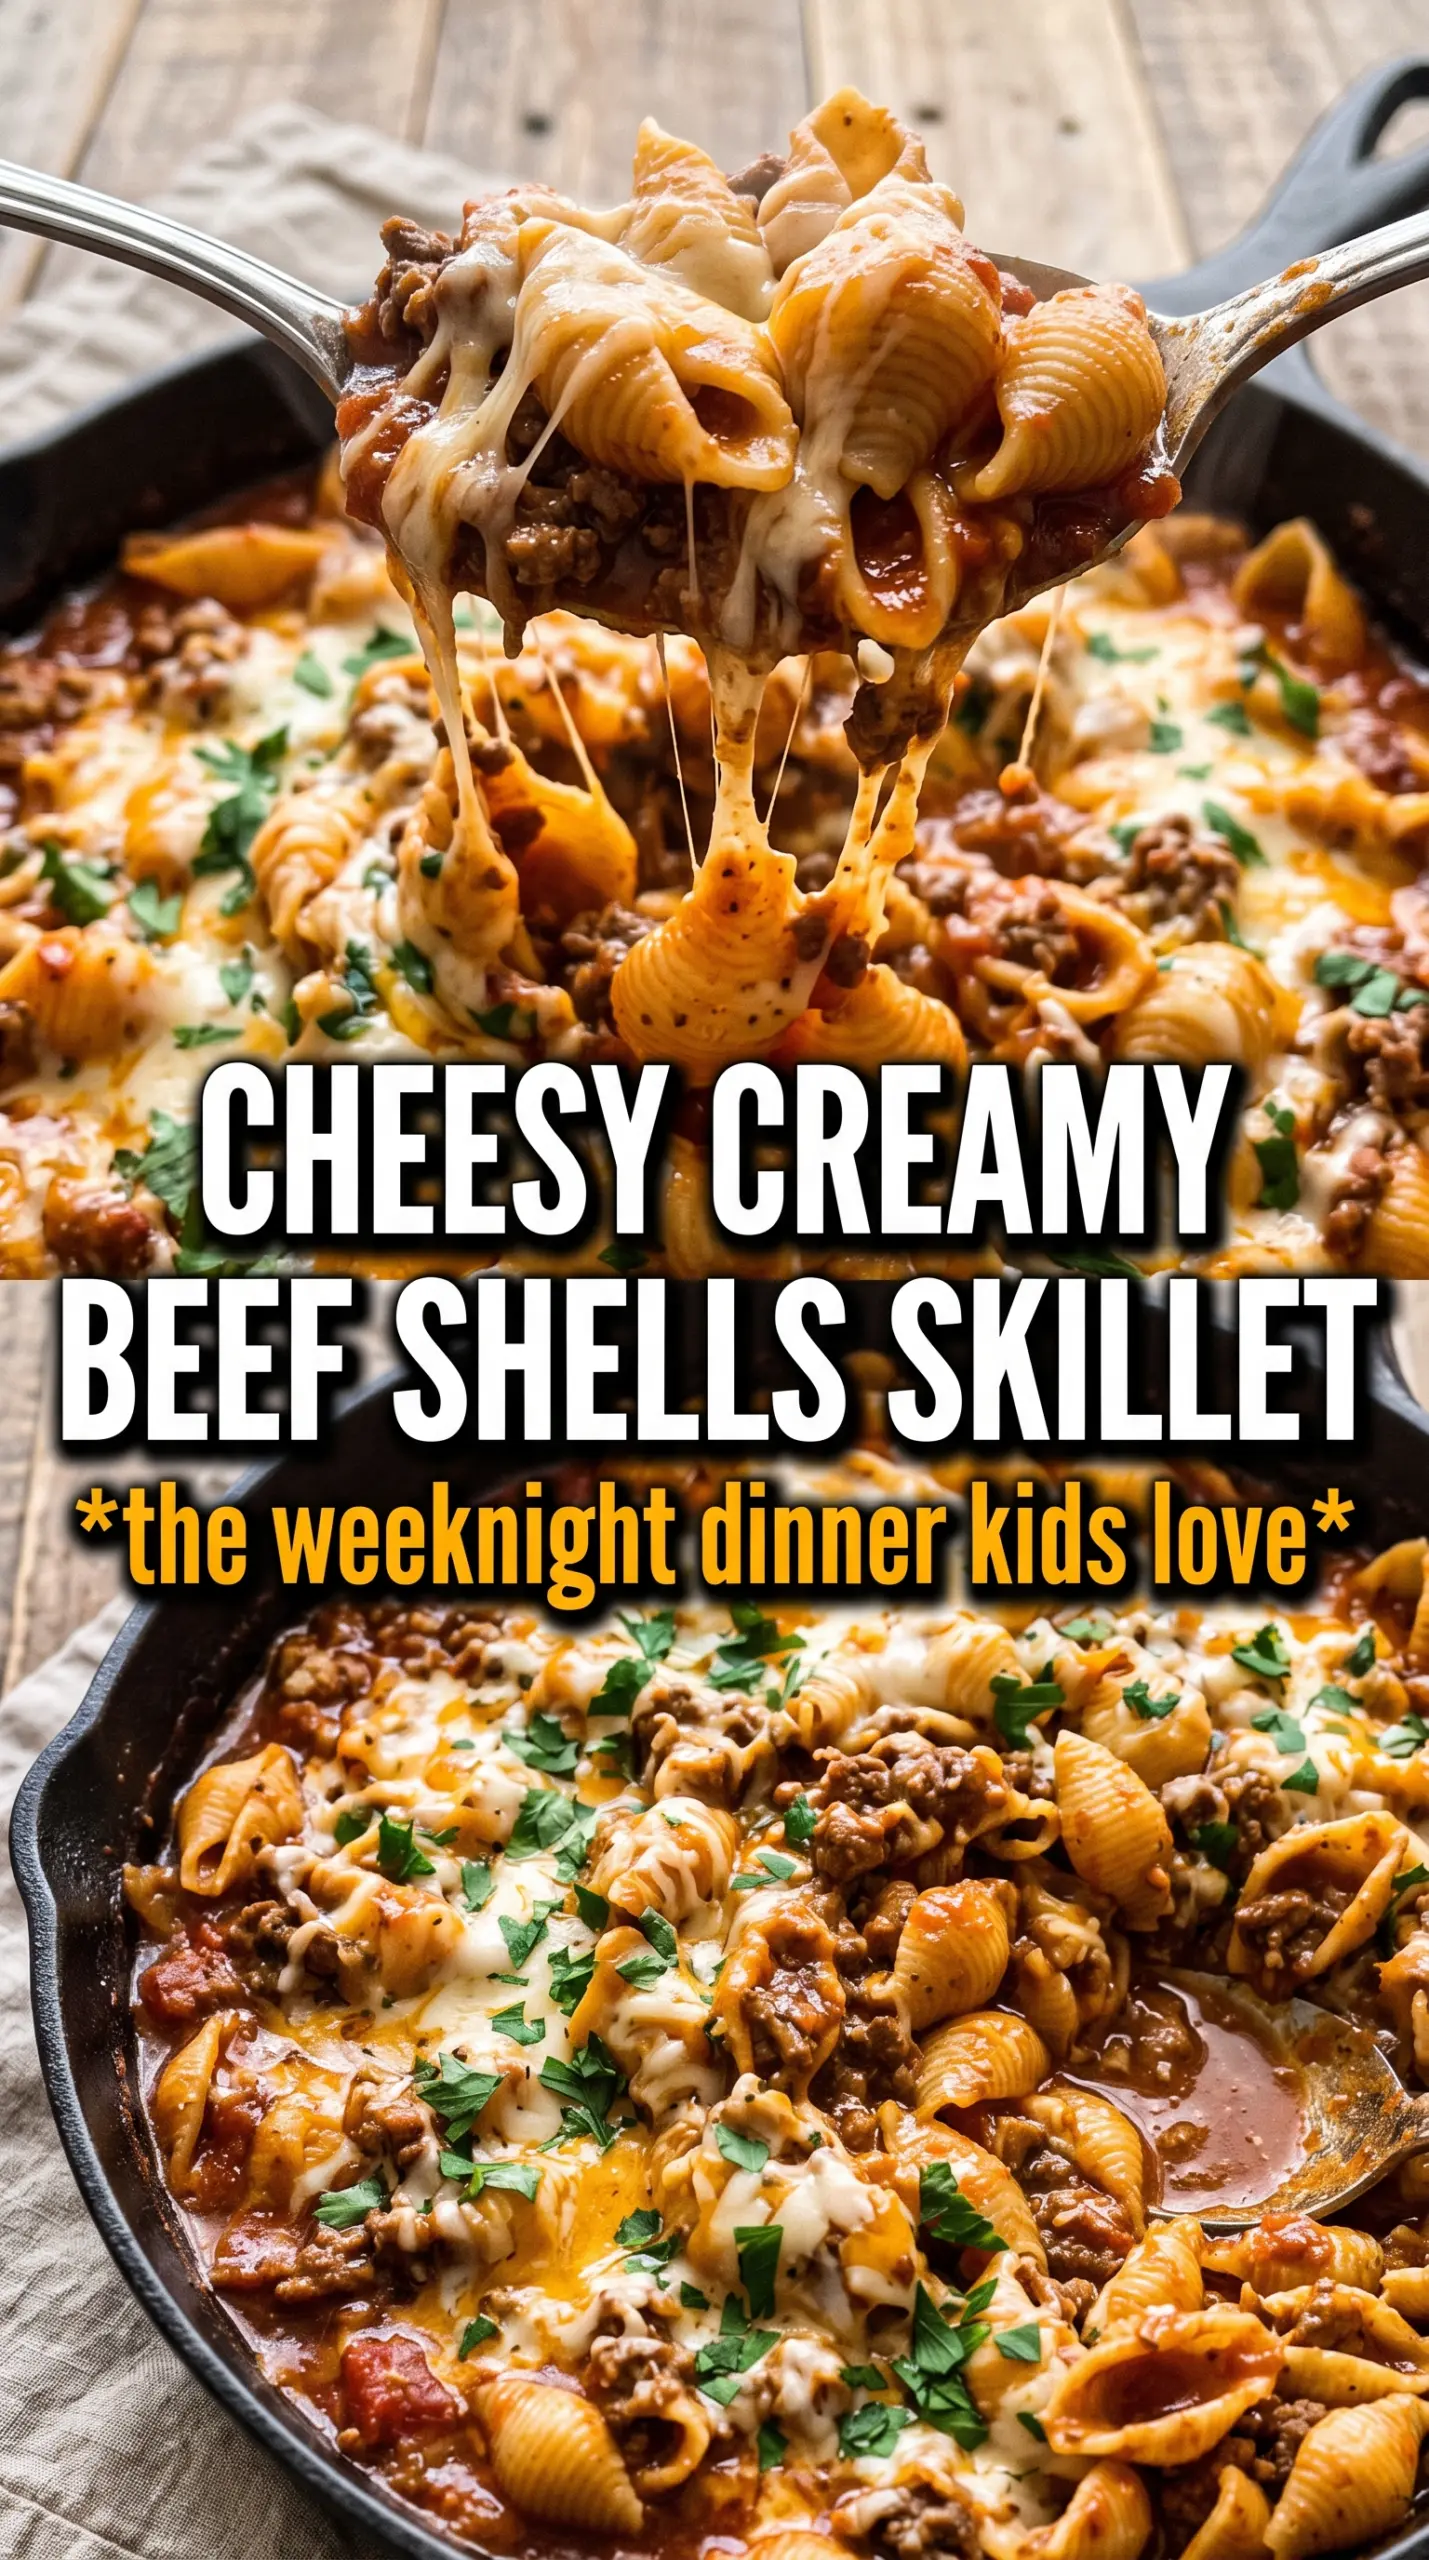
- Primary ingredient (the star) — Quality matters most. Choose the best you can find.
- Cooking medium (oil, butter, or broth) — This carries flavors and prevents dryness.
- Seasonings (salt, pepper, spices, herbs) — Layer flavors so nothing overpowers. Build depth gradually.
- Aromatics (garlic, onion, herbs) — Cook with fat to bloom flavors. Become the foundation.
- Supporting ingredients — Complement the main ingredient without overpowering it.
- Sauce or liquid (if applicable) — Brings flavors together. Balance richness with acid.
- Acid (lemon, vinegar, wine, or other) — Brightens and prevents flat-tasting results.
- Final finish (garnish, glaze, or sauce) — Prevents one-dimensional taste and adds visual appeal.
How to Build the Skillet So the Pasta Cooks Into the Sauce
Start With a Good Brown on the Beef
Cook the beef over medium-high heat until it’s no longer pink and some of the edges have browned. That browning is what gives the sauce depth, not just meatiness. If there’s a lot of fat in the skillet after cooking, drain the excess before adding the onion so the finished dish doesn’t sit on top of grease.
Soften the Onion Before the Garlic Goes In
Add the diced onion and cook it until it turns translucent and softens around the edges. That short head start keeps the onion from tasting raw in the finished sauce. Garlic goes in only for the last minute; any longer and it can burn once the tomatoes and broth hit the pan.
Let the Shells Simmer in the Broth
Once the broth, tomatoes, seasonings, and uncooked pasta go in, bring the skillet to a boil, then drop it to medium-low and cover it. The pasta should cook in a steady simmer, not a hard boil, or the outside will soften before the centers are done. Stir once or twice during cooking so the shells don’t settle and stick to the bottom.
Finish With Cream and Cheese Off the Heat
When the pasta is tender and most of the liquid has been absorbed, stir in the cream and let the sauce thicken uncovered for a couple of minutes. Then take the pan off the heat before adding the cheddar. That small pause keeps the cheese smooth and gives you a glossy sauce instead of one that turns oily or grainy.
How to Adapt This for Different Kitchens and Different Diets
Make It Gluten-Free
Use a gluten-free medium shell that holds up to simmering. Keep an eye on the liquid level near the end, because some gluten-free pastas absorb broth faster and can go from tender to soft fast. If the skillet looks dry before the pasta is done, add a splash of broth.
Use Ground Turkey Instead of Beef
Ground turkey works well if you want a lighter skillet, but it needs the seasoning more than beef does. Add a little extra smoked paprika and taste before serving, because turkey brings less built-in richness. A small splash of olive oil during browning helps replace some of the missing fat.
Make It Milder for Kids
Swap the Rotel for plain diced tomatoes if you want to cut the heat, then add a pinch more Italian seasoning so the sauce still tastes full. You’ll lose a little kick, but the cream and cheddar stay front and center. This is the version I’d make when I know everyone at the table wants comfort, not spice.
Storage and Reheating
- Refrigerator: Store in an airtight container for up to 4 days. The sauce will thicken as it chills and the pasta will keep soaking up liquid.
- Freezer: It freezes, but the cream sauce can loosen a bit after thawing. Freeze in portions for up to 2 months and expect the texture to be a little softer when reheated.
- Reheating: Warm it gently on the stove or in the microwave with a splash of broth or milk. High heat is what breaks the sauce and tightens the pasta, so reheat in short bursts and stir between them.