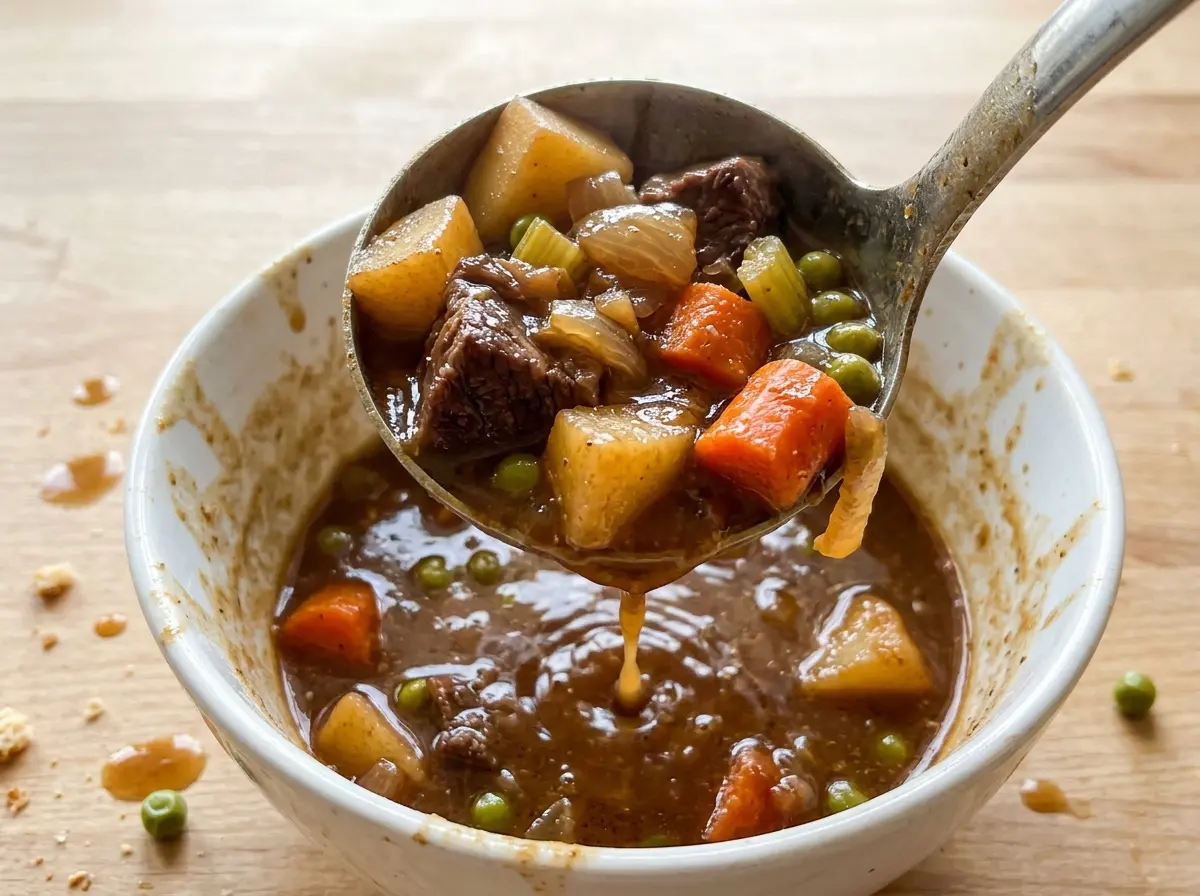
As the beef hits the hot Dutch oven, it should sizzle instead of releasing a puddle of liquid. Browning it in batches gives each piece room to develop a deep crust, and those browned bits become part of the broth. That’s the start of this Old Fashioned Beef Stew: tender chuck, soft carrots and celery, and potatoes that hold their shape in a thick, savory gravy.
I like that the stew builds in one pot without needing a separate sauce. Onion and garlic soften in the same Dutch oven, then tomato paste and flour coat the bottom before the broth goes in. Scraping up the browned bits as you stir pulls all that flavor into the liquid.
The timing is what makes the bowl feel balanced. The beef gets a long, gentle simmer before the vegetables join it, so the chuck has time to turn fork-tender without the potatoes and carrots cooking down to mush. Every spoonful is hearty, but the vegetables still have their own shape and texture.
Kitchen Note
Let the finished stew rest for the full 10 minutes before serving. It gives the broth a moment to settle around the beef and vegetables, so the first ladleful isn’t watery at the edges.
Save this Old Fashioned Beef Stew for a cozy dinner with fork-tender chuck and vegetables in a rich, one-pot gravy.
Why the Beef Gets a Head Start Before the Vegetables
Chuck doesn’t become tender just because it’s been in a hot pot for a while. It has connective tissue that softens gradually during a long, gentle simmer. At first, the cubes may feel firm when you press them with a fork; as that tissue breaks down, the beef turns supple and the broth gains body.
Carrots, celery, and potatoes need a much shorter window. If they simmer from the beginning, the potatoes can crumble and the carrots can lose their shape before the chuck is ready. Giving the beef the first stretch of covered cooking lets it get nearly fork-tender on its own, then the vegetables finish alongside it. That staged timing is what keeps the stew from becoming a pot of overcooked vegetables around still-chewy meat.
There’s no need to rush the first simmer by turning up the heat. A gentle bubble gives the beef time to soften without beating the pieces apart. Add the vegetables when the meat is nearly tender, and their shorter cook finishes the whole pot together.
What Chuck, Flour, and Yukon Golds Bring to This Pot
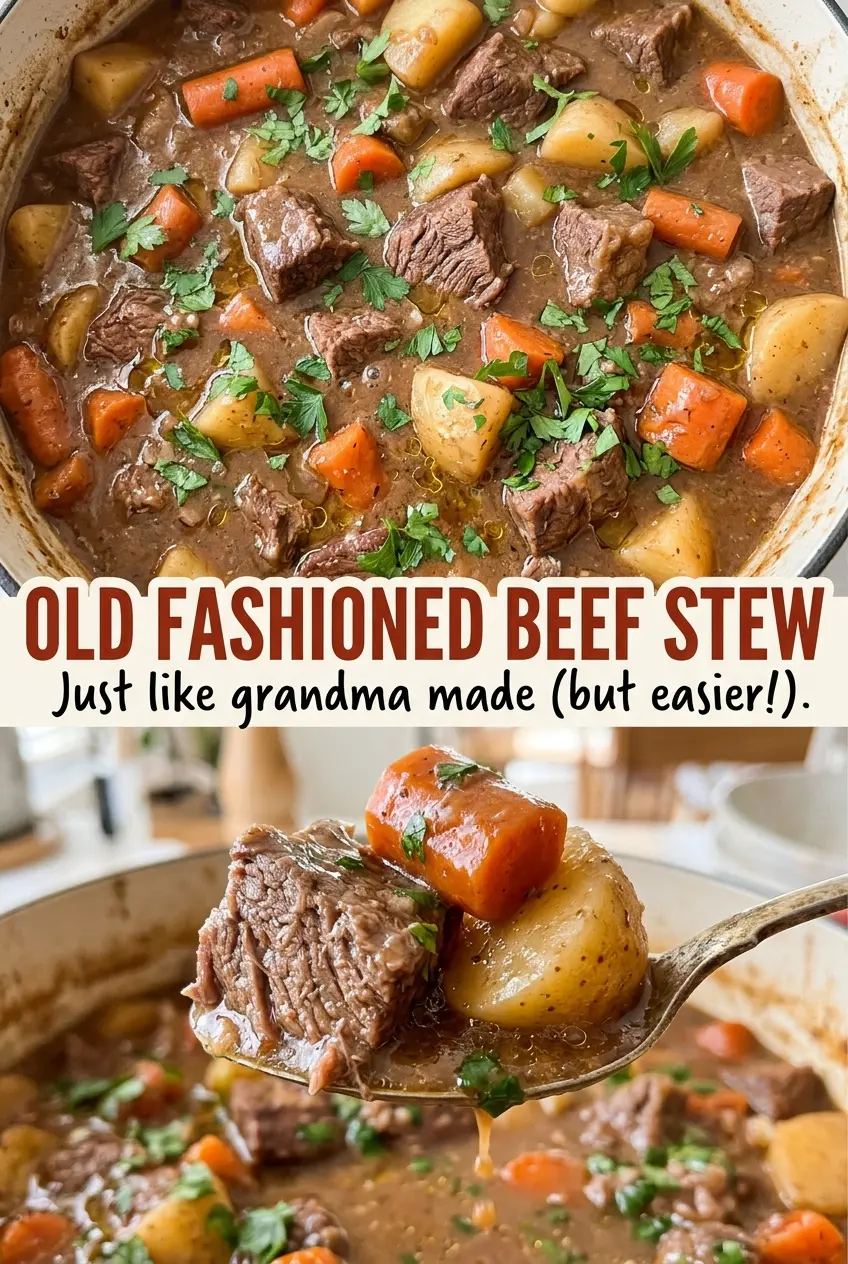
- Beef chuck — Its marbling and connective tissue suit a long braise better than lean cuts, which can turn dry before they soften. If you’re buying pre-cut stew meat, choose pieces that look like chuck and trim any oversized cubes so they cook at a similar pace.
- Yukon Gold potatoes — They turn creamy inside but hold their edges through the final simmer. Red potatoes are a useful swap if that’s what you have; cut them to the same size, though their texture will be a little waxier.
- Tomato paste and flour — The paste adds concentrated savory depth, while the flour helps the broth cling to the meat and vegetables. Stir both into the softened onion before adding liquid; flour added straight to broth is more likely to leave lumps.
- Beef broth — A regular boxed broth works well here, and a lower-sodium version gives you more control over the final seasoning. Beef stock can replace it in the same amount for a fuller, more pronounced beef taste.
- Worcestershire, thyme, and bay leaf — Worcestershire brings a tangy, savory note, while dried thyme and the bay leaf give the broth its familiar stew aroma. Keep the bay leaf whole so it’s easy to find and discard before serving.
Build the Stew in Four Stages, Without Losing the Fond
Brown the Chuck in Uncrowded Batches
Pat the beef dry with paper towels, then season it with kosher salt and black pepper. Heat the vegetable oil in a 6-quart Dutch oven over medium-high heat and brown the beef in batches for 2 to 3 minutes per side. Move each batch to a plate when it has a deep brown surface; the pieces don’t need to be cooked through yet. If the pot is crowded, the beef releases moisture and steams instead of browning.
Soften the Aromatics and Make the Base
Reduce the heat to medium and cook the diced onion, stirring occasionally, for 5 minutes. Add the minced garlic and stir for 30 seconds, just until fragrant. Stir in the tomato paste and flour and cook for 1 minute so the paste darkens slightly and the flour coats the onion. Keep stirring here so the flour doesn’t scorch against the bottom of the pot.
Deglaze and Simmer Until the Chuck Is Nearly Tender
Gradually stir in the beef broth, scraping the bottom of the Dutch oven to loosen the browned bits. Add the Worcestershire sauce, dried thyme, bay leaf, and beef with any juices that collected on the plate. Bring the liquid to a gentle boil, then cover and simmer over low heat for 1 1/2 to 2 hours. Look for a quiet bubble rather than a rolling boil, and cook until the beef is nearly fork-tender.
Add the Vegetables and Finish the Pot
Stir in the carrots, celery, and Yukon Gold potatoes, then cover the pot again. Simmer for 30 to 40 minutes, until the vegetables are tender and the beef yields easily to a fork. If the potatoes are still firm, give them more time in the covered pot rather than raising the heat. Discard the bay leaf and let the stew rest for 10 minutes before serving.
Simple Changes for a Different Pot of Stew
Make the stew gluten-free
Replace the all-purpose flour with the same volume of a gluten-free 1-to-1 flour blend. Use gluten-free beef broth and Worcestershire sauce as well; the gravy may be a little less silky, but the stew still gets its savory base and satisfying body.
Add a red-wine note to the broth
Replace 1 cup of the beef broth with dry red wine, keeping the total liquid at 4 cups. Stir it in gradually with the broth after the flour has cooked, scraping the pot as you go. The result has a deeper, slightly more pronounced tang than the classic version.
Storage and Reheating
- Refrigerator: Refrigerate leftovers within 2 hours and keep them covered for 3 to 4 days. The potatoes may soften as they sit.
- Freezer: Freeze in airtight containers for up to 3 months. Thaw overnight in the refrigerator; potatoes can be softer after freezing.
- Reheating: Warm gently in a covered saucepan over low heat, stirring now and then, until the stew reaches 165°F. Avoid a hard boil, which can break up the potatoes and beef.
Questions That Come Up When Making Beef Stew
Old Fashioned Beef Stew
Ingredients
Equipment
Method
- Pat the beef dry with paper towels.
- Season the beef with the kosher salt and black pepper.
- Heat the vegetable oil in a 6-quart Dutch oven over medium-high heat.
- Brown the beef in batches for 2 to 3 minutes per side.
- Transfer the browned beef to a plate.
- Reduce the heat to medium and cook the onion, stirring occasionally, for 5 minutes.
- Add the garlic and cook for 30 seconds.
- Stir in the tomato paste and flour and cook for 1 minute.
- Gradually stir in the beef broth, scraping up browned bits from the bottom of the pot.
- Add the Worcestershire sauce, dried thyme, bay leaf, and beef with any accumulated juices.
- Bring the stew to a gentle boil.
- Cover and simmer over low heat for 1 1/2 to 2 hours, until the beef is nearly fork-tender.
- Stir in the carrots, celery, and potatoes.
- Cover and simmer for 30 to 40 minutes, until the vegetables are tender and the beef is fork-tender.
- Discard the bay leaf.
- Let the stew rest for 10 minutes before serving.