Caramel apple cheesecake bars hit that sweet spot between a bakery-style dessert and something you can actually cut into squares and serve without a fuss. The crust stays crisp enough to hold its shape, the cheesecake layer bakes up smooth and creamy, and the apples on top bring just enough soft bite to keep every piece from feeling heavy. A final drizzle of caramel ties all three layers together.
What makes this version work is the way each layer is handled on its own. The crust gets pressed firmly so it doesn’t crumble when sliced. The cheesecake filling stays simple and is mixed just until smooth, which keeps it from turning airy and cracking. The apples are cooked briefly before baking, so they soften enough to sit neatly on top instead of watering down the filling in the oven.
Below, you’ll find the small details that matter most: how to keep the cheesecake layer from overbaking, why the apple topping should cool before it goes on, and the one chilling step you don’t want to rush if you want clean, tidy bars.
The cheesecake stayed smooth and the apples held their shape after baking. I chilled them overnight and the bars cut cleanly, with the caramel drizzling on top just before serving.
Save these caramel apple cheesecake bars for the dessert that needs a crisp crust, creamy center, and caramel-drizzled apple topping.
The Step That Keeps the Cheesecake Layer from Turning Grainy
The filling only stays silky if the cream cheese starts soft and the eggs go in one at a time. Cold cream cheese leaves tiny lumps that never fully disappear, and overbeating after the eggs are added pulls in extra air that can make the top puff and crack. Mix until smooth, then stop.
The other place people go wrong is baking too far. These bars should still have a slight wobble in the center when they come out of the oven. They finish setting as they cool, and that carryover time is what gives you a dense, creamy slice instead of a dry one.
- The crust needs to be packed firmly so it doesn’t crumble when you lift the bars from the pan.
- The cheesecake mixture should be blended just until smooth, not whipped.
- The apples should be cooked briefly before baking so they soften without turning watery.
- The bars need a long chill before slicing or the layers will slide.
What Each Layer Is Doing in These Bars
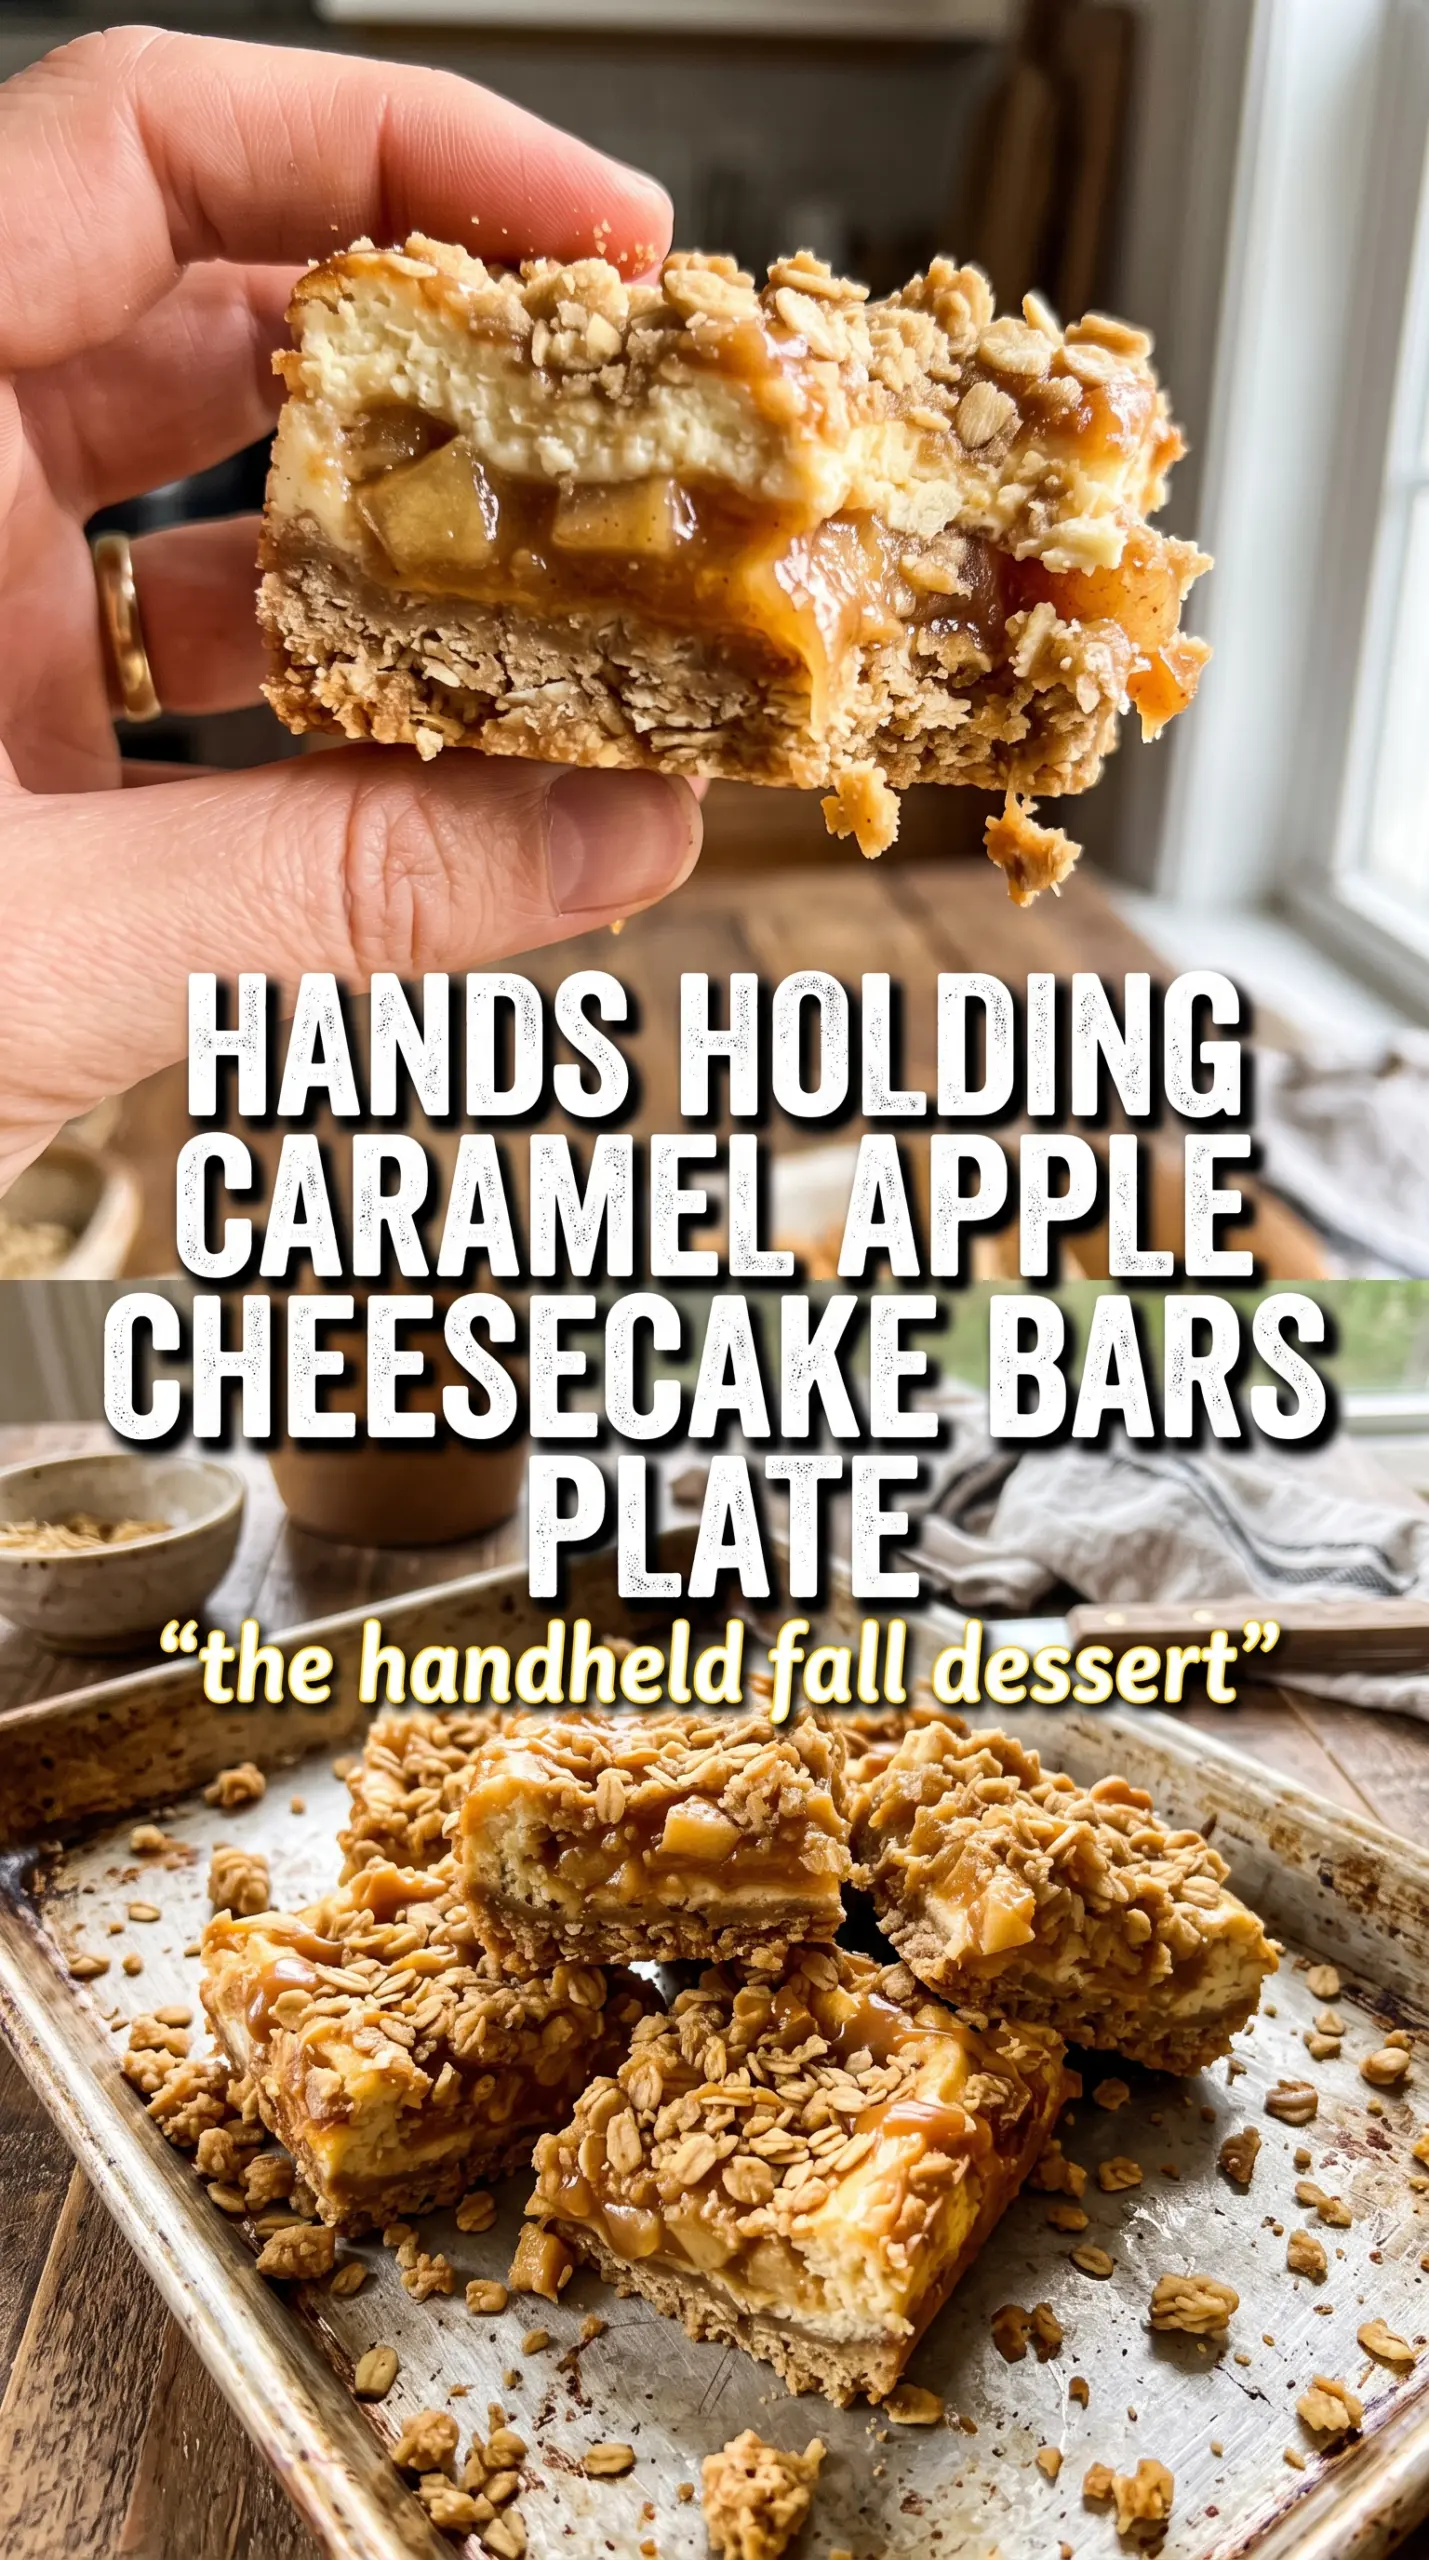
The graham cracker crust brings sweetness and structure. Use plain graham crumbs here; a homemade crumb mixture works, but the pre-crushed version saves time and gives you a more even base. The butter is what holds the crust together, so if the mixture looks sandy and won’t clump when squeezed, add another tablespoon or two.
Cream cheese is the backbone of the filling, and full-fat blocks give the best texture. Low-fat cream cheese can work in a pinch, but the bars won’t set as firmly and the flavor will be thinner. Sour cream adds a little tang and keeps the filling from tasting flat, while the vanilla rounds out the apple-caramel layer above it.
- Graham cracker crumbs — These give you a crust that tastes like cheesecake instead of a pie crust. If you use cookies instead, the bars will be sweeter and softer.
- Cream cheese — Full-fat blocks beat tubs every time for this recipe because they set cleanly and slice neatly.
- Apples — A firm baking apple like Granny Smith or Honeycrisp keeps some bite after sautéing. Soft apples will collapse into the filling.
- Caramel sauce — Drizzle it after chilling so it sits on top instead of soaking into the cheesecake layer.
Building the Bars So the Layers Stay Distinct
Pressing the Crust
Mix the graham crumbs, sugar, and melted butter until every crumb looks damp, then press the mixture into a parchment-lined 9×13 pan in an even layer. Use the bottom of a measuring cup to pack it down hard; a loose crust turns sandy when you cut the bars. Bake it just long enough to set, not until it browns deeply, or the edges will taste bitter once the cheesecake goes on top.
Mixing the Filling
Beat the cream cheese and sugar until smooth before adding the eggs one at a time. Once the eggs go in, mix only until the batter is uniform, then stir in the vanilla and sour cream. If the batter looks glossy and thick without any streaks, you’re there. Overmixing after the eggs are added is the fastest way to get a puffy top that sinks as it cools.
Cooking the Apples
Sauté the diced apples with butter, brown sugar, and cinnamon for about 5 minutes, just until they start to soften and the pan smells like caramelized fruit. You want them tender at the edges but still holding shape in the center. Let them cool slightly before layering, because hot apples can loosen the cheesecake batter and push the whole surface around.
Baking and Chilling
Scatter the apples over the filling and bake until the center is just set with a slight jiggle in the middle. Pull the pan when the edges look set and the center no longer looks wet; it will continue to firm up as it cools. Chill the bars for at least 3 hours before slicing, and longer if you want the cleanest cuts. Warm cheesecake bars always smear, no matter how sharp the knife is.
How to Adapt These Bars for Different Kitchens and Crows
Gluten-Free Crust
Use gluten-free graham-style crumbs or crushed gluten-free vanilla cookies in the same amount. The bars will still hold together, but cookie crumbs usually make the base a little sweeter and softer, so pack it down firmly before baking.
Dairy-Free Version
Use a plant-based cream cheese that bakes well, dairy-free butter, and a coconut or oat-based sour cream substitute. The texture will be a little softer and the tang slightly different, but the bars still slice well after a full chill.
Extra Cinnamon, Less Sweet Finish
If you like the apple layer a little sharper, reduce the caramel drizzle and add an extra 1/2 teaspoon cinnamon to the apples. That shifts the bars away from candy-sweet and brings the fruit forward without changing the structure.
Make-Ahead for a Party
Bake the bars a day ahead, chill overnight, and add the caramel just before serving. That keeps the top looking fresh and prevents the drizzle from soaking into the apples while the bars sit in the fridge.
Storage and Reheating
- Refrigerator: Store covered for up to 5 days. The crust softens slightly after the first day, but the bars still slice neatly when chilled.
- Freezer: These freeze well without the caramel drizzle. Wrap the cut bars tightly, freeze for up to 2 months, and thaw overnight in the fridge before serving.
- Reheating: Serve these chilled or just cool. If you want a softer bite, let a bar sit at room temperature for 10 to 15 minutes; microwaving melts the filling and ruins the clean layers.
Answers to the Questions Worth Asking
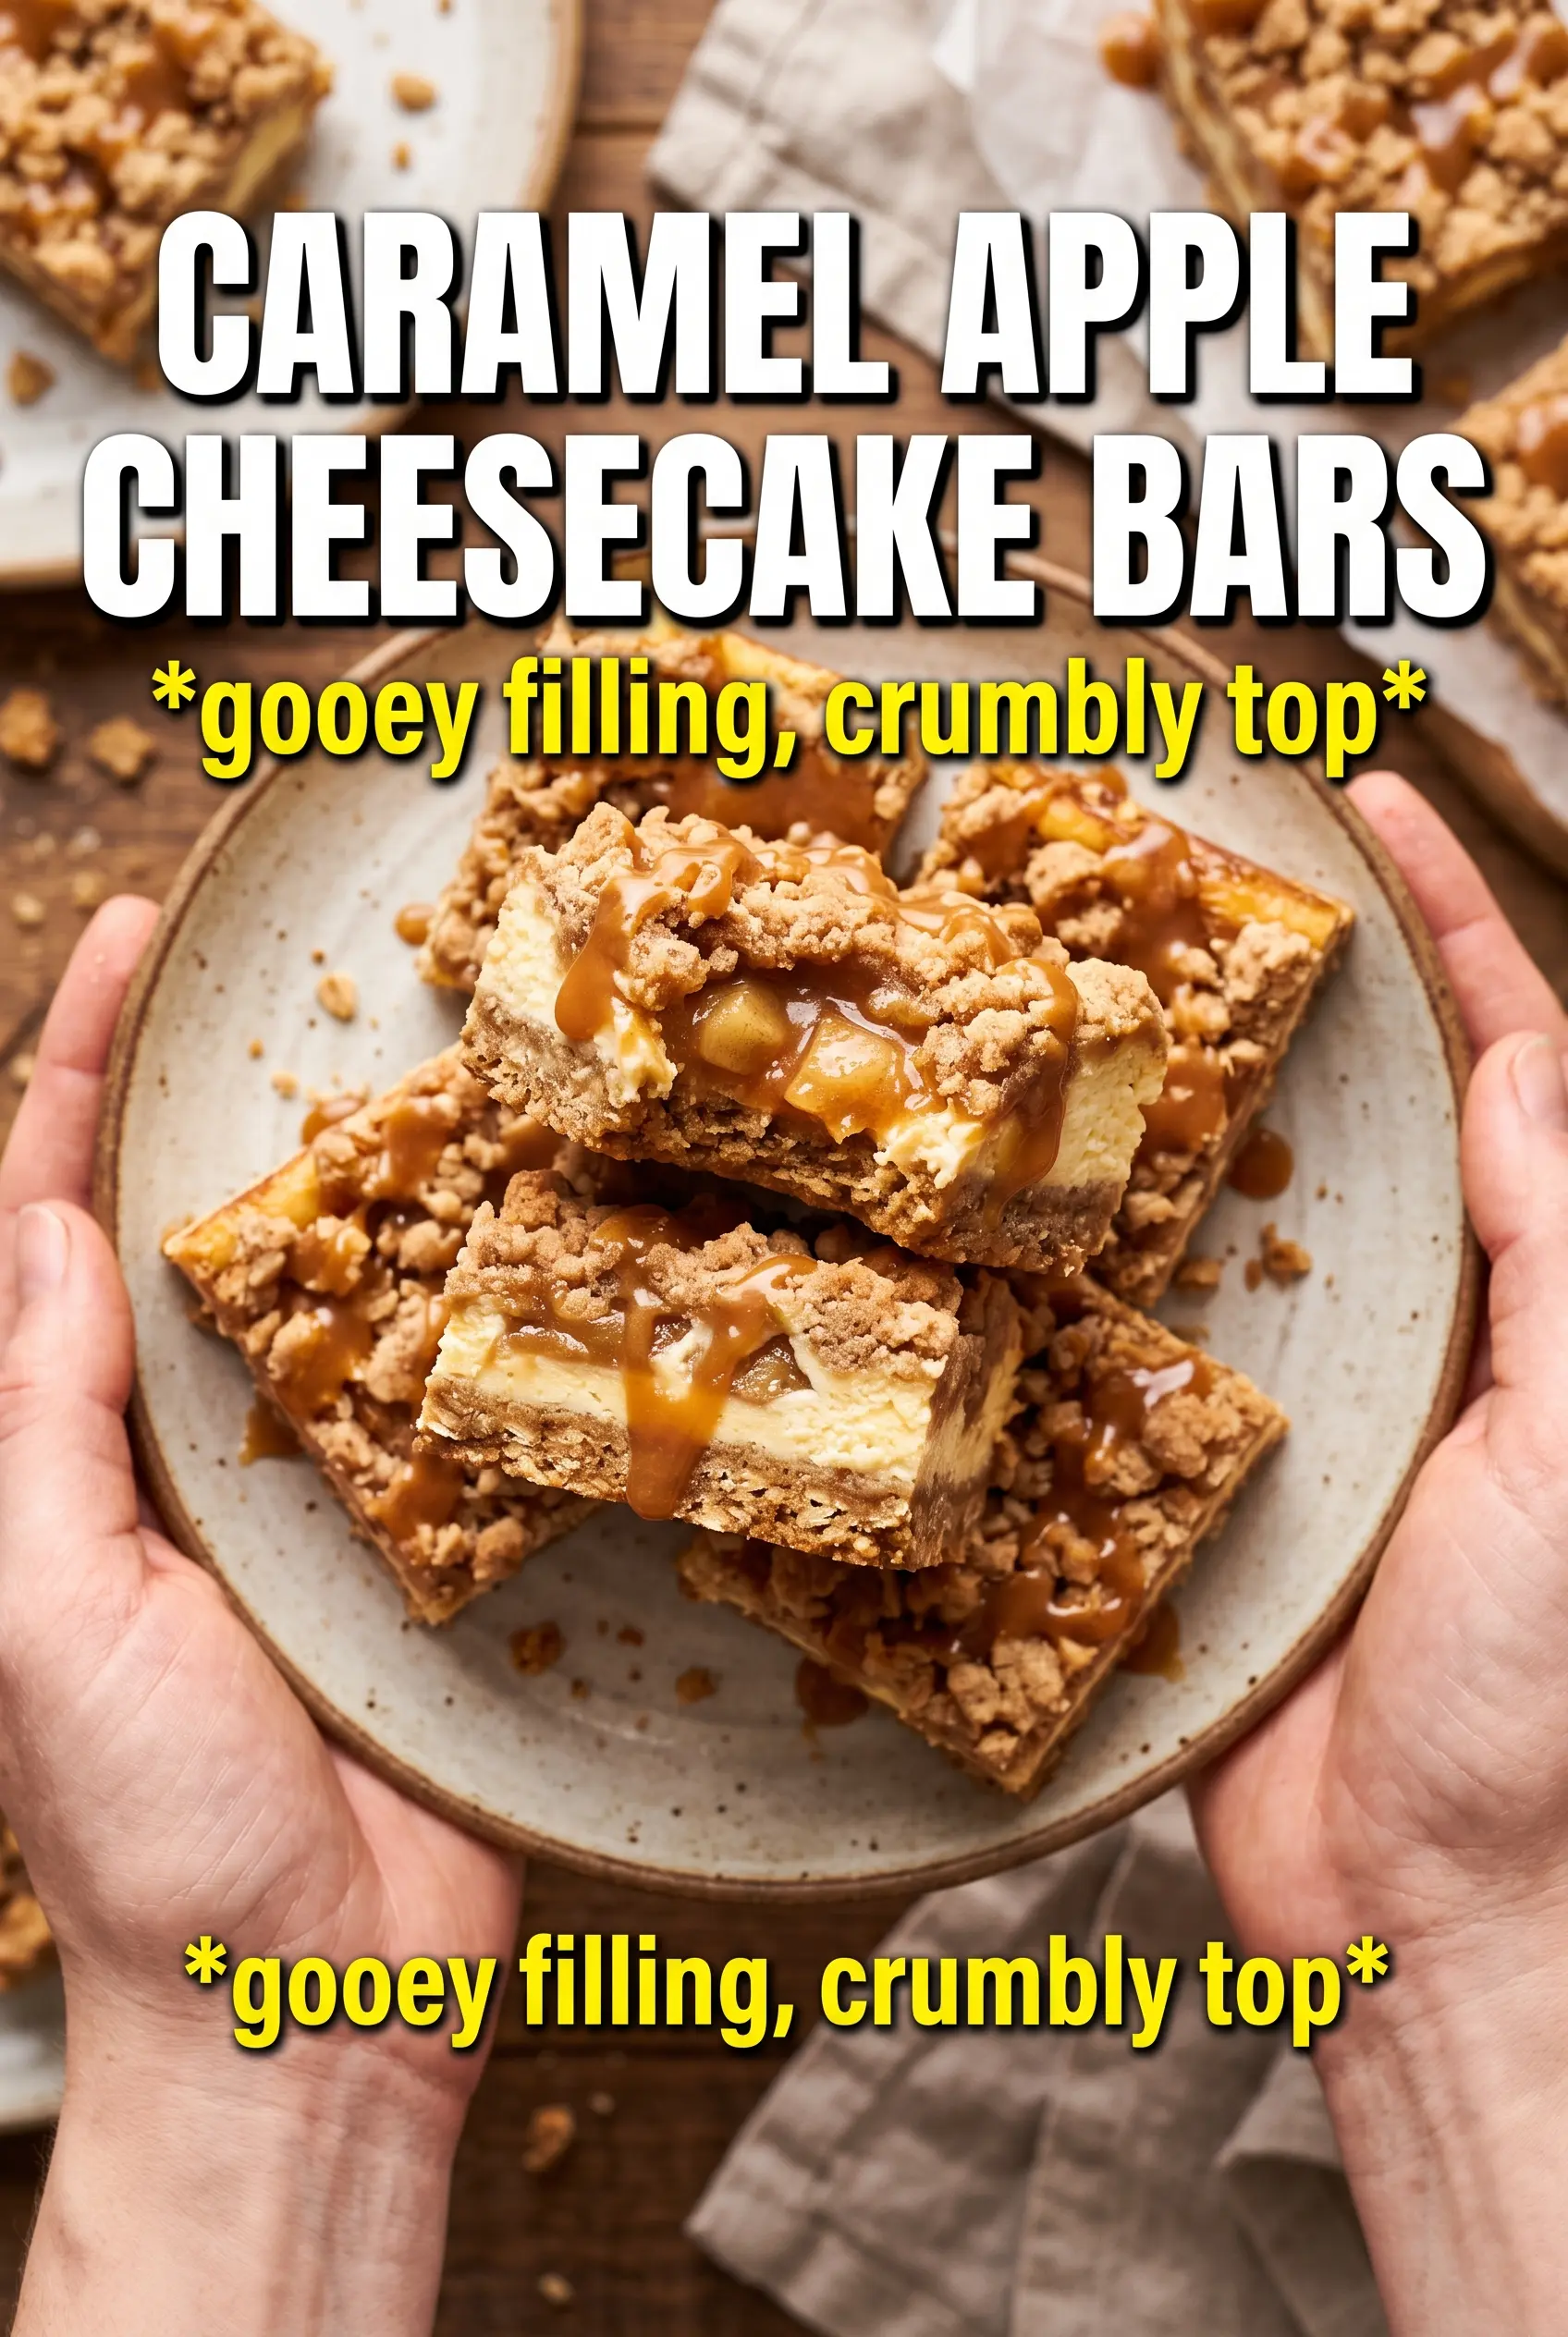
Caramel Apple Cheesecake Bars
Ingredients
Equipment
Method
- Preheat oven to 325°F and line a 9x13 pan with parchment, leaving overhang for easy lifting later.
- Combine graham cracker crumbs, granulated sugar, and melted unsalted butter, then press firmly into the pan to form an even crust layer.
- Beat cream cheese and granulated sugar until smooth, scraping the sides so there are no lumps.
- Add eggs one at a time, then mix in vanilla extract and sour cream until the batter looks glossy and fully combined.
- Pour cheesecake filling over the prepared crust and spread into an even layer.
- Sauté diced apples with butter, brown sugar, and cinnamon for 5 minutes until softened.
- Cool the apple mixture slightly, then scatter the apples over the cheesecake filling.
- Bake for 35-40 minutes at 325°F until the center is just set with a gentle wobble.
- Cool completely at room temperature, watching for the top to stop steaming, then refrigerate for 3 hours to firm up for slicing.
- Drizzle caramel sauce over the chilled bars, then cut into bars for serving.