Apple slab pie brings all the best parts of a classic pie into a format that actually feeds a crowd without a fight over the last slice. The crust bakes up flaky and browned from edge to edge, the filling settles into tender layers of cinnamon-spiced apples, and the whole thing slices cleanly into neat rectangles that hold up on a dessert table.
What makes this version work is the balance. The apples get tossed with cornstarch before they go into the crust, which keeps the juices from flooding the pan, and the lemon juice keeps the filling from tasting flat. Pressing the crusts together for both the bottom and top gives you enough structure for a rimmed sheet pan, but you still get that homemade pie texture instead of something heavy or dense.
Below, I’ve included the small details that matter most: how to keep the bottom crust from going soggy, how to know when the filling has actually cooked through, and how to glaze it without making the top sticky before it cools.
The crust stayed crisp underneath and the filling set up beautifully after cooling. I used the full 45 minutes, and the apples were tender without turning mushy.
Like this apple slab pie? Save it for the next time you need a flaky crowd-sized dessert with glossy cinnamon apples.
The Trick to Keeping a Sheet Pan Pie Crisp Instead of Soggy
A slab pie has more surface area than a standard pie, which means more chances for the bottom crust to turn soft if the filling is too wet. Cornstarch handles the apple juices, but it only works if the pie gets a full bake long enough for the filling to bubble through the center. That bubbling is your signal that the starch has activated and the juices have thickened enough to slice cleanly later.
The other place people get into trouble is the crust seam. Pressing two crusts together sounds simple, but if the dough is cold and the edges aren’t sealed well, the top can pull away while baking and leak syrupy filling into the pan. Crimping firmly and cutting steam vents keeps the pastry from ballooning or splitting.
What the Apples, Thickeners, and Spices Are Doing Here
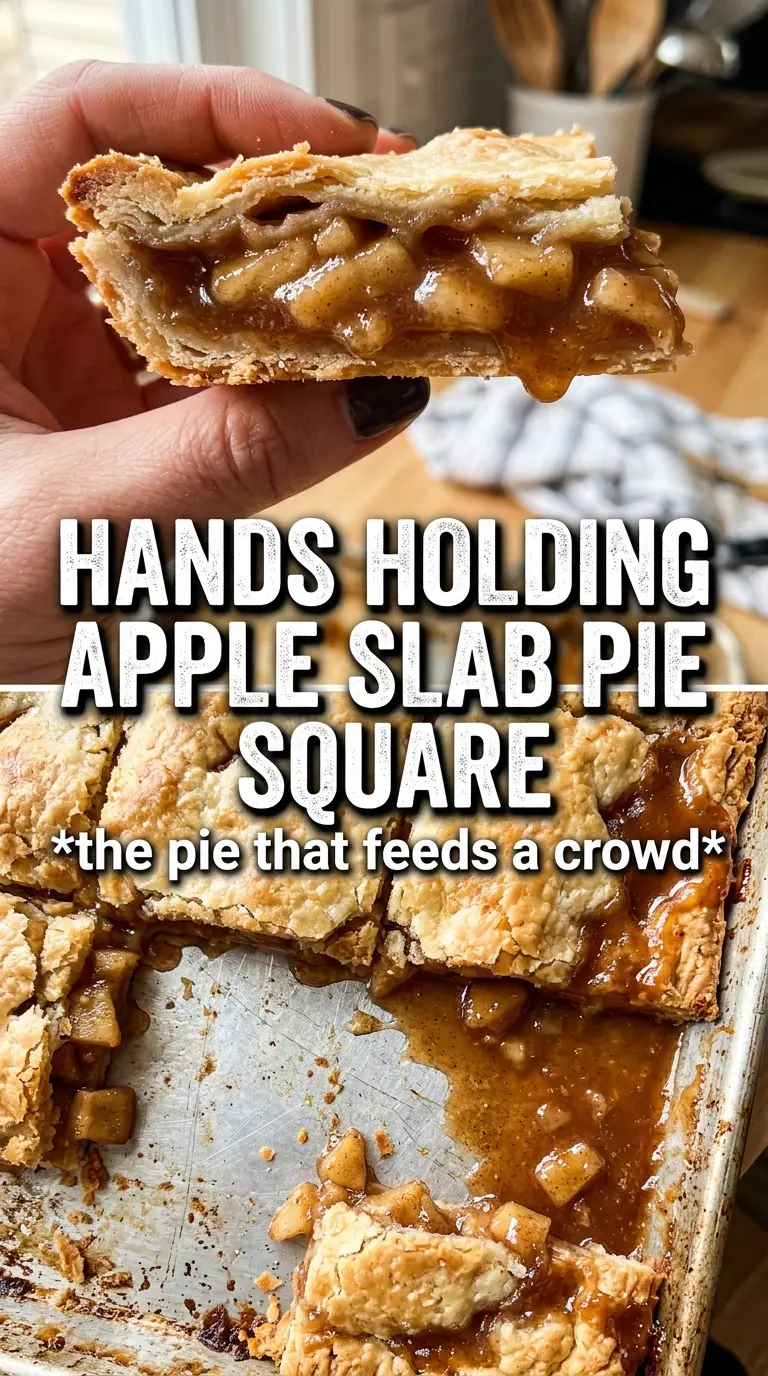
- Apples — Use a firm baking apple that holds its shape, like Granny Smith, Honeycrisp, Braeburn, or a mix. Softer apples break down too fast and leave you with pie filling that turns to sauce before the crust is done.
- Cornstarch — This is what turns the apple juices into a glossy, sliceable filling. Flour can work in a pinch, but it takes more thickening power and can leave the filling a little cloudy or pasty.
- Brown sugar plus granulated sugar — White sugar keeps the filling bright and clean; brown sugar adds a deeper caramel note. If you only have one or the other, use it, but the blend gives you the best balance.
- Lemon juice — This keeps the apples from tasting dull and helps the filling taste like apples, not just sugar and spice. Fresh lemon is best, but bottled works fine here.
- Pie crusts — Refrigerated crusts are a practical shortcut and bake up nicely in this format. If you use homemade dough, roll it a little thicker than you would for a standard pie so it can support the wider pan.
Building the Filling So the Apples Cook Through Without Collapsing
Mix the Apples Last and Coat Everything Evenly
Start by tossing the sliced apples with the sugars, spices, cornstarch, and lemon juice until every slice looks lightly coated. You want the cornstarch distributed before the filling hits the crust, because dry pockets of starch turn gummy once they bake. Thin slices cook faster and pack more evenly, which matters in a sheet pan where you need the center and edges to finish at the same time.
Pack the Pan Without Crushing the Fruit
Spread the filling over the bottom crust in an even layer, but don’t press it down hard. The apples need some space so steam can move through the pan, and that steam is part of what cooks the filling. Dotting the top with butter adds a little richness and helps the juices taste rounder once they bake.
Seal, Vent, and Bake Until the Center Is Bubbling
Lay the top crust over the apples, seal the edges, then cut vents so the steam has somewhere to escape. Brush with egg wash and add the cinnamon sugar before baking, while the pastry is still cold and the oven is fully heated to 400°F. Bake until the top is deep golden and you can see bubbling juices near the vents and edges; if the pie looks pale, the filling probably isn’t done underneath yet.
How to Make This Apple Slab Pie Work for Your Table
Use an all-butter homemade crust
A homemade all-butter crust gives you a richer flavor and a more dramatic flaky finish, but it needs to stay cold the whole way through. Roll it slightly larger than you think you need so it can cover the 15×10 pan without stretching, or it will shrink back and leave the corners exposed.
Make it dairy-free
Swap the butter in the filling for a dairy-free butter alternative and brush the top with plant-based milk instead of egg wash if needed. The crust will bake up a little less glossy, but the filling and spice balance stay the same.
Lean into a sharper apple flavor
Use mostly Granny Smith apples if you want a brighter, tangier pie that cuts through the glaze. The filling will taste less candy-sweet and hold its shape a little more firmly, which is helpful if you’re serving it after a heavy meal.
Storage and Reheating
- Refrigerator: Store covered for up to 4 days. The crust softens a little after day one, but the flavor stays excellent.
- Freezer: Freeze baked slices tightly wrapped for up to 2 months. Thaw in the fridge before reheating so the crust doesn’t get soggy.
- Reheating: Warm slices in a 325°F oven or toaster oven until the crust crisps back up. The microwave softens the pastry fast, so skip it if you want a flaky edge.
Questions I Get Asked About This Apple Slab Pie
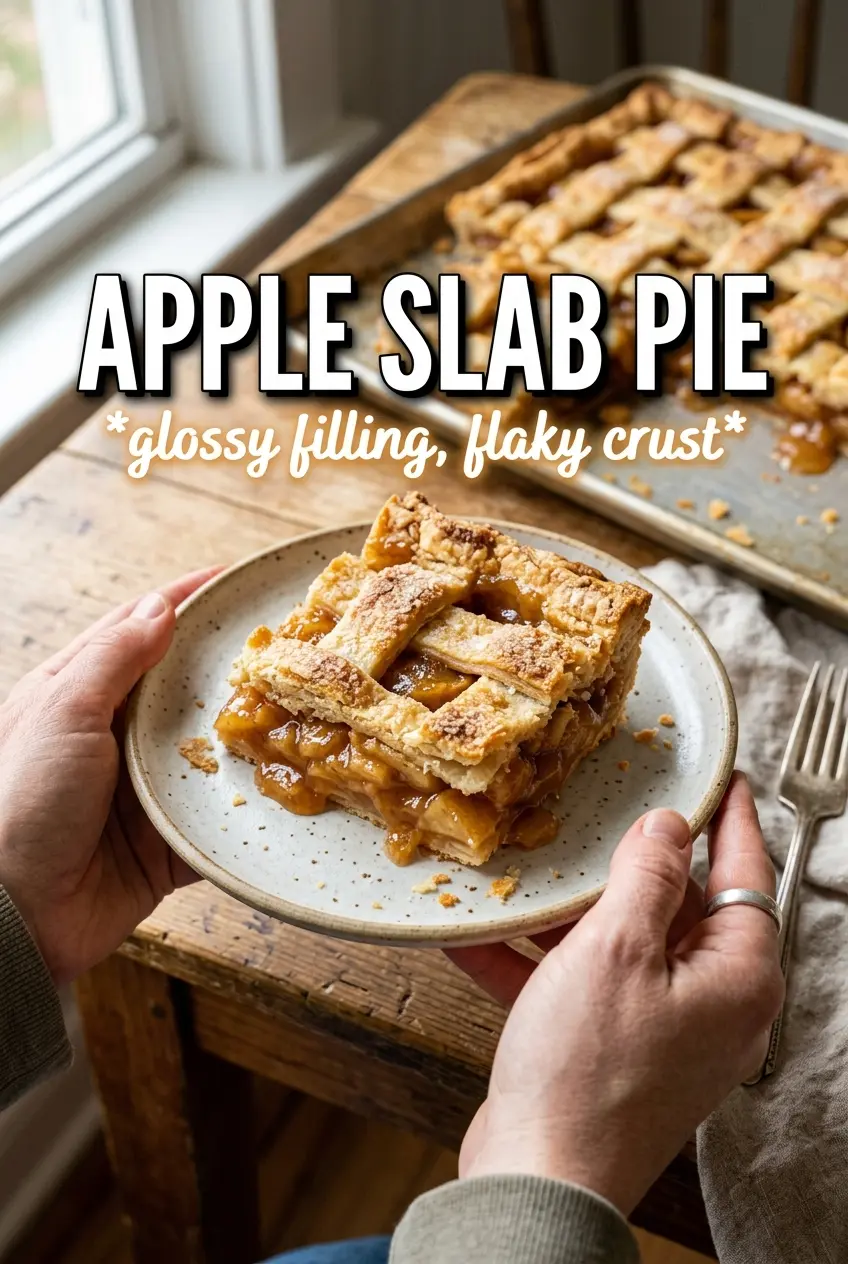
Apple Slab Pie
Ingredients
Equipment
Method
- Preheat the oven to 400F and set a rack in the middle so the slab pie bakes evenly.
- Lightly grease a 15x10 rimmed baking sheet, then press two pie crusts together in an even layer and prick the bottom with a fork.
- Toss the apple slices with granulated sugar, brown sugar, cinnamon, nutmeg, allspice, cornstarch, and lemon juice until the pieces look evenly coated.
- Spread the apple filling over the bottom crust in an even layer, then dot with the diced butter.
- Top with the remaining two pie crusts pressed together, then crimp the edges to seal all around.
- Brush the top with the beaten egg, sprinkle with the cinnamon sugar mixture, and cut steam vents so steam can escape during baking.
- Bake for 40-45 minutes at 400F until the slab pie is golden and bubbling at the center.
- Let cool, then drizzle with the powdered sugar glaze made with cider or milk for a finished sweet top.