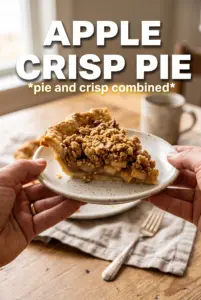
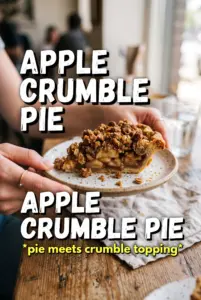
Apple crumble pie lands in that sweet spot between a classic double-crust pie and a fruit crisp: you get a flaky bottom, soft spiced apples, and a thick oat topping that bakes into crisp, nubby crumbles. The best part is the contrast. The filling stays juicy and syrupy underneath, while the topping takes on a deep golden crunch that holds up even after the pie cools.
This version works because the apples are tossed with cornstarch before baking, which gives the juices enough body to set instead of running all over the plate. Lemon juice keeps the filling from tasting flat, and the cold butter in the crumble stays in little pockets until the oven turns them into browned, buttery bits. That combination gives you a pie that slices cleanly without losing its rustic texture.
Below, I’ll show you the small details that keep the topping crisp and the filling from turning watery. The ingredient notes explain which apples behave best, and the process section covers the one timing trick that makes a big difference when the pie comes out of the oven.
The filling set up beautifully and the crumble stayed crunchy even the next day. I added the foil at the 35-minute mark and the top came out perfectly golden instead of burnt.
Love the golden oat crumble and spiced apple filling? Save this Apple Crumble Pie for the dessert nights when you want something cozy with a crisp, buttery topping.
The Secret to a Crumble That Stays Crisp Over the Apples
The biggest mistake with apple crumble pie is treating the topping like a soft streusel and the filling like it will magically thicken on its own. Apples release a lot of juice as they bake. If the topping is too fine, it steams instead of crumbles, and if the filling doesn’t have enough starch, that juice runs straight through the crust.
Cold butter and chunky oats are doing important work here. The butter needs to stay in small pieces so it melts in the oven and creates those uneven, crisp clumps. Cornstarch needs time and heat to activate, which is why the pie has to bubble all the way through before you pull it out. If the edges are set but the center isn’t bubbling, the filling probably hasn’t thickened yet.
- Apples — Use firm baking apples that hold their shape. Softer apples turn mushy and collapse into the filling. A mix of tart and sweet apples gives the best balance, but any firm variety works if it doesn’t fall apart in the oven.
- Cornstarch — This is what gives the juices body. Flour can work in a pinch, but it takes more of it and the filling can taste duller. Cornstarch is cleaner and sets with a smoother finish.
- Cold butter — Don’t soften it. Cold cubes create the chunky crumble texture that makes this pie stand out. If the butter melts before baking, you’ll get a sandy topping instead of crisp crags.
- Lemon juice — It brightens the apples and keeps the sweetness from tasting heavy. It’s a small amount, but it makes the filling taste more like apples and less like sugar syrup.
What Each Part of the Filling and Topping Is Doing
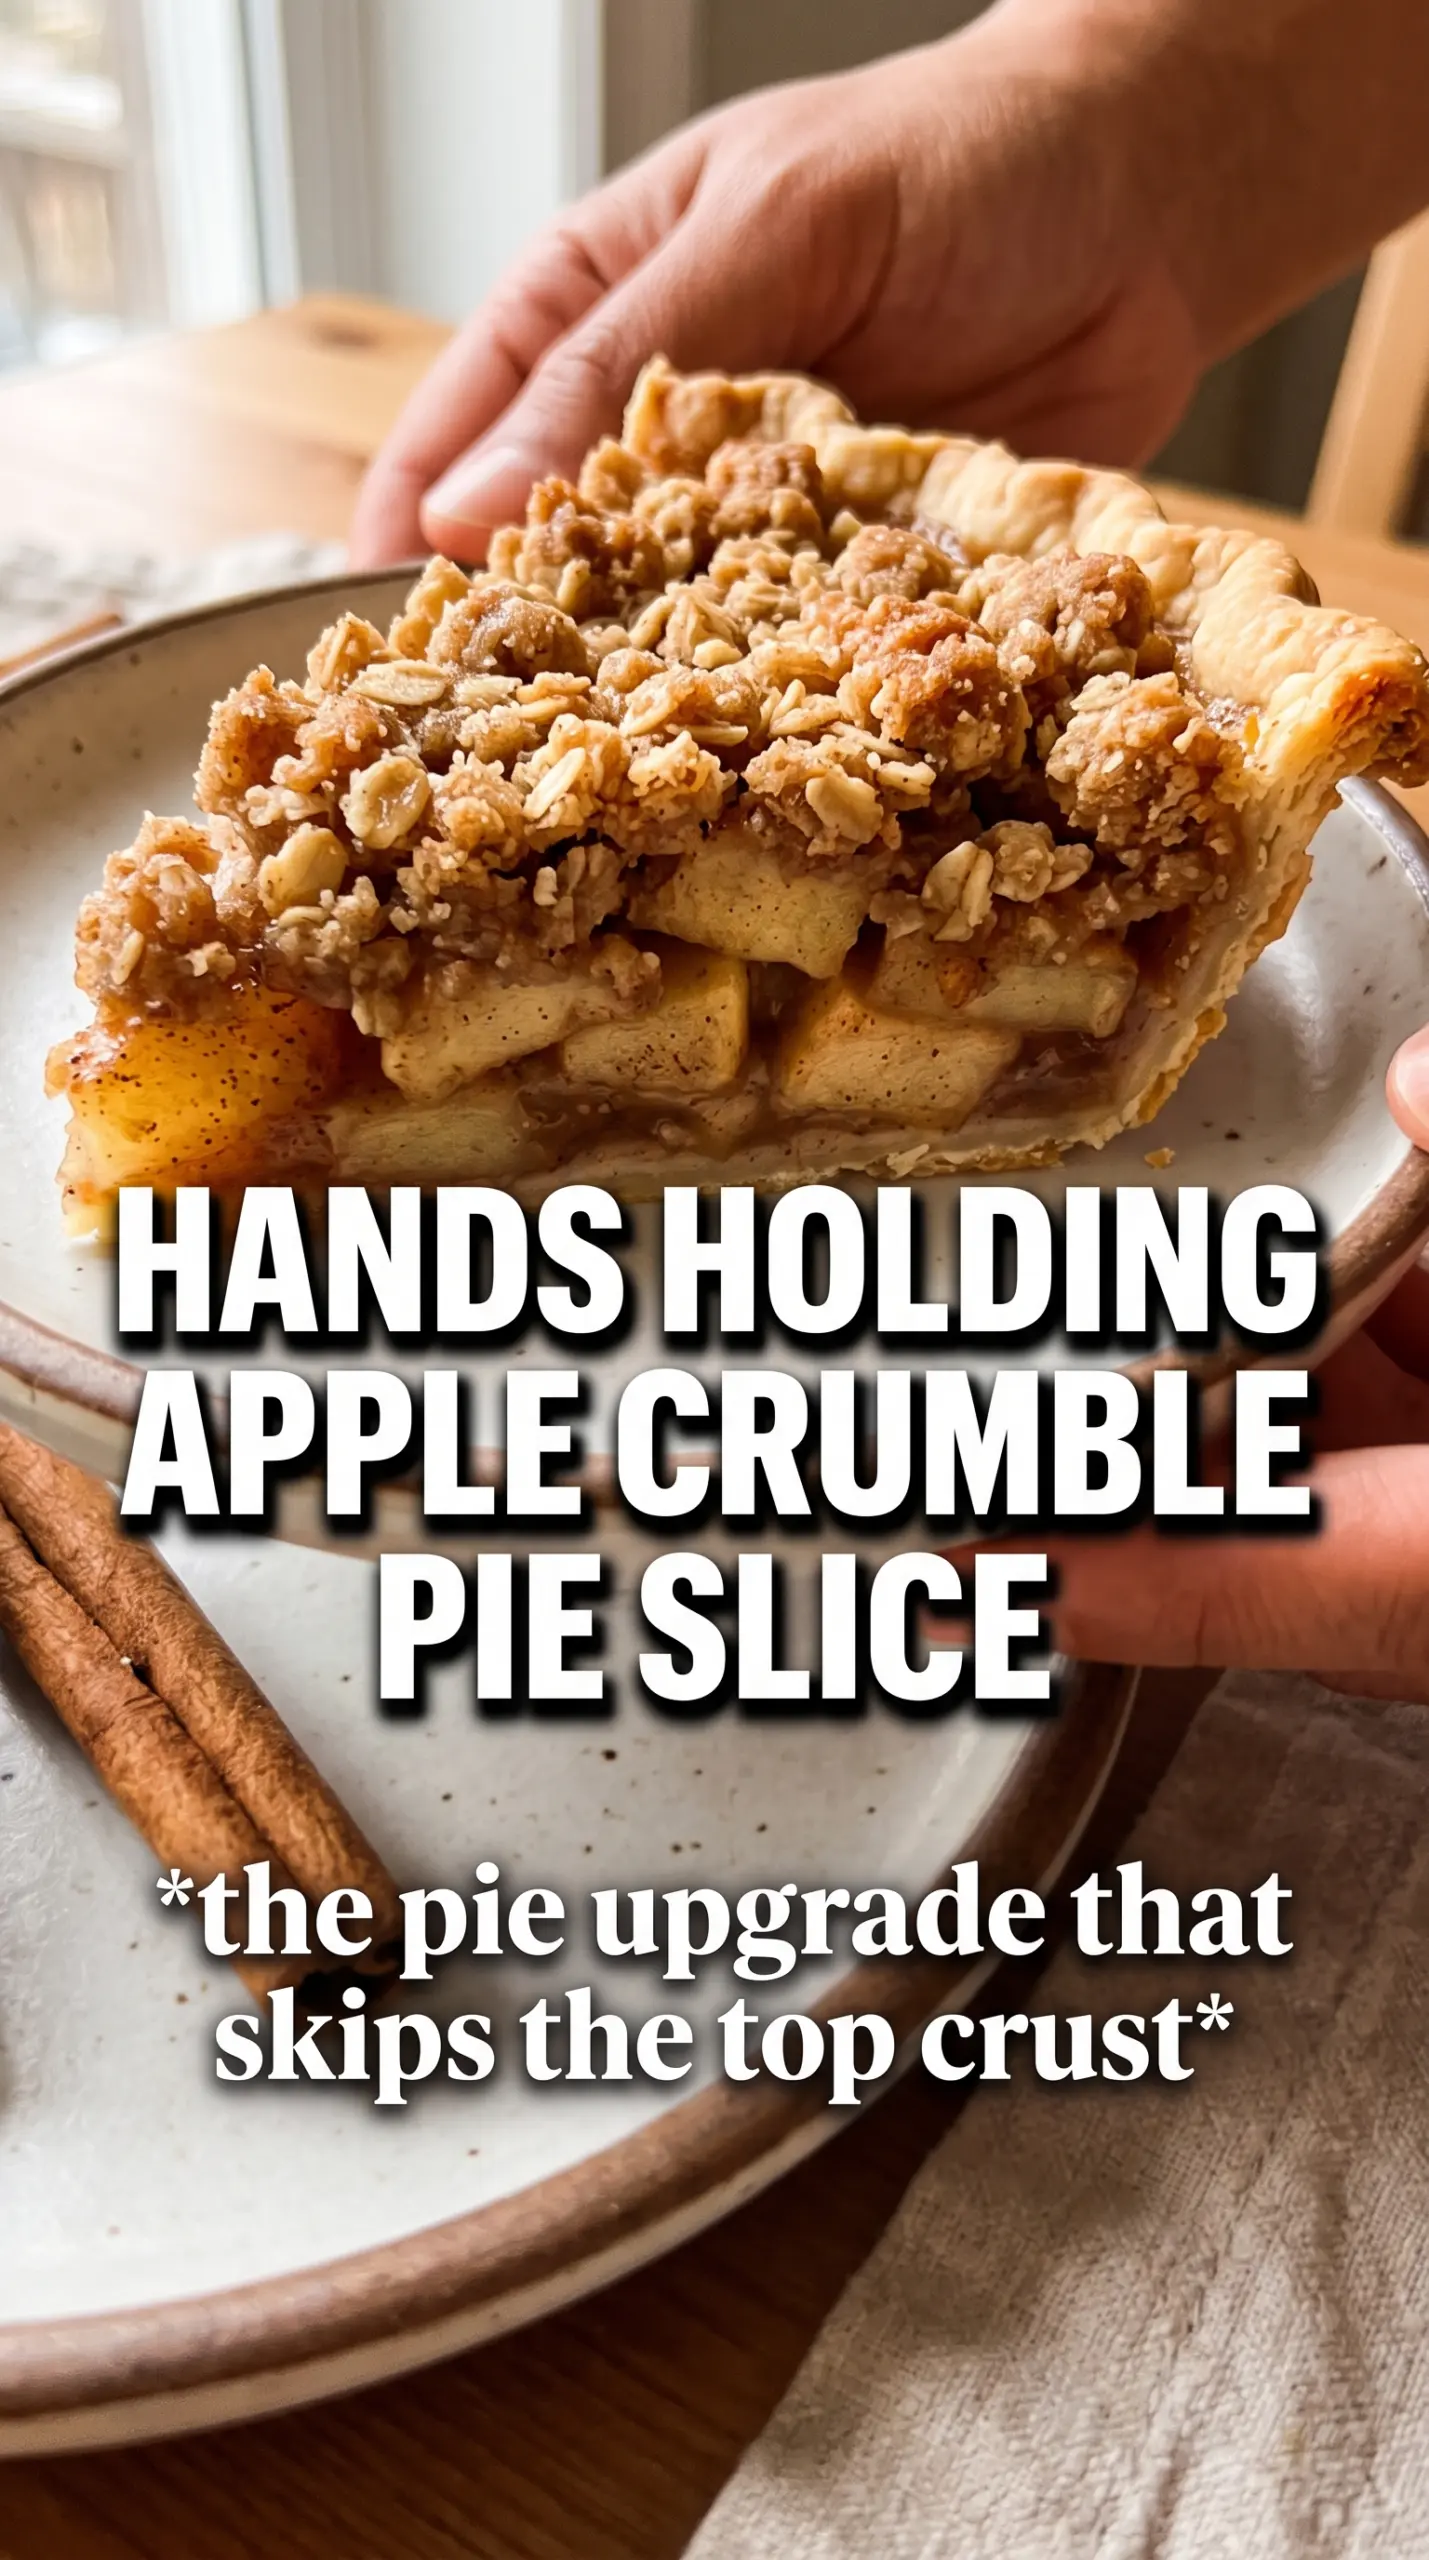
- Pie shell — The unbaked shell gives you a tender bottom crust that bakes under the fruit. A store-bought shell is fine here if it’s deep enough and held cold before baking.
- Rolled oats — These add the rough, crisp texture that makes the topping feel hearty. Quick oats will work, but the crumble will be softer and less distinct.
- Brown sugar — This brings molasses depth and helps the topping brown. White sugar won’t give the same caramel note or the same cozy color.
- Cinnamon and nutmeg — Cinnamon carries the main spice, while nutmeg adds warmth without taking over. The nutmeg is subtle, but it keeps the filling from tasting one-note.
- All-purpose flour — It binds the crumble just enough so the butter can form clumps instead of disappearing into the oats. Almond flour won’t give the same structure.
Building the Pie So the Bottom Crust Doesn’t Turn Soggy
Getting the Apples Ready
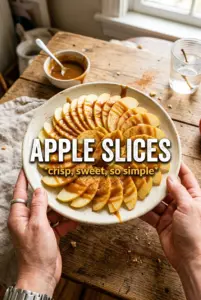
Toss the sliced apples with the sugar, spices, cornstarch, and lemon juice until every slice looks lightly coated. The cornstarch won’t look like much at this stage, but it matters once the apples start releasing liquid in the oven. Pile the filling into the shell and mound it slightly in the center, because the apples will settle as they soften. If the apples are cut too thin, they collapse before the crumble has time to brown.
Making the Crumble in Chunks
Mix the oats, flour, brown sugar, cinnamon, and salt first, then cut in the cold butter until the mixture forms uneven clumps. Those clumps are what turn into crisp craggy pieces in the oven. If the topping looks sandy, keep working it with your fingertips or a pastry cutter until you see larger bits. Don’t melt the butter in the bowl; that’s how you lose the texture that makes the top worth eating.
Baking Until the Filling Bubbles
Scatter the crumble over the apples in a thick layer and bake until the top is deeply golden and the filling is bubbling at the edges and through the center. That bubbling is the sign that the cornstarch has activated and the juices have thickened. If the top browns too quickly, lay foil loosely over the pie after about 35 minutes. Pulling it early gives you runny filling, even if the top looks done.
Letting the Pie Set Before Slicing
Cool the pie for at least an hour before cutting into it. This resting time lets the filling settle so the slices hold together instead of spilling out. The pie will still be warm, but the juices need that pause to thicken properly. If you cut it too soon, the filling will look loose no matter how well you baked it.
How to Adapt This Pie When You Need a Different Version
Gluten-Free Crumble Pie
Swap the all-purpose flour in the crumble for a 1:1 gluten-free baking blend and check that your oats are certified gluten-free. The texture stays close to the original, though the topping may bake a little more tender and a touch less structured.
Dairy-Free Version
Use a solid plant-based butter that stays firm when cold. The crumble needs that same chilled texture, so choose one meant for baking rather than a soft tub spread. The flavor stays rich, though the finish may be slightly less buttery.
Making It Less Sweet
Cut the granulated sugar in the filling back by 2 to 3 tablespoons if your apples are naturally sweet. The pie will taste brighter and a little less syrupy, but keep the brown sugar in the topping where it helps the crumble brown and crisp.
Storing and Reheating Leftovers
- Refrigerator: Store covered for up to 4 days. The topping will soften a bit, but the flavor stays good.
- Freezer: Apple crumble pie freezes well after baking and cooling completely. Wrap slices tightly or freeze the whole pie, then thaw in the fridge overnight.
- Reheating: Warm slices in a 325F oven until the filling is hot and the top crisps back up. The microwave will heat the filling, but it softens the crumble and dulls the texture.
Answers to the Questions Worth Asking
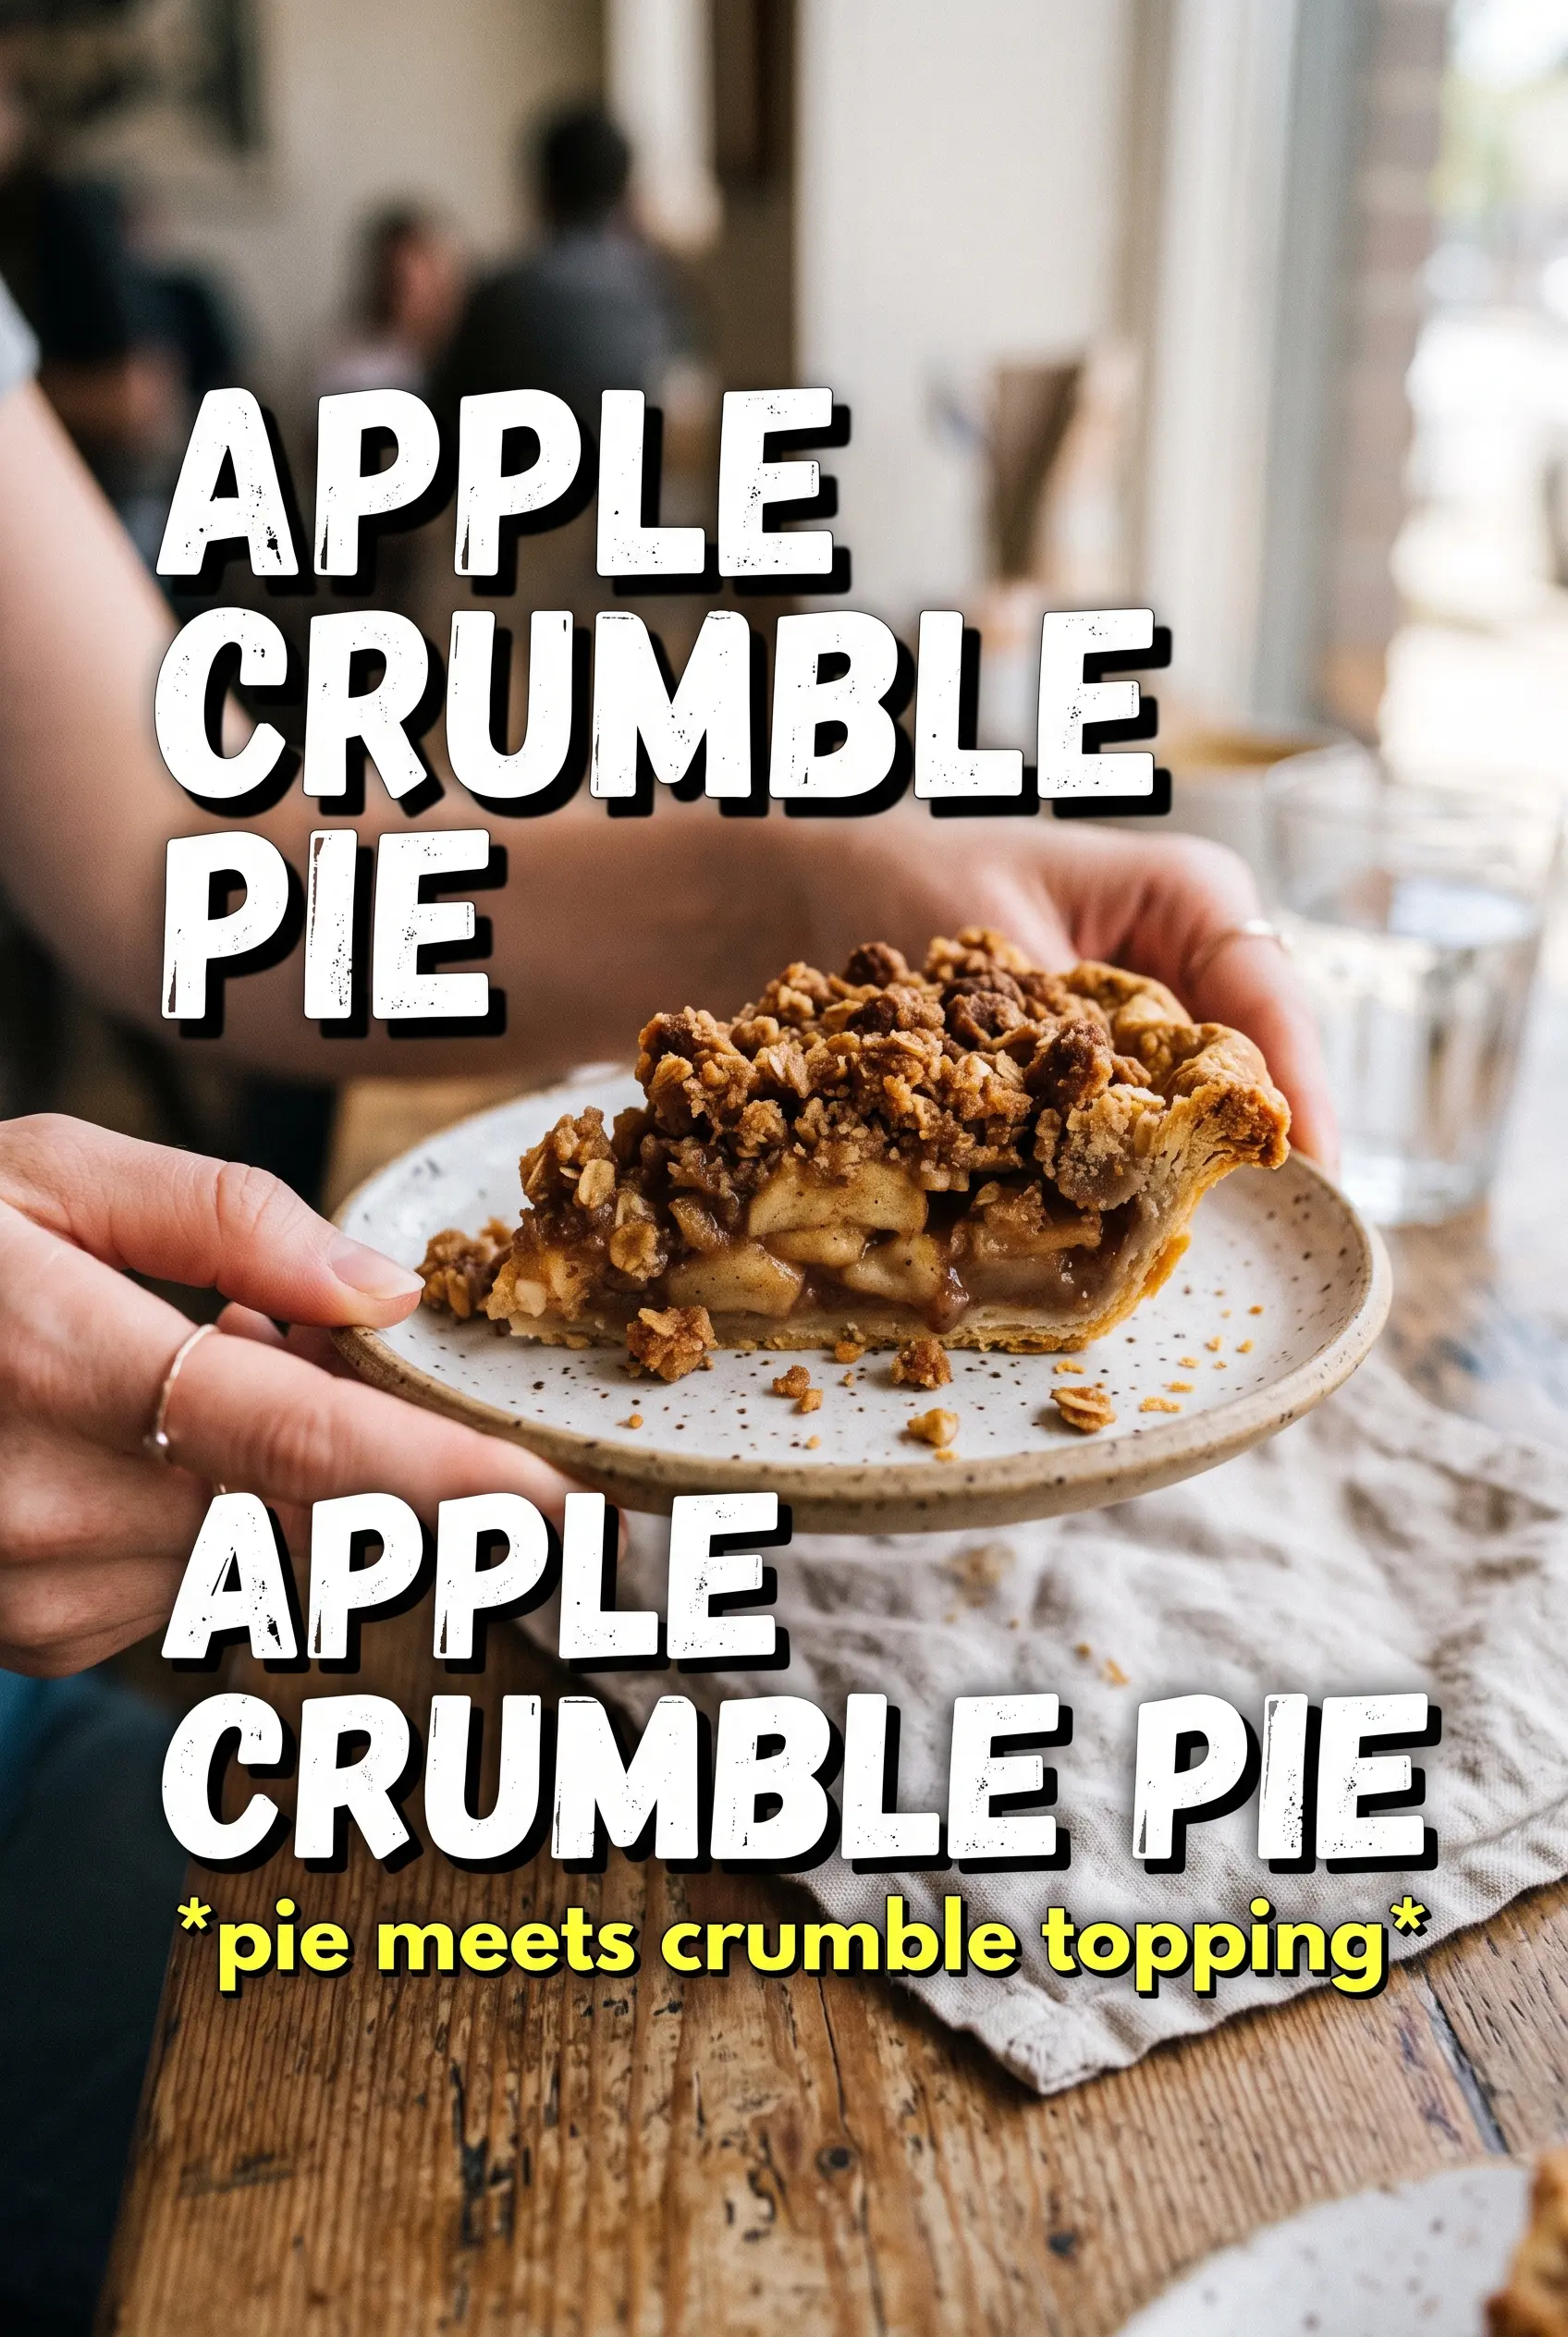
Apple Crumble Pie
Ingredients
Equipment
Method
- Preheat the oven to 375F, then fit the unbaked 9-inch pie shell into a 9-inch pie dish and crimp the edges for a sealed rim.
- Toss the large apples with granulated sugar, cinnamon, nutmeg, cornstarch, and lemon juice, then pile the apples into the unbaked shell and mound slightly.
- Combine the rolled oats, all-purpose flour, brown sugar, cinnamon, and salt, then cut in the cold unsalted butter until chunky clumps form.
- Scatter the oat crumble topping over the apple filling, covering generously so the apples are well insulated.
- Bake at 375F for 55-65 minutes until the crumble is deeply golden and the filling bubbles through the topping.
- After 35 minutes, tent with foil if the topping browns too quickly to prevent over-darkening while the center sets.
- Cool the pie for at least 1 hour before slicing so the filling can thicken and the crumble holds its shape.