The filling comes out of the can already glossy, with its syrup clinging to the apple slices. That’s what makes this apple crisp with canned apple filling such a handy dessert: you don’t have to peel, slice, or cook fruit before it goes into the oven. A little cinnamon gives the filling a warmer apple flavor, while the topping turns golden over the bubbling edges.
I like the contrast here: soft fruit underneath and a crumbly oat topping that has just enough brown sugar to toast as it bakes. The topping comes together in one bowl, and the 8-inch square dish keeps the layers balanced instead of spreading them too thin. Give it a short rest before serving, and you’ll have a scoopable crisp with tender apples and crisp, buttery crumbs.
Kitchen Note
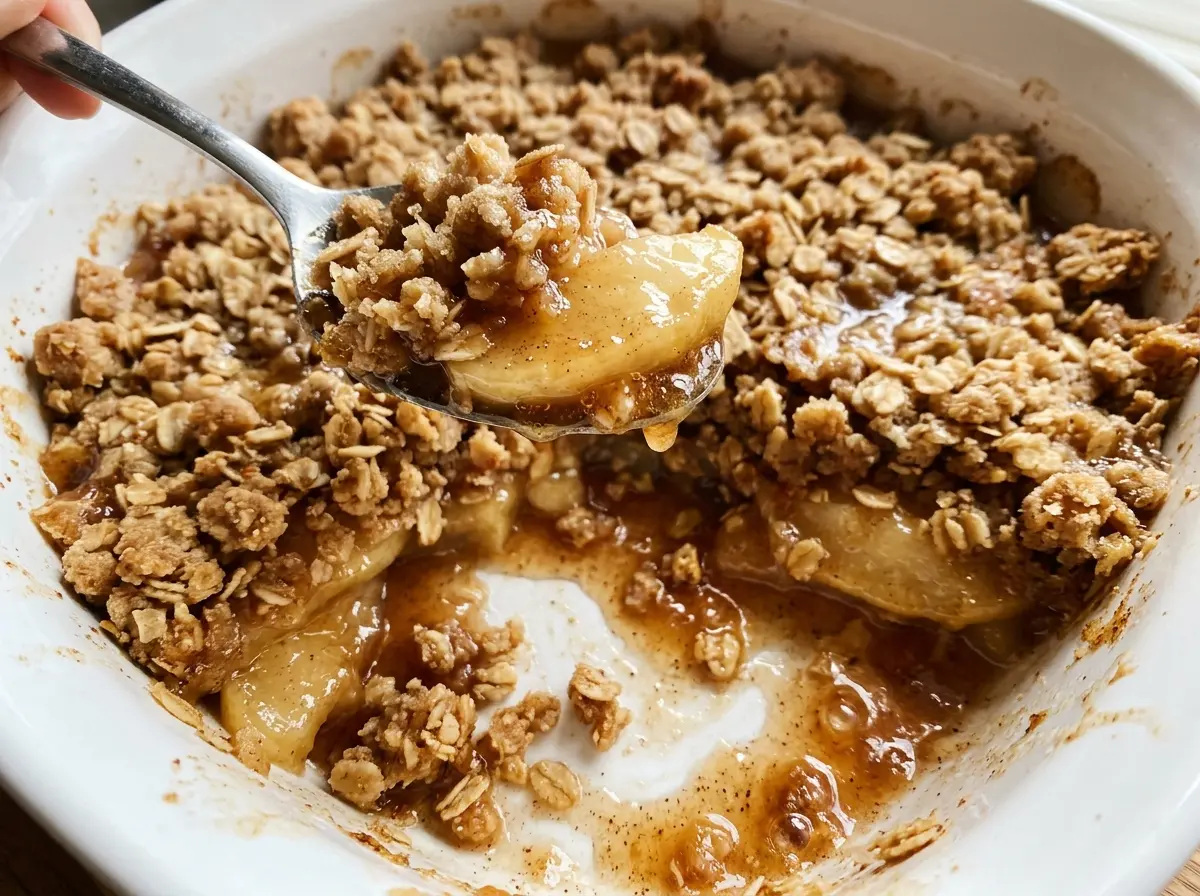
Let the crisp rest for the full 15 minutes after it comes out of the oven. The filling settles as it cools, so it’s easier to serve without losing that soft fruit and crumbly topping in a puddle of syrup.
Save this apple crisp with canned apple filling for an easy dessert with bubbling cinnamon apples and a golden oat crumble.
Why Canned Apple Filling Needs a Crisp Topping, Not More Liquid
Apple pie filling isn’t the same starting point as sliced fresh apples. It already brings a thick, sweet sauce to the baking dish, so there’s no need to add water, juice, or another sweetener to the filling. That built-in syrup bubbles around the fruit while the topping bakes, giving you the familiar soft center of an apple crisp without first cooking apples on the stove.
That also explains why keeping the topping separate matters. The filling goes into the dish on its own, and the flour-oat mixture sits over it like a lid. Stirring the crumbs into the filling would soak them with syrup before they have a chance to turn golden. Sprinkle the crumbs across the surface instead, covering the fruit evenly but without pressing them down. The exposed topping browns while the filling heats underneath, and the edges give you a clear sign that the center is bubbling too.
Because the filling is already sweetened, the brown sugar in the topping has a different job from simply sweetening the fruit. It helps the crumbs brown and gives them a mellow, toasty edge. The finished crisp tastes balanced when you get a little of each layer in every spoonful.
What the Canned Filling and Oat Crumbs Bring to This Crisp
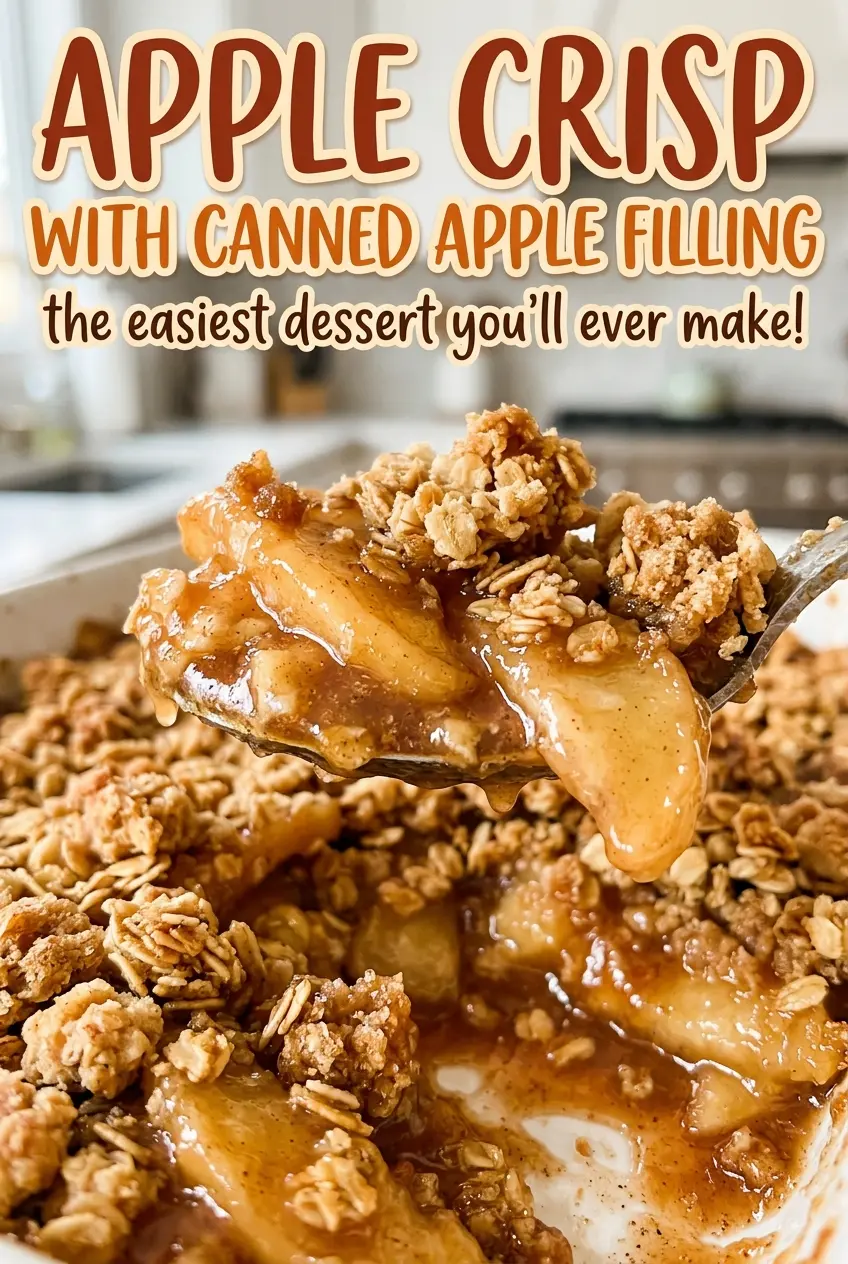
- Apple pie filling — It provides both the fruit and the thick sauce, which is why the filling needs no extra liquid. Choose a can with apple pieces you’d be happy to eat; the fruit’s shape and texture carry through after baking. Stir gently with the cinnamon so the slices stay intact.
- Ground cinnamon — A small amount seasons the ready-made filling without covering up the apple flavor. Stir it into the filling before spreading it in the dish, rather than sprinkling it over one spot where it can clump.
- Old-fashioned rolled oats — These give the topping its recognizable texture and a little chew beneath the crisp edges. Their larger flakes stay more distinct than finely cut oats, so use old-fashioned rolled oats for the texture this version is built around.
- All-purpose flour and light brown sugar — Flour helps the crumbs hold together, while the brown sugar adds sweetness and browning. Packed light brown sugar gives the topping a gentle molasses note; it doesn’t need to be an expensive specialty ingredient.
- Cold unsalted butter — Cold pieces create a crumbly topping instead of a paste. Unsalted butter lets the small amount of salt in the dry mixture season the crumbs without making the finished topping taste overly salty.
Building the Crumb Layer and Baking Until the Edges Bubble
Season and spread the filling
Heat the oven to 350°F. Stir the canned apple pie filling together with the ground cinnamon until the spice is distributed through the syrup, then spread the mixture in an 8-inch square baking dish. Keep the fruit in an even layer so the topping isn’t perched high in one area and thin in another. The filling should cover the bottom of the dish before the crumbs go on.
Cut cold butter into the dry mixture
In a medium bowl, stir the flour, old-fashioned oats, packed light brown sugar, and salt together. Add the cold butter pieces and work them in with a pastry blender or your fingertips. Stop when the mixture looks like coarse crumbs, with some pieces about the size of peas; a smooth, dough-like mixture has been worked too far. Those uneven crumbs make a more textured top than a uniform paste.
Bake for color and bubbling
Scatter the topping evenly over the filling without packing it down. Bake at 350°F for 30 to 35 minutes, watching for a golden surface and filling that bubbles at the edges. If the top is still pale and the filling hasn’t started bubbling at the edges, it needs more time within that baking window. Rest the crisp for 15 minutes before serving.
Three Small Changes for a Different Apple Crisp
Make it dairy-free with baking sticks
Replace the unsalted butter with the same amount of cold, unsalted dairy-free baking sticks. Keep them chilled and cut them into small pieces before working them into the dry ingredients. The topping will still form crumbs, though it may taste a little less buttery than the original.
Go heavier on the oats
For a more pronounced oat texture, shift some of the flour in the topping to old-fashioned oats while keeping the overall dry mixture close to its usual volume. You’ll get a nubbier, less flour-forward crumble, though it won’t hold together quite as neatly in large pieces.
Turn up the cinnamon
Add a little more ground cinnamon to the filling if you want a warmer, more strongly spiced bite. Stir it through the syrup before spreading the apples in the dish, so the flavor stays even rather than collecting in one patch.
Storage and Reheating
- Refrigerator: Cover and refrigerate leftovers for 3 to 4 days. The topping softens as it sits against the filling.
- Freezer: Freeze cooled portions in an airtight freezer-safe container for up to 3 months. Thaw them in the refrigerator before reheating; the topping will be softer than it was fresh from the oven.
- Reheating: Warm portions in a 350°F oven until heated through to help the topping regain some crispness. The microwave is quick, but it softens the crumbs further.
Questions I Get Asked About This Canned Apple Crisp
Apple Crisp With Canned Apple Filling
Ingredients
Equipment
Method
- Heat the oven to 350°F.
- Stir the apple pie filling and cinnamon together.
- Spread the filling in an 8-inch square baking dish.
- In a medium bowl, stir together the flour, oats, brown sugar, and salt.
- Cut in the butter with a pastry blender or your fingertips until the mixture forms coarse crumbs with some pea-size pieces.
- Sprinkle the topping evenly over the filling.
- Bake for 30 to 35 minutes, until the topping is golden and the filling bubbles at the edges.
- Let the crisp rest for 15 minutes before serving.