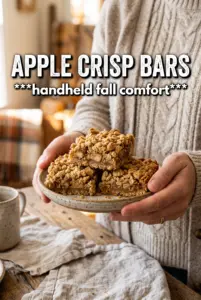
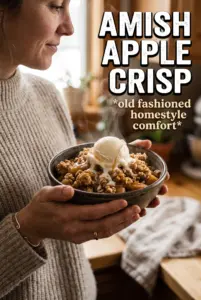
Apple crisp bars bring everything people love about a baked apple dessert into a neat, sliceable pan. You get a sturdy oat base, a thick layer of cinnamon-spiced apples, and a crumbly topping that turns deeply golden without going dry or sandy. The best part is the contrast: the bottom sets up enough to hold the filling, while the top stays nubbly and crisp around the edges.
What makes this version work is the short pre-bake on the base and the cornstarch in the filling. That first bake gives the crust a head start so it doesn’t turn soggy under the apples, and the cornstarch catches the fruit juices before they run everywhere. I also like using finely diced apples here instead of big chunks. They soften evenly in the oven, and you get a clean bar that cuts without collapsing.
If you’ve ever had fruit bars turn out too wet or too crumbly, the details below will help. There’s a good reason for every layer here, and a few small choices that make the difference between a messy pan and bars that slice cleanly.
The filling set up beautifully and the bars cut clean even after chilling overnight. The oat topping stayed crisp on top but wasn’t dry at all.
Save these apple crisp bars for the dessert that gives you a crunchy oat top, a thick apple layer, and clean slices every time.
The Trick to Bars That Slice Clean Instead of Crumbling Apart
The main failure point with fruit bars is rushing the cooling time. The filling needs to set before you cut it, or the apple layer slides and the crumble breaks into loose pieces. That clean slice comes from the cornstarch doing its job and from letting the pan cool all the way down before you even think about lifting the parchment.
The other thing that matters is pressing the bottom layer firmly enough to build a stable base, but not packing it so hard that it bakes into a dense cookie. You want a compact crust that still has some texture from the oats. Pre-baking it for 10 minutes gives you that structure and keeps the apple juices from soaking straight through.
- Pressing the base firmly creates a sturdier foundation for the filling and helps the bars hold together when sliced.
- The short par-bake gives the bottom layer a head start so it stays crisp under the apples.
- Cooling completely lets the starches in the filling set, which is the difference between neat bars and a spoon dessert.
- Finely diced apples soften evenly and make the filling layer compact enough to cut cleanly.
What the Oats, Apples, and Cornstarch Are Each Doing Here
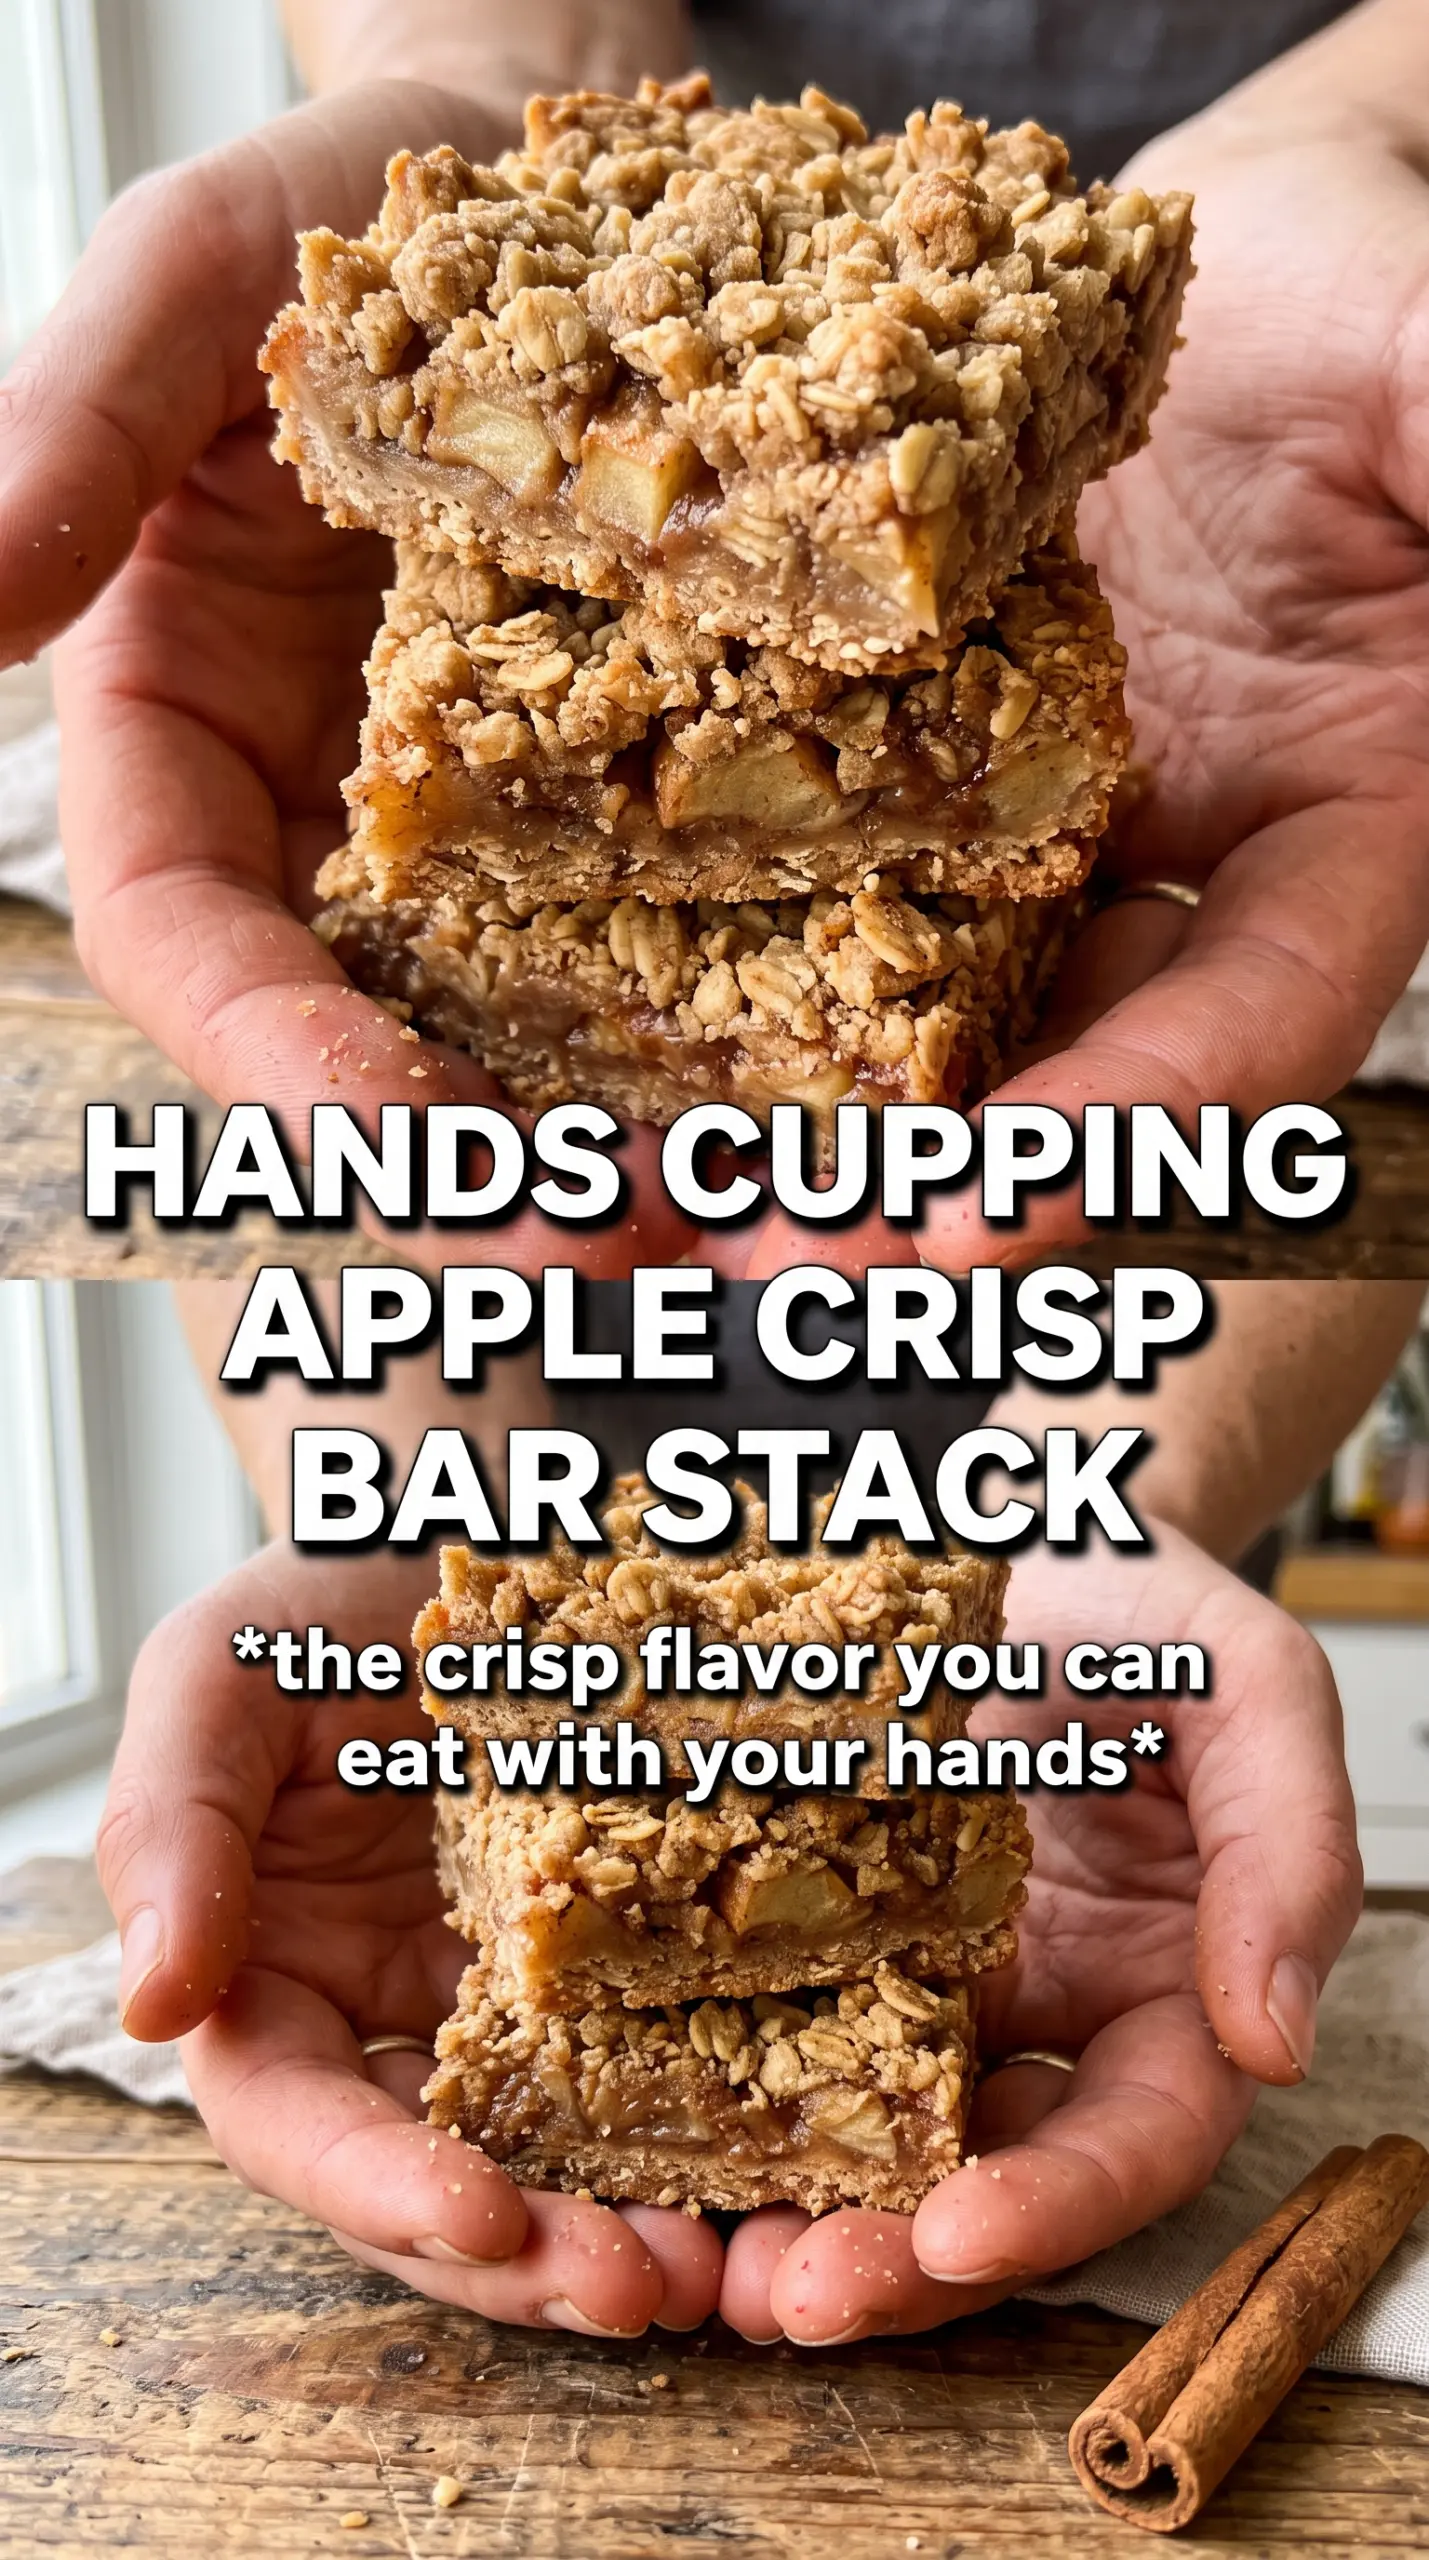
- Rolled oats give the bars their crisp, craggy texture. Quick oats will work in a pinch, but the bars lose some of that hearty crumble and can bake up a little denser.
- Brown sugar adds moisture and a deeper caramel note to the oat mixture. If you swap in all white sugar, the topping tastes flatter and a little drier.
- Melted butter is what turns the dry mixture into a pressable crumble. It needs to coat the oats evenly; if you see dry pockets, toss a little longer before you press the base.
- Apples should be peeled and finely diced so they soften at the same rate. Firmer baking apples hold shape best here; softer apples can turn mushy before the topping is done.
- Cornstarch thickens the apple juices into a glossy filling that stays put after baking. Arrowroot can work, but it sets a little looser and is best used in the same amount.
- Lemon juice brightens the filling and keeps the apples from tasting one-note. It also helps balance the sugar once the bars cool.
Building the Layers So the Filling Stays Put
Mixing the Crumble
Stir the oats, flour, brown sugar, cinnamon, and salt together first so the spice and sugar are distributed before the butter goes in. Once the melted butter is added, toss until every dry patch looks damp and sandy. If the mixture still looks powdery, the topping will bake up unevenly, so keep working it until it clumps when squeezed.
Pressing and Pre-Baking the Base
Use about two-thirds of the crumble for the bottom layer and press it into the pan with even pressure, especially in the corners. Bake it just long enough to set the structure and take the raw edge off the flour. If you skip this step, the apple juices seep into the base and the bars turn soft underneath.
Spreading the Apple Filling
Toss the diced apples with sugar, cinnamon, nutmeg, cornstarch, and lemon juice until the fruit looks evenly coated and slightly glossy. Spread the mixture over the hot crust while it is still warm from the oven. That warm base helps the filling start cooking immediately, which keeps the apples tender instead of watery.
Finishing with the Crumble Top
Scatter the remaining oat mixture over the apples in loose handfuls rather than packing it down. You want open pockets that bake into crisp ridges, not a tight lid that traps steam. Pull the bars when the top is deep golden and you can see thick bubbles around the edges of the filling.
Add chopped pecans for more crunch
Stir up to 1/2 cup of chopped pecans into the oat mixture before adding the butter. The bars get a deeper toasted flavor and a little more bite, but the topping will be less delicate and more rustic.
Make them gluten-free
Use a 1:1 gluten-free all-purpose flour blend in place of the regular flour and check that your oats are certified gluten-free. The texture stays close to the original, though the base may be a touch more delicate when warm.
Lean into extra spice
Add a pinch of cardamom or ginger to the apple filling if you want a warmer spice note. Keep the amount modest so the apples still taste like apples, not pie spice mix.
Storage and Reheating
- Refrigerator: Store covered for up to 5 days. The topping softens a little in the fridge, but the bars still slice and taste great.
- Freezer: These freeze well. Wrap individual bars tightly and freeze for up to 2 months; thaw in the fridge so the filling doesn’t weep as it warms.
- Reheating: Warm bars in a 300F oven for 8 to 10 minutes if you want the topping crisp again. The microwave works for speed, but it softens the crumble fast.
Answers to the Questions Worth Asking
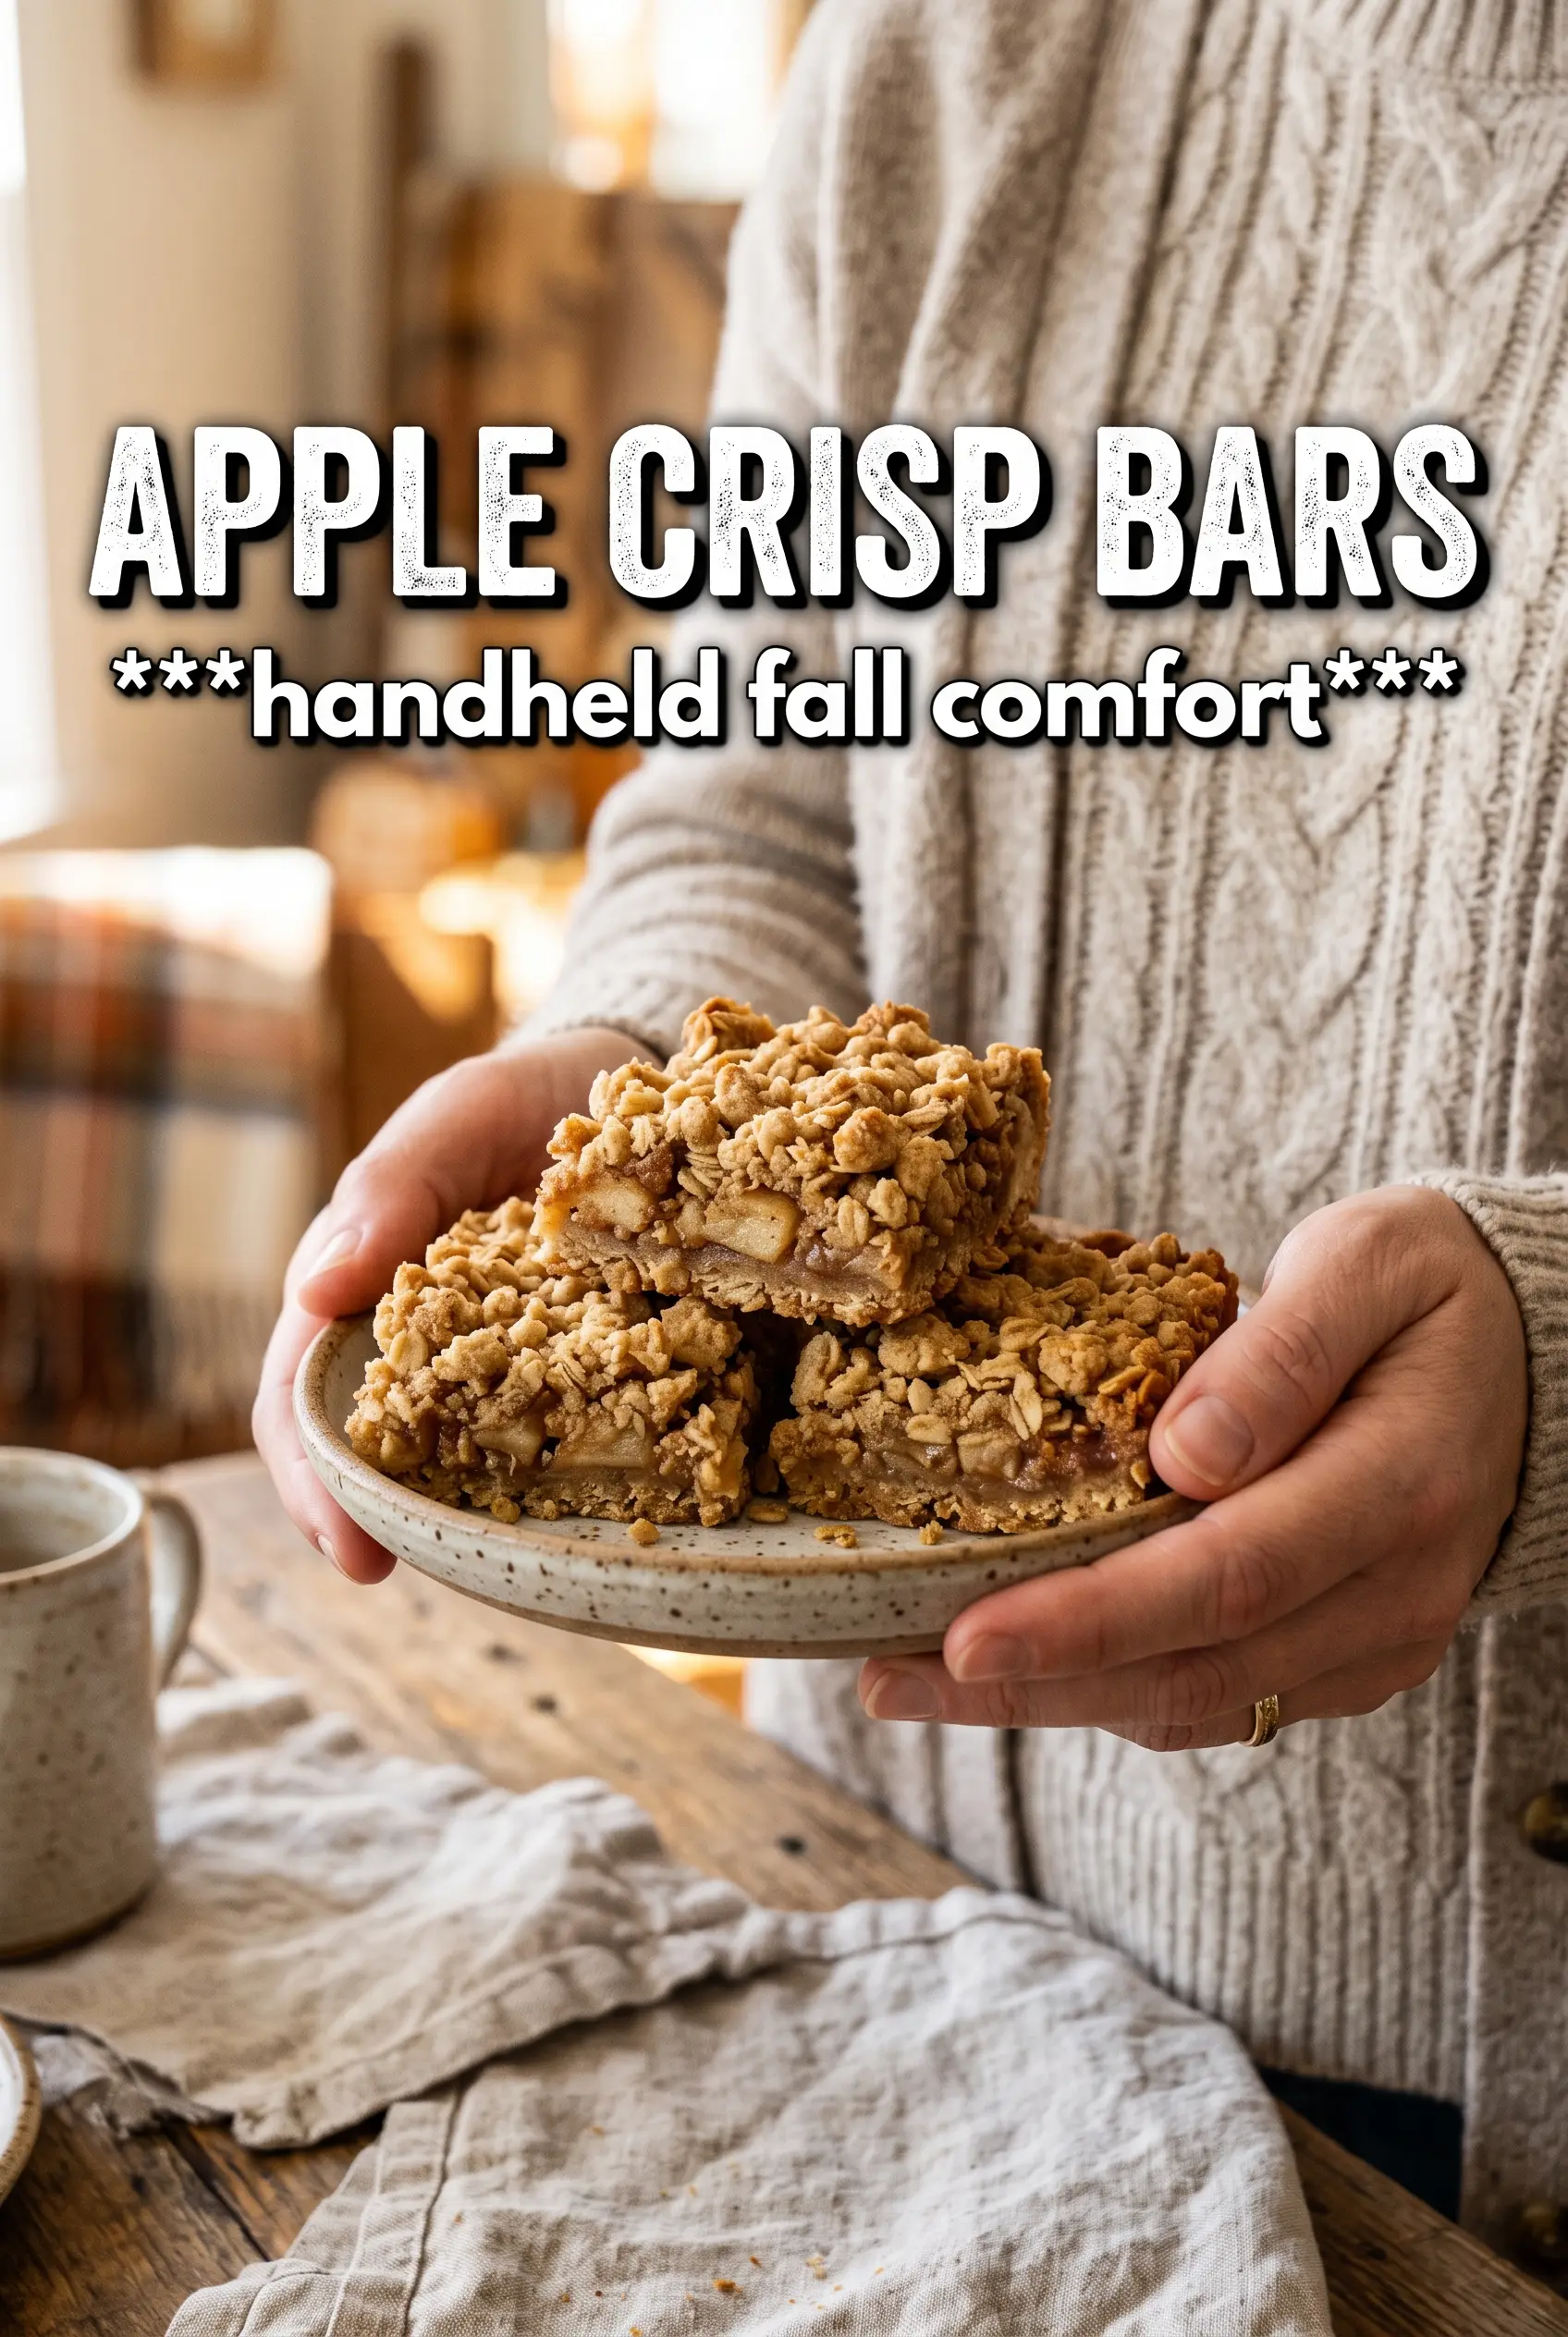
Apple Crisp Bars
Ingredients
Equipment
Method
- Preheat oven to 375°F, and line a 9x13 pan with parchment.
- In a large bowl, combine rolled oats, all-purpose flour, brown sugar, cinnamon, and salt.
- Drizzle melted unsalted butter over the oat mixture and toss until evenly moistened.
- Press 2/3 of the oat mixture firmly into the prepared pan, then bake for 10 minutes.
- Toss apples with granulated sugar, cinnamon, nutmeg, cornstarch, and lemon juice, then spread over the hot base.
- Scatter the remaining oat crumble over the apples.
- Bake for 30 more minutes, until the topping is golden and the filling bubbles.
- Cool completely before slicing into bars for clean layers and firm texture.