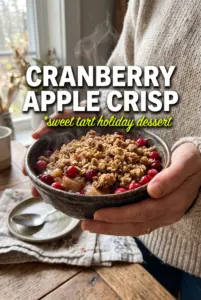
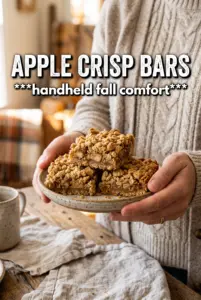
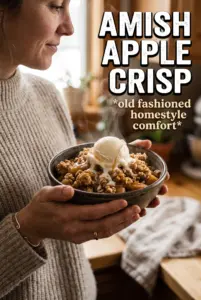
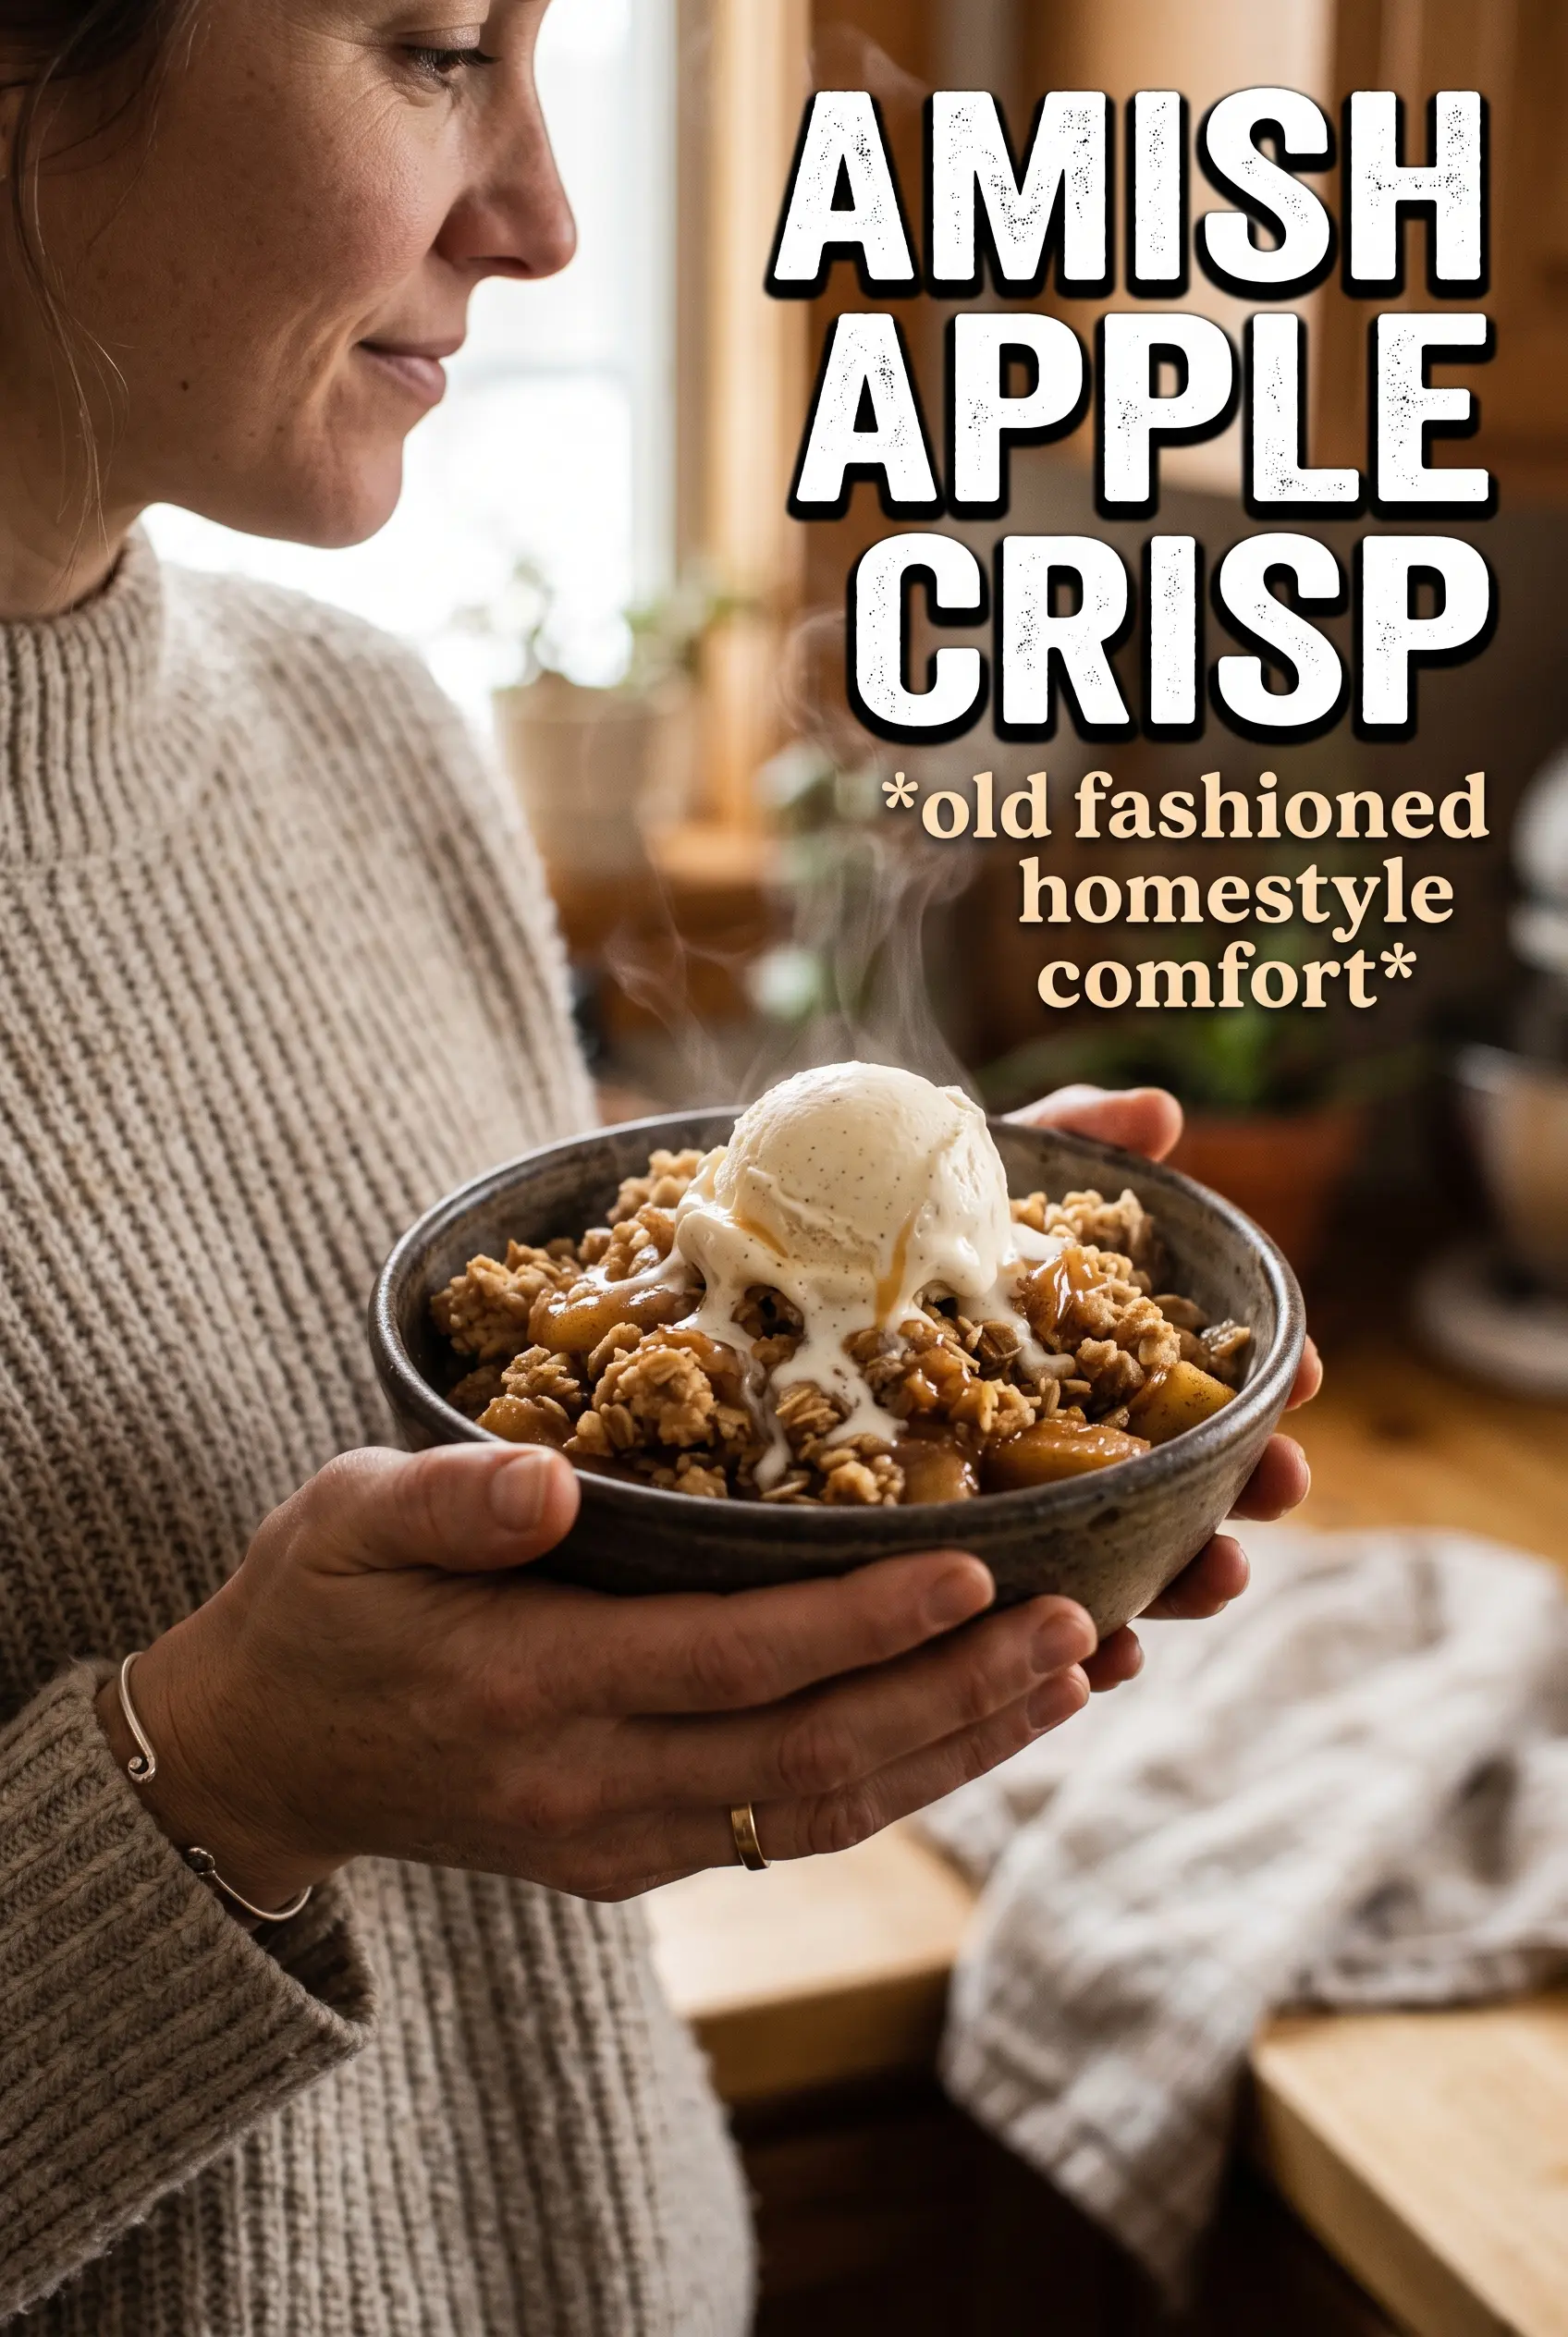
Amish apple crisp bakes into the kind of dessert that disappears while the pan is still warm. The topping turns thick and craggy with those dark caramelized edges everybody fights over, while the apples underneath soften into a deeply spiced filling that holds its shape instead of collapsing into applesauce. It’s the kind of old-school dessert that tastes homemade in the best possible way.
What makes this version stand out is the balance in the filling and the heft of the crumble. The apples get a little flour and lemon juice so the juices turn syrupy instead of watery, and the topping uses both oats and a generous amount of brown sugar for that sturdy, nubbly texture that stays crisp longer than a thin streusel. The optional lard gives the topping a more traditional Amish richness, but butter alone still works beautifully.
Below, I’ve broken down the small choices that make the biggest difference, including how to keep the topping clumpy, when the apples are done, and what to change if you want to work with what’s already in your kitchen.
The topping baked up in big crunchy clusters and the apples stayed tender instead of runny. I used Granny Smith and Honeycrisp, and the filling thickened perfectly after the rest time.
Save this Amish apple crisp for the nights when you want a thick brown sugar crumble and warm spiced apples under a scoop of vanilla ice cream.
The Part That Keeps the Apples from Turning Watery
The biggest mistake with apple crisp is treating the filling like it only needs fruit and spice. Apples give off a lot of juice as they bake, and without a little flour in the filling, that liquid stays loose and runs under the topping. Here, the flour catches those juices and turns them into a glossy syrup instead of a puddle.
The other detail that matters is the pan. A deep baking dish gives the apples room to soften without spilling over, and it lets the topping sit on top in a thick layer instead of sinking into the fruit. If your apples are sliced too thin, they’ll go soft before the topping gets where it needs to be. Keep the slices substantial so the filling still has texture after baking.
- Apples — A mix of tart and sweet apples gives the best flavor and texture. Granny Smith brings structure; Honeycrisp, Braeburn, or Pink Lady add sweetness and a little juice. Avoid mealy apples, which collapse fast.
- Flour in the filling — This is what turns the juices into a spoonable sauce. Cornstarch can work in a pinch, but it sets differently and can turn a little slick.
- Lemon juice — It keeps the apples bright and helps balance all that brown sugar. Fresh is best, but bottled works here.
What the Oats, Brown Sugar, and Cold Butter Are Doing in the Crumble
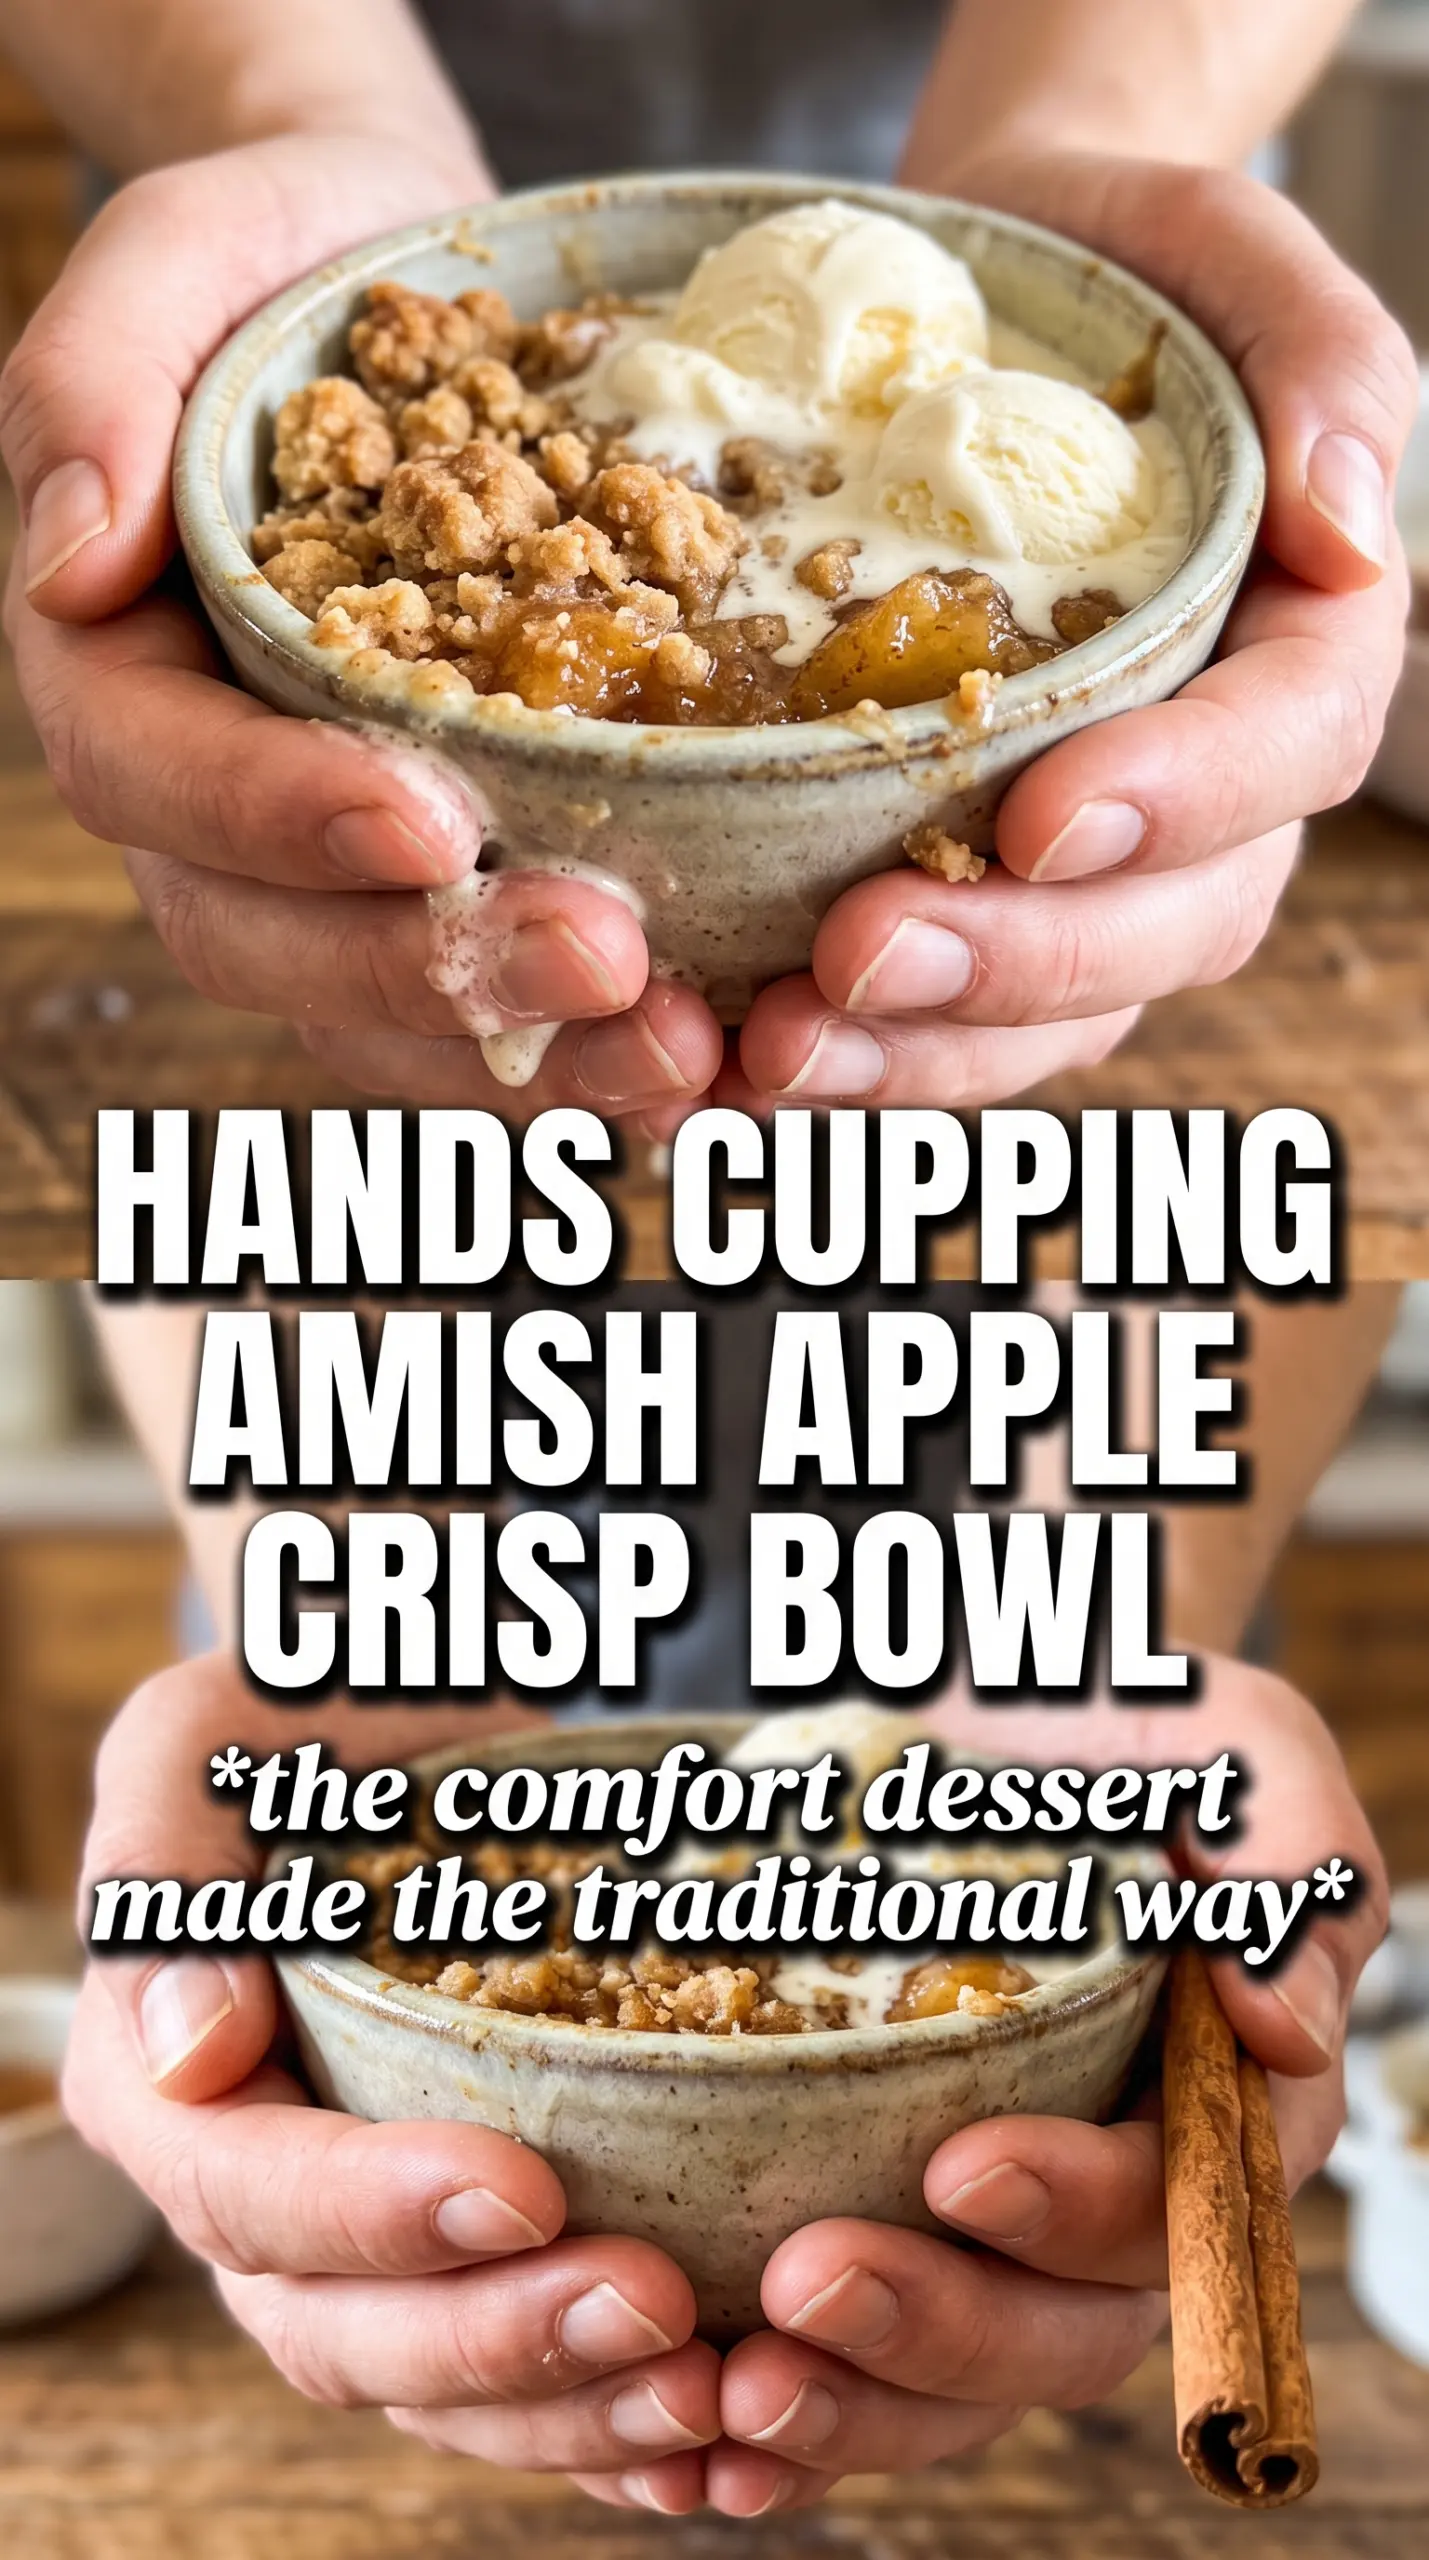
- Rolled oats — They give the topping its rugged, craggy texture. Quick oats work if that’s what you have, but the crumble will be softer and less defined.
- Brown sugar — This is what gives the topping its deep caramel note and helps it bake into those crunchy clusters. Light or dark brown sugar both work; dark brown sugar gives a slightly richer finish.
- Cold butter and lard — Cold fat is what keeps the topping from turning pasty. Butter gives flavor, and lard makes the crumble more traditional and a little more tender. If you skip the lard, replace it with more butter by weight, then work quickly so the fat stays cold.
- Cinnamon in both layers — It keeps the filling and topping tied together instead of tasting like two separate parts. The result is more rounded and less sugary.
Building the Crisp So the Topping Stays Clumpy
Mix the filling first
Toss the apple slices with the sugars, spices, flour, and lemon juice until every piece looks coated. That coating should cling to the apples, not pool in the bottom of the bowl. If you see a lot of liquid collecting right away, the apples are extra juicy, and you’ll want to get them into the pan quickly so they don’t sit around and soften before baking.
Cut the fat into rough crumbs
Work the butter and lard into the dry topping ingredients with your fingers until you have uneven clumps, not a fine sand-like mixture. Those larger pieces bake into the crunchy bits everyone wants. If the butter starts to melt in your hands, stop and chill the bowl for a few minutes before going on.
Press lightly, don’t pack
Spoon the crumble over the apples in a thick layer and press it down just enough to keep it from sliding off. Packed too firmly, it bakes up dense instead of crisp. You want hills and valleys on top so the edges can toast and the center can stay nubby.
Bake until the fruit bubbles through
The crisp is done when the topping is deeply golden and the filling is bubbling around the edges and in a few spots through the center. That bubbling matters more than the timer, because it tells you the fruit juices have thickened. If the top is browning too fast before the filling bubbles, lay a sheet of foil loosely over the pan for the last part of baking.
Make It Without Lard
Use all butter if that’s what you keep on hand. The topping will still be crisp and rich, just a little less traditional and slightly more buttery in flavor. Keep the butter cold and cut it in quickly so the crumble stays chunky.
Gluten-Free Version
Swap the all-purpose flour in both the filling and topping for a good 1:1 gluten-free baking blend. The texture will be a touch more delicate, but the filling still thickens well and the topping still bakes into good clusters if you use certified gluten-free oats.
Less Sweet, More Apple-Forward
Cut the granulated sugar in the filling by a few tablespoons if your apples are naturally sweet. Don’t cut the brown sugar too aggressively in the topping, or you’ll lose the crisp, caramelized crust that makes this dessert stand out.
How to Store and Reheat Leftovers
- Refrigerator: Store covered for up to 4 days. The topping softens in the fridge, but the flavor stays good.
- Freezer: Freeze baked crisp in a tightly wrapped dish for up to 2 months. Thaw overnight in the refrigerator before reheating.
- Reheating: Warm in a 325F oven until the edges are bubbling again. The oven brings back the topping much better than the microwave, which turns it soft and steamy.
Questions I Get Asked About This Recipe
Amish Apple Crisp
Ingredients
Equipment
Method
- Preheat the oven to 350F and grease a large 10x15 roasting pan or 9x13 baking dish.
- Toss the apple slices with granulated sugar, brown sugar, cinnamon, nutmeg, allspice, flour, and lemon juice, then spread them in the prepared pan in a deep layer with an even surface.
- Combine flour, rolled oats, both sugars, cinnamon, and salt, then cut in cold unsalted butter (and lard if using) until large crumbly clumps form.
- Spread the crumble thickly over the apples and press very gently so the topping holds together.
- Bake at 350F for 50-55 minutes until the topping is deeply golden and the apple filling bubbles all around the edges.
- Rest for 15 minutes before serving so the juices thicken slightly, then top with vanilla ice cream and pour over cold heavy cream.