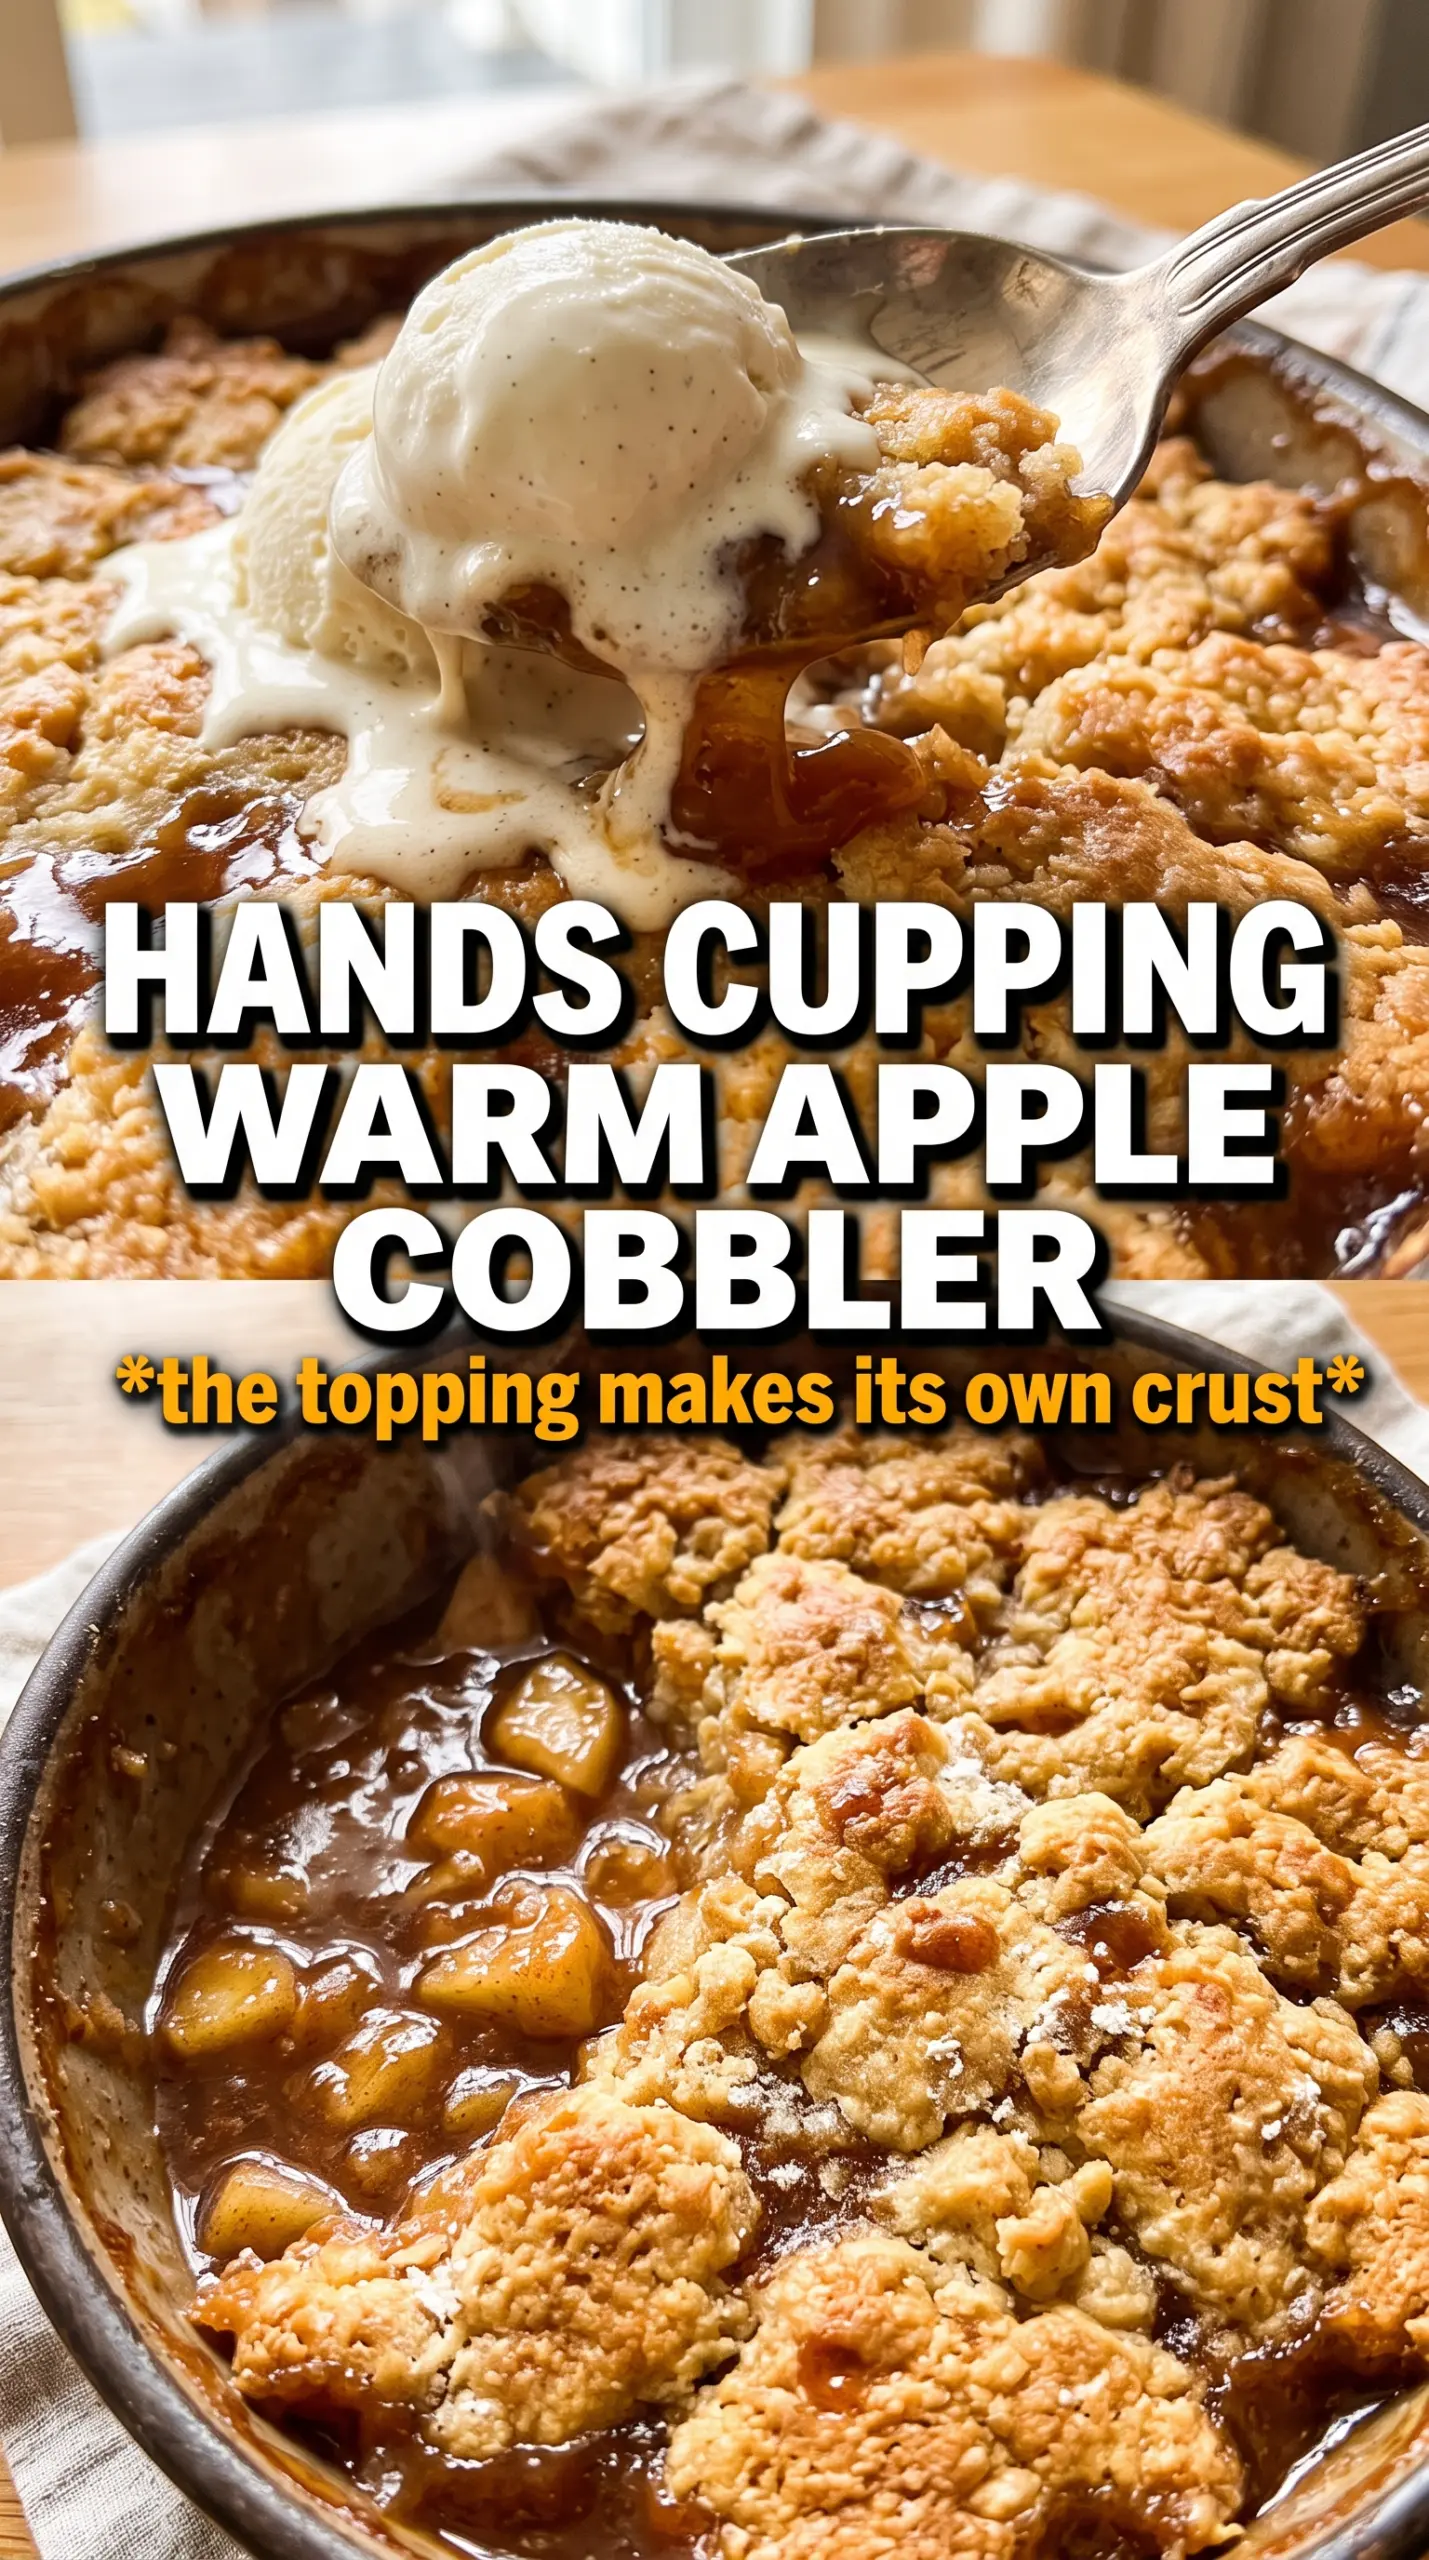
Warm apple cobbler lands with the kind of contrast people remember: soft, bubbling fruit underneath and a biscuit topping that turns golden, craggy, and lightly crisp on top. The filling thickens as it bakes, so you get spoonable apples instead of a runny puddle, and the cinnamon sugar on the biscuits gives each bite a little crackle before it melts into the fruit below.
What makes this version work is the way the apples get a head start in the oven. That first bake pulls out some juice before the topping goes on, which keeps the biscuit layer from going soggy. A little cornstarch helps the juices set up into a glossy filling, and cold butter in the topping gives you those tender pockets that make biscuit dough taste homemade instead of heavy.
Below, I’ve included the detail that matters most: how to keep the topping light while the apples cook through, plus a few swaps that still give you a proper cobbler, not a pan of fruit with doughy spots.
The filling thickened up instead of turning soupy, and the biscuit topping baked through with those crisp cinnamon edges I was hoping for. I served it with vanilla ice cream and there wasn’t a crumb left.
Save this apple cobbler for the nights when you want bubbling spiced apples and a golden biscuit crust with almost no fuss.
The Trick to Keeping the Biscuit Topping from Going Doughy
Apple cobbler goes wrong in one of two places: either the fruit stays watery, or the topping bakes into a pale, underdone lid. The fix is to give the apples their own short bake before the biscuit dough goes on top. That head start lets the filling release some juice and begin thickening, so the biscuit topping lands on hot fruit instead of raw, syrupy apples.
The other piece that matters is how the dough is handled. Biscuit topping should look rough and uneven, not smooth like cake batter. Those cold butter bits melt in the oven and leave little pockets behind, which is what keeps the topping tender instead of dense. If you stir until the dough is perfectly even, you’ve already gone too far.
- Apples — Use a baking apple that holds its shape, like Granny Smith, Honeycrisp, or a mix of both. Softer apples turn mushy before the topping finishes.
- Cornstarch — This is what turns the apple juices into a glossy filling. Flour can thicken too, but it tastes heavier and doesn’t set as cleanly.
- Cold butter — In the topping, cold butter is non-negotiable. Warm butter blends in too fast and gives you a cakier, less biscuit-like texture.
What Each Ingredient Is Doing in the Filling and Topping
- Lemon juice — It keeps the apples bright and helps the filling taste like apples, not just sugar and spice. You won’t taste lemon.
- Whole milk or buttermilk — Whole milk gives a classic tender biscuit. Buttermilk adds a slight tang and a little extra lift, so use it if you like a more pronounced biscuit flavor.
- Egg and vanilla — The egg adds structure, while vanilla rounds out the filling and makes the topping taste richer. If you skip the vanilla, the cobbler still works, but it tastes flatter.
- Apple mix — A mix of tart and sweet apples gives the best balance. All tart apples can taste sharp, and all sweet apples can blur into one-note filling.
Building the Cobbler in the Right Order
Start with the Apples
Toss the sliced apples with sugar, cinnamon, nutmeg, cornstarch, and lemon juice until every slice looks coated, then spread them in the baking dish and dot the butter over the top. The dish should look full but not packed tight; apples need a little room to settle as they cook. Bake this filling on its own for 15 minutes. If you skip that step, the topping sits on raw fruit juices and turns soft underneath.
Cut the Butter Into the Dry Ingredients
Whisk the flour, sugar, baking powder, salt, and cinnamon, then work in the cold butter until the mixture looks like coarse crumbs with some pea-sized bits still visible. Those bigger bits matter. They melt into pockets of steam and give the topping its tender, biscuit-like texture. If the butter disappears completely, the topping will bake up tighter and more bread-like.
Bring the Dough Together Just Enough
Whisk the milk, egg, and vanilla, then stir them into the flour mixture until the dough is just combined. It should look shaggy and a little uneven, not smooth. Drop spoonfuls over the hot apples rather than spreading it flat; gaps let steam escape and give the topping those craggy edges that brown well. Finish with the cinnamon sugar, then bake until the top is deeply golden and the filling is bubbling around the edges.
Make It Dairy-Free
Use plant-based butter in both the filling and topping, then swap the milk for an unsweetened non-dairy milk with a little body, like oat milk. The topping will still brown, but it won’t taste quite as rich as the dairy version.
Make It Gluten-Free
Replace the all-purpose flour with a 1:1 gluten-free baking blend that includes xanthan gum. The topping may bake up a little more delicate, but it still gets the same craggy, biscuit-style finish if you don’t overmix it.
Use Peaches Instead of Apples
Peaches work, but they release more liquid than apples, so you’ll need a little extra cornstarch and a shorter first bake. The flavor is softer and sweeter, and the biscuit topping becomes more of a summer shortcake-style finish.
Storage and Reheating
- Refrigerator: Store covered for up to 4 days. The biscuit topping softens a bit, but the flavor stays good.
- Freezer: It freezes better after baking than before. Cool completely, wrap well, and freeze for up to 2 months. Thaw in the fridge before reheating.
- Reheating: Warm in a 325F oven until the filling is hot and the top perks back up, about 15 to 20 minutes. The microwave works in a pinch, but it softens the topping and makes the edges lose their texture.
Questions I Get Asked About This Recipe
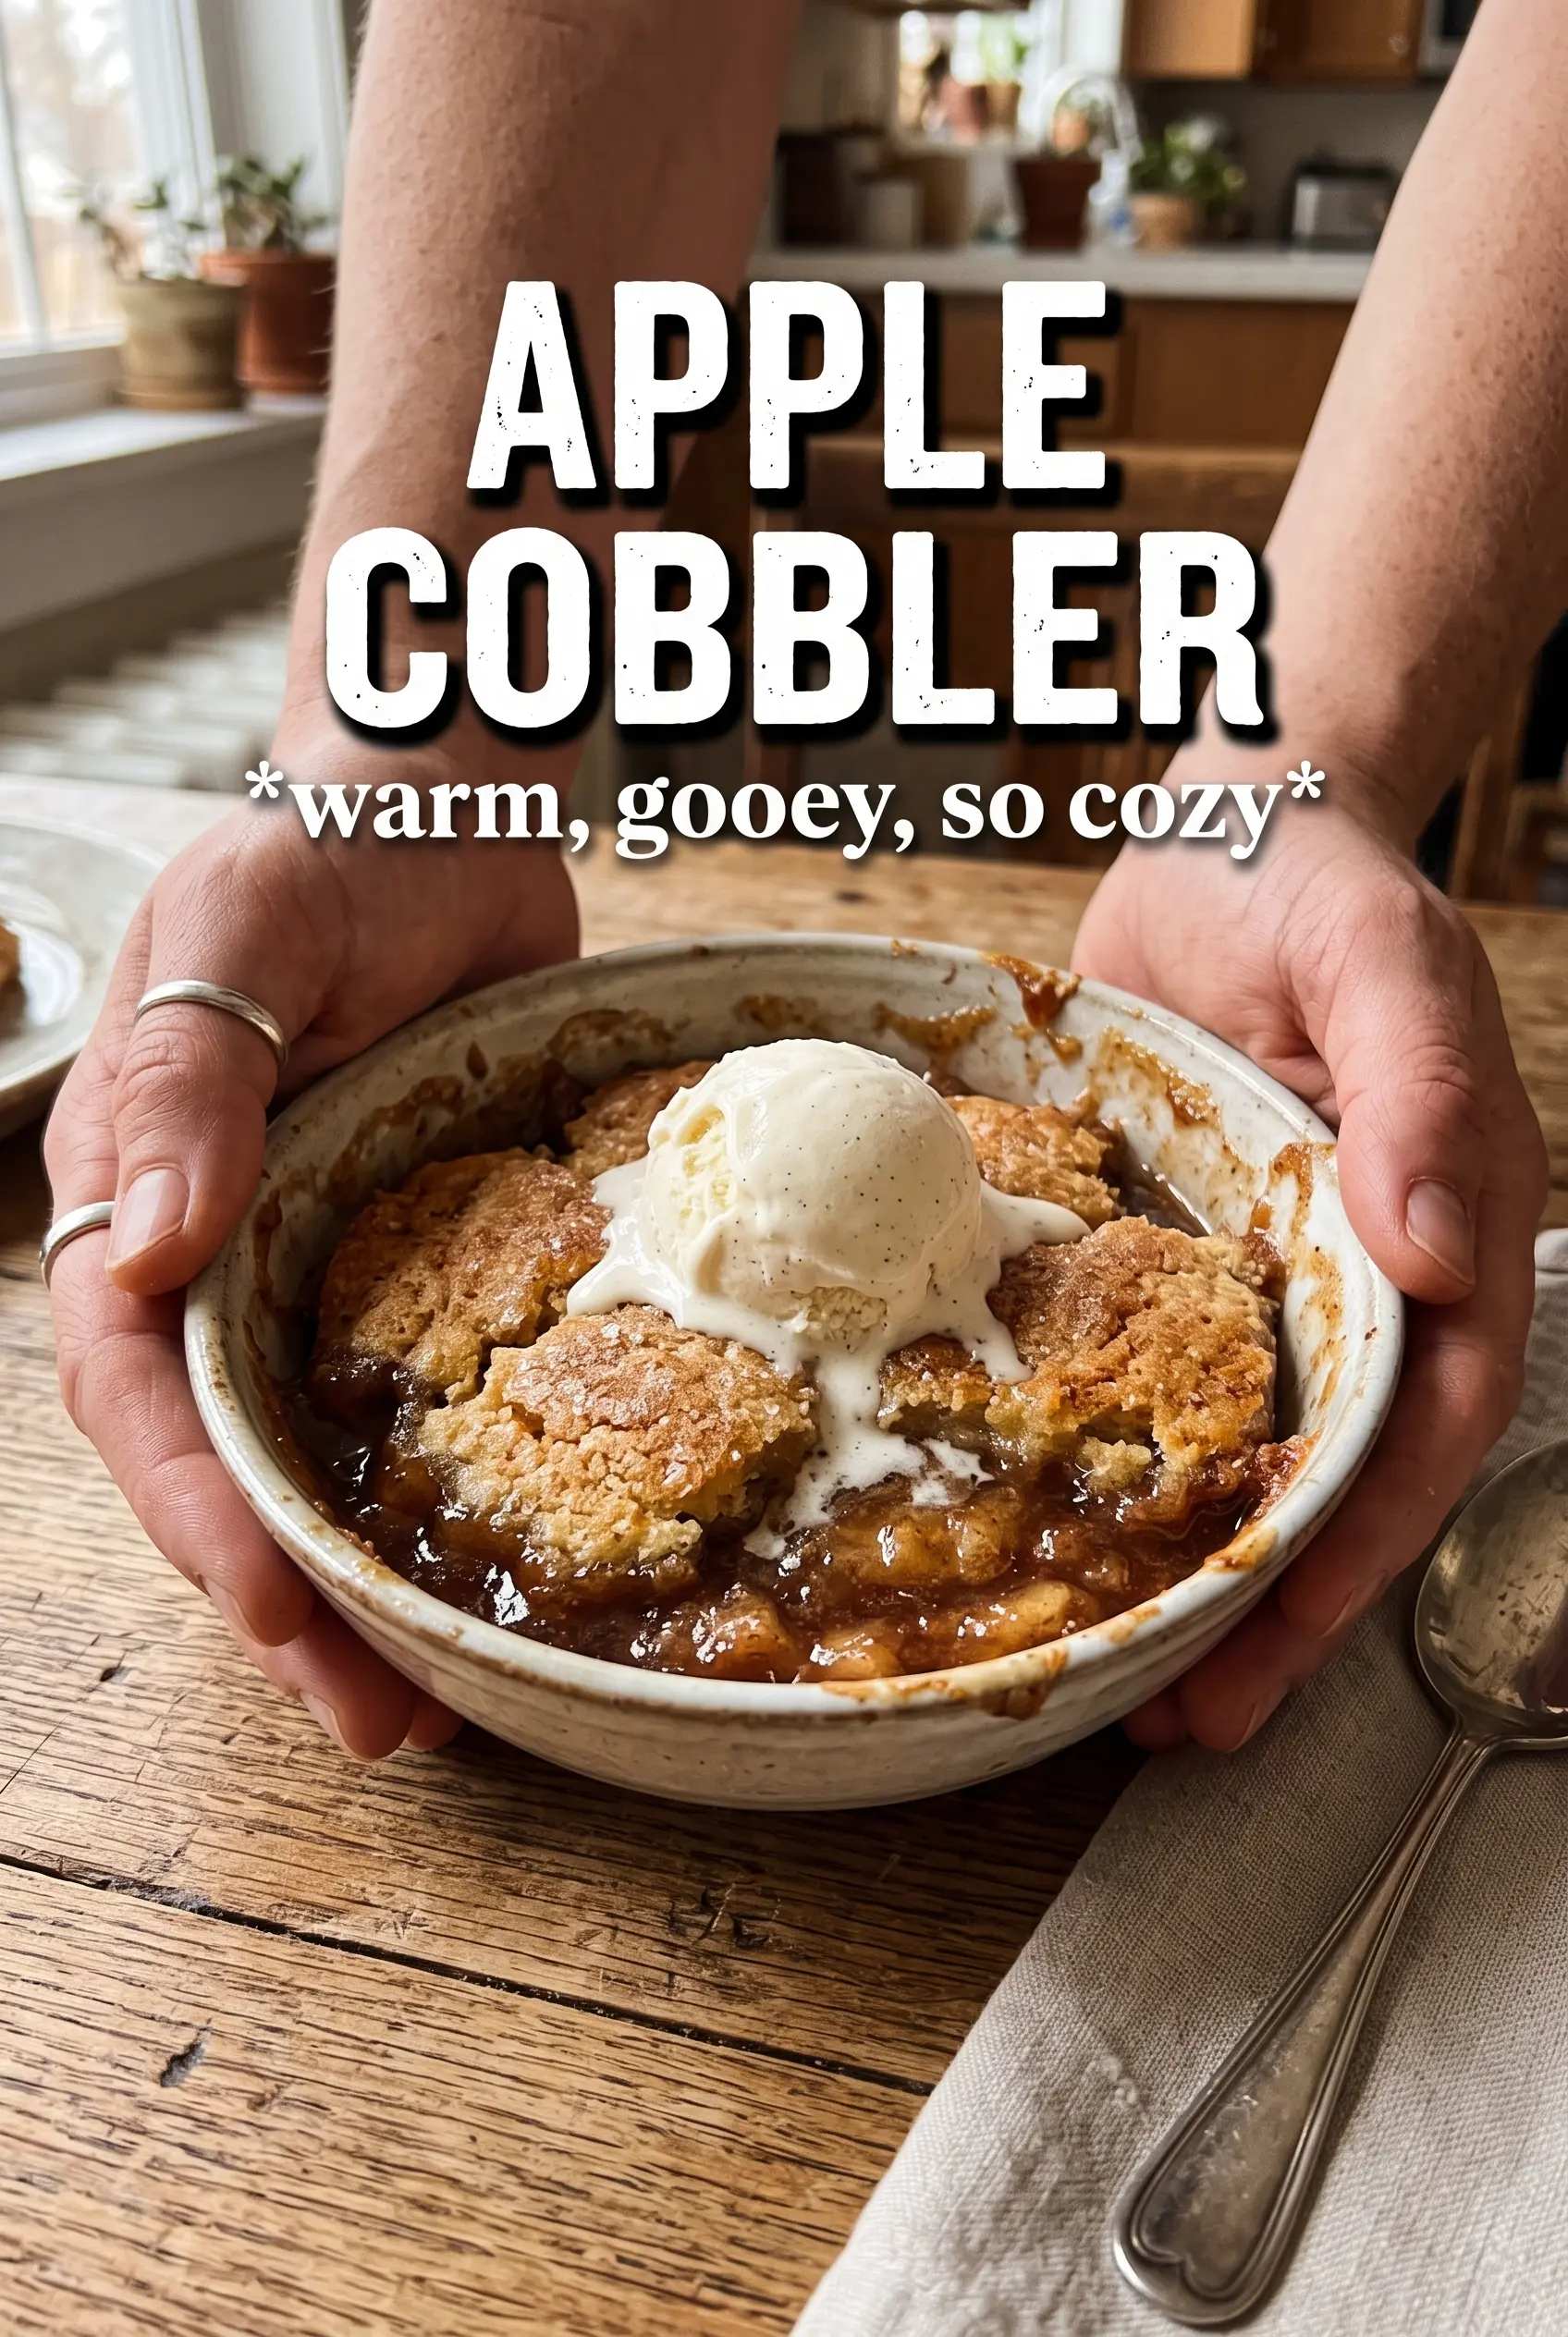
Apple Cobbler
Ingredients
Equipment
Method
- Preheat the oven to 375F and grease a 9x13 baking dish.
- Toss the apple slices with granulated sugar, cinnamon, nutmeg, cornstarch, and lemon juice, then spread them in the prepared dish.
- Dot the apples with unsalted butter.
- Bake the apple filling for 15 minutes while you make the topping.
- Whisk all-purpose flour, granulated sugar, baking powder, salt, and cinnamon in a bowl until evenly mixed.
- Cut in the cold cubed unsalted butter until the mixture looks crumbly.
- Whisk whole milk or buttermilk, egg, and vanilla, then stir into the flour mixture until just combined.
- Drop spoonfuls of biscuit dough over the hot apple filling.
- Sprinkle the cinnamon sugar (sugar plus cinnamon) over the biscuit topping.
- Bake for 28-32 minutes, until the biscuit topping is golden and the filling bubbles.
- Serve the cobbler warm with vanilla ice cream.