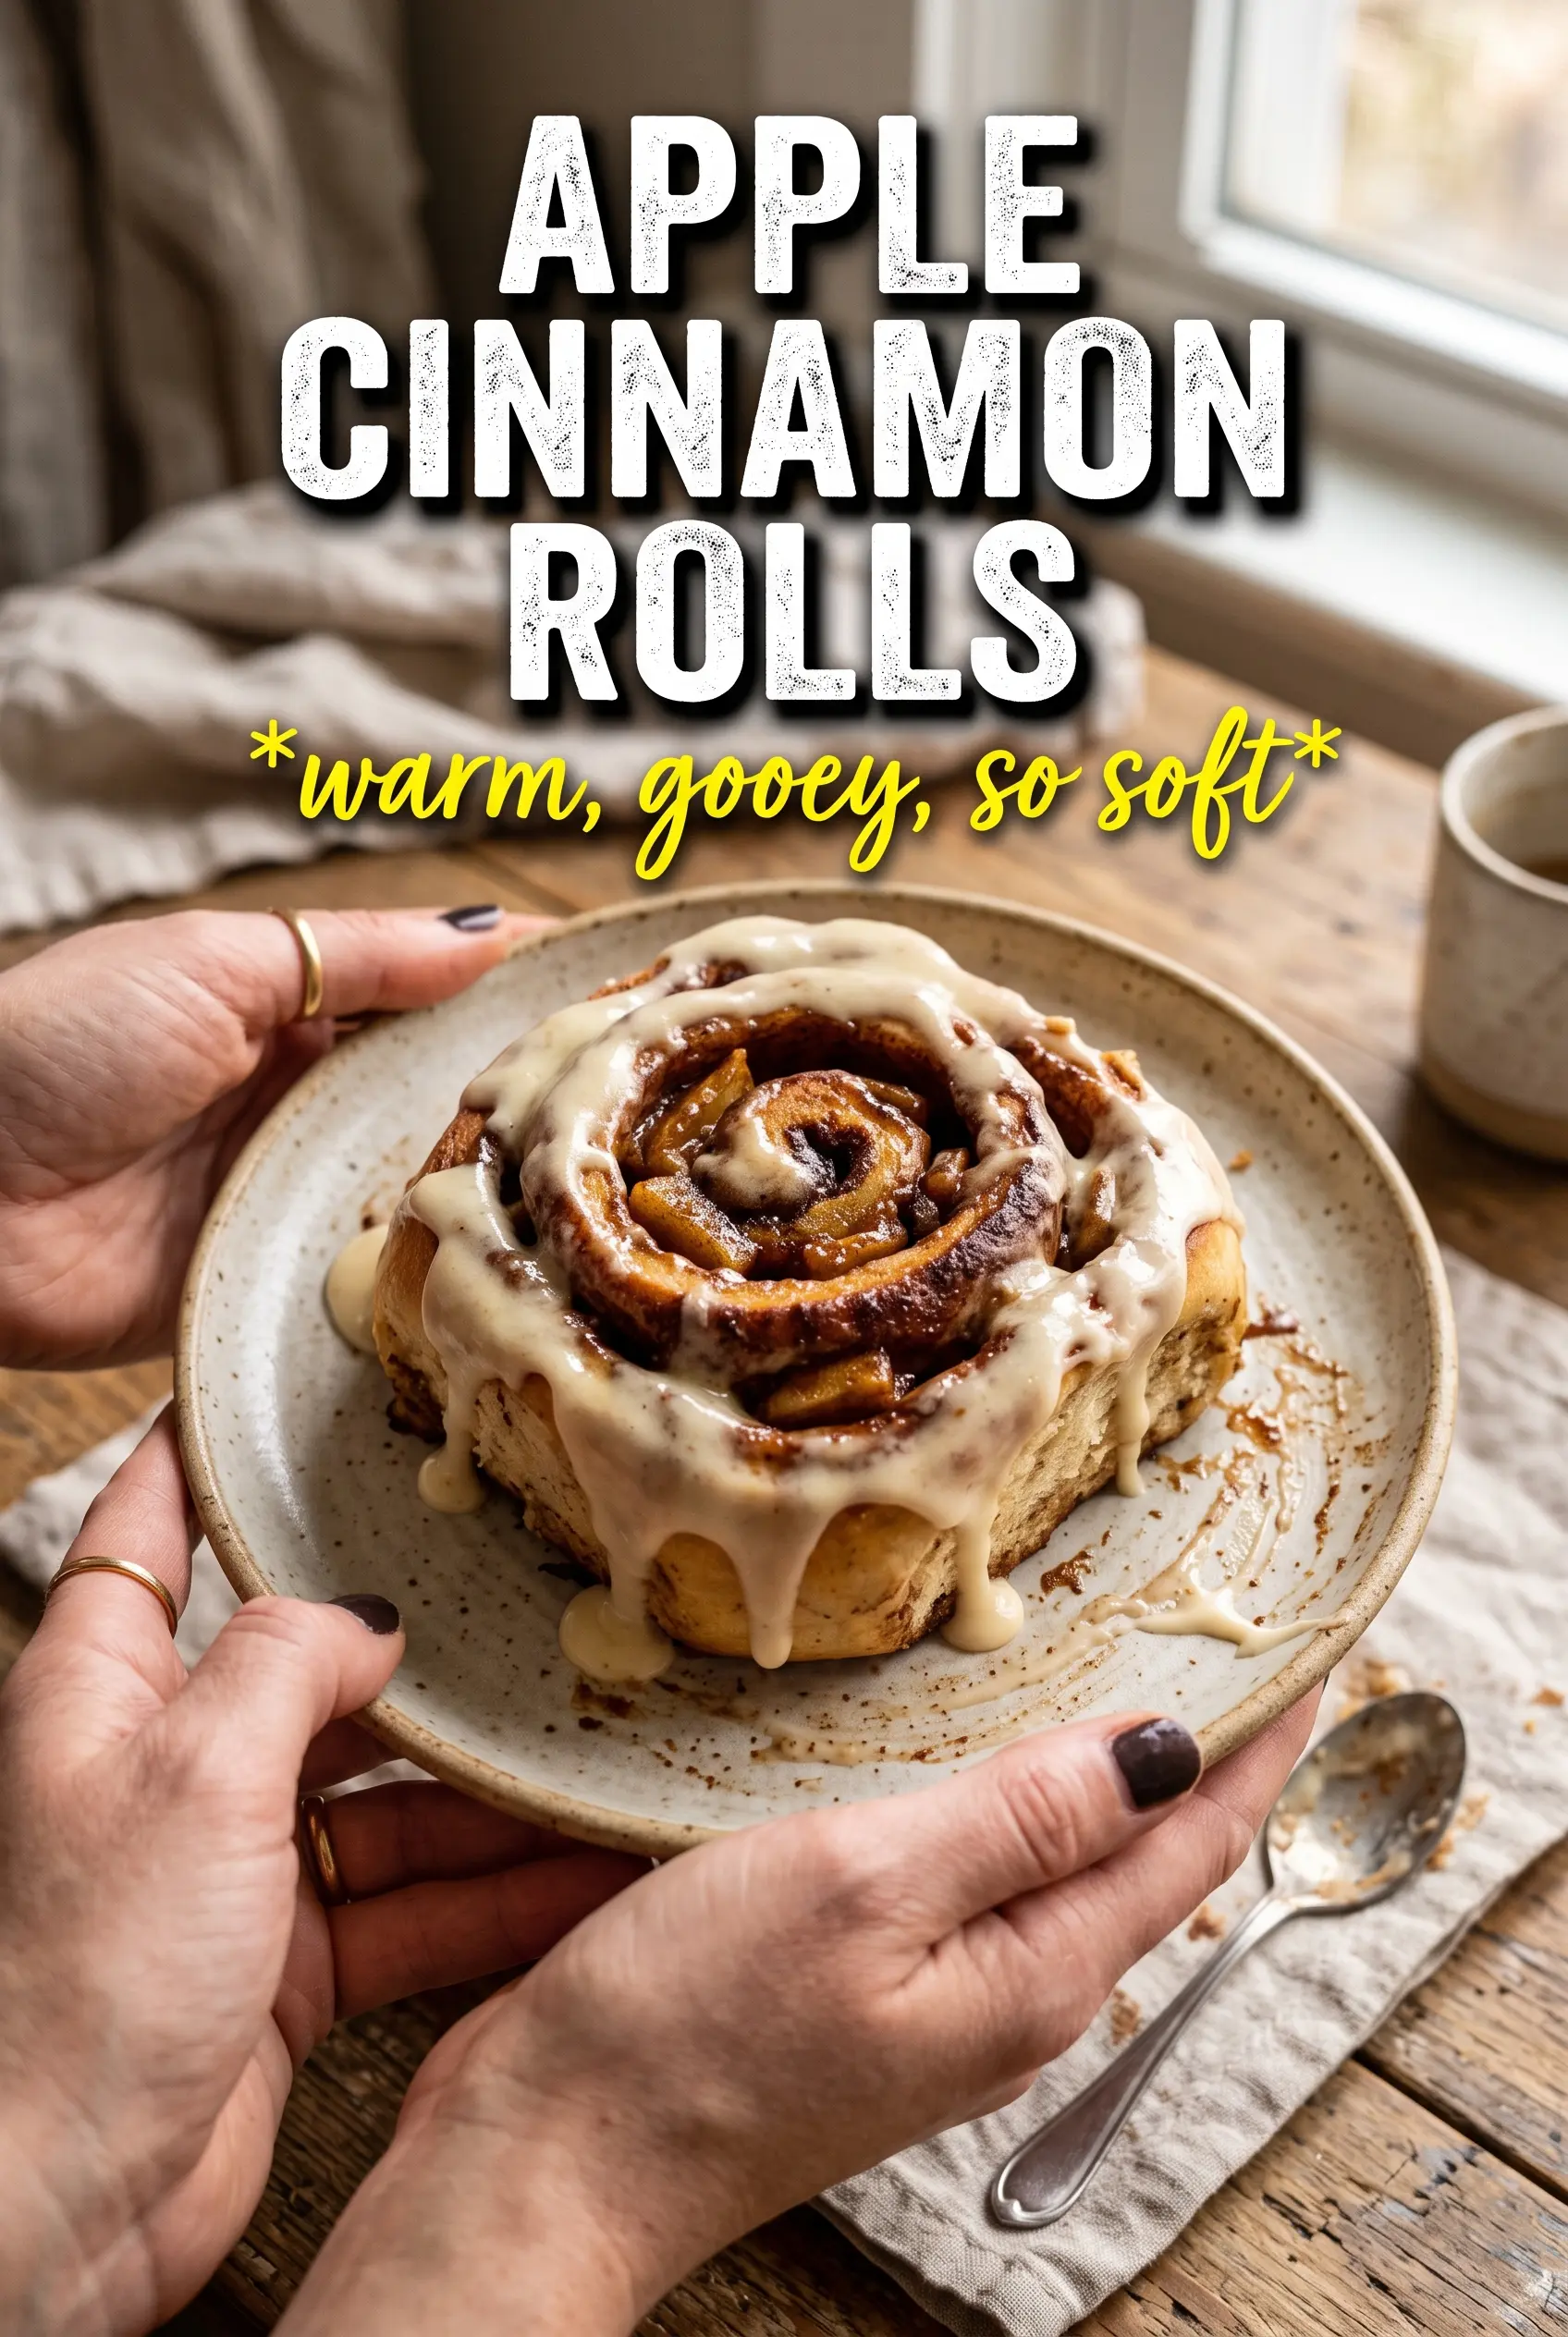
Apple cinnamon rolls bake up soft, tall, and sticky at the edges, with little pockets of caramelized apple tucked between spirals of tender dough. The filling turns jammy in the oven instead of leaking out, and the cream cheese glaze melts just enough to slip into every swirl. What you get is the kind of breakfast pan people hover around before the first tray even cools.
The key is cooking the apples before they go into the dough. Raw diced apples release too much juice in the oven, which can leave the center gummy and the rolls underbaked around the filling. A quick skillet cook with butter, brown sugar, cinnamon, and nutmeg drives off excess moisture and concentrates the flavor, so the rolls slice cleanly and bake evenly.
Below, I’ve included the little details that matter most: how to keep the dough soft without making it sticky, how to get the tight roll that gives you those neat spirals, and a few swaps that still keep the filling balanced and bakery-style.
The apple filling stayed tucked inside the rolls instead of running out, and the glaze soaked into the warm spirals without making them soggy. I loved that the centers baked up fluffy while the edges got that sticky cinnamon crust.
Love the soft spirals and caramelized apple filling in these rolls? Save them to Pinterest for a make-ahead breakfast that bakes up bakery-style at home.
The Reason the Apple Filling Gets Cooked First
Most cinnamon roll fillings fail in the same way: the apples go in raw, then they steam inside the dough and turn the center wet. That’s the difference between a roll that slices into neat spirals and one that collapses into a soggy middle. Cooking the apples first does two jobs at once. It softens them enough that they finish baking at the same pace as the dough, and it reduces the juice so the brown sugar stays thick instead of turning syrupy and runny.
The dough also needs that short knead and a full first rise. Stop kneading when it turns smooth and elastic, not when it feels stiff. If you add too much flour, the rolls bake up dry and bready instead of pillowy. A soft dough is exactly what you want here, because it keeps the finished rolls tender even after the glaze soaks in.
What the Apples, Yeast, and Glaze Are Each Doing Here
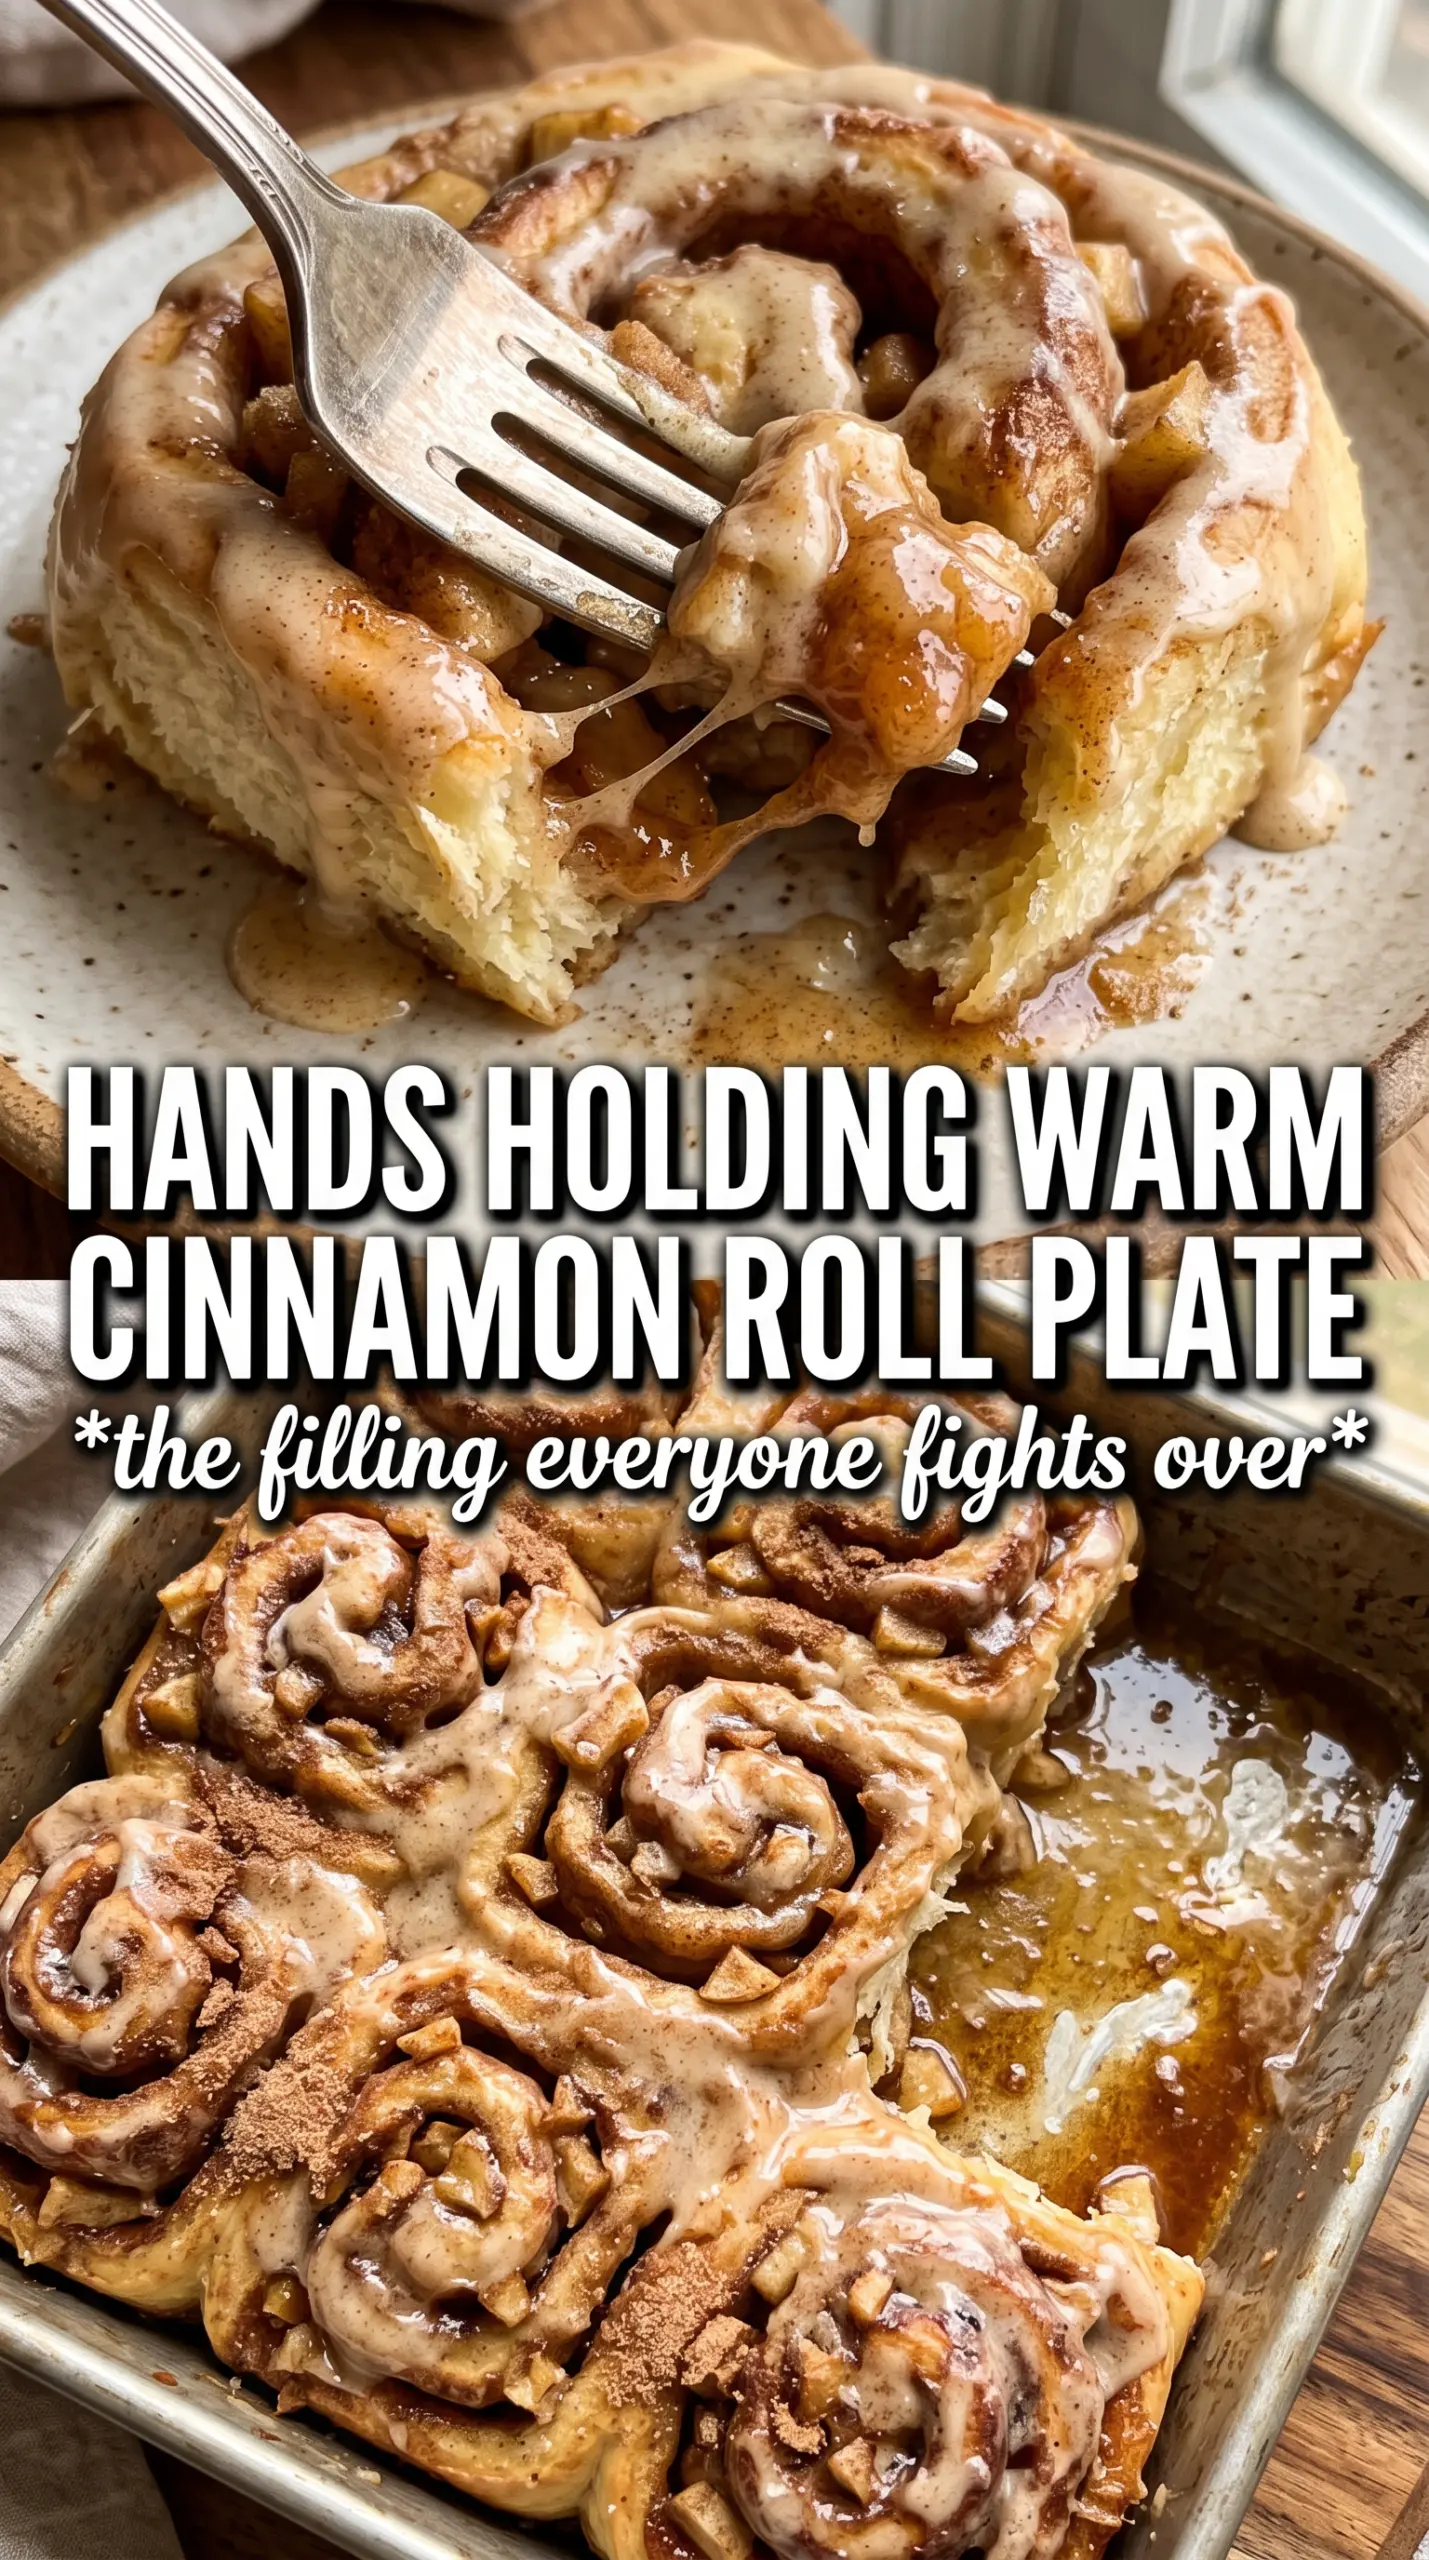
- Apples — Use a firm baking apple if you can. It holds its shape after the skillet cook and in the oven, which gives you distinct pieces instead of apple mush. A mix of tart and sweet apples works well, but any apple that stays intact under heat is better than a soft one that turns watery.
- Active dry yeast — The foamy bloom tells you the yeast is alive before you commit the rest of the ingredients. If the milk is too hot, it can kill the yeast; too cool and the rise takes forever. Aim for warm, not uncomfortable to the touch.
- Brown sugar and butter in the filling — This is what makes the apple mixture taste like caramel instead of spiced fruit. The butter carries the cinnamon and nutmeg, and the brown sugar melts into a thick coating that clings to the apple pieces. Granulated sugar won’t give you the same depth or texture.
- Cream cheese glaze — This glaze balances the sweet rolls with a little tang and gives the tops that bakery finish. Soften the cream cheese fully before mixing or you’ll end up with little lumps. If you want a thinner drizzle, add the milk a teaspoon at a time until it ribbons off the spoon.
Building Soft Rolls Without a Gummy Center
Blooming the Yeast
Stir the yeast into warm milk and give it five minutes. It should look foamy and smell a little bready. If nothing happens, the yeast is dead or the milk was off temperature, and the dough won’t rise the way it should. Starting with a live bloom saves you from waiting through an hour-long rise only to discover the dough never moved.
Mixing the Dough
Add the sugar, melted butter, eggs, and vanilla before the flour. That order keeps the dough rich and smooth instead of clumping up around the dry ingredients. Add the flour gradually and stop when the dough is soft and slightly tacky. If it feels dry in the bowl, it will bake dry in the pan.
Cooking Down the Apples
Cook the diced apples with butter, brown sugar, cinnamon, and nutmeg until they look glossy and most of the liquid is gone. You want tender pieces, not a wet skillet full of sauce. Let the filling cool completely before spreading it on the dough, because warm filling will melt the butter in the dough and make rolling messy.
Rolling, Cutting, and Proofing
Roll the dough into a 12×18 inch rectangle and spread the filling all the way to the edges. Roll it up tightly from the long side so each swirl stays defined. A loose roll leaves gaps and uneven spirals. After you cut the rolls, give them the second rise until they’re puffy and touching lightly in the pan; that final proof is what keeps the centers light instead of dense.
Baking and Glazing
Bake until the tops are deep golden and the center rolls no longer look wet in the middle. If the tops brown too quickly, cover the pan loosely with foil for the last few minutes. Beat the glaze until smooth, then spoon it over the rolls while they’re still warm so it melts into the spirals without disappearing completely.
How to Adapt These Rolls for Different Kitchens and Schedules
Dairy-Free Version
Use plant-based butter, unsweetened non-dairy milk, and a dairy-free cream cheese alternative. The rolls still bake up soft, but the glaze will taste a little less tangy and a little sweeter, so add the milk slowly and stop once it’s spreadable.
Make-Ahead Overnight Rolls
Shape the rolls, place them in the baking dish, cover tightly, and refrigerate overnight. In the morning, let them sit at room temperature until puffy before baking. Cold dough straight from the fridge usually bakes unevenly, with raw centers and overbrowned tops.
Using a Different Apple
A firmer apple keeps the filling chunky and distinct; a softer apple breaks down faster and makes the filling more jam-like. If all you have is a softer variety, cook the filling a minute or two longer so extra moisture evaporates before it goes into the rolls.
Storage and Reheating
- Refrigerator: Store covered for up to 4 days. The dough firms up a little, but the glaze helps keep the tops from drying out.
- Freezer: Freeze baked rolls without glaze for up to 2 months. Wrap them well and thaw overnight in the fridge before reheating and glazing.
- Reheating: Warm individual rolls in the microwave for 20 to 30 seconds, or cover the pan with foil and heat in a 300°F oven until warmed through. Don’t blast them too long or the dough turns tough and the glaze separates.
Questions I Get Asked About These Apple Cinnamon Rolls
Apple Cinnamon Rolls
Ingredients
Equipment
Method
- Combine warm milk and active dry yeast in the bowl, then let sit for 5 minutes until foamy.
- Add granulated sugar, melted unsalted butter, eggs, and vanilla extract, then mix in all-purpose flour and salt until a soft dough forms.
- Knead the dough for 8 minutes until smooth, then place in a greased bowl, cover, and let rise for 1 hour until doubled.
- Cook the diced apples with unsalted butter, brown sugar, cinnamon, and nutmeg in a skillet for 5-7 minutes until softened and caramelized.
- Cool the apple filling completely before assembling the rolls.
- Roll the dough into a 12x18 inch rectangle and spread the apple filling evenly over the surface.
- Roll tightly from the long side and cut into 12 equal rolls.
- Arrange the rolls in a greased 9x13 baking dish, cover, and let rise for 45 minutes.
- Bake at 375°F for 22-25 minutes until golden.
- Beat cream cheese, powdered sugar, milk, and vanilla extract together until smooth, then drizzle over warm rolls.