Glossy, cinnamon-spiced apple pie filling comes together fast on the stovetop, and once you’ve made it from scratch, the canned version stops being tempting. The apples stay tender without turning mushy, and the syrup thickens into a clean, amber sauce that actually sets up in a pie instead of leaking across the pan. It tastes like apples first, not just sugar and spice.
The key is starting the thickener before the apples go in. Cornstarch needs heat and liquid to activate, and whisking it with the sugars and juice first keeps the sauce smooth instead of clumpy. A mix of Granny Smith and Honeycrisp gives you the right balance: tart apples that hold their shape and sweeter apples that melt a little into the filling. A squeeze of lemon keeps the flavor bright and helps the apples keep their color while they cook.
Below, I’m walking through the small details that matter most, including how to tell when the syrup is thick enough and what to do if you want to use this filling for more than pie.
The filling thickened into a perfect glossy sauce and stayed that way after baking. I used it for a pie and a batch of hand pies, and the apples were tender without getting mushy.
Save this homemade apple pie filling for pies, crisps, and warm spoonfuls over ice cream.
The Reason This Filling Stays Thick After Baking
Most apple fillings fail in one of two ways: they turn watery, or they cook down into applesauce before the pie goes anywhere near the oven. This version avoids both problems by building the syrup first and giving the cornstarch time to activate before the apples release all their liquid. That means the filling starts thick in the pan, then sets again as it cools and bakes, instead of thinning out halfway through the pie.
The apple choice matters too. Granny Smith gives structure and tartness, while Honeycrisp softens a little faster and adds sweetness without making the filling muddy. If you use only soft, mealy apples, the filling loses texture and the sauce takes over. You want slices that hold their shape long enough to look like apples in the finished pie, not a pot of jam.
What Each Ingredient Is Actually Doing in This Filling
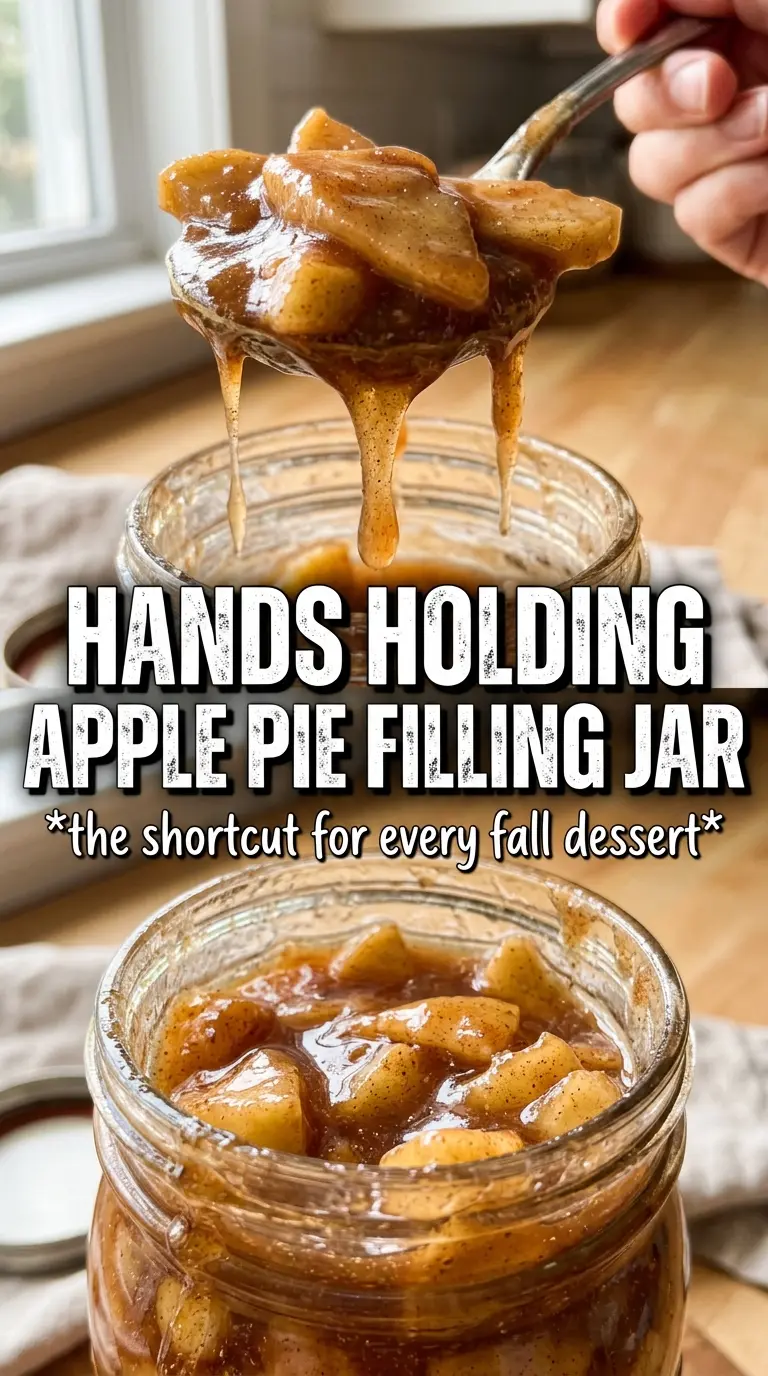
- Granny Smith apples — These bring the tart backbone and keep their shape during cooking. They’re the one apple in this recipe that I wouldn’t swap blindly for a softer variety.
- Honeycrisp apples — These soften a little more and give the filling a rounder sweetness. If you can’t find them, use another crisp apple like Pink Lady or Fuji, but keep at least part of the batch tart so the filling doesn’t taste flat.
- Cornstarch — This is what turns the juices into a glossy pie-filling sauce. If the filling ever looks loose in the pan, keep cooking until it goes from cloudy to clear and shiny; that change tells you the starch has fully thickened.
- Apple juice or water — Apple juice gives the filling a deeper apple flavor right from the start. Water works fine if that’s what you have, but the finished sauce will taste a little less layered.
- Lemon juice — A small amount sharpens the sweetness and helps the apples stay bright. Don’t skip it unless your apples are extremely tart already.
- Butter and vanilla — These go in off the heat so they stay mellow and fragrant instead of cooking flat. The butter rounds out the sauce, and the vanilla makes the filling taste like dessert instead of just spiced fruit.
How to Cook the Apples Without Losing the Filling
Building the Syrup Base
Start by whisking the sugars, cornstarch, apple juice, cinnamon, nutmeg, and allspice in a large saucepan over medium heat. The mixture should look smooth before the apples go in, with no dry pockets of starch hiding at the bottom. Keep whisking until the sugar dissolves and the liquid looks slightly opaque. If you dump the apples into an uneven base, the cornstarch can clump and you’ll chase it around the pan later.
Cooking the Apples to Tender, Not Mushy
Add the sliced apples and lemon juice, then stir until every slice is coated. The filling should simmer gently, not boil hard; aggressive heat breaks the slices down too fast and makes the syrup reduce before the apples soften. Stir every minute or so and watch for the color change: the sauce will go from thin and milky to glossy and thick, and the apples will bend without collapsing. Ten to twelve minutes is usually enough, but the real test is whether the slices look tender at the edges while still holding their shape.
Finishing for Shine and Flavor
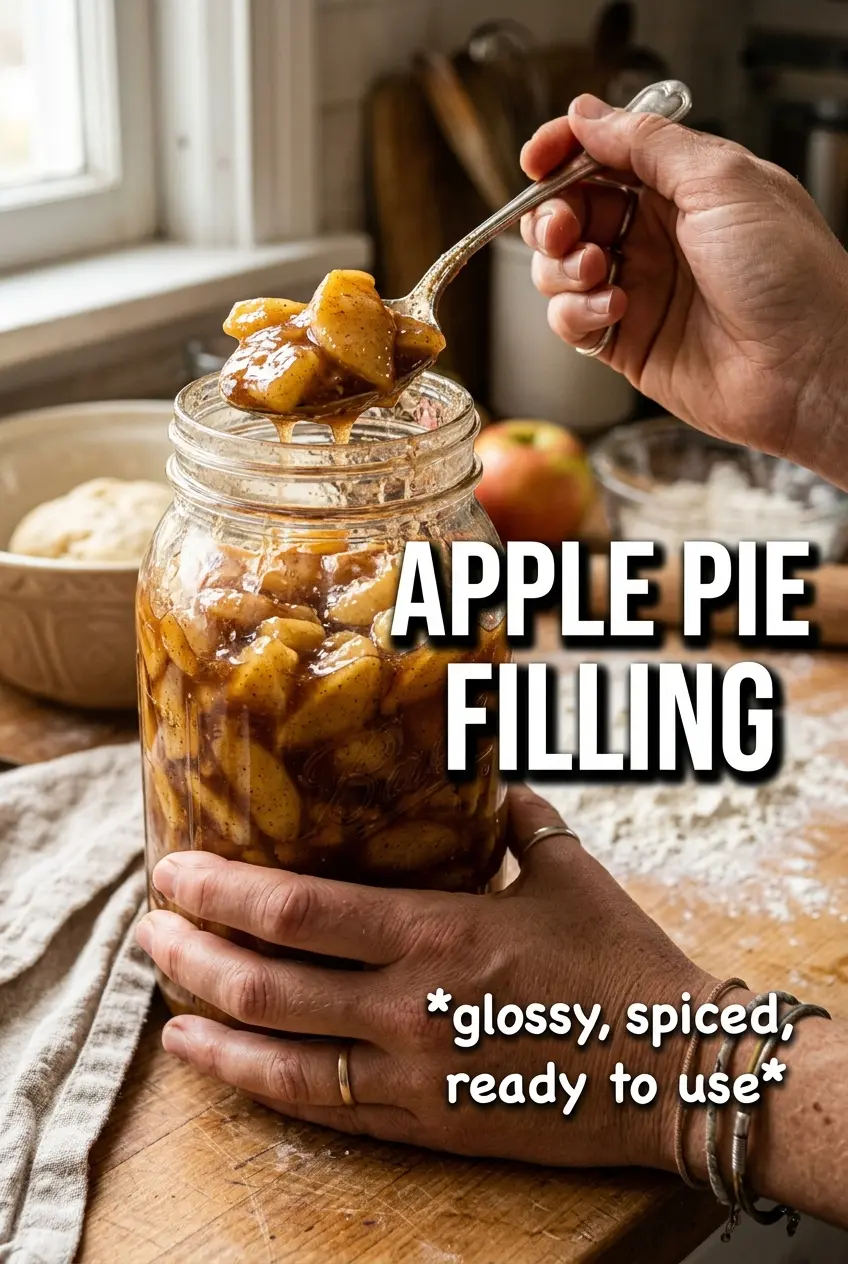
Pull the pan off the heat before stirring in the butter and vanilla. If you add them while the filling is still boiling, the vanilla loses some of its aroma and the butter can separate instead of melting cleanly into the sauce. Once finished, the filling should look lacquered and spoonable, not runny. Let it cool completely before putting it in a pie shell so the crust doesn’t go soggy before baking even starts.
How to Adapt This Filling for Different Desserts
For a crisper filling
Cook the apples for the shorter end of the time range so they stay a little firmer. That gives you more bite in the finished pie or crisp, especially if the dessert will bake again after filling.
For a gluten-free dessert
This filling is naturally gluten-free as written, as long as your spices and cornstarch are certified gluten-free. The texture stays the same, which is one reason cornstarch works better here than flour.
For a dairy-free version
Swap the butter for a dairy-free butter substitute or leave it out entirely. You’ll lose a little roundness in the flavor, but the filling will still thicken and bake beautifully.
For make-ahead baking
Cook the filling, cool it completely, then refrigerate it before assembling the pie. A chilled filling is easier to portion and helps keep the bottom crust from softening before it has a chance to set in the oven.
Storage and Reheating
- Refrigerator: Store in a sealed container for up to 2 weeks. The sauce will tighten as it chills.
- Freezer: Freeze for up to 3 months in a freezer-safe container, leaving a little space at the top. Thaw overnight in the refrigerator before using.
- Reheating: Warm gently on the stove over low heat, stirring often. High heat can make the apples break down too much and can thin the sauce before it has a chance to loosen.
Questions I Get Asked About This Recipe
Apple Pie Filling
Ingredients
Equipment
Method
- Whisk granulated sugar, brown sugar, cornstarch, apple juice or water, cinnamon, nutmeg, and allspice in a large saucepan over medium heat until the sugar dissolves and the mixture looks smooth.
- Keep the saucepan at medium heat as the mixture warms, watching for steam and a light thickening at the edges (about 1 to 2 minutes).
- Add the sliced apples and lemon juice, then stir to coat so every slice is covered in syrupy spices.
- Cook over medium heat, stirring occasionally, for 10-12 minutes until the apples are tender and the sauce thickens into a glossy syrup.
- Remove from heat and stir in unsalted butter and vanilla extract until fully melted and evenly incorporated.
- Cool completely before using in a pie, or pour into sterilized jars and refrigerate up to 2 weeks.