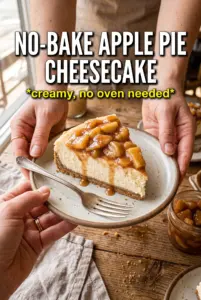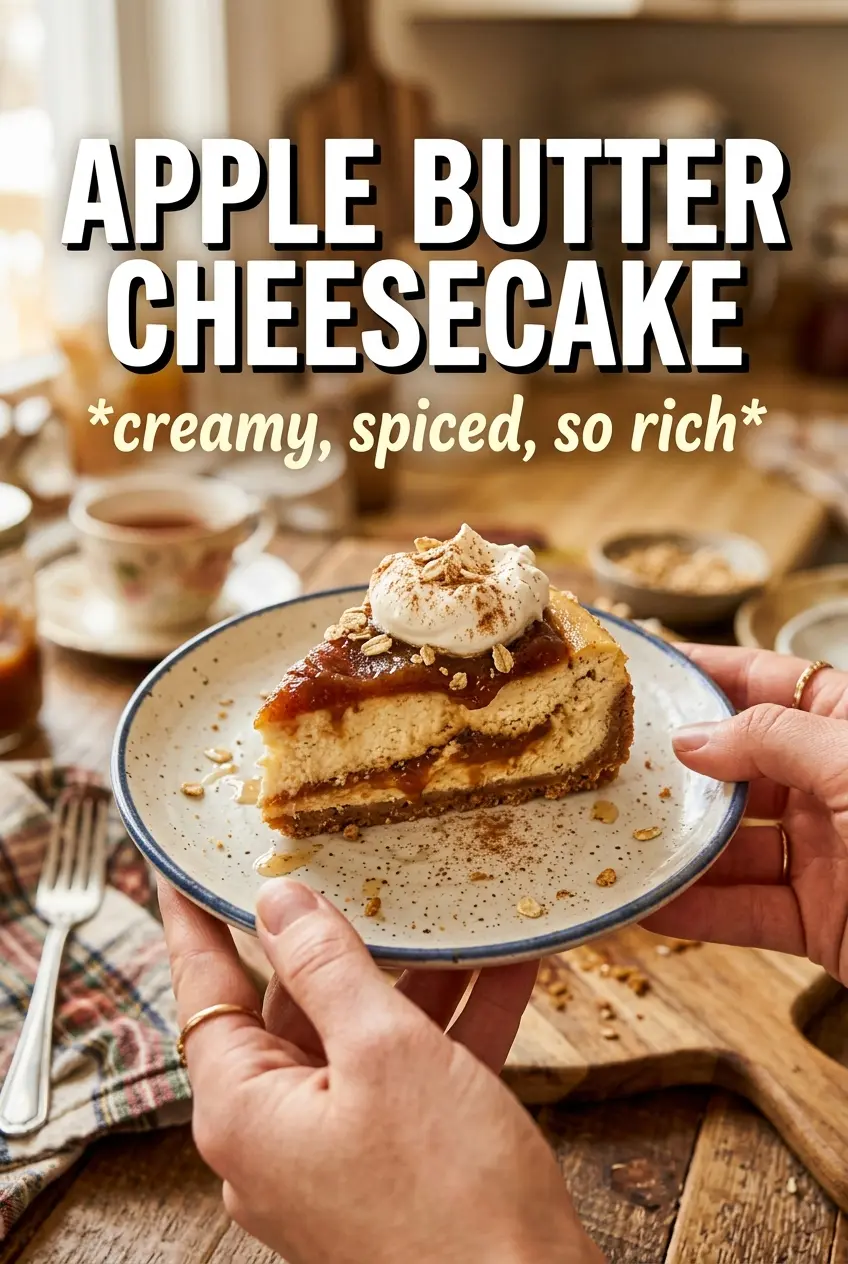
Apple butter cheesecake lands somewhere between cozy and polished: a tangy, silky filling over a spiced crust, with ribbons of apple butter running through each slice. The apple butter doesn’t just sit on top as a garnish. It melts into the batter in soft swirls, giving every bite a cooked-apple depth that plain cheesecake can’t match.
What makes this version work is the balance. The cream cheese stays rich, but sour cream keeps the filling from tasting heavy, and the brown sugar adds a little molasses note that plays nicely with the cinnamon. The water bath matters here, too. It keeps the cheesecake baking gently so the center sets without turning dry or cracking across the top.
Below, you’ll find the small details that make the difference, including how to swirl the apple butter without muddying the batter and what to look for when the cheesecake is done. If cheesecake usually makes you nervous, this is the kind of method that gives you a clean, creamy slice the first time through.
The filling baked up smooth and the apple butter stayed in distinct swirls instead of sinking. I chilled it overnight and the slices came out clean with that perfect creamy center.
Save this apple butter cheesecake for the kind of dessert that bakes with a creamy center, a spiced crust, and beautiful apple butter ribbons.
The Water Bath Is What Keeps the Center Creamy
A cheesecake this rich needs gentle heat. The water bath buffers the pan so the edges don’t overbake before the center has time to set, which is how you get a smooth slice instead of a dry ring around a wobbling middle. It also helps protect the top from splitting as the batter rises and settles.
The other piece that matters is patience after baking. Pull it when the center still has a slight jiggle, not when it looks firm all the way through. It keeps cooking from residual heat as it cools, and if you wait until it looks fully set in the oven, it usually ends up overbaked by the time it chills.
- Springform pan — This is the right pan for a cheesecake you want to unmold cleanly. A regular cake pan makes serving awkward and can tear the crust.
- Cream cheese — Full-fat cream cheese gives you the proper body and tang. Low-fat versions tend to bake up looser and less velvety.
- Sour cream — This softens the texture and adds a subtle tang that keeps the filling from tasting flat. Plain Greek yogurt works in a pinch, but it’s a little sharper and not as silky.
- Apple butter — Use a thick, well-cooked apple butter so it stays visible in ribbons instead of disappearing into the batter. If yours is loose, simmer it briefly first to tighten it up.
What Each Ingredient Is Doing in the Pan
- Gingersnap or graham cracker crumbs — Gingersnaps give a deeper spice and a little more snap, while graham crackers stay milder and classic. Either one works, but gingersnaps make the apple butter read louder.
- Brown sugar in the filling — This adds moisture and a light caramel note that fits the apple butter better than using white sugar alone. It doesn’t make the cheesecake taste brown-sugary; it just rounds out the edges.
- Eggs — These set the custard. Add them one at a time and mix only until they disappear, or you’ll beat in too much air and the cheesecake is more likely to puff and crack.
- Vanilla and cinnamon — Vanilla gives the filling warmth, and cinnamon ties the crust to the apple butter without making the whole dessert taste like spice cake. If you want a stronger apple-pie note, add a pinch of nutmeg.
Building the Swirl Without Muddying the Filling
Pressing and Pre-Baking the Crust
Mix the crumbs, sugar, cinnamon, and melted butter until the texture looks like damp sand, then press it firmly into the bottom of the springform pan. You want an even layer with no loose pockets at the edge, because thin spots turn brittle and can crumble when you slice. The crust doesn’t need a separate bake here unless you like extra crunch; the long cheesecake bake is enough to set it.
Making the Batter Smooth
Beat the cream cheese with both sugars until there are no visible lumps before the eggs go in. If the cream cheese is even a little cool, those lumps stick around and show up in the finished slice. Once the eggs are added, keep the mixer on low and stop as soon as the batter looks uniform. Too much mixing at this point whips in air and gives you a puffed top that sinks later.
Creating the Apple Butter Ribbons
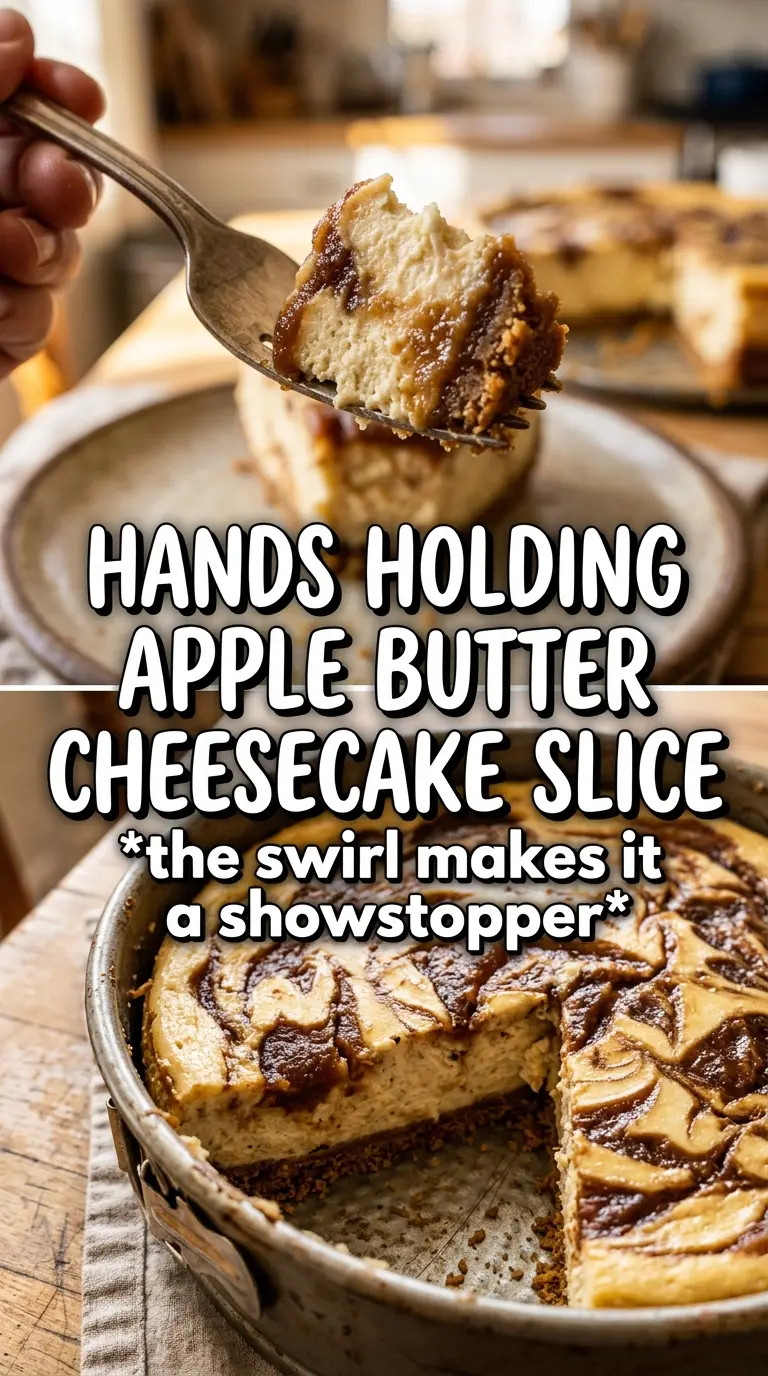
Pour most of the batter over the crust, then dollop the apple butter on top and cover it with the remaining batter. Drag a knife through just a few times in broad, lazy sweeps. If you over-swirl, the apple butter blends into the filling and you lose the marbled look that makes each slice special.
Baking Until Just Set
Set the pan in the water bath and bake until the edges are firm and the center still has a small wobble when you nudge the pan. The top should look matte, not wet, and it may have a soft golden tint around the rim. Let it cool at room temperature before chilling so the temperature drops gradually; rushing it into the fridge can cause surface cracks and a gummy texture near the top.
Chocolate Gingersnap Crust
Swap half of the crust crumbs for chocolate cookie crumbs if you want a deeper, darker base. It changes the dessert from warmly spiced to more dessert-counter rich, but it still plays nicely with the apple butter.
Dairy-Free Version
Use a high-quality dairy-free cream cheese and a thick unsweetened dairy-free yogurt in place of the sour cream. The texture will be a little softer and the tang slightly different, but the apple butter swirl still carries the flavor well.
Gluten-Free Crust
Use certified gluten-free graham-style crumbs or gluten-free gingersnaps. The filling is already gluten-free, so this swap keeps the whole dessert intact without changing the baking method.
Smaller Apple Butter Swirl
If you want a cleaner cheesecake look, use less apple butter and leave a few larger dollops instead of spreading it thin. You’ll get sharper ribbons and less marbling, which is useful if you want the filling to stay mostly vanilla-cinnamon.
Storage and Reheating
- Refrigerator: Store covered for up to 5 days. The crust softens a little by day two, but the flavor stays excellent.
- Freezer: Cheesecake freezes well. Wrap individual slices tightly, then freeze up to 2 months; thaw in the refrigerator so the texture stays smooth.
- Reheating: Serve chilled or let a slice sit at room temperature for 15 to 20 minutes. Don’t microwave it, or the filling turns greasy and the crust goes soggy.