Caramel apple jam turns soft diced apples into a thick, spoonable spread with the warm pull of cinnamon, brown sugar, and vanilla. It lands somewhere between apple butter and classic jam, but with brighter fruit flavor and a little more texture, which is exactly why it earns a spot next to toast, biscuits, and a bowl of plain yogurt. The finished jar should look glossy and deeply golden, with small pieces of apple suspended in a syrup that sets up as it cools.
What makes this version work is the balance between tart apples, lemon juice, and two kinds of sugar. Granulated sugar gives the jam structure, while brown sugar adds that caramel note without needing actual caramel. Cooking the apples with the sugar from the beginning helps them break down into a jammy base, and the long simmer gives you that thick, spreadable texture without needing pectin.
Below you’ll find the set test I trust every time, plus a few swaps and storage notes that matter when you want these jars to hold up after they cool.
The jam set up beautifully and the apple pieces stayed intact enough to give it some texture. I did the cold plate test and it wrinkled right on time, so the jars were perfect after cooling.
Save this caramel apple jam for fall toast, biscuit breakfasts, and gifting jars that set up with a thick, spoonable finish.
The Set Point Is Happening Before It Looks Thick
Jam lies. Or more accurately, jam looks thinner in the pan than it will in the jar. The biggest mistake with fruit jam is cooking until it seems fully finished on the stove, which is how you end up with something stiff and overcooked once it cools. For caramel apple jam, the mixture should coat a spoon and move slowly when you drag a spatula through the pan, but it still needs the cold plate test to tell you when the pectin and sugar have reached a real set.
The apples should break down into soft pieces, but not disappear completely unless you want a smoother spread. A few chunks give the jam body and keep it from reading like apple syrup. If the heat is too high, the sugars can scorch before the fruit has time to soften, so a steady medium simmer is the sweet spot.
- Cold plate test — This is the quickest honest check. Spoon a little jam onto a chilled plate, wait a minute, then push it with your finger. If it wrinkles, it’s ready.
- Medium heat — High heat drives off liquid too fast and can burn the sugar. Medium lets the apples soften and the mixture reduce evenly.
- Frequent stirring — As the jam thickens, it will start to catch on the bottom of the pan. Stir more often near the end, especially around the edges.
What the Sugars, Spice, and Lemon Are Each Doing Here
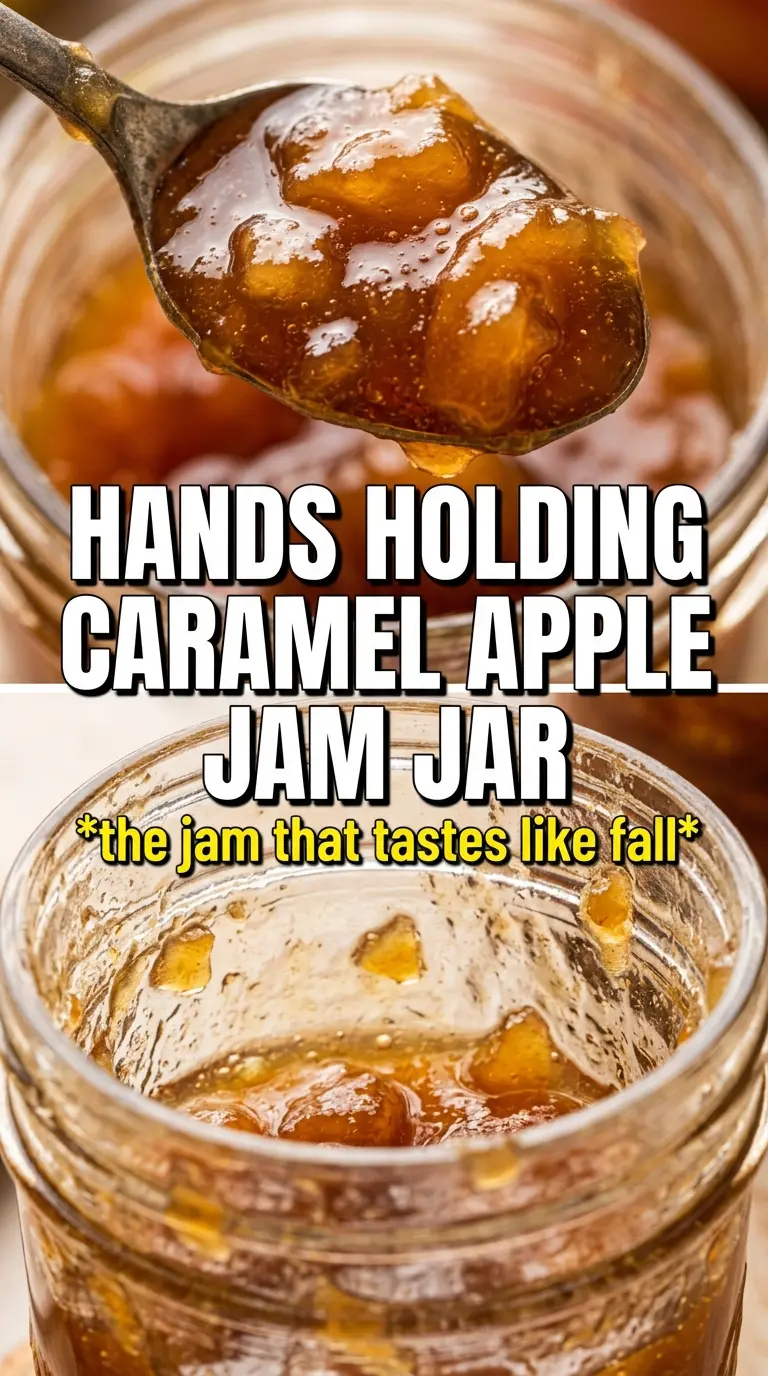
- Apples — Use firm apples that hold some shape, like Honeycrisp, Fuji, or Granny Smith blends. Softer apples work too, but they collapse faster and give you a smoother jam with less texture.
- Brown sugar — This is where the caramel note comes from. Packed brown sugar adds depth and a little molasses flavor that plain white sugar can’t match.
- Apple cider or apple juice — Just enough liquid to get the apples going without turning the pan watery. Cider gives a fuller apple flavor; juice is the fine substitute if that’s what you have.
- Lemon juice — This brightens the jam and keeps the sweetness from feeling flat. It also helps the set along, which matters when you’re making a fruit spread without added pectin.
- Vanilla and spice — Add them near the end so they stay warm and present instead of cooking off. Cinnamon leads, while nutmeg and allspice should stay in the background.
Building the Jam So It Thickens Without Burning
Starting the Fruit and Sugar Together
Combine the apples, both sugars, cider, and lemon juice in a heavy saucepan and bring it up over medium-high heat until the sugar dissolves. The mixture will look watery at first, then turn glossy as the fruit starts to release its juice. A heavy-bottomed pan matters here because thin pans give you hot spots, and hot spots give you scorched sugar before the fruit has a chance to cook down.
Cooking Down to a Thick Base
Once the mixture is boiling, lower the heat to medium and let it simmer for 30 to 35 minutes, stirring often. You want the apples to soften and break apart while the liquid reduces into a dense, sticky base. If the bottom starts to darken too fast, the heat is too high; pull it back and keep going slower rather than trying to rush the set.
Finishing with Spice and Vanilla
Stir in the cinnamon, nutmeg, allspice, vanilla, and salt for the last 5 minutes of cooking. This keeps the spices aromatic and the vanilla from tasting cooked out. The jam should look thicker, darker, and slightly glossy, with the spoon leaving a trail that doesn’t close up right away.
Testing and Jarring
Before you ladle it into sterilized jars, use the cold plate test. The jam should wrinkle when pushed, not run like sauce. If it still seems loose, keep simmering in short bursts and test again, because once it cools in the jar you can’t undo an under-set batch without recooking it.
Make It Brighter or Deeper
Use all Granny Smith apples for a sharper, more tart jam, or mix them with sweeter apples for a rounder finish. The tart version tastes more like classic preserves; the sweeter version leans softer and dessert-like.
Lower-Sugar Adjustment
You can cut the total sugar a little, but don’t drop it too far or the jam won’t set the same way and will taste more like stewed apples. If you reduce sugar, cook a bit longer and expect a softer finish.
Dairy-Free and Naturally Gluten-Free
This recipe already fits both dairy-free and gluten-free diets as written. The key is to check that your vanilla and spices are pure and not blended with fillers if you’re cooking for someone sensitive.
Storage and Reheating
- Refrigerator: Store refrigerated in sealed jars for up to 3 weeks. The texture will firm up as it chills, then loosen slightly once spooned out.
- Freezer: This jam freezes well if you leave headspace in the jars. Freeze for up to 3 months and thaw in the refrigerator overnight.
- Reheating: If you want it looser for topping yogurt or warm biscuits, warm a small amount gently in a saucepan over low heat. Don’t boil it hard after setting, or it can cook down too far and turn dense.
Questions I Get Asked About This Recipe
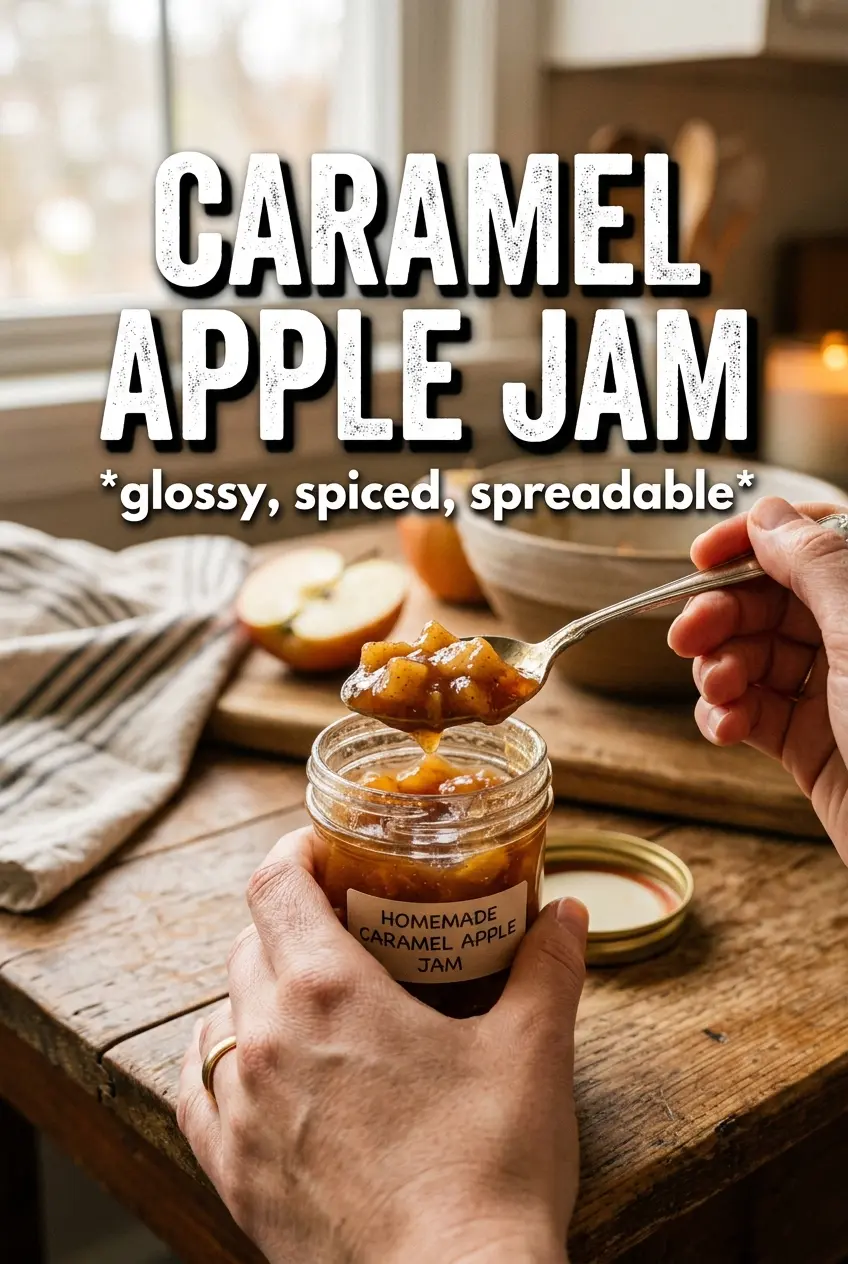
Caramel Apple Jam
Ingredients
Equipment
Method
- Combine apples, granulated sugar, brown sugar, apple cider, and lemon juice in a large heavy-bottomed saucepan. Stir until the sugars look evenly distributed.
- Bring the mixture to a boil over medium-high heat, stirring until the sugar fully dissolves. Keep it at a steady boil long enough to see active bubbling through the spoon.
- Reduce heat to medium and cook for 30-35 minutes, stirring frequently, until the mixture thickens and the apples break down. You should see the jam coat the spoon more heavily as it cooks.
- Stir in cinnamon, nutmeg, allspice, vanilla extract, and salt and cook for 5 more minutes. The spices should look evenly suspended with a glossy, darker caramel color.
- Test the set point by placing a spoonful on a cold plate and pushing it with your finger. It should wrinkle when pushed, not run back together.
- Ladle the hot jam into sterilized jars and process in a water bath for 10 minutes, or refrigerate if not canning. Stop when the lids seal properly for the canned option.