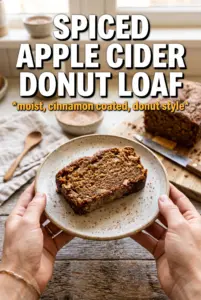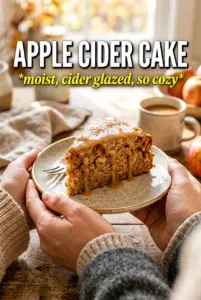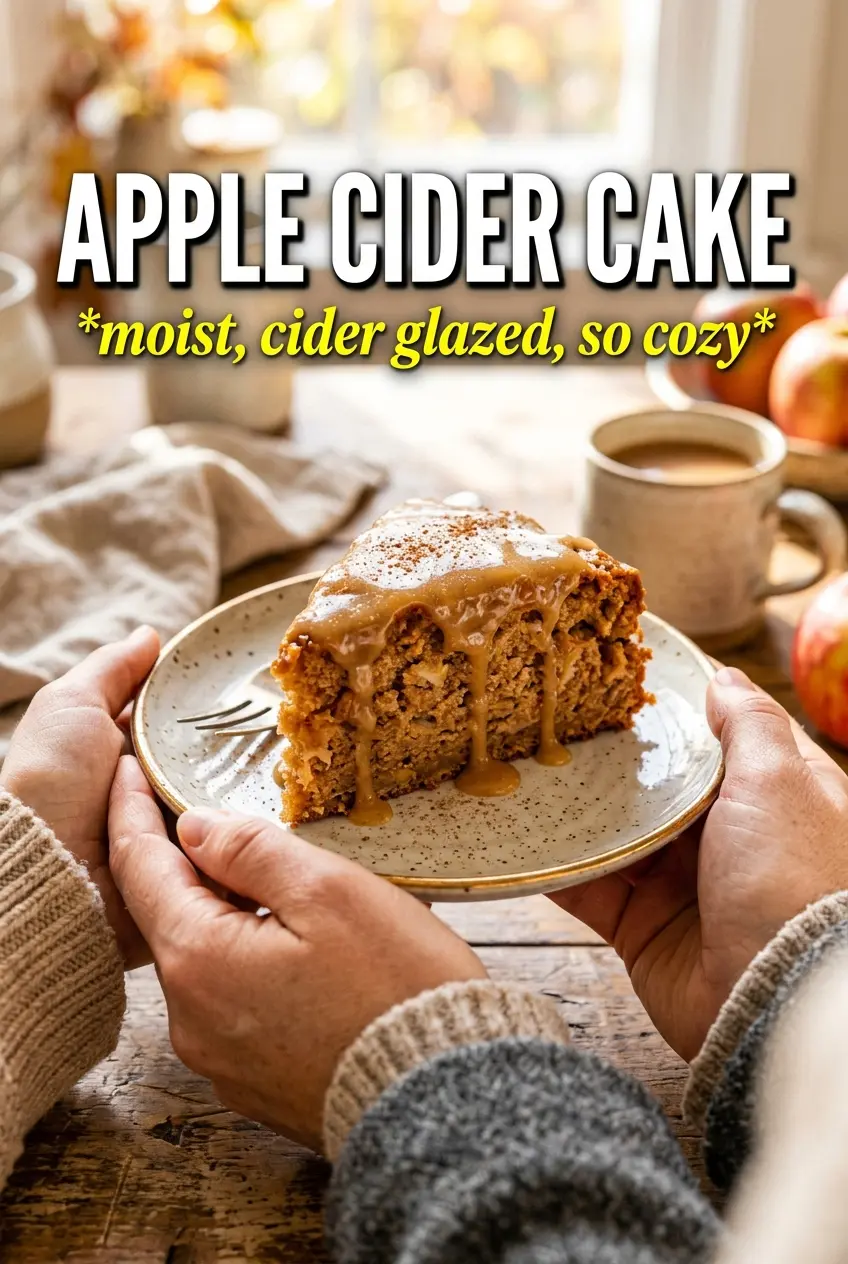
Apple cider cake lands with the kind of soft, spiced crumb that makes a second slice feel inevitable. The cider gives the cake a deeper apple note than chopped fruit alone ever can, and when it’s paired with cream cheese frosting, the whole thing tastes like the best part of an orchard bakery cake without feeling heavy. The crumb stays tender, the layers slice cleanly, and the cider caramel-like sweetness comes through in every bite.
Reducing the cider before it goes into the batter is what gives this cake its edge. You lose the watery bite and keep the concentrated apple flavor, which matters because too much liquid would make the crumb loose instead of plush. The sour cream pulls its weight here too, keeping the cake moist and balancing the sweetness of the brown sugar and frosting. I also like using brown sugar instead of all white sugar, because it brings a deeper, almost molasses-like note that fits the spices.
Below, I’ll walk through the part that makes the biggest difference — reducing the cider without overcooking it, then building a batter that bakes up even and tender. There’s also a frosting note worth reading if you want the layers to hold their shape and not slide around on the cake stand.
The cider flavor came through without making the cake wet, and the layers stayed so soft even after chilling overnight. My frosting actually held the sides nicely, which never happens for me with layer cakes.
Save this apple cider cake for the kind of dessert that needs soft spiced layers and a frosting that stands up between them.
The Cider Has to Be Concentrated or the Cake Turns Flat
Apple cider cake lives or dies by the cider reduction. If you pour in a full cup of cider straight from the carton, the batter gets too loose and the flavor stays thin. Reducing it down to half a cup concentrates the apple flavor and takes out the extra water that would otherwise weaken the crumb.
The other place people go wrong is overmixing after the flour goes in. Once the dry ingredients are added, the batter should look smooth but not whipped. Too much mixing builds structure you don’t want in a cake like this, and you’ll end up with a tighter crumb instead of those soft, even layers.
- Reduced apple cider — This is the ingredient that makes the cake taste like apples instead of just spice cake. Cool it completely before adding it or it can soften the butter mixture and change the batter texture.
- Brown sugar — White sugar will work in a pinch, but brown sugar gives the cake its deeper, caramel note and helps keep the crumb moist.
- Sour cream — This adds fat and acidity, which keeps the cake tender and helps the rise stay even. Plain Greek yogurt is the best substitute if that’s what you have, and it should be full-fat if possible.
- Cream cheese frosting — The tang balances the sweetness of the cake. If you want a sturdier finish for clean layer slices, chill the frosted cake for 20 to 30 minutes before serving.
What Each Ingredient Is Actually Doing in This Recipe
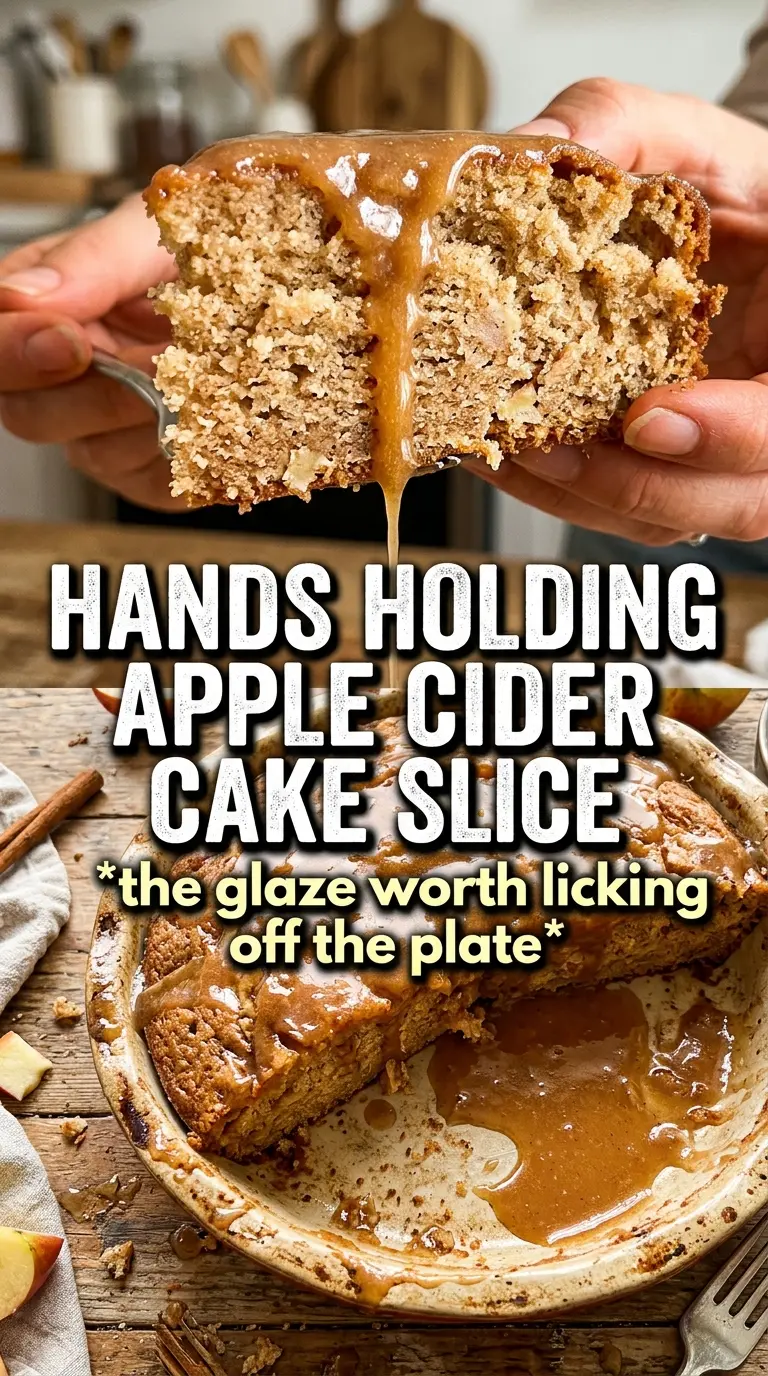
- Primary ingredient (the star) — Quality matters most. Choose the best you can find.
- Cooking medium (oil, butter, or broth) — This carries flavors and prevents dryness.
- Seasonings (salt, pepper, spices, herbs) — Layer flavors so nothing overpowers. Build depth gradually.
- Aromatics (garlic, onion, herbs) — Cook with fat to bloom flavors. Become the foundation.
- Supporting ingredients — Complement the main ingredient without overpowering it.
- Sauce or liquid (if applicable) — Brings flavors together. Balance richness with acid.
- Acid (lemon, vinegar, wine, or other) — Brightens and prevents flat-tasting results.
- Final finish (garnish, glaze, or sauce) — Prevents one-dimensional taste and adds visual appeal.
Building the Batter Without Deflating the Cake
Reducing the Cider
Pour the cider into a small saucepan and simmer it over medium heat until it reduces to half a cup. Keep an eye on the level, because cider can go from reduced to sticky if you walk away. You want it fragrant and a little syrupy, then fully cooled before it touches the batter. Warm cider will soften the butter mixture and make the cake less stable.
Whipping Butter and Sugar Properly
Beat the softened butter and brown sugar until the mixture looks noticeably lighter and fluffy, not just combined. This step traps air, which helps the layers rise without turning dense. Add the eggs one at a time so the mixture stays smooth; if it looks a little curdled after an egg, it usually comes back together once you start alternating in the dry ingredients.
Finishing the Batter and Baking the Layers
Add the flour mixture in batches, alternating with the sour cream, and stop mixing as soon as the batter is uniform. Scrape the bowl well so there aren’t pockets of flour hiding at the bottom. Divide the batter evenly between the pans, and bake until the tops spring back when lightly touched and a toothpick comes out clean or with a few moist crumbs. If the center still looks shiny, give it a few more minutes rather than pulling it early and hoping it sets later.
Cooling and Frosting the Right Way
Let the cakes cool in the pans for about 10 minutes, then turn them out onto a rack and wait until they’re completely cool before frosting. Cream cheese frosting will melt fast on warm cake, and the layers can slip if you rush this part. Spread a thin layer between the cakes first, then frost the top and sides. If you want sharper slices, chill the finished cake briefly before cutting.
How to Change This Cake Without Losing the Apple Cider Character
Make It a Bundt Cake
Bake the batter in a well-greased bundt pan instead of layers and start checking for doneness closer to 45 minutes. You’ll lose the frosting-to-cake ratio from the layer version, but you gain an easier, more rustic cake that still delivers the same cider-spice flavor.
Use Greek Yogurt for a Lighter Dairy Swap
Full-fat plain Greek yogurt can replace the sour cream in a one-to-one swap. The cake will still stay tender, though the crumb comes out a little less rich and slightly tangier.
Gluten-Free Version
A good 1:1 gluten-free baking flour can work here, but the batter needs to be mixed only until combined or it can bake up gummy. The cake will be a little more delicate, so let it cool fully before moving it.
Storage and Reheating
- Refrigerator: Store covered for up to 5 days. The frosting stays firm, and the cake actually slices a little cleaner after chilling.
- Freezer: Freeze unfrosted layers wrapped tightly in plastic and foil for up to 2 months. Thaw in the refrigerator before frosting.
- Reheating: Cake is best served at cool room temperature, not heated. If you want to soften a chilled slice, let it sit out for 20 to 30 minutes instead of microwaving it, which can make the crumb rubbery and the frosting loose.