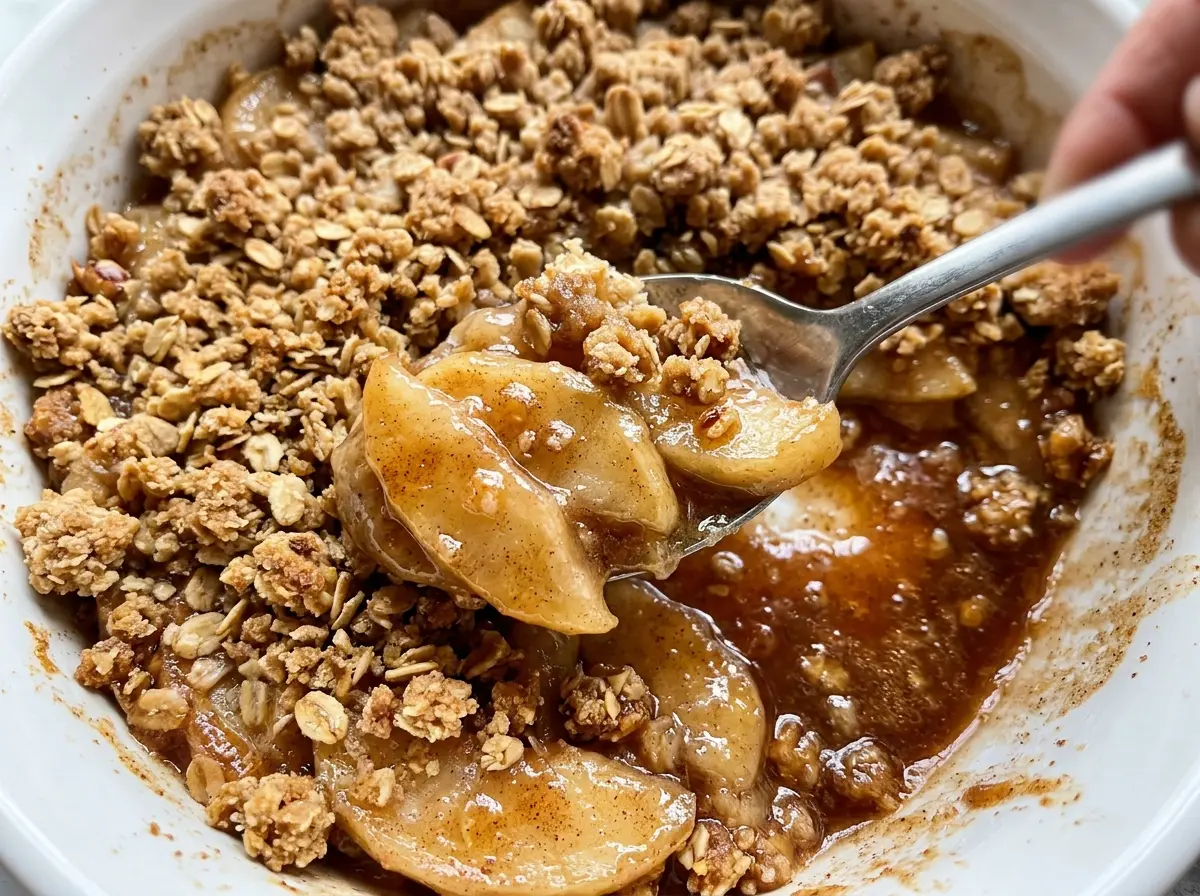
The apples soften into a cinnamon-scented layer while the oat topping turns golden, and the bubbling at the edges is the cue I wait for before pulling this crisp from the oven. I like this gluten-free apple crisp because it gives you that tender fruit and crumbly top without relying on wheat flour to hold everything together.
The topping gets its texture from cold butter worked into the oats, gluten-free flour blend, and brown sugar until you can see coarse clumps. Those uneven bits bake into a mix of crisp edges and tender crumbs instead of one flat, powdery layer. Keep the apples cut to an even thickness, too, so they soften at the same pace under the topping.
Kitchen Note
Cut the apples into even 1/4-inch slices rather than leaving some thick and some thin. That small bit of consistency helps the whole dish turn tender together, instead of finding firm pieces beneath a finished topping.
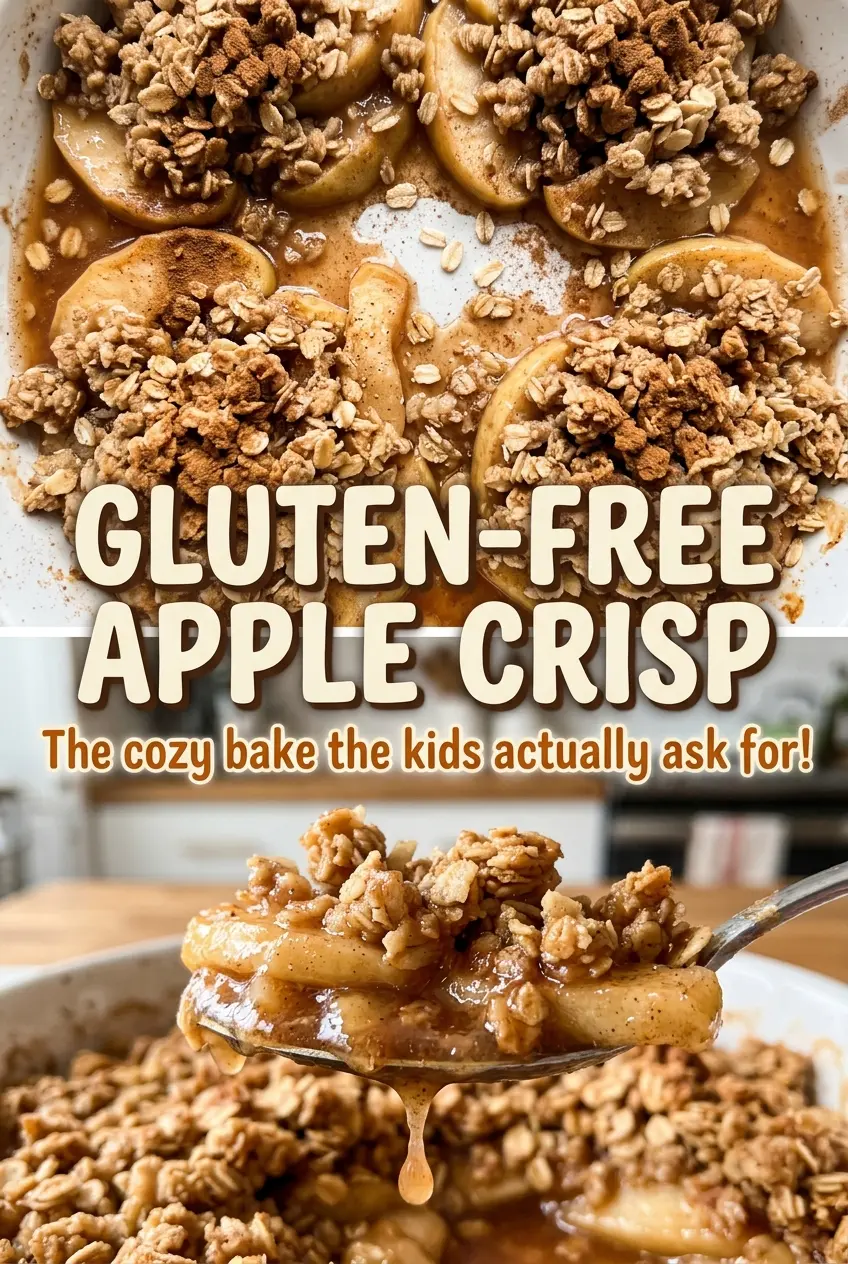
Save this gluten-free apple crisp for its tender cinnamon apples and golden, clumpy oat topping.
Why a Gluten-Free Crisp Needs Clumps, Not a Fine Crumb
Wheat flour gives many crisp toppings a little built-in structure. A gluten-free blend doesn’t behave exactly the same way, so the way you combine it with the oats and butter matters. When the butter stays cold and gets rubbed in by hand, the mixture gathers into coarse clumps that hold their shape as they bake. If you keep working it until it looks uniform and sandy, you lose those larger bits that make the topping feel crisp and varied.
The oats are part of that structure, not just a way to make the topping look rustic. Old-fashioned rolled oats keep a distinct bite, while the flour blend fills in around them and the brown sugar adds sweetness and helps the crumbs brown. Spread the mixture across the apples in an even layer; don’t press it into a solid sheet. You want the fruit covered, with some nubby pieces still visible, so the top has room to turn golden while the filling bubbles underneath.
That balance is what keeps the topping from reading as either loose dry flour or a heavy paste. The finished crisp should have browned patches on top and soft fruit beneath, with the oats still easy to spot in each bite.
What the Apples, Oats, and Flour Blend Each Bring
- Apples — Choose fruit that feels firm, since it needs to soften in the oven without turning shapeless. A tart-leaning apple gives the filling a brighter taste; a sweeter variety makes the cinnamon feel rounder. Keep the same total quantity and slice thickness whichever direction you choose.
- Certified gluten-free old-fashioned rolled oats — Their broad flakes give the topping a hearty texture that quick oats won’t fully reproduce. Use the old-fashioned kind here, and choose oats certified gluten-free for the dish to remain suitable for a gluten-free diet.
- Gluten-free all-purpose flour blend — This brings the topping together around the oats. Blends differ in texture, so use one intended for all-purpose baking rather than replacing it with a single-ingredient flour; the topping depends on a balanced blend.
- Cold unsalted butter — Cold butter makes the coarse clumps that bake into a crumbly topping. A basic unsalted butter works well; there’s no need for a specialty butter, but don’t use it softened or melted, because it won’t cut into the dry ingredients in the same way.
- Cornstarch — This thickens the apple juices as the filling bakes. Keep it in the filling; without a thickener, the apples can release liquid that stays loose instead of coating the fruit.
- Granulated sugar, brown sugar, cinnamon, and lemon juice — Granulated sugar sweetens the fruit, while brown sugar gives the topping a deeper sweetness. Ground cinnamon carries through both layers, and lemon juice adds a little brightness to the apples. Fresh, fragrant cinnamon makes a difference; the sugars can be standard pantry staples.
From Even Apple Slices to a Bubbling, Golden Crisp
Coat the Apples Evenly
Heat the oven to 350°F and lightly coat a 9-inch square baking dish with nonstick cooking spray. In a large bowl, toss the peeled, cored apple slices with the granulated sugar, cornstarch, lemon juice, cinnamon, and salt. Keep tossing until the dry ingredients aren’t sitting in a patch at the bottom of the bowl. Spread the apples evenly in the dish so the topping has a level bed to cover.
Work the Butter into Coarse Clumps
Stir the oats, gluten-free flour blend, brown sugar, cinnamon, and salt together in a medium bowl first. Add the cold butter cubes and work them in with your fingertips. Stop when the mixture has coarse, irregular clumps rather than a smooth, uniform consistency. If the butter starts to feel soft, work quickly so the topping doesn’t turn greasy before it goes into the oven.
Cover the Fruit Without Packing It Down
Scatter the topping across the apples as evenly as you can. Let the clumps stay loose; pressing them down makes a denser layer and can leave fewer crisp edges. Check the corners and sides for bare patches, where fruit can cook uncovered, but don’t compress the topping to fill them. The oats and crumbs should sit across the whole surface in a loose layer.
Bake Until the Edges Bubble
Bake for 45 to 55 minutes, looking for a golden-brown top and filling bubbling around the edges. Pierce an apple with a knife to check that the fruit is tender; a browned topping alone doesn’t tell you whether the apples have softened. If the top is golden before the fruit is tender, use the knife test to guide you rather than pulling it out early. Let the crisp rest for at least 15 minutes before serving so the hot filling can settle.
Apple Swaps and Gluten-Free Adjustments That Keep the Crisp Balanced
Choose a tarter apple for a brighter filling
Use firm, tart-leaning apples in place of sweeter ones, keeping the same amount and slice size. The cinnamon-sugar filling will taste less sweet and more sharply apple-forward, while the brown-sugar topping still adds a mellow contrast.
Use sweeter apples for a softer, mellow flavor
A firm, sweeter apple shifts the filling toward a rounder, less tangy taste. Keep the rest of the filling and topping unchanged; the texture still depends on evenly sliced fruit and the same coarse oat clumps.
Keep the topping gluten-free
When adapting a standard apple crisp for gluten-free diners, use certified gluten-free old-fashioned oats and a gluten-free all-purpose flour blend in the topping. Those are the ingredients used here, and they keep the oat texture while making the topping suitable for a gluten-free version.
Storage and Reheating
- Refrigerator: Cover and refrigerate leftovers within 2 hours; they’re best within 3 to 4 days. The topping softens as it sits, while the filling stays tender.
- Freezer: Freeze the fully cooled crisp, tightly covered, for up to 3 months. Thaw it in the refrigerator before reheating; the topping may be less crisp than it was fresh.
- Reheating: Warm portions in a 350°F oven until heated through. The microwave is quick, but its steam softens the topping more than oven reheating does.
Questions That Come Up When Baking This Apple Crisp
Gluten-Free Apple Crisp
Ingredients
Equipment
Method
- Preheat the oven to 350°F.
- Lightly coat a 9-inch square baking dish with nonstick cooking spray.
- Toss the apples with the granulated sugar, cornstarch, lemon juice, cinnamon, and salt in a large bowl.
- Spread the filling evenly in the prepared dish.
- Stir the oats, gluten-free flour blend, brown sugar, cinnamon, and salt in a medium bowl.
- Work in the cold butter with your fingertips until the mixture forms coarse clumps.
- Sprinkle the topping evenly over the apples.
- Bake for 45 to 55 minutes, until the topping is golden brown and the filling is bubbling around the edges and the apples are tender when pierced with a knife.
- Let the crisp rest for at least 15 minutes before serving.