Apple crisp cheesecake brings three desserts into one clean, balanced slice: a buttery graham crust, a smooth cheesecake layer, and a cinnamon oat topping that bakes into golden crumbles instead of sinking into the filling. The best part is the contrast. Every bite gives you cool, creamy cheesecake first, then tender spiced apples, then that toasty crunch on top.
The trick is treating each layer the way it wants to be treated. The apples need a short cook so they soften and release some moisture before they go into the oven, which keeps the cheesecake from turning watery underneath. The filling stays dense and silky because the eggs are mixed in one at a time and the pan bakes in a water bath, which helps the custard set gently instead of cracking.
Below, I’m walking through the small details that matter most: how to keep the crust from getting soggy, how to tell when the center is done, and what to do if you want to make this ahead for a dinner or holiday table.
The apple layer stayed tucked in nicely, and the oat topping browned up crisp instead of turning soft. I chilled it overnight and the slices came out clean the next day.
Love that creamy cheesecake center with the cinnamon apples and oat crumble? Save this Apple Crisp Cheesecake for the next time you want a bakery-style dessert with a perfect crunch on top.
The Bake That Keeps the Cheesecake Layer from Going Heavy
The biggest mistake with a layered cheesecake like this is rushing the bake and pulling it too early, or blasting it with heat so the middle puffs and cracks. A water bath changes that. It keeps the oven environment humid and gentle, which means the cheesecake sets in a smooth, even way while the apple layer and oat topping finish without drying out.
The other thing that matters is moisture control. The apples get cooked briefly before they go on top of the filling, so they soften and lose some of their raw juice before they hit the oven. That keeps the top from weeping into the cheesecake and helps every slice hold its layers.
- Water bath: This protects the custard texture. If your springform pan worries you, wrap the outside tightly in foil so water doesn’t creep in.
- Pre-cooked apples: Raw diced apples release too much liquid in the oven. Five minutes on the stove is enough to soften them without turning them mushy.
- Room-temperature cream cheese: Cold cream cheese leaves little lumps that never fully disappear. Let it soften fully before mixing.
What Each Layer Is Doing in This Cheesecake
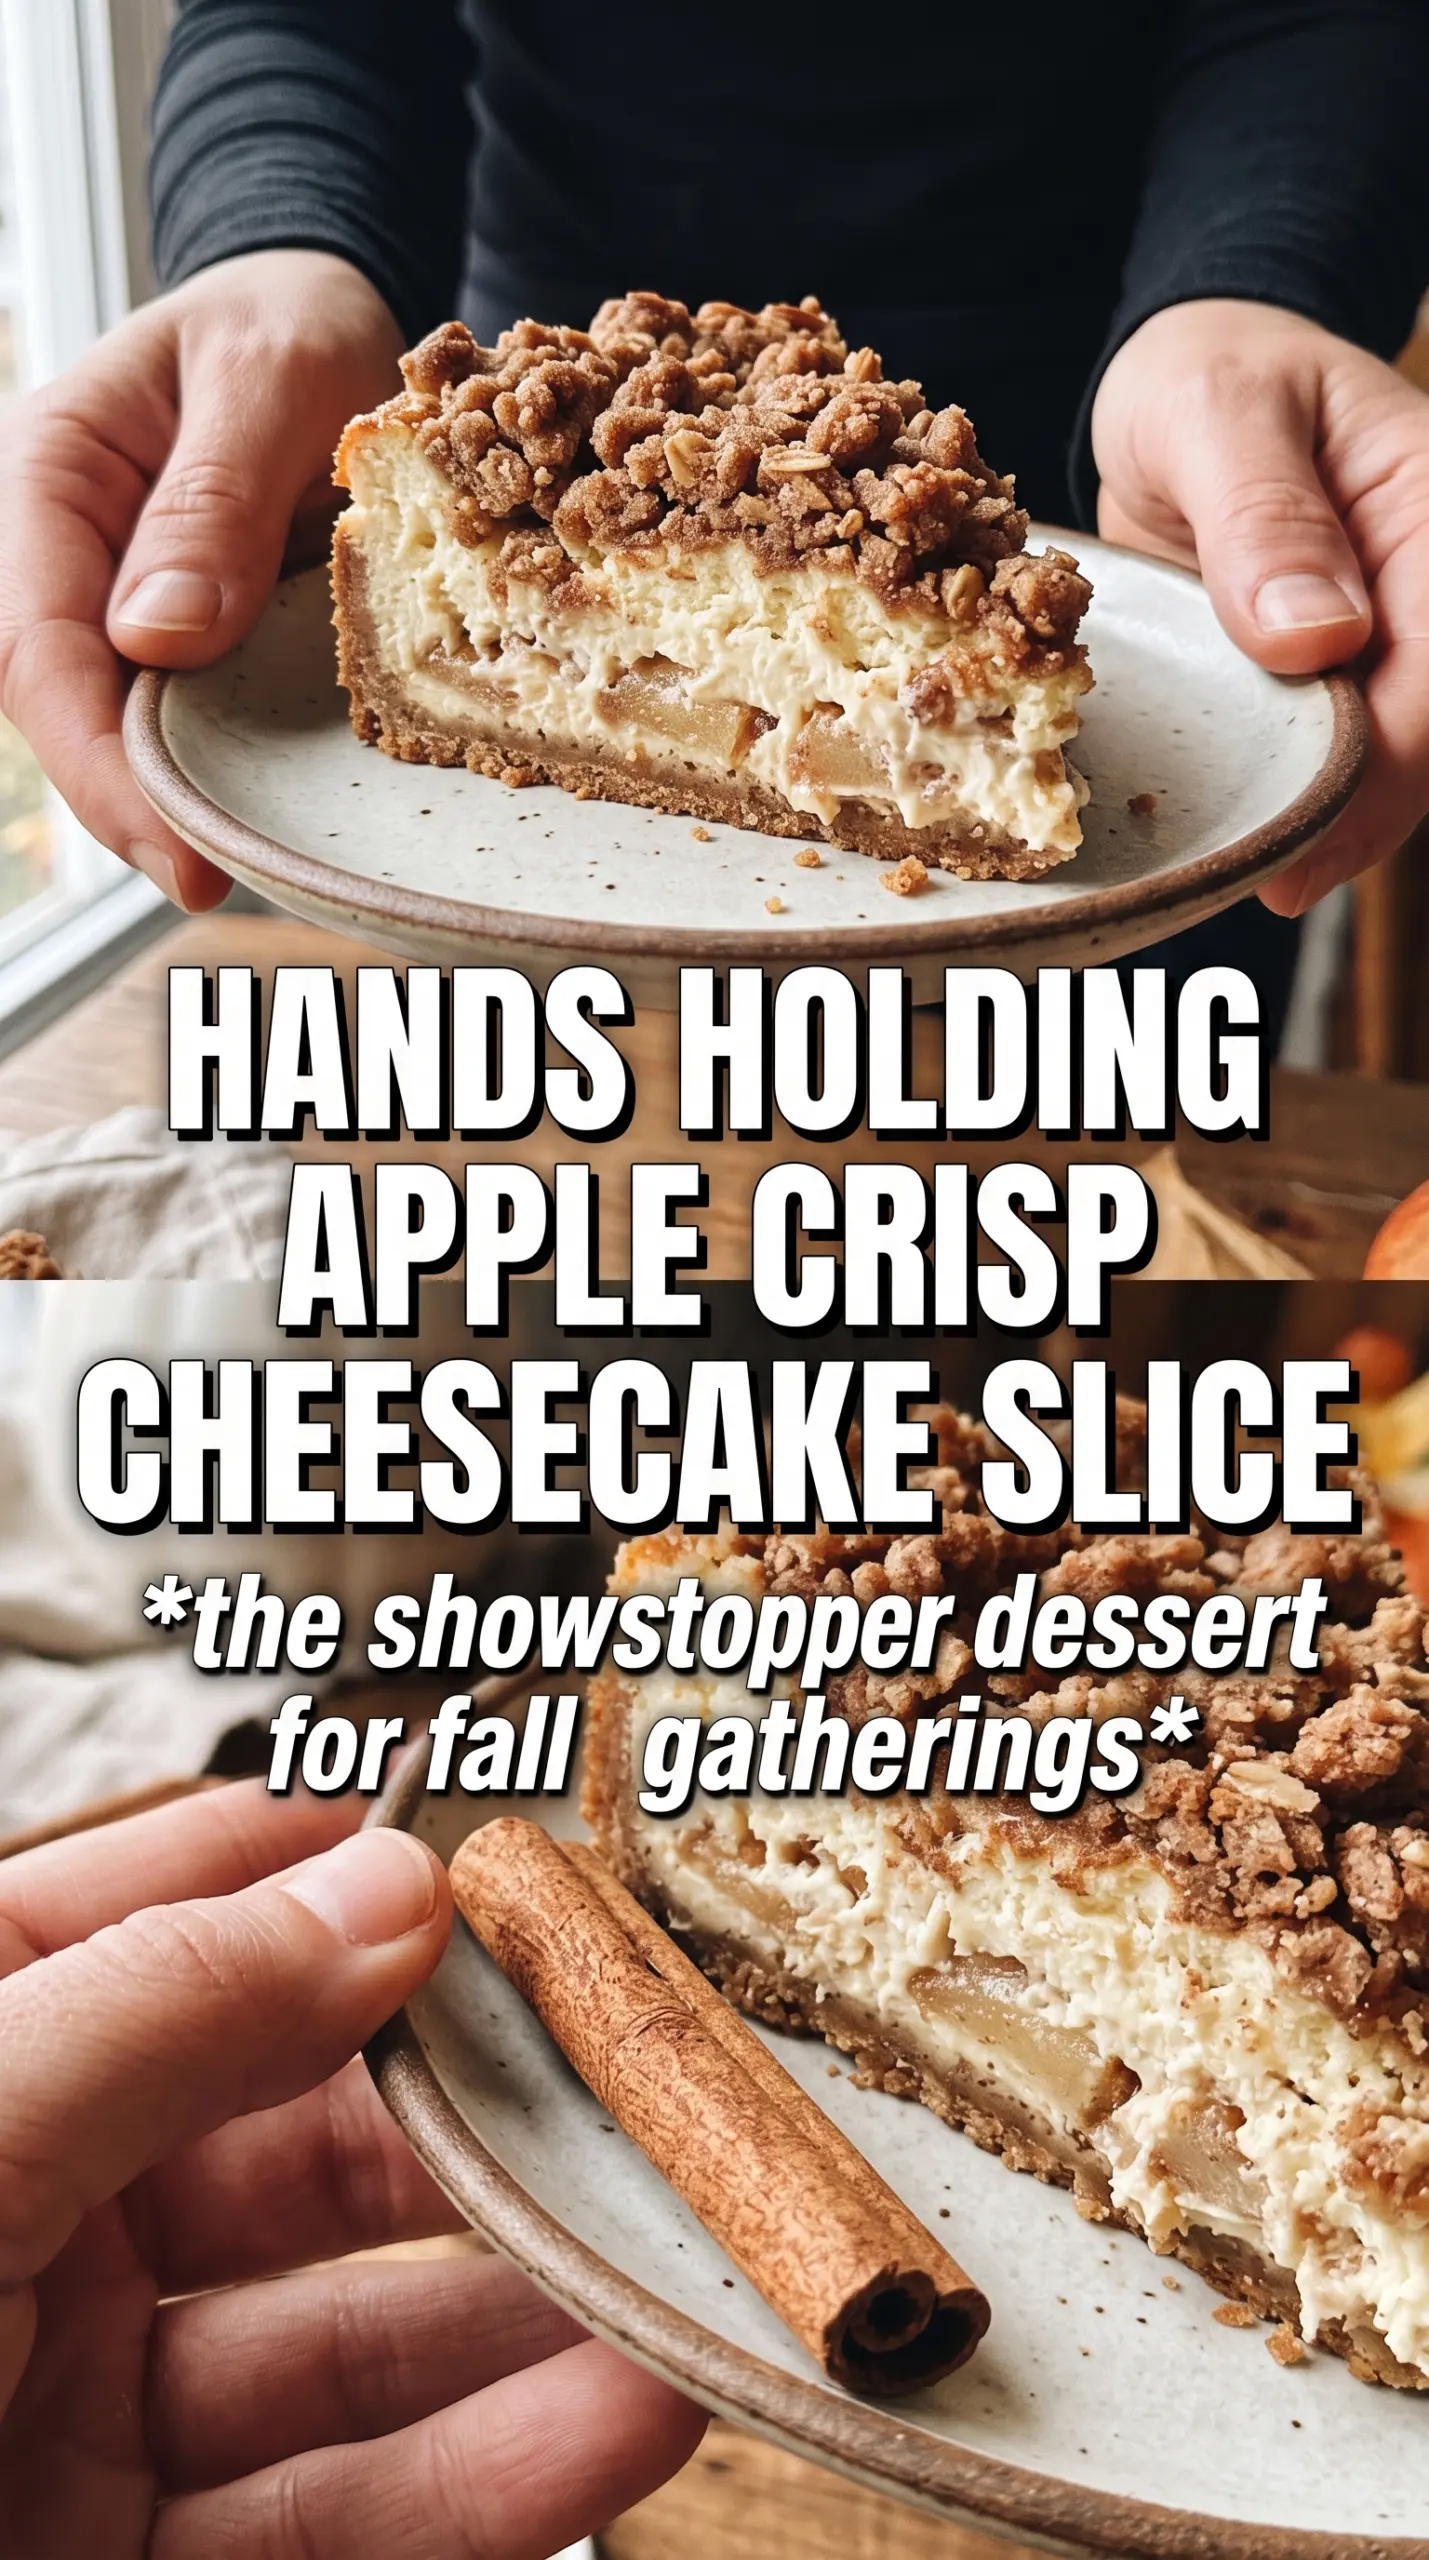
- Graham cracker crumbs: They give you a sturdy, sweet base that stands up to the cheesecake. Fine crumbs pack better than coarse ones, so pulse or crush them until they look like damp sand.
- Sour cream: This keeps the filling tangy and softer on the palate. It’s not just for flavor; it lightens the texture without making the cheesecake loose.
- Apples: A firm baking apple works best here because it keeps some shape after the quick stovetop cook and the oven time. Soft apples can collapse into sauce and blur the layers.
- Rolled oats: These give the topping its crisp crumble. Quick oats will work in a pinch, but the texture comes out finer and less rustic.
- Cold butter for the topping: Cold butter is what creates those clumpy crumbles. If it melts before baking, the topping turns sandy instead of crisp.
Building the Layers So They Bake Cleanly
Pressing and Pre-Baking the Crust
Mix the graham crumbs, sugar, and melted butter until every crumb looks evenly damp, then press it firmly into the pan. A loose crust falls apart when you slice it. Bake it for eight minutes so it sets before the filling goes in, which keeps it from going soggy under the cheesecake.
Cooking the Apples First
Cook the diced apples with butter, brown sugar, and cinnamon just until they start to soften and glisten. You want them tender on the outside but still holding their shape. If you cook them too long, they’ll turn jammy and disappear into the cheesecake.
Mixing the Cheesecake Filling
Beat the cream cheese and sugar until the mixture looks smooth and glossy before adding anything else. Add the eggs one at a time so the batter stays even and doesn’t curdle, then mix in the sour cream, vanilla, and cinnamon just until combined. Overmixing adds too much air, which can lead to cracks.
Finishing with the Oat Crumble
Stir the oats, flour, brown sugar, and cinnamon together, then cut in the cold butter until the mixture forms clumps. Scatter it over the apples instead of pressing it down. That loose layer bakes into crisp clusters instead of a flat, dense lid.
Knowing When It’s Done
The cheesecake is ready when the edges look set and the center still has a slight wobble in the middle. It will finish setting as it cools. If the center is completely firm in the oven, it’s already overbaked and the texture will be dry once chilled.
How to Adapt This for Different Tables and Preferences
Make it gluten-free
Swap the graham crackers and flour for certified gluten-free versions. The structure stays the same, but the topping may brown a little faster, so start checking it a few minutes early.
Turn it into a pecan-apple version
Add a handful of chopped pecans to the oat topping for extra crunch and a deeper toasted note. The topping gets a little richer and more textured, which works especially well with tart apples.
Use a dairy-free direction
For a dairy-free version, use plant-based cream cheese, butter, and sour cream replacements that are meant for baking. The texture will be slightly softer and less tangy, so chill it fully before slicing or it won’t hold clean edges.
Storage and Reheating
- Refrigerator: Store covered for up to 5 days. The topping softens a little after day one, but the flavor stays excellent.
- Freezer: This freezes well. Wrap individual slices tightly and freeze for up to 2 months, then thaw in the refrigerator overnight.
- Reheating: Serve it chilled or let it sit at room temperature for 20 to 30 minutes. Don’t microwave it; that turns the cheesecake grainy and melts the crumble.
Questions I Get Asked About This Recipe
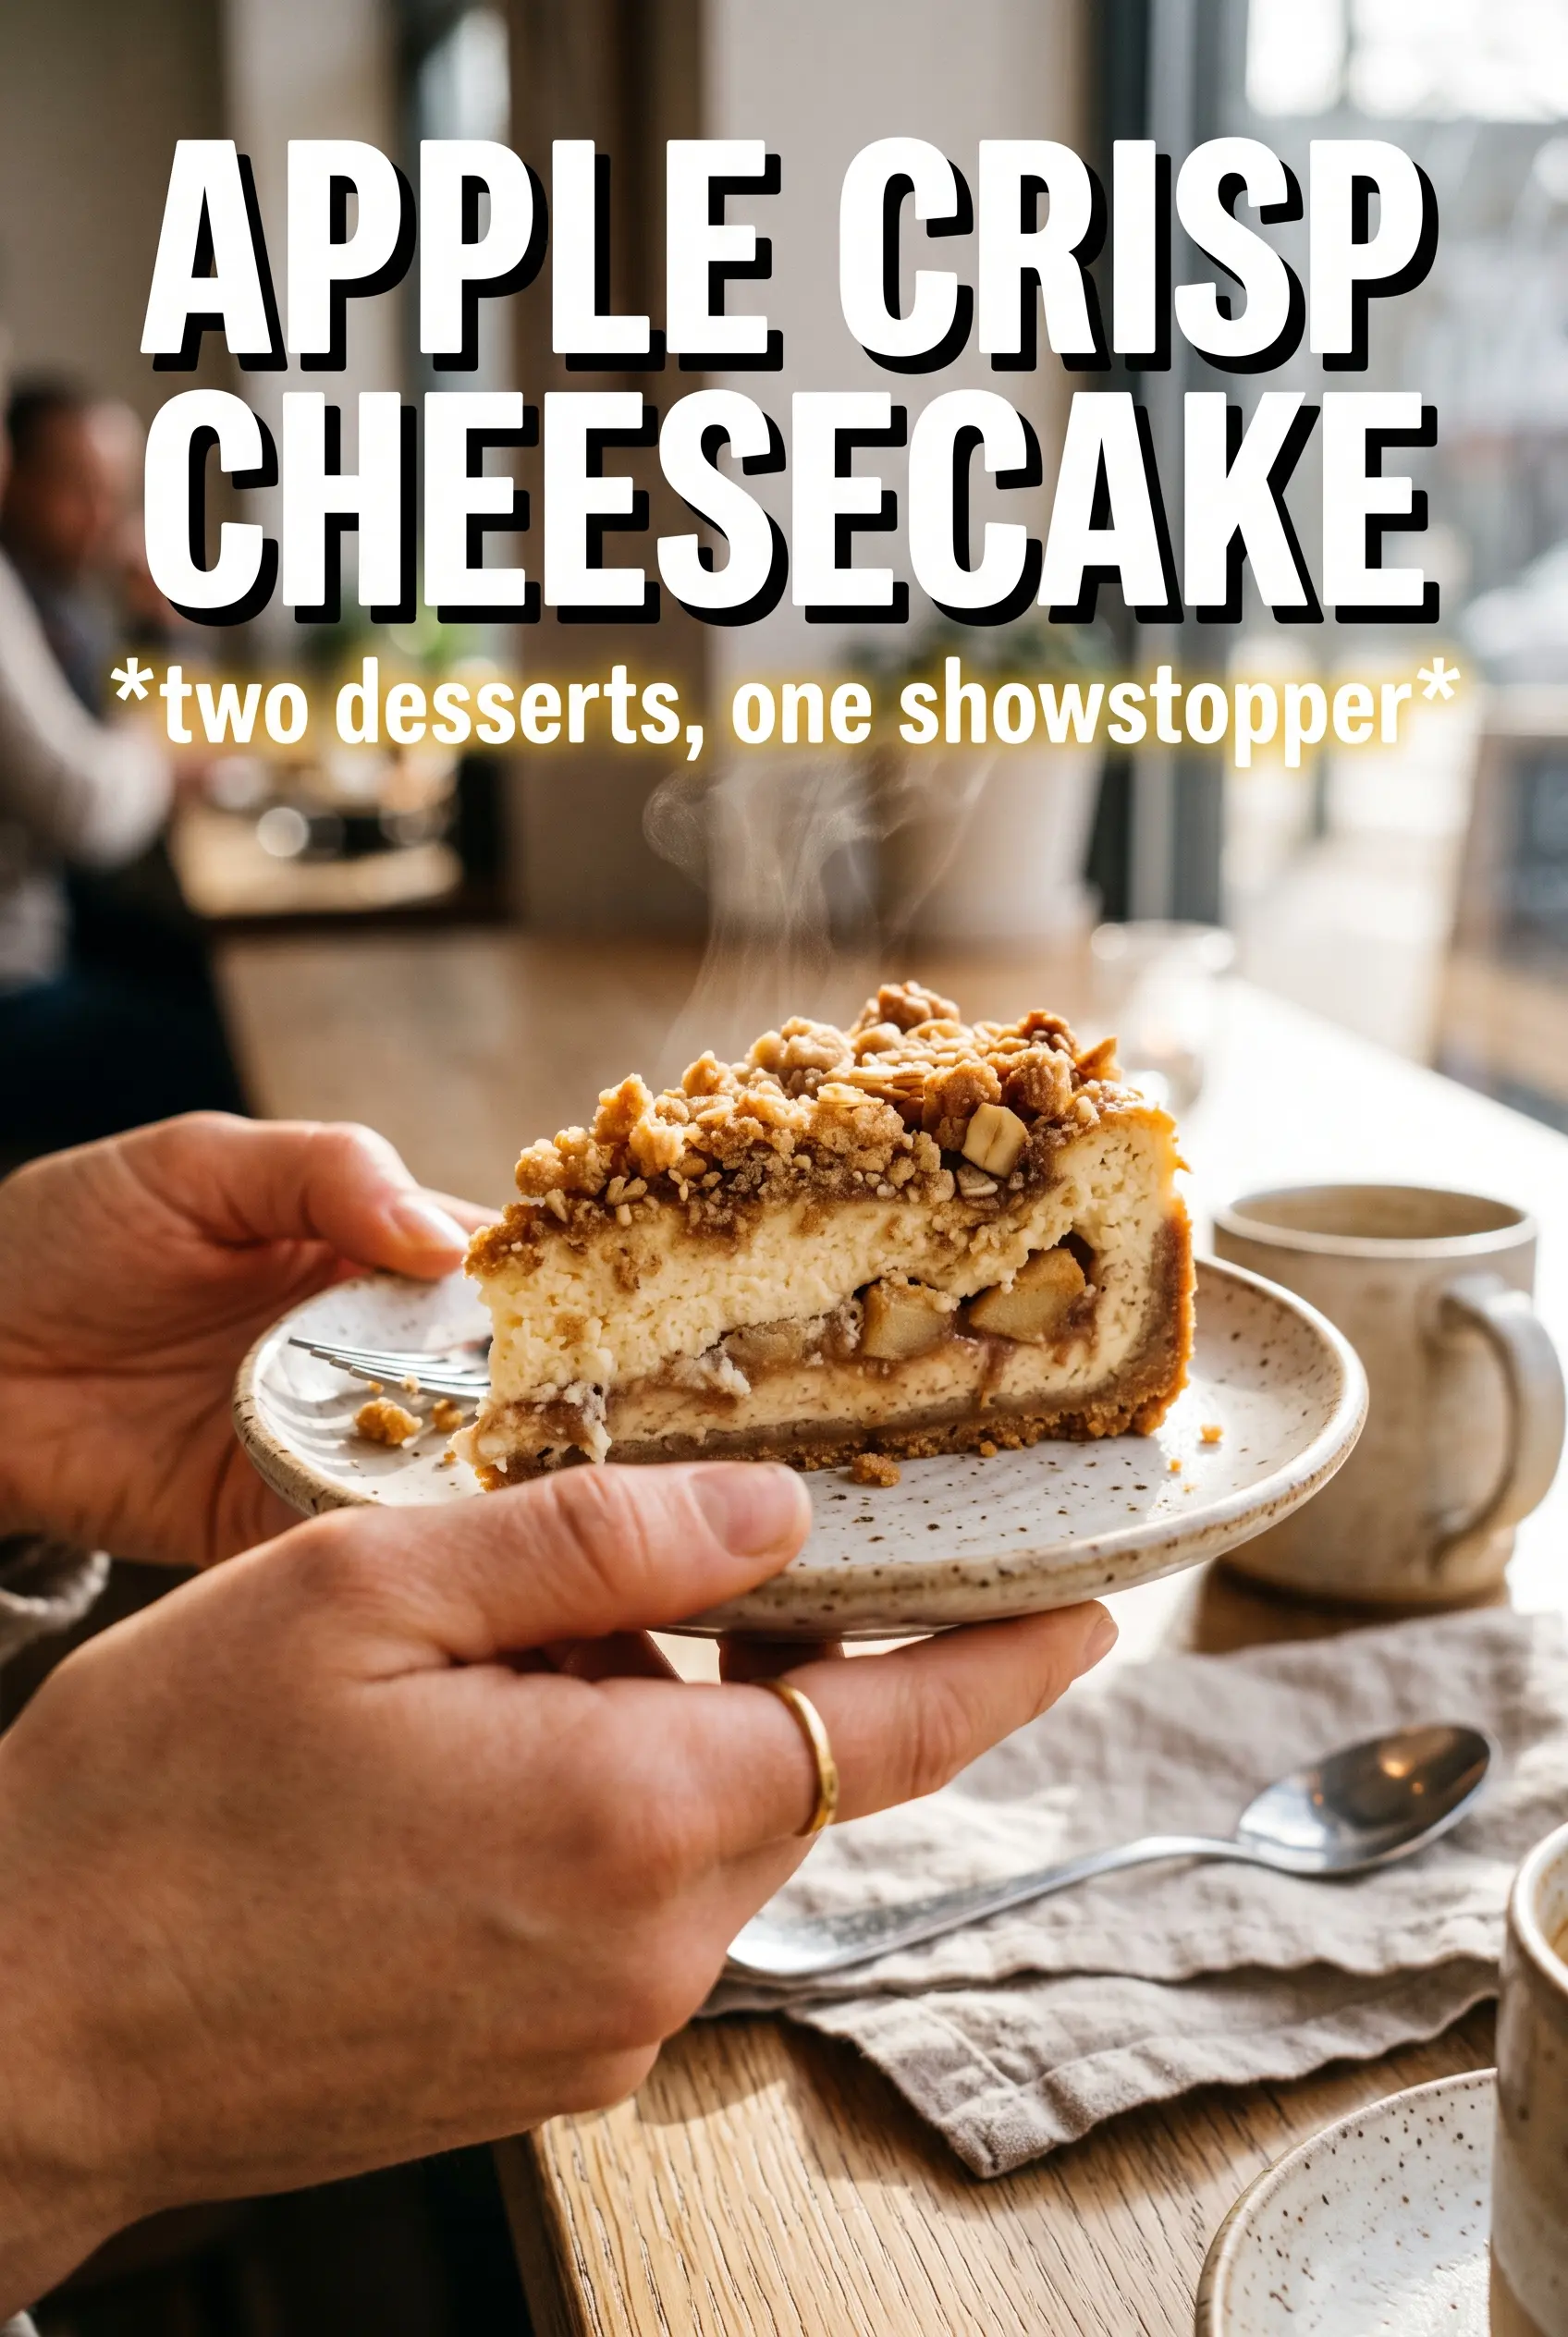
Apple Crisp Cheesecake
Ingredients
Equipment
Method
- Preheat the oven to 325F. Press graham cracker crumbs into a 9-inch springform pan, then bake 8 minutes for a set crust.
- Cook diced apples with butter, brown sugar, and cinnamon for 5 minutes until softened. Cool the apple mixture completely before layering.
- Beat cream cheese and granulated sugar until smooth. Add eggs one at a time, then mix in sour cream, vanilla, and cinnamon until combined.
- Pour the cheesecake filling over the crust, then top with the cooked apples. Scatter oat crisp topping over the apples for an even crumb layer.
- Make oat crisp topping by combining rolled oats, flour, brown sugar, and cinnamon, then cut in cold butter until clumpy. Bake in a water bath at 325F for 60-65 minutes, until the center is just set.
- Cool the cheesecake completely at room temperature. Refrigerate for 6 hours before releasing and slicing for clean cuts.