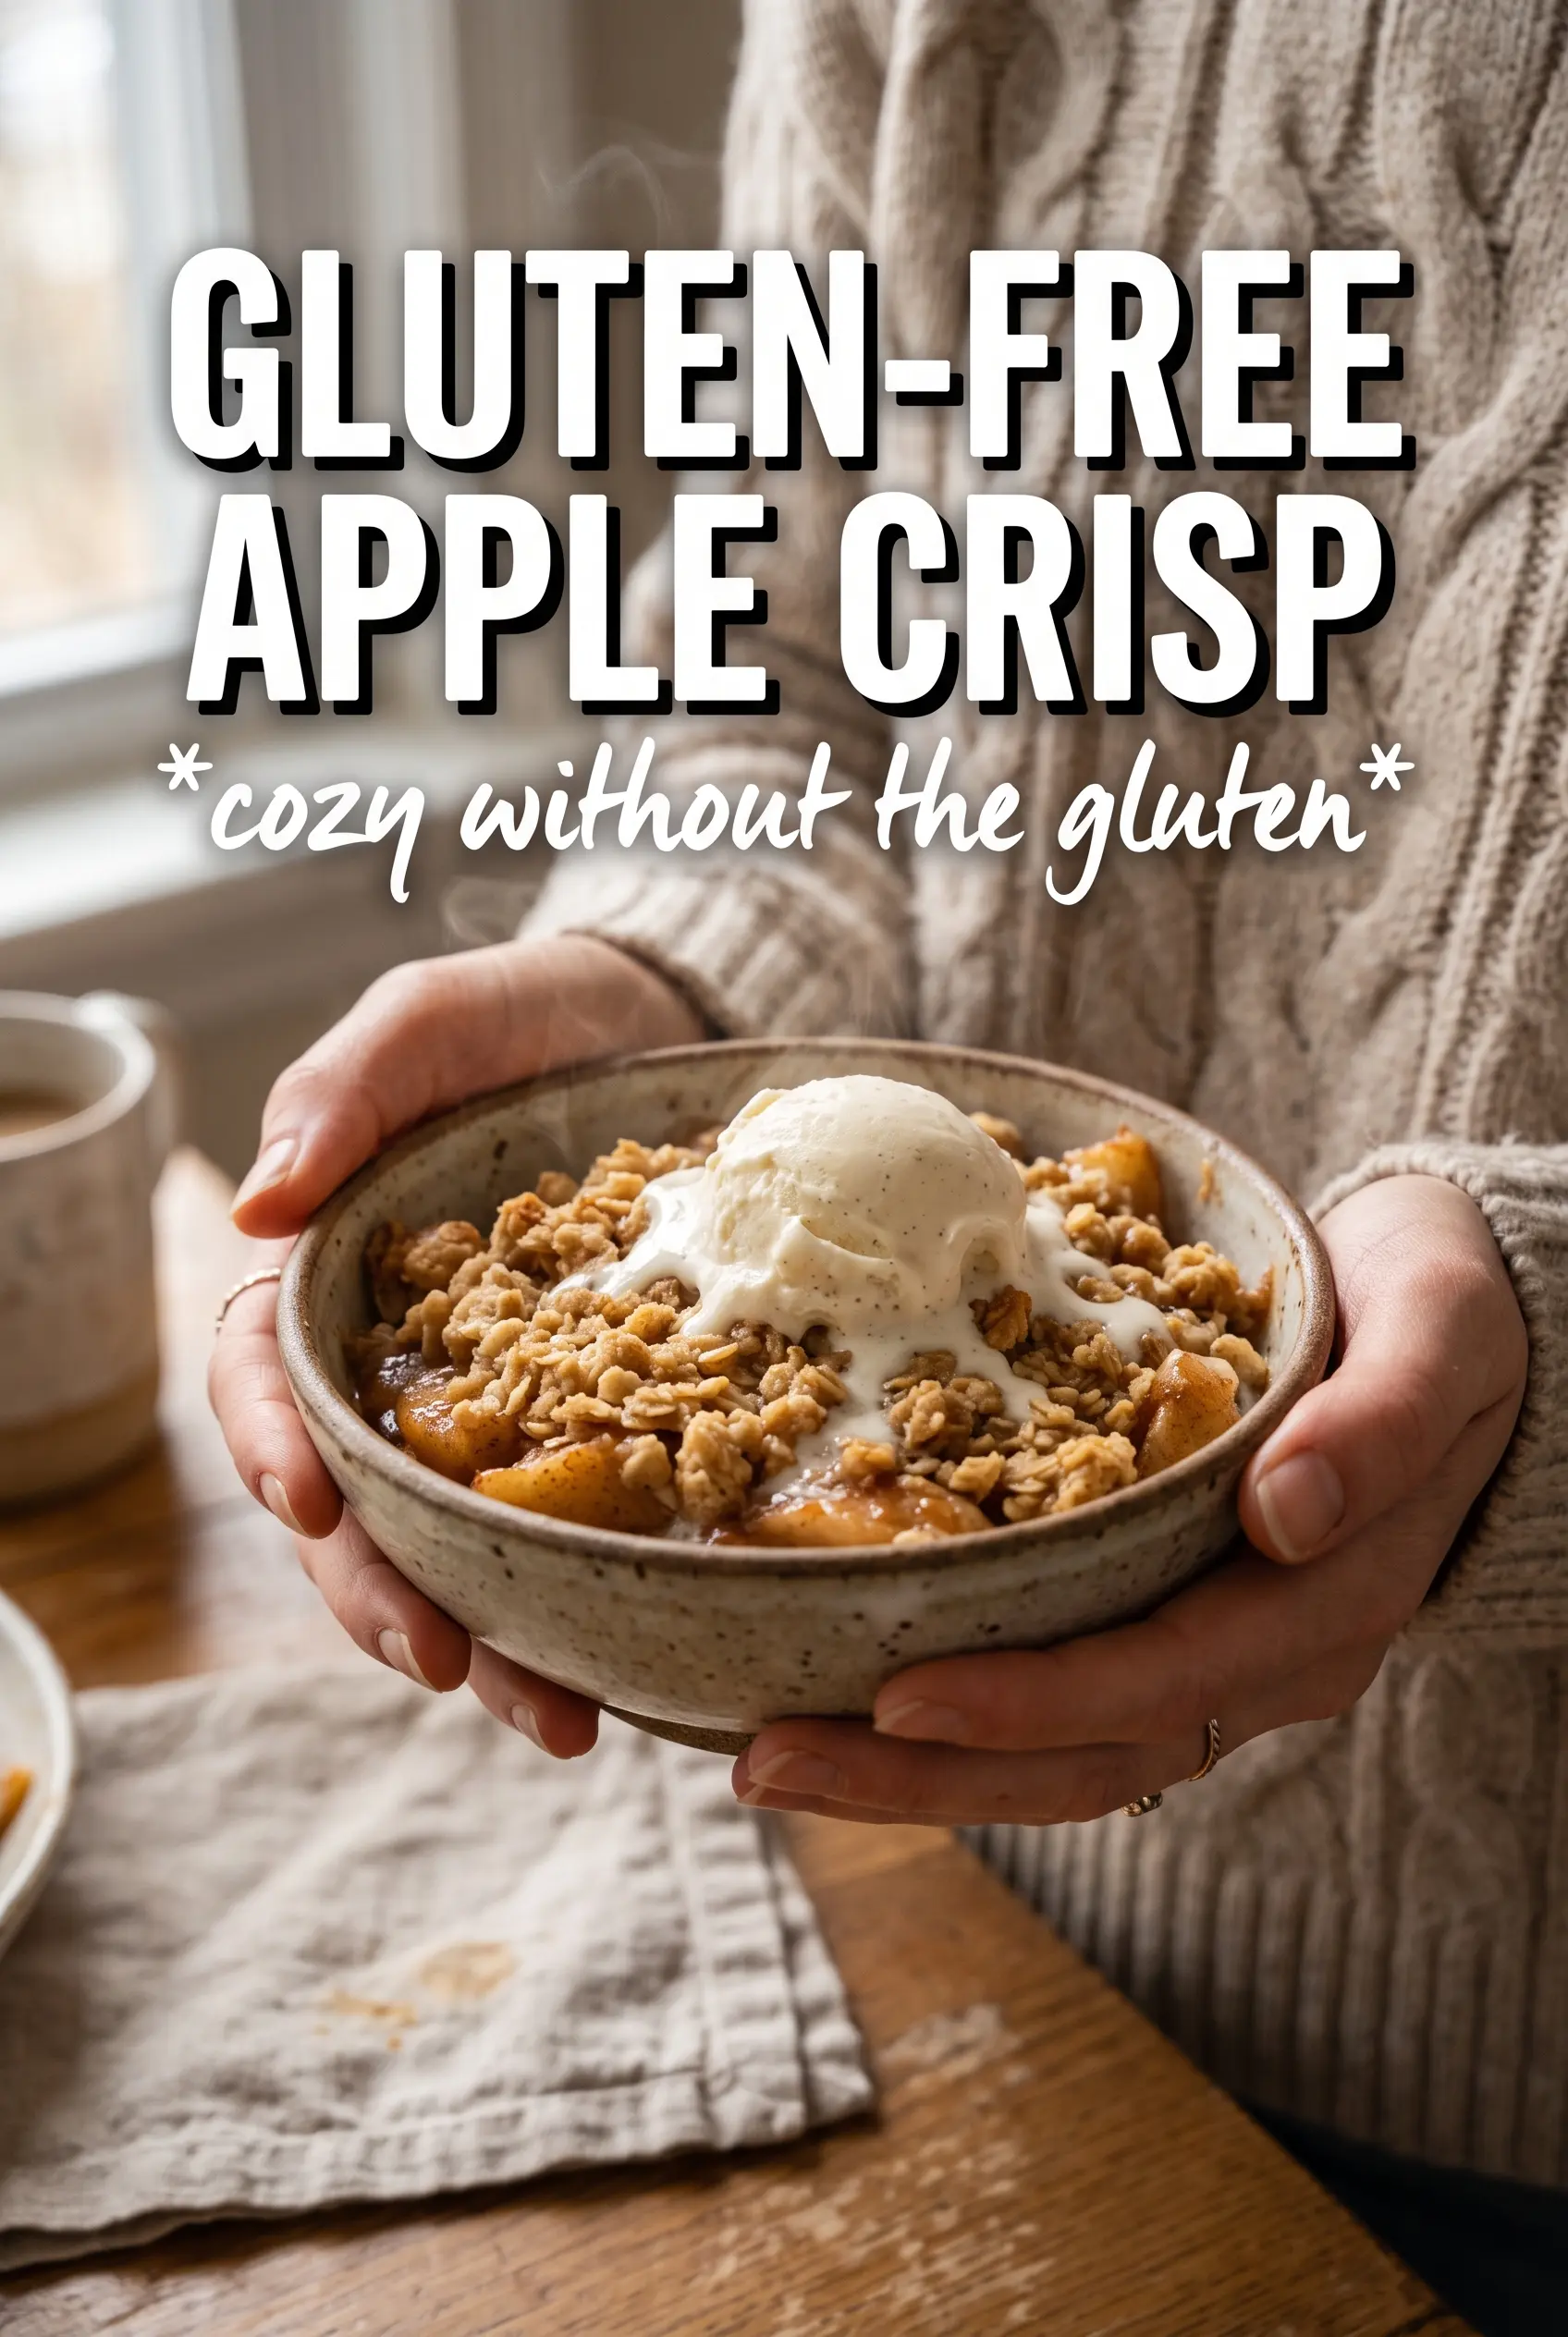
Gluten-free apple crisp lands in that sweet spot between rustic and polished: tender cinnamon apples bubbling underneath a thick, golden crumble that stays crisp at the edges instead of turning sandy or dry. The almond-oat topping gives you the nubby, toasted texture you want from a good crisp, and the filling sets up just enough to spoon neatly without losing its juiciness.
The key is balancing moisture and structure. Cornstarch keeps the apple juices from running all over the pan, while cold butter cut into the crumble gives you those uneven, crunchy clusters that brown instead of melting into a paste. Certified gluten-free oats matter here, and so does not overmixing the topping once the butter goes in — you want clumps, not a fine meal. The lemon juice keeps the apples bright and keeps the filling from tasting flat after baking.
Below, I’ve laid out the one step that keeps the topping crisp, which apples hold their shape best, and a few swaps if you need to work with what’s in the kitchen already.
The topping baked up perfectly crisp and the apples held their shape instead of turning to mush. I used Honeycrisp and the filling was bubbling right at 45 minutes.
Save this gluten-free apple crisp for the kind of dessert that gives you crisp almond-oat topping and bubbling cinnamon apples every time.
The Part That Keeps the Topping Crisp Instead of Soggy
Apple crisp gets in trouble when the fruit leaks too much liquid before the topping has a chance to brown. The fix here is twofold: cornstarch in the filling and cold butter in the crumble. The starch thickens the juices as they bake, and the cold butter holds its shape long enough to create little pockets that turn crisp and toasted in the oven.
Another common mistake is packing the topping down. Leave it loose and uneven so some pieces bake into craggy clusters while the smaller bits fill in the gaps. That mix of textures is what makes crisp worth making in the first place.
- Apples — Use a firm baking apple like Honeycrisp, Granny Smith, or a mix. Soft apples collapse before the topping is done.
- Certified gluten-free oats — Regular oats can be cross-contaminated, so certified GF oats matter here. They give the topping its chew and toasted flavor.
- Almond flour — This adds richness and helps the crumble brown. You’ll lose some of that buttery, nutty finish if you skip it.
- Gluten-free flour blend — This helps bind the topping so it clumps instead of turning sandy. A cup-for-cup blend with xanthan gum works best.
What Each Ingredient Is Actually Doing in the Filling and Crumble
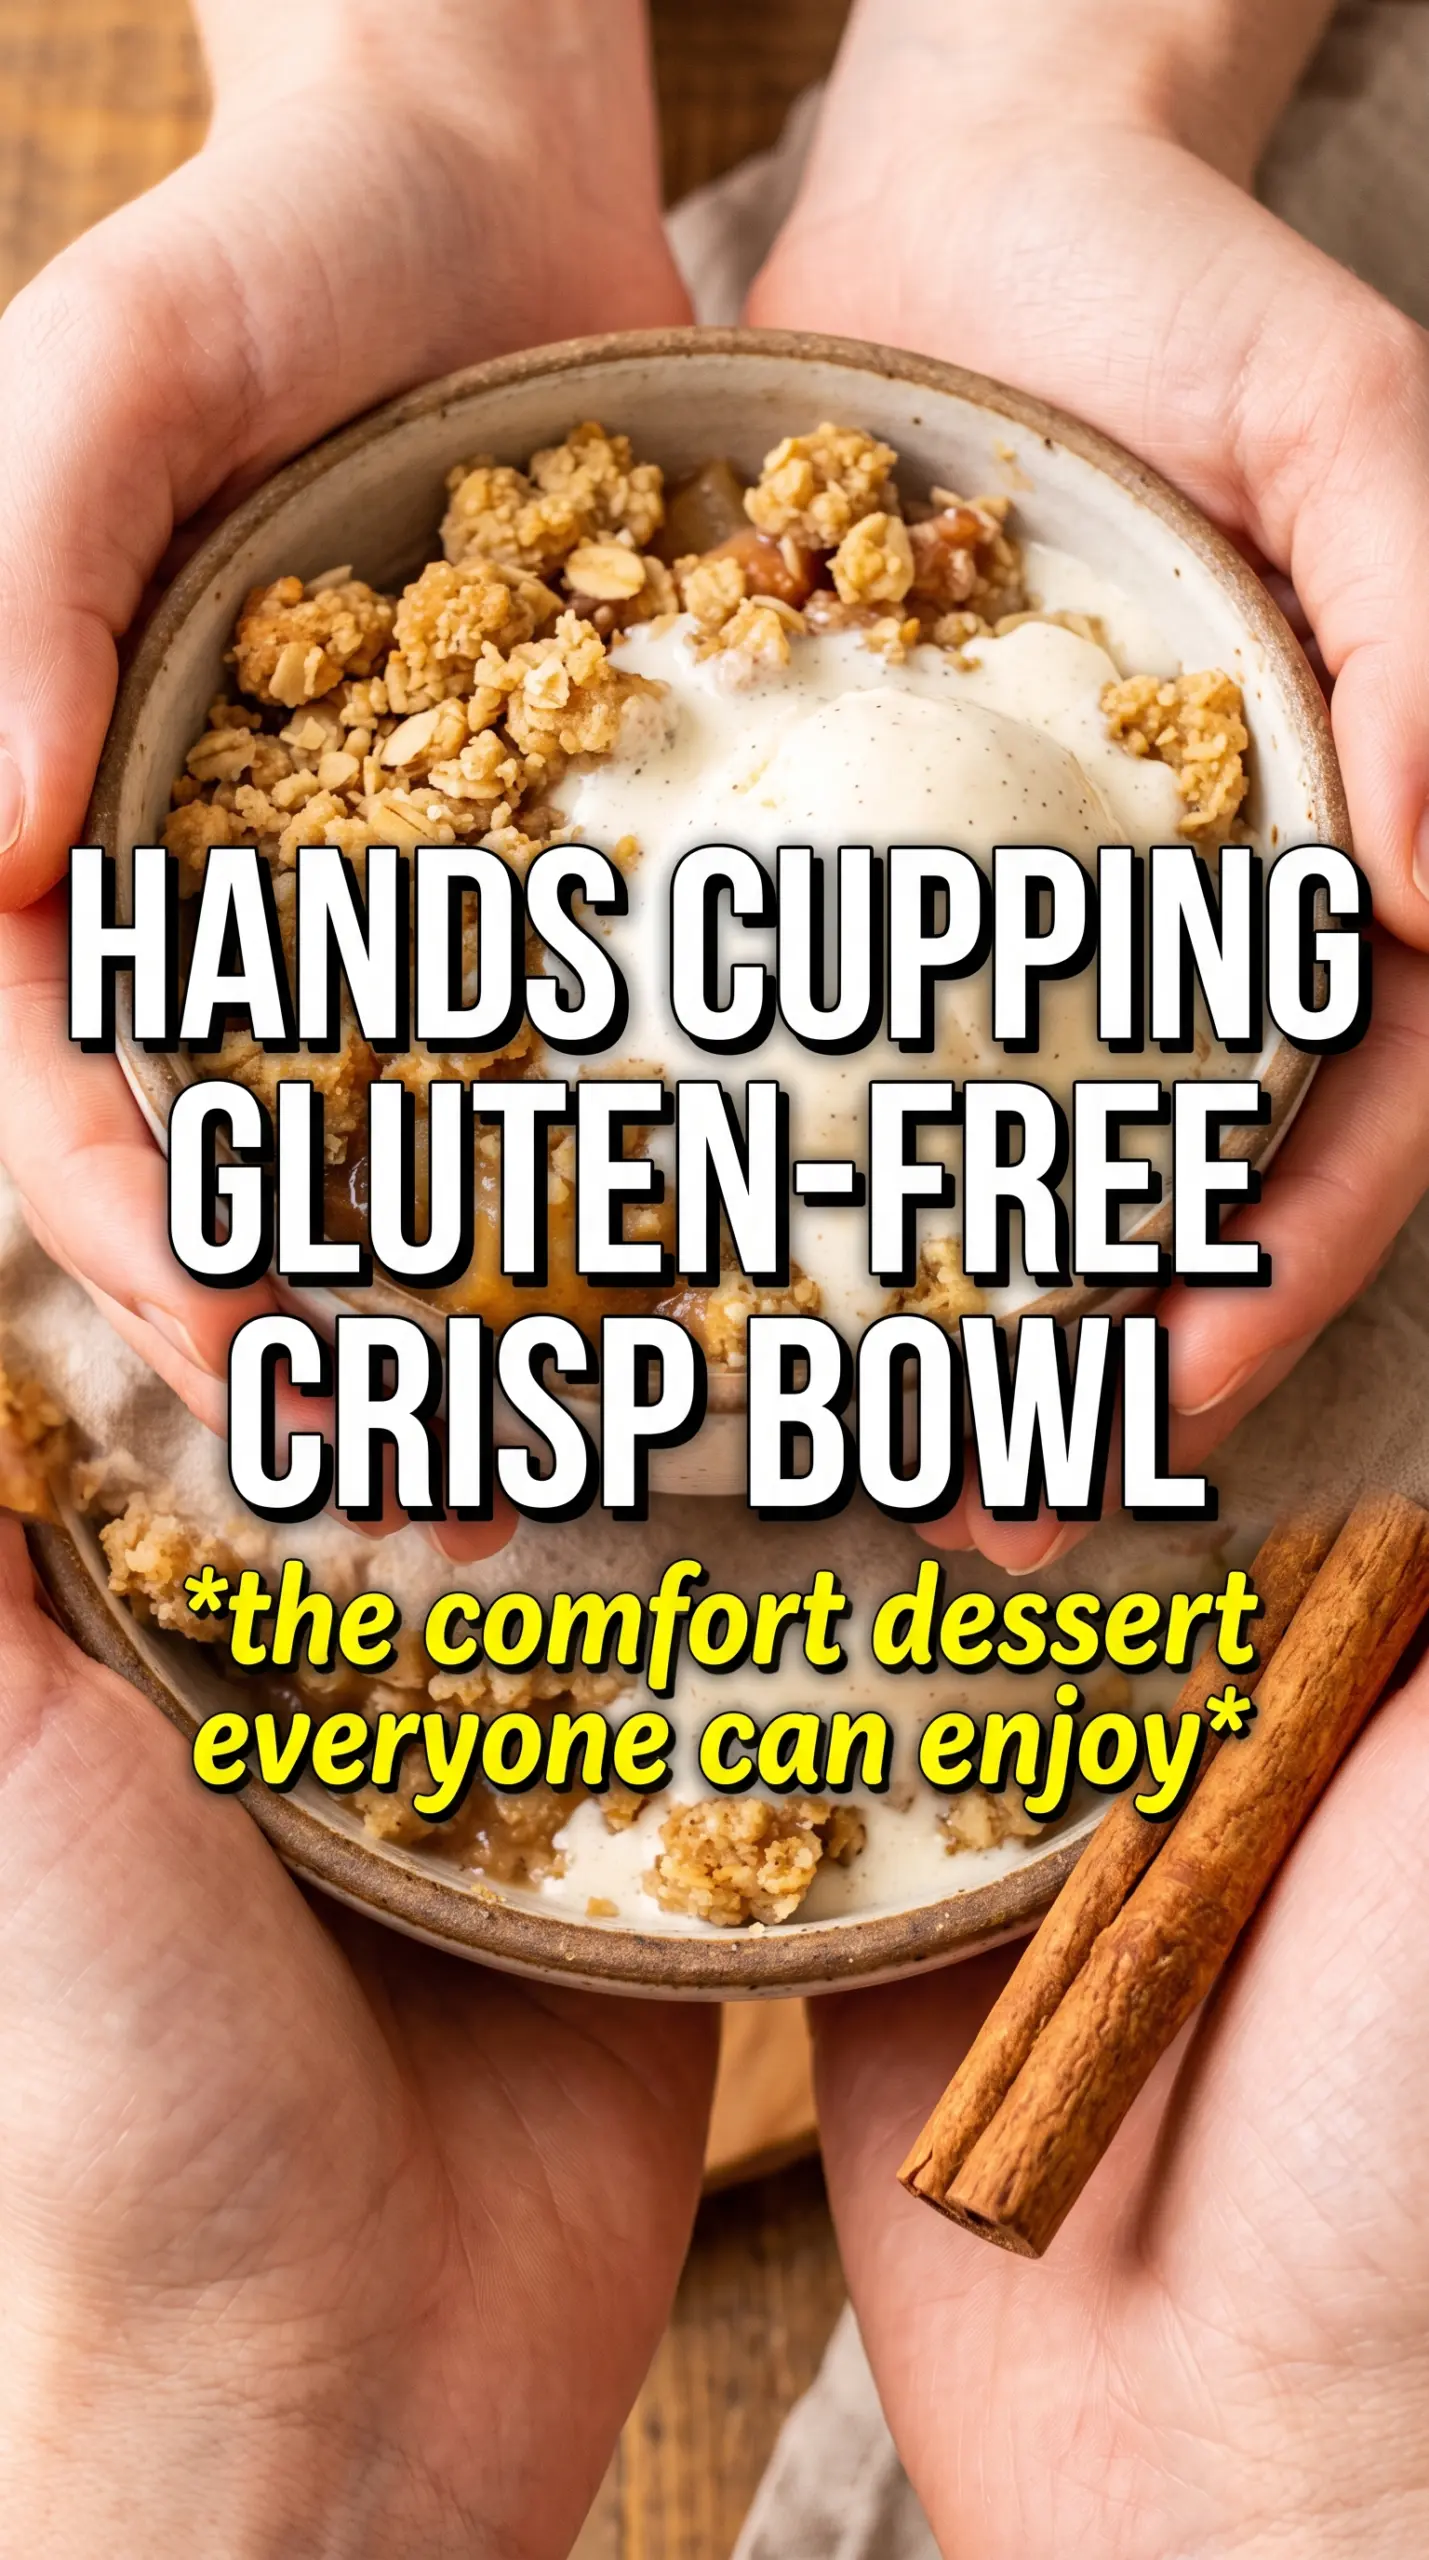
- Brown sugar — It deepens the flavor in the topping and helps the surface caramelize. Light or dark both work, though dark brown sugar gives a richer molasses note.
- Cold unsalted butter — This is what makes the crumble, not a sandy streusel. Salted butter works in a pinch, but cut back the added salt.
- Cinnamon and nutmeg — Cinnamon carries the main flavor, and nutmeg rounds it out. Fresh nutmeg isn’t necessary, but old spices will taste flat.
- Lemon juice — It keeps the apples from tasting dull and helps balance the sweetness. Don’t skip it unless your apples are already very tart.
Building the Layers So the Apples Bubble and the Top Browns
Coating the Apples
Toss the sliced apples with sugar, cinnamon, nutmeg, cornstarch, and lemon juice until every piece looks lightly dusted and glossy. The apples should be coated, not wet-puddled at the bottom of the bowl. If you see a lot of liquid right away, the fruit was extra juicy; scrape every bit of it into the pan because that juice is part of the filling.
Cutting the Butter Into the Crumble
Work the cold butter into the oat mixture until you get irregular clumps the size of peas and small marbles. That uneven texture matters. If the butter melts into the dry ingredients before baking, the topping turns compact instead of crisp, so use your fingertips or a pastry cutter and stop as soon as the mixture holds together when squeezed.
Baking Until the Filling Bursts at the Edges
Scatter the topping over the apples without pressing it down, then bake until the top is deeply golden and you can see the filling bubbling all the way around the edges and in a few spots in the center. Those bubbles are the signal that the cornstarch has activated and the apples are tender. Let it rest for 10 minutes before serving so the juices settle instead of running everywhere when you scoop.
How to Adapt This for Different Apples, Diets, and Make-Ahead Needs
Make It Dairy-Free
Swap the butter for a solid plant butter that bakes well. Coconut oil works in theory, but it sets the crumble more firmly and gives a lighter, less buttery finish.
Use All Granny Smith for a Tarter Filling
All Granny Smith apples give you a firmer, brighter filling with less natural sweetness. If you go this route, the crisp tastes sharper and a little less dessert-like, so the brown sugar topping matters even more.
Make It Ahead for a Dinner Party
Assemble the filling and topping separately up to one day ahead, then store them covered in the refrigerator. Keep the topping cold until baking so the butter stays in chunks and the final crust bakes up crisp instead of dense.
Storage and Reheating
- Refrigerator: Store covered for up to 4 days. The topping softens a bit in the fridge, but it still tastes great.
- Freezer: Freeze the baked crisp tightly wrapped for up to 2 months. Thaw overnight in the refrigerator before reheating, or the center can stay cold while the topping overcooks.
- Reheating: Warm in a 350F oven until the filling is hot and the topping crisps back up, usually 15 to 20 minutes. The microwave works for a bowlful, but it softens the crumble fast.