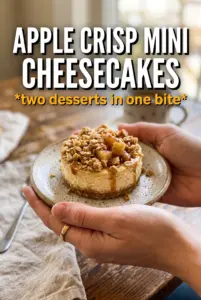
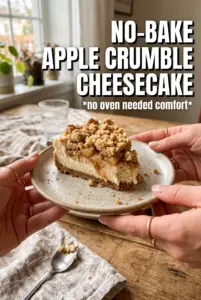
Apple Crisp Mini Cheesecakes hit that sweet spot between a bakery-style dessert and something you can actually pull off on a weeknight. Each little cheesecake bakes up with a firm graham crust, a smooth cinnamon-scented filling, tender apple topping, and a crunchy oat crumble that stays crisp on top instead of disappearing into the filling. You get all the best parts of apple crisp and cheesecake in one neat, handheld dessert.
The trick is keeping each layer distinct. The crust gets a quick bake before the filling goes in, which helps it stay snappy under the creamy center. The apples are cooked just enough to soften and concentrate their flavor, but not long enough to turn mushy. And the crumble goes on raw, then browns in the oven so it keeps that toasted, buttery texture that makes these stand out from a standard mini cheesecake.
Below you’ll find the small details that matter here: how to avoid a lumpy filling, how to keep the crumble from sinking, and how to get that clean, set center without overbaking the edges.
The cheesecake layer stayed perfectly smooth and the apple topping didn’t make the crust soggy. I chilled them overnight and the crumble still had a nice crunch the next day.
Save these apple crisp mini cheesecakes for the days when you want creamy cheesecake, spiced apples, and a buttery oat crumble in one bite.
The Reason Mini Cheesecakes Need a Head Start Before the Topping Goes On
Mini cheesecakes fail when the filling and topping are treated like one layer. The crust needs a short pre-bake so it can dry out and hold its shape under the creamy filling, and the apples need to be cooked before they go on top so they don’t dump excess moisture into the batter. If you skip either step, the bottom gets soft and the center can end up looser than you want.
The filling itself should be smooth before it hits the crust. Cold cream cheese leaves little lumps that never fully disappear once the eggs are added, so give it time to soften and beat it with the sugar until it looks glossy. The other thing that matters here is not overfilling the cups; leave a little room for the apples and crumble so each one bakes evenly instead of doming and cracking.
What Each Layer Is Doing in These Apple Crisp Mini Cheesecakes
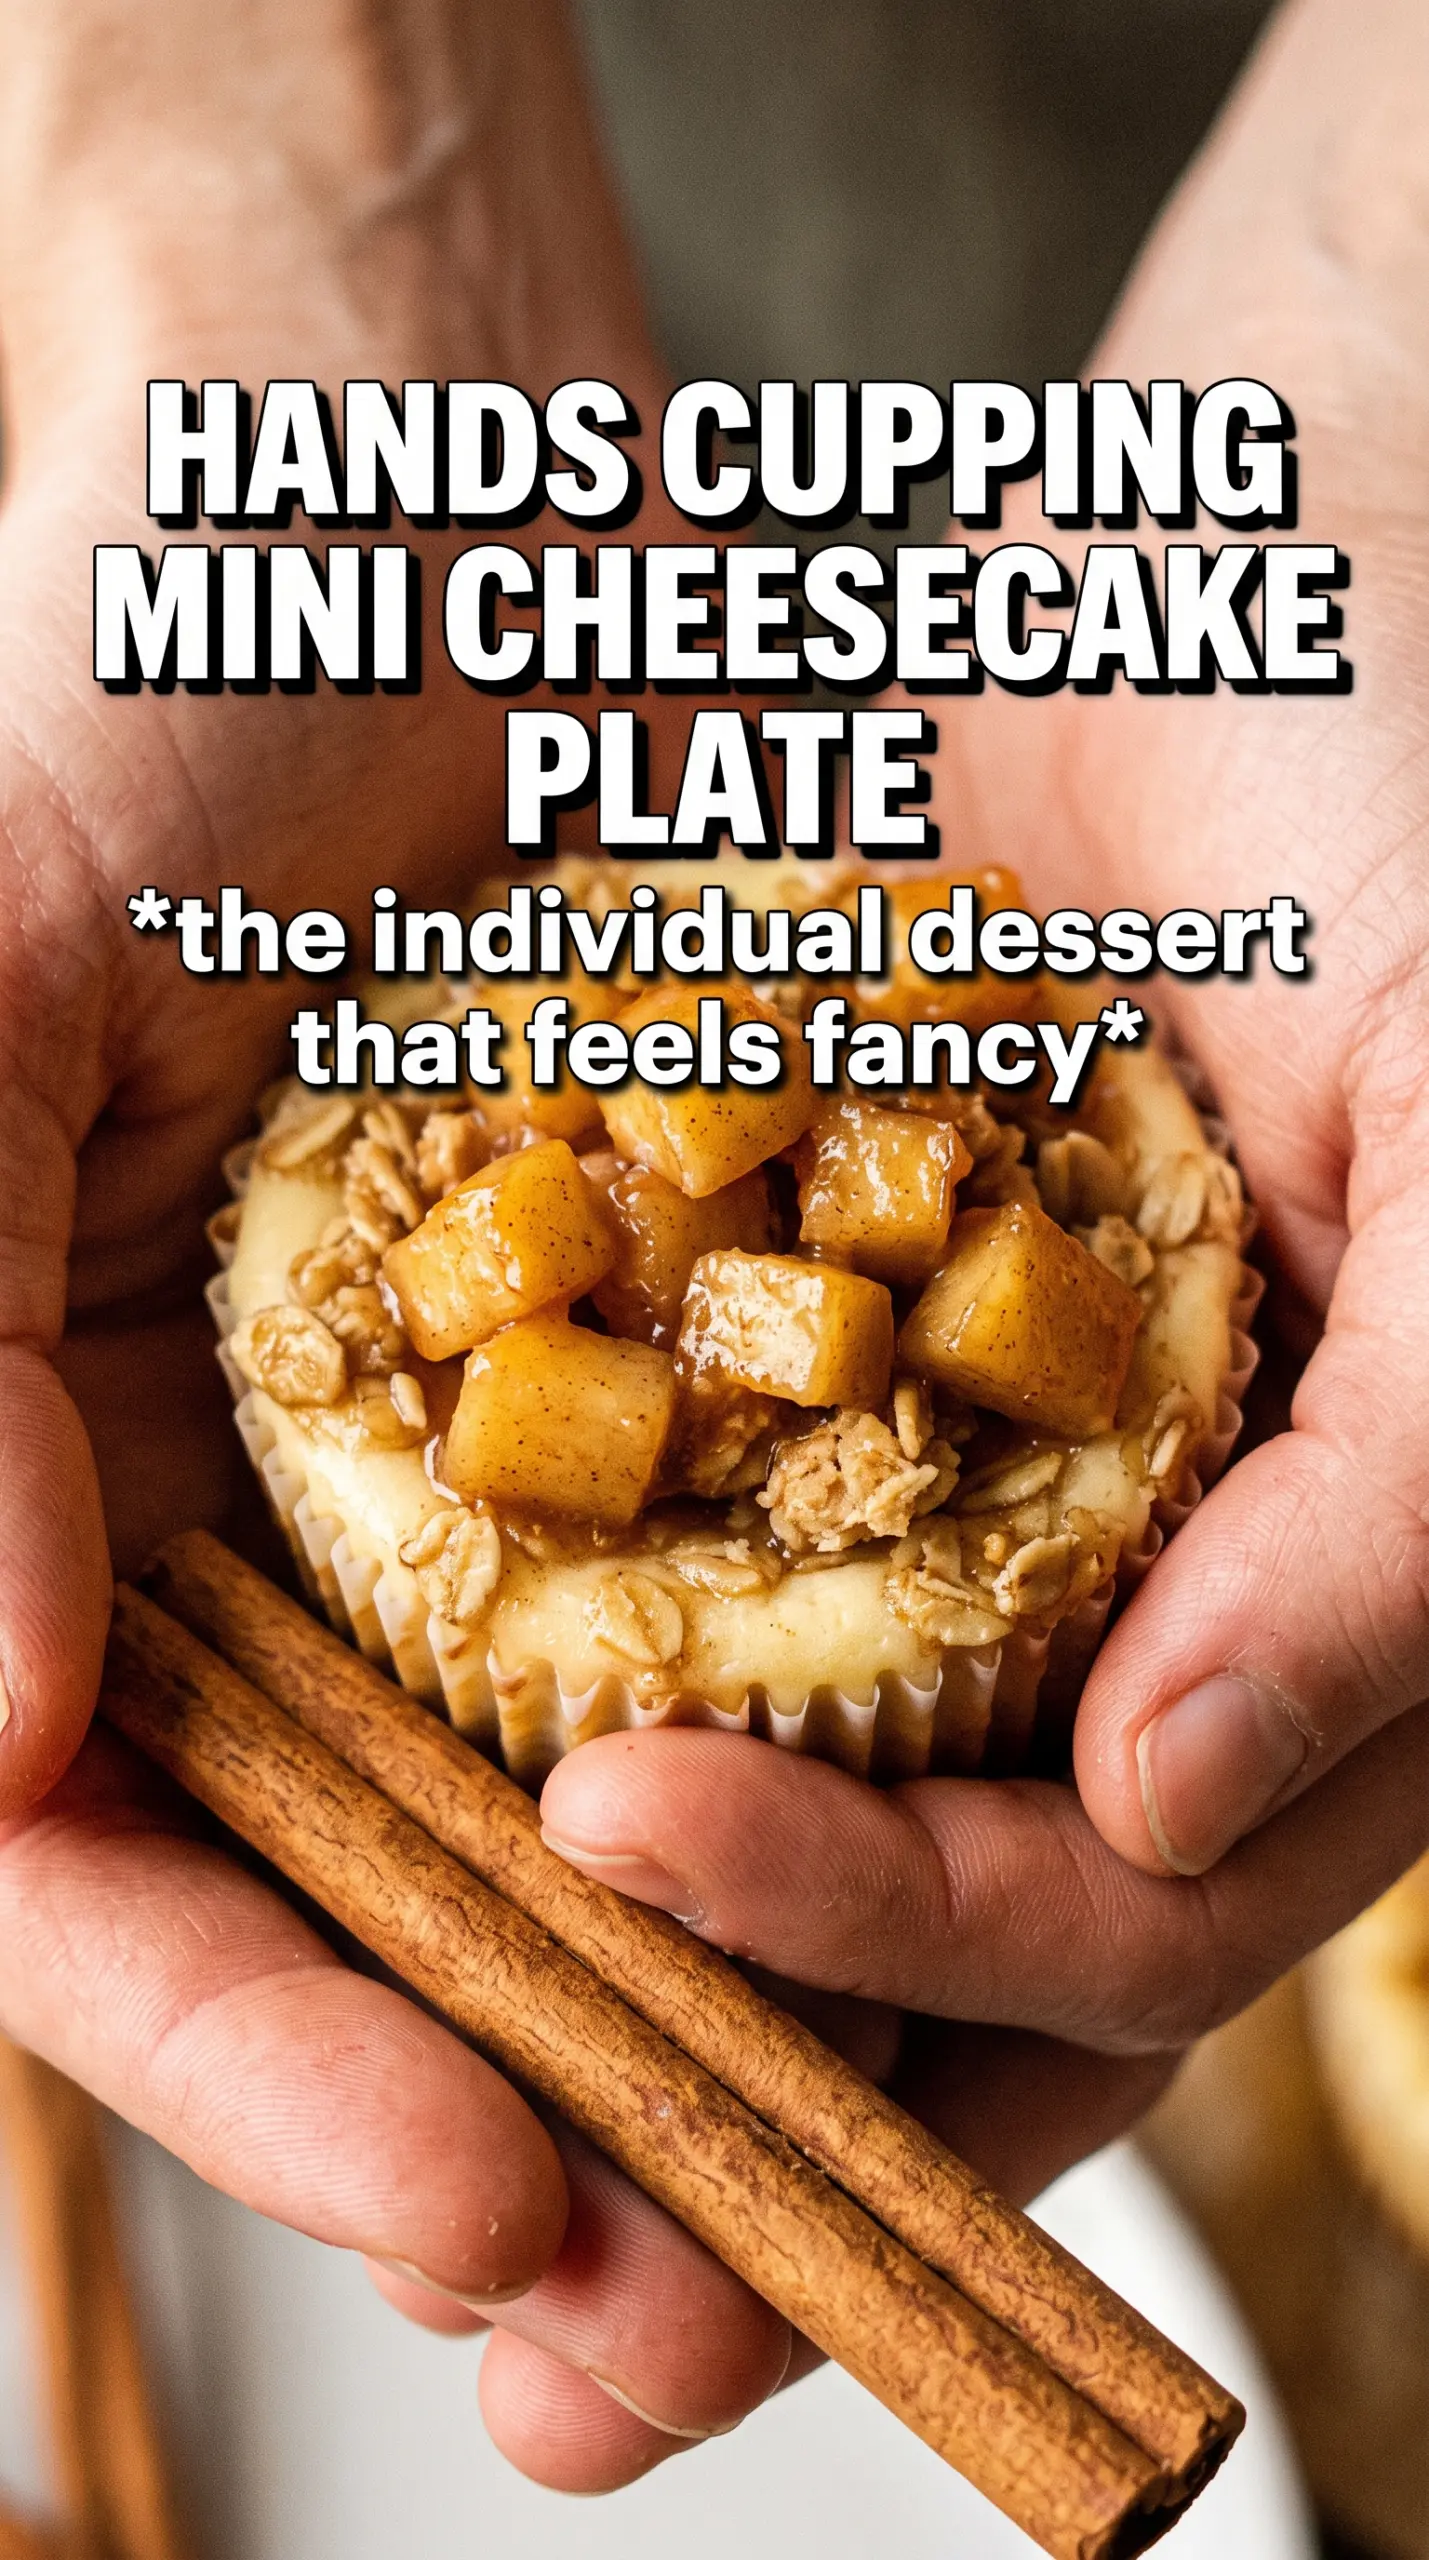
- Graham cracker crumbs — These give you a sturdy, sweet base that tastes like classic cheesecake. Crush them finely so the crust packs tightly; big crumbs make the base crumbly instead of compact.
- Cream cheese — Full-fat cream cheese matters here because it sets into that rich, dense cheesecake texture. Low-fat versions tend to bake up softer and can turn a little watery after chilling.
- Sour cream — This keeps the filling smooth and gives it a slight tang that keeps the dessert from tasting flat. If you don’t have it, plain full-fat Greek yogurt is the closest swap, but expect a slightly firmer finish.
- Apples — Dice them small so they soften quickly and sit neatly on top of each mini cheesecake. A firm apple like Granny Smith or Honeycrisp works best because it holds some shape after cooking.
- Cold butter for the crumble — Cold butter is what gives the oat topping those little golden pebbles instead of a paste. Work it in until the mixture looks like damp sand with some pea-sized bits left behind.
Building the Crust, Filling, and Topping Without Losing Texture
Pressing and Pre-Baking the Crust
Stir the graham crumbs, melted butter, and sugar until every crumb looks evenly moistened, then pack the mixture firmly into the bottom of each lined muffin cup. A flat-bottomed measuring cup works well for this because it compresses the crumbs into a tight layer. Bake just long enough to set the crust and deepen the color a touch; if it goes too far, it turns hard instead of crisp.
Cooking the Apples Until They Hold Their Shape
Cook the diced apples with butter, brown sugar, and cinnamon until they soften and the pan smells like spiced caramel. You want the edges tender but not collapsed. If the apples release a lot of liquid, keep cooking until that moisture cooks off; otherwise it seeps into the cheesecake and softens the crust.
Mixing the Cheesecake Batter
Beat the cream cheese and sugar until the mixture looks smooth and fluffy before adding the eggs. Once the eggs go in, mix only until combined. Overmixing adds air, and too much air can cause the tops to puff, crack, and sink as they cool. The batter should look silky and pourable, not thin.
Finishing with Crumble and Baking
Spoon the cheesecake filling into the crusts, top with the cooked apples, then scatter the crumble over each one. Bake until the centers are just set and still have the slightest jiggle when you nudge the pan. If you wait for them to look fully firm in the oven, they’ll overbake and lose that creamy cheesecake middle. Let them cool, then chill for the full time so the texture firms up cleanly.
How to Adapt These Mini Cheesecakes Without Losing the Crisp Topping
Gluten-Free Crust and Crumble
Use gluten-free graham crumbs in the crust and swap the flour in the crumble for a 1:1 gluten-free baking blend. The texture stays close to the original, but the crumble may brown a little faster, so start checking it near the end of baking.
Dairy-Free Version
Use a dairy-free cream cheese that bakes well and plant-based butter in both the crust and crumble. The filling will be a little softer after chilling, so give it the full rest time before serving.
Make It Less Sweet
Reduce the sugar in the crust by 1 tablespoon and use tart apples for the topping. You still get plenty of sweetness from the crumble and the cheesecake filling, but the apple flavor comes through more clearly.
Storage and Reheating
- Refrigerator: Store covered for up to 4 days. The crumble softens a little, but the flavor stays excellent.
- Freezer: Freeze the chilled cheesecakes without the best texture for the crumble. Wrap them well and freeze for up to 1 month, then thaw in the refrigerator.
- Reheating: These are best served cold or at cool room temperature. If you warm them, use only a few seconds in the microwave, because too much heat softens the filling and makes the crust lose its bite.
Answers to the Questions Worth Asking
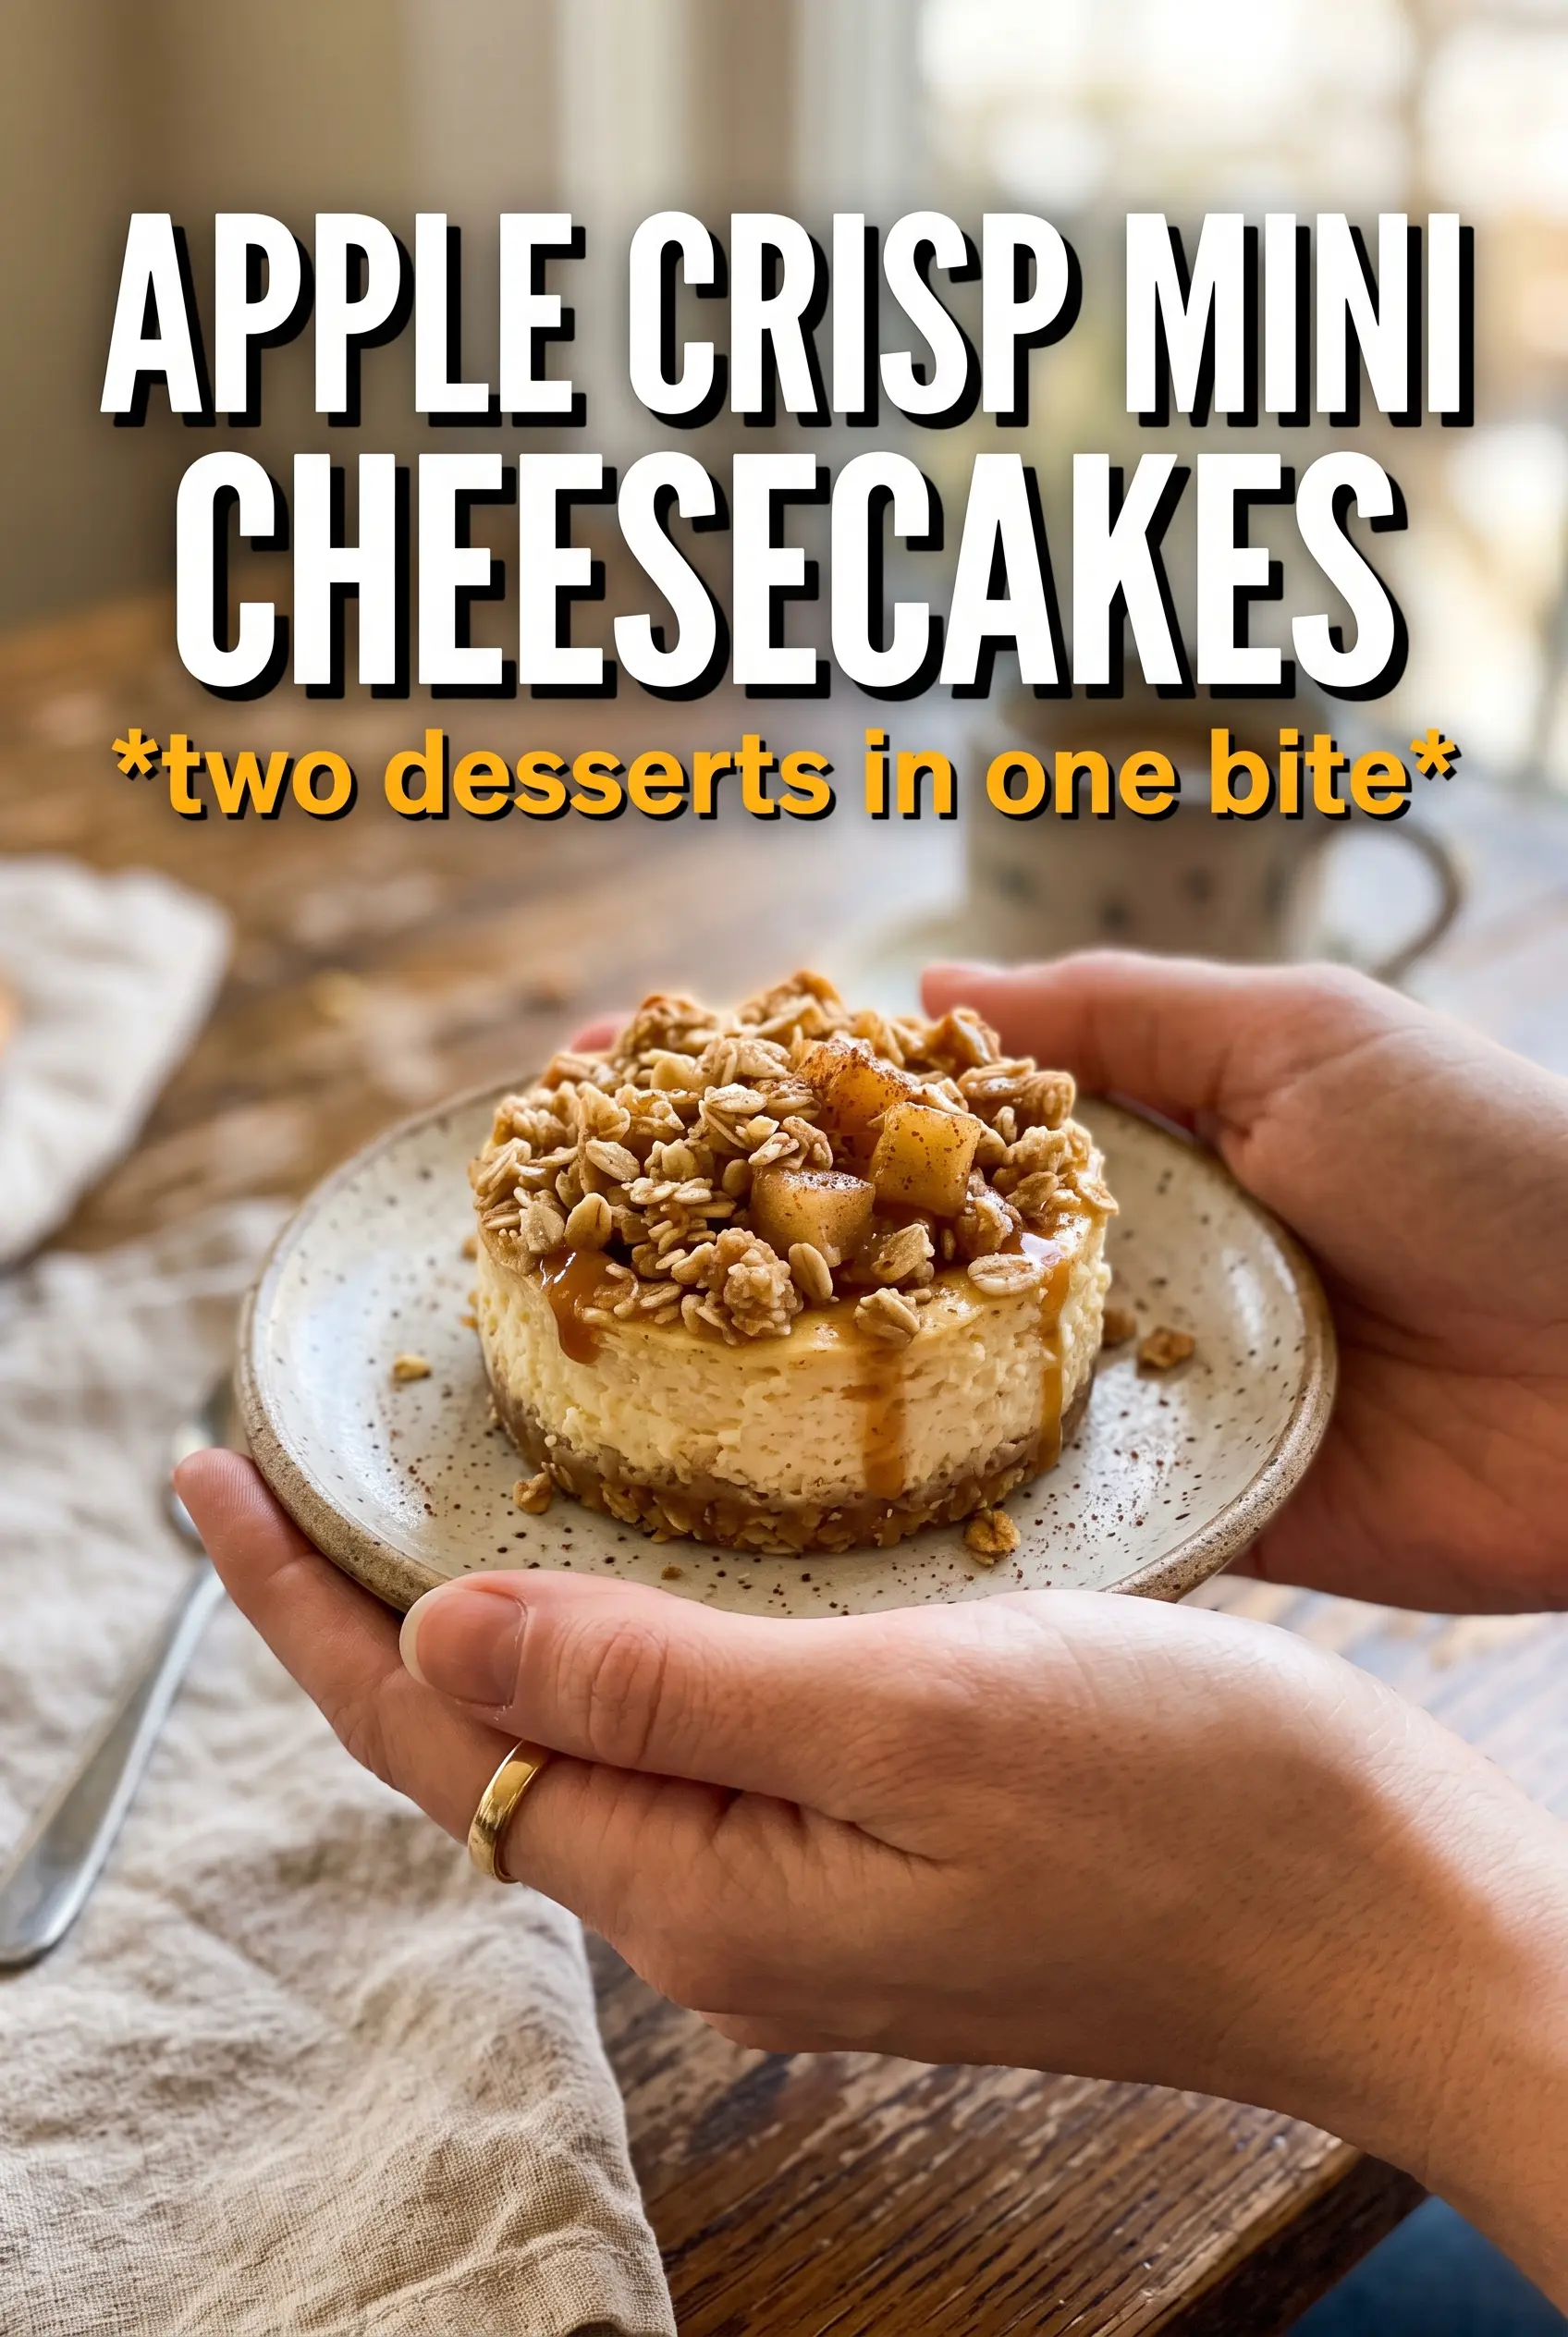
Apple Crisp Mini Cheesecakes
Ingredients
Equipment
Method
- Preheat the oven to 325F and line a 12-cup muffin tin with cupcake liners, so the crusts bake without sticking.
- Combine graham cracker crumbs, melted unsalted butter, and sugar, then press firmly into the bottom of each liner.
- Bake the crusts for 5 minutes, just until set, then remove to cool while you make the filling.
- Cook the finely diced apples with butter, brown sugar, and cinnamon for 5 minutes until softened, then cool before topping the cheesecakes.
- Beat cream cheese and granulated sugar until smooth, scraping the bowl as needed for a lump-free filling.
- Add eggs, sour cream, vanilla, and cinnamon, then beat just until combined to keep the filling silky.
- Fill each cooled crust with the cheesecake mixture, dividing evenly across all 12 cups.
- Top each filled cup with the cooled cooked apples.
- Make the oat crumble by mixing oats, flour, brown sugar, cinnamon, and cold butter until crumbly, then scatter over each cheesecake.
- Bake for 20-22 minutes at 325F until the centers are just set, with a slight jiggle remaining.
- Refrigerate the mini cheesecakes for 3 hours to fully firm up before serving, letting the crumble stay crisp.