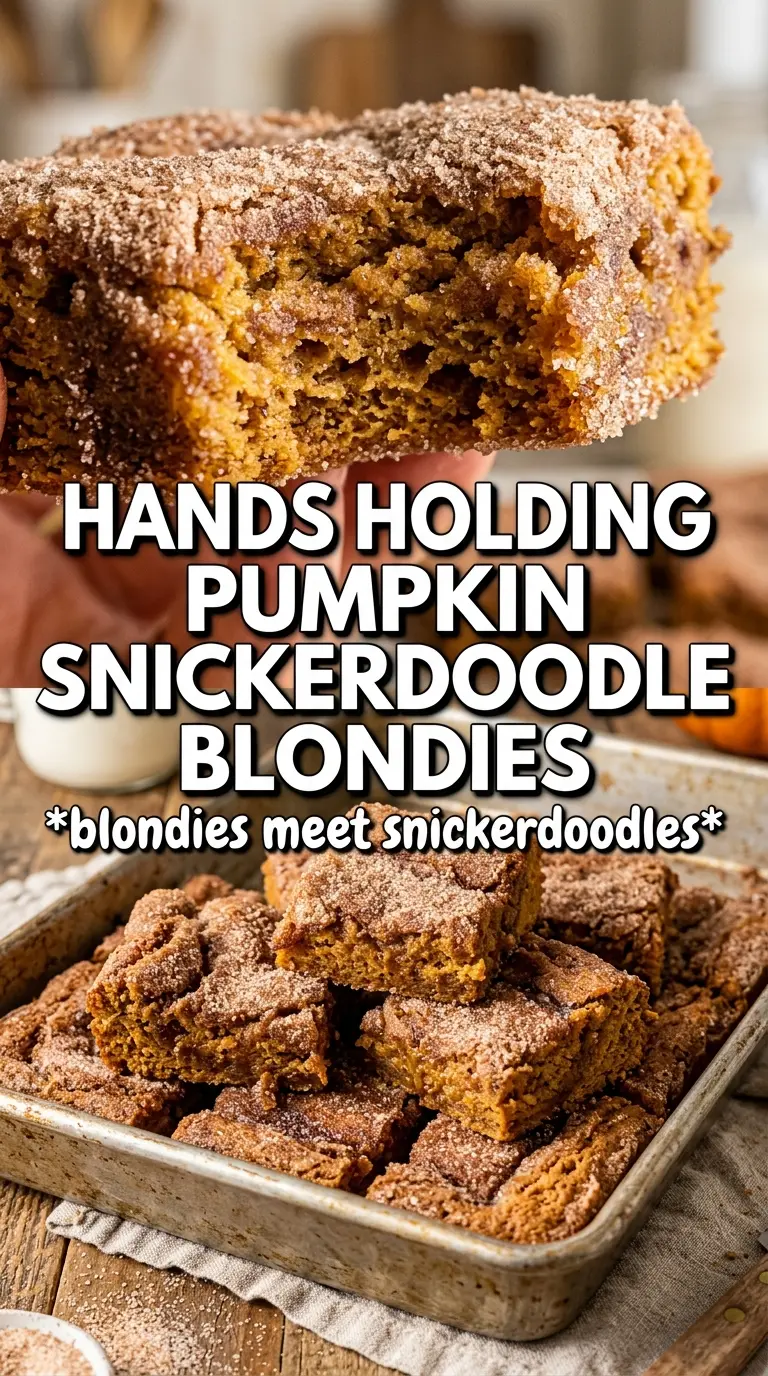
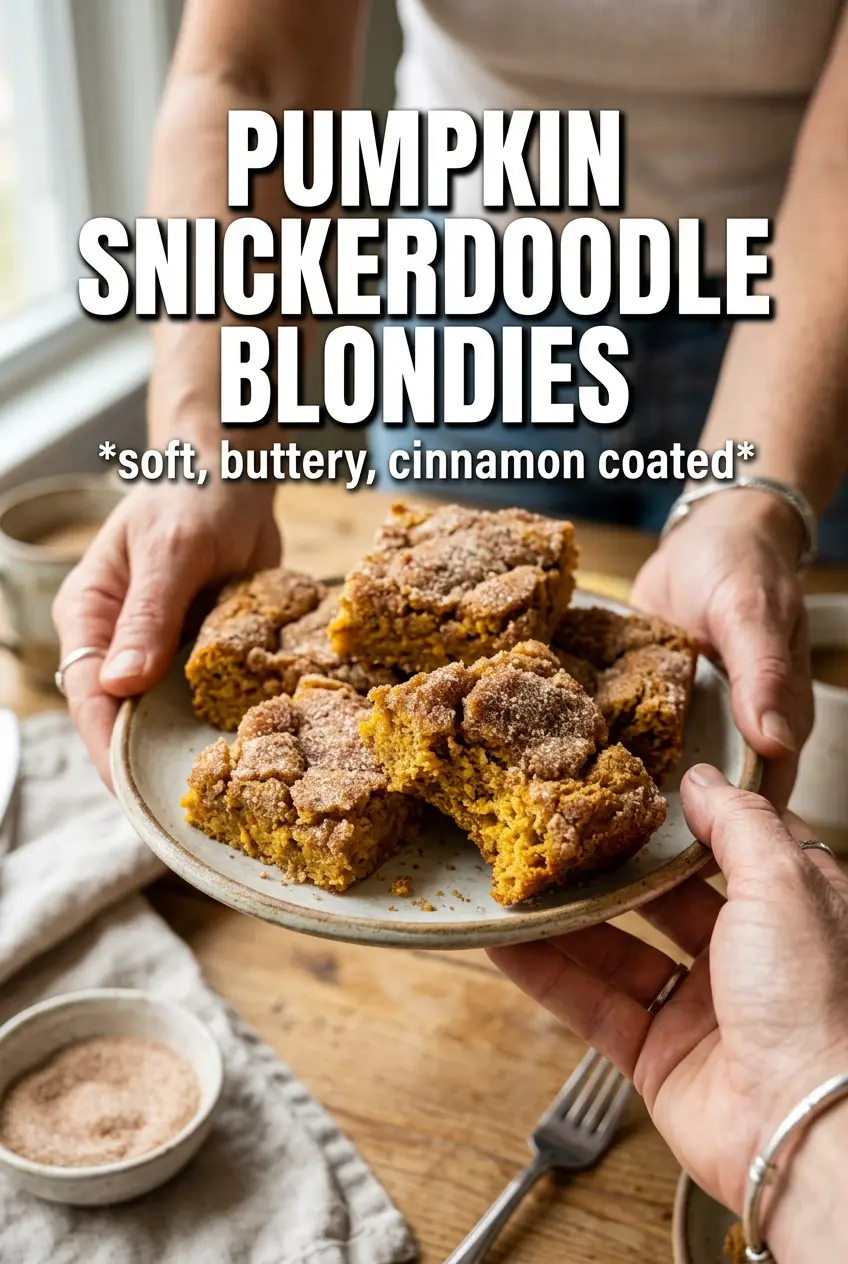
Pumpkin snickerdoodle blondies bake up dense, chewy, and deeply caramelized, with a cinnamon-sugar crust that crackles a little when you cut into it. The pumpkin shows up as warmth more than moisture, and that’s exactly what you want here: rich brown butter, brown sugar, and spice carrying the flavor while the bars stay sturdy enough to slice cleanly into squares.
The trick is keeping the pumpkin under control. A wet pumpkin puree turns blondies cakey and gummy, so blotting it dry before it goes into the bowl makes a bigger difference than people expect. Browning the butter adds a toasted, nutty edge that tastes like the missing piece in a lot of pumpkin bars, and cream of tartar gives the top and crumb that snickerdoodle tang instead of turning this into plain pumpkin dessert bars.
Below you’ll find the exact texture cues I watch for in the oven, plus a few swaps that still keep the bars chewy instead of soft and puffy.
The edges baked up chewy and the cinnamon sugar top got that crackly finish I was hoping for. Blotting the pumpkin made a huge difference — the center set perfectly instead of coming out cakey.
Save these pumpkin snickerdoodle blondies for the days when you want chewy bars, a crackly cinnamon top, and that browned butter warmth in every bite.
The Step That Keeps These Blondies Chewy Instead of Cakey
Most pumpkin bars go soft because the batter carries too much moisture before it ever reaches the oven. That’s why the pumpkin gets blotted first and why the batter only gets mixed until the flour disappears. Overmixing builds structure, and structure is what pushes blondies toward cake.
Browned butter matters here for more than flavor. It also gives the batter a deeper, slightly firmer base than melted butter alone, which helps these bars hold their chew after they cool. Bake them until the center looks set but still has a few moist crumbs on the tester; if it comes out completely clean, they’ve gone a little too far and the texture starts to dry out.
- Blotted pumpkin puree — This is the difference between pumpkin flavor and pumpkin puddle. Press the puree between paper towels until it looks thicker and duller, not shiny and wet.
- Browned butter — The nutty flavor is worth the extra few minutes. Let it cool about 10 minutes so it doesn’t scramble the eggs when you whisk it in.
- Cream of tartar — It gives these bars the snickerdoodle tang that plain pumpkin blondies don’t have. There isn’t a perfect stand-in if you want that classic note.
- Cinnamon-sugar topping — Don’t skimp. It bakes into a thin crackly crust that makes the bars taste like a cross between a cookie and a blondie.
What Each Ingredient Is Actually Doing in This Batch
- All-purpose flour — Gives the bars their structure without making them bready. A 1:1 gluten-free baking blend can work here, but avoid one with a strong bean flavor or the blondies will taste off.
- Brown sugar — This is where the chew comes from. Light brown sugar works if that’s what you have, but dark brown sugar will give a deeper molasses note and a darker, stickier crumb.
- Pumpkin puree — Use pure pumpkin, not pumpkin pie filling. The filling brings extra sugar and spice, which throws off both texture and flavor.
- Eggs — They bind the batter and help the blondies set in the center. Room-temperature eggs mix in more smoothly, which keeps the batter from looking streaky after the pumpkin goes in.
- Vanilla — It rounds out the browned butter and spice. Skip imitation vanilla here; the flavor can taste sharp against the pumpkin.
Mixing the Batter Without Overworking It
Brown the Butter First
Cook the butter over medium heat until the milk solids turn golden brown and the kitchen smells nutty, almost like toasted hazelnuts. Pull it off the heat as soon as you see those brown flecks at the bottom, because it can go from browned to burnt fast. Let it cool for about 10 minutes before you continue; hot butter can melt the sugar too aggressively and make the batter greasy.
Whisk the Wet Ingredients Until Smooth
Stir the browned butter with the brown sugar until it looks glossy and thick, then add the dried pumpkin, eggs, and vanilla. The pumpkin should disappear into the batter without leaving wet streaks. If it still looks loose, the puree probably wasn’t blotted enough, and that extra moisture will show up in the oven as a soft center that never quite firms up.
Fold, Don’t Beat, the Flour In
Add the dry ingredients and fold just until no dry flour remains. The batter will be thick, and that’s what you want. Stop as soon as the flour disappears; if you keep stirring, the bars lose their tender chew and bake up tighter than they should.
Watch the Center, Not the Clock
Spread the batter into the pan, add the cinnamon sugar topping, and bake until the edges are set and the center gives only a slight wobble. A toothpick should come out with a few moist crumbs, not wet batter. Let the pan cool all the way before cutting, because blondies finish setting as they rest and warm bars will smear instead of slice cleanly.
How to Adapt These Blondies Without Losing the Chewy Texture
Dairy-Free Version
Use a good vegan butter that browns well, or use melted dairy-free butter if browning isn’t possible. You’ll lose a little of the nutty depth, but the bars will still bake chewy as long as the pumpkin stays blotted dry.
Gluten-Free Swap
Replace the flour with a 1:1 gluten-free baking blend that includes xanthan gum. The texture will be a touch softer, but you’ll still get the same chewy center and crackly cinnamon top if you don’t overbake it.
Extra-Spiced Pumpkin Bars
Add another 1/2 teaspoon cinnamon plus a pinch of ginger or cloves if you want the spice to lean warmer and bolder. The bars will taste more like a classic pumpkin dessert, while still keeping the snickerdoodle sugar crust on top.
Storage and Reheating
- Refrigerator: Store in an airtight container for up to 5 days. The bars stay chewy, though the cinnamon top softens a little after day one.
- Freezer: These freeze well. Wrap individual squares tightly and freeze for up to 2 months, then thaw at room temperature.
- Reheating: Warm a square for 10 to 15 seconds in the microwave if you want the butter flavor to bloom again. Don’t overheat it or the edges will dry out and the center will turn sticky instead of soft.
Questions I Get Asked About This Recipe
Pumpkin Snickerdoodle Blondies
Ingredients
Equipment
Method
- Brown the butter until golden and nutty, then cool for 10 minutes. Look for toasted milk solids and an amber color as the cue to stop.
- Preheat the oven to 350F and grease a 9x13 pan. Coat the pan evenly so the blondies release cleanly.
- Whisk the all-purpose flour, baking powder, cinnamon, cream of tartar, nutmeg, and salt until evenly combined. The mixture should look uniform with no spice clumps.
- Whisk the browned butter and packed brown sugar until smooth. Add the blotted pumpkin, eggs, and vanilla extract and whisk until the batter is silky.
- Fold in the flour mixture and mix just until no dry streaks remain, then spread the batter into the pan. The batter should be thick and cohesive.
- Mix the cinnamon sugar (granulated sugar and cinnamon) and sprinkle generously over the top. Aim for full coverage so the crust forms as it bakes.
- Bake for 25-30 minutes until a toothpick comes out with just a few moist crumbs. The edges should look set while the center stays tender.
- Cool completely before cutting the blondies into squares. The surface should feel firm and the pan should release cleanly when cut.