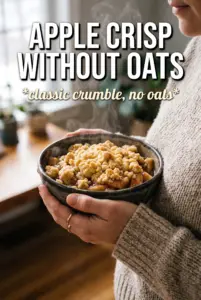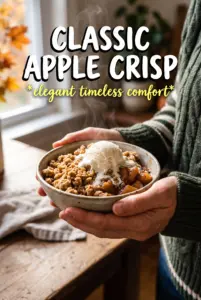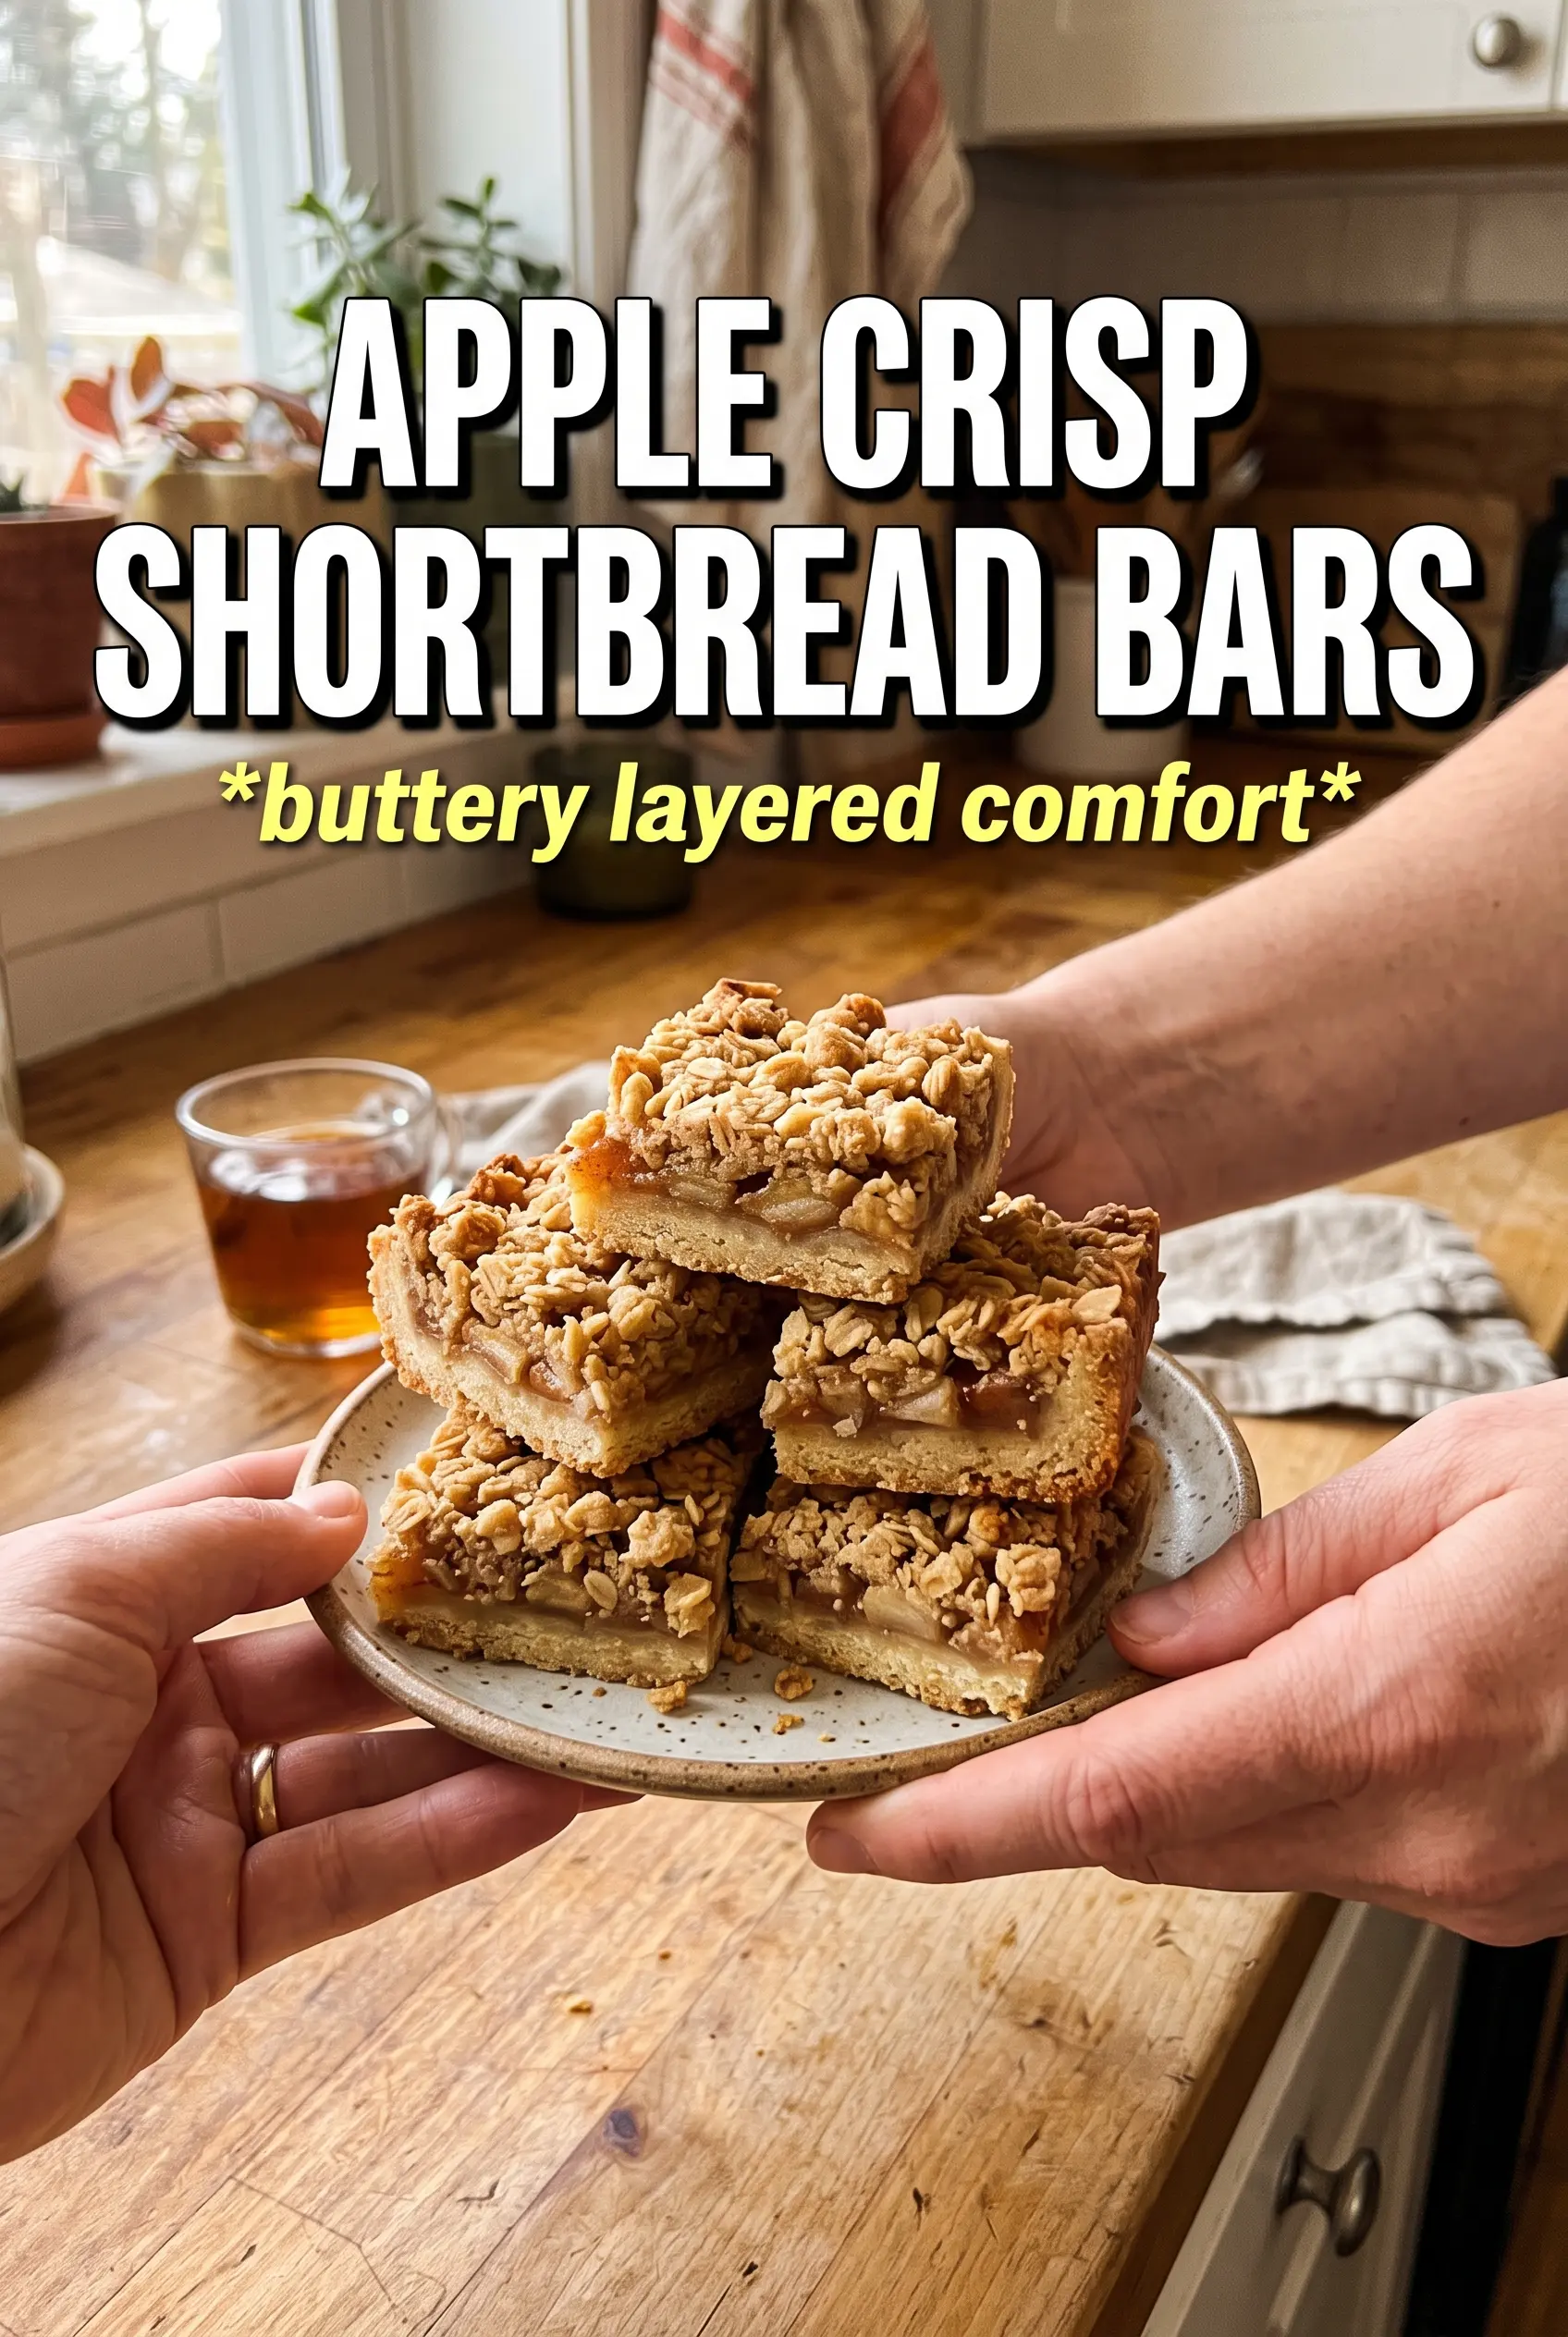
Apple crisp shortbread bars hit that sweet spot between a handheld dessert bar and a warm fruit crisp. The base bakes up sturdy and buttery, the apple layer softens into spiced slices that still hold their shape, and the oat crumble gives every bite a nubby, toasted finish. Once they’re cooled and cut, they slice cleanly instead of collapsing into a mess on the plate, which is exactly why I keep coming back to this style of bar.
The trick is using the same mixture for both the base and the crumble topping. That keeps the flavor tied together and makes the texture feel intentional, not layered for the sake of it. Cold butter matters here. It creates those sandy, uneven crumbs that bake into a shortbread-style crust instead of a dense cookie layer. The apple filling gets a little cornstarch so it thickens as it bakes, which keeps the bottom from turning soggy.
Below, I’ll walk through the part that matters most: how to keep the crust crisp, how to avoid a watery filling, and how to know when the bars are baked far enough to cut neatly.
The base stayed crisp even under the apples, and the crumble on top browned evenly without burning. I let them cool all the way like you said, and they sliced into perfect bars instead of falling apart.
Save these apple crisp shortbread bars for the days when you want a buttery base, tender spiced apples, and a crumbly oat topping in one pan.
Why the Bottom Layer Stays Crisp Instead of Turning Soft
The crust has to go into the oven before the apples do. That first bake sets the butter, starts the browning, and gives the base enough structure to handle the juicy filling that comes later. If you skip that step, the apple juices sink straight into the raw mixture and the bottom turns pasty instead of shortbread-like.
Press the base in firmly enough that it holds together, but don’t compact it so hard that it becomes dense. The reserve crumble should look like uneven pebbles and sandy bits, not a paste. Those gaps are what make the topping light and crisp after baking.
- Cold butter — This is what keeps the crust tender and crumbly. If the butter gets soft before it goes into the oven, the mixture turns greasy and bakes up heavy.
- Rolled oats — They add texture and give the topping that classic crisp feel. Quick oats can work in a pinch, but the bars won’t have the same chew and structure.
- Cornstarch in the filling — It thickens the apple juices as the bars bake. Flour won’t thicken as cleanly here and can leave the filling looking cloudy.
What the Apples and Spices Are Actually Doing Here
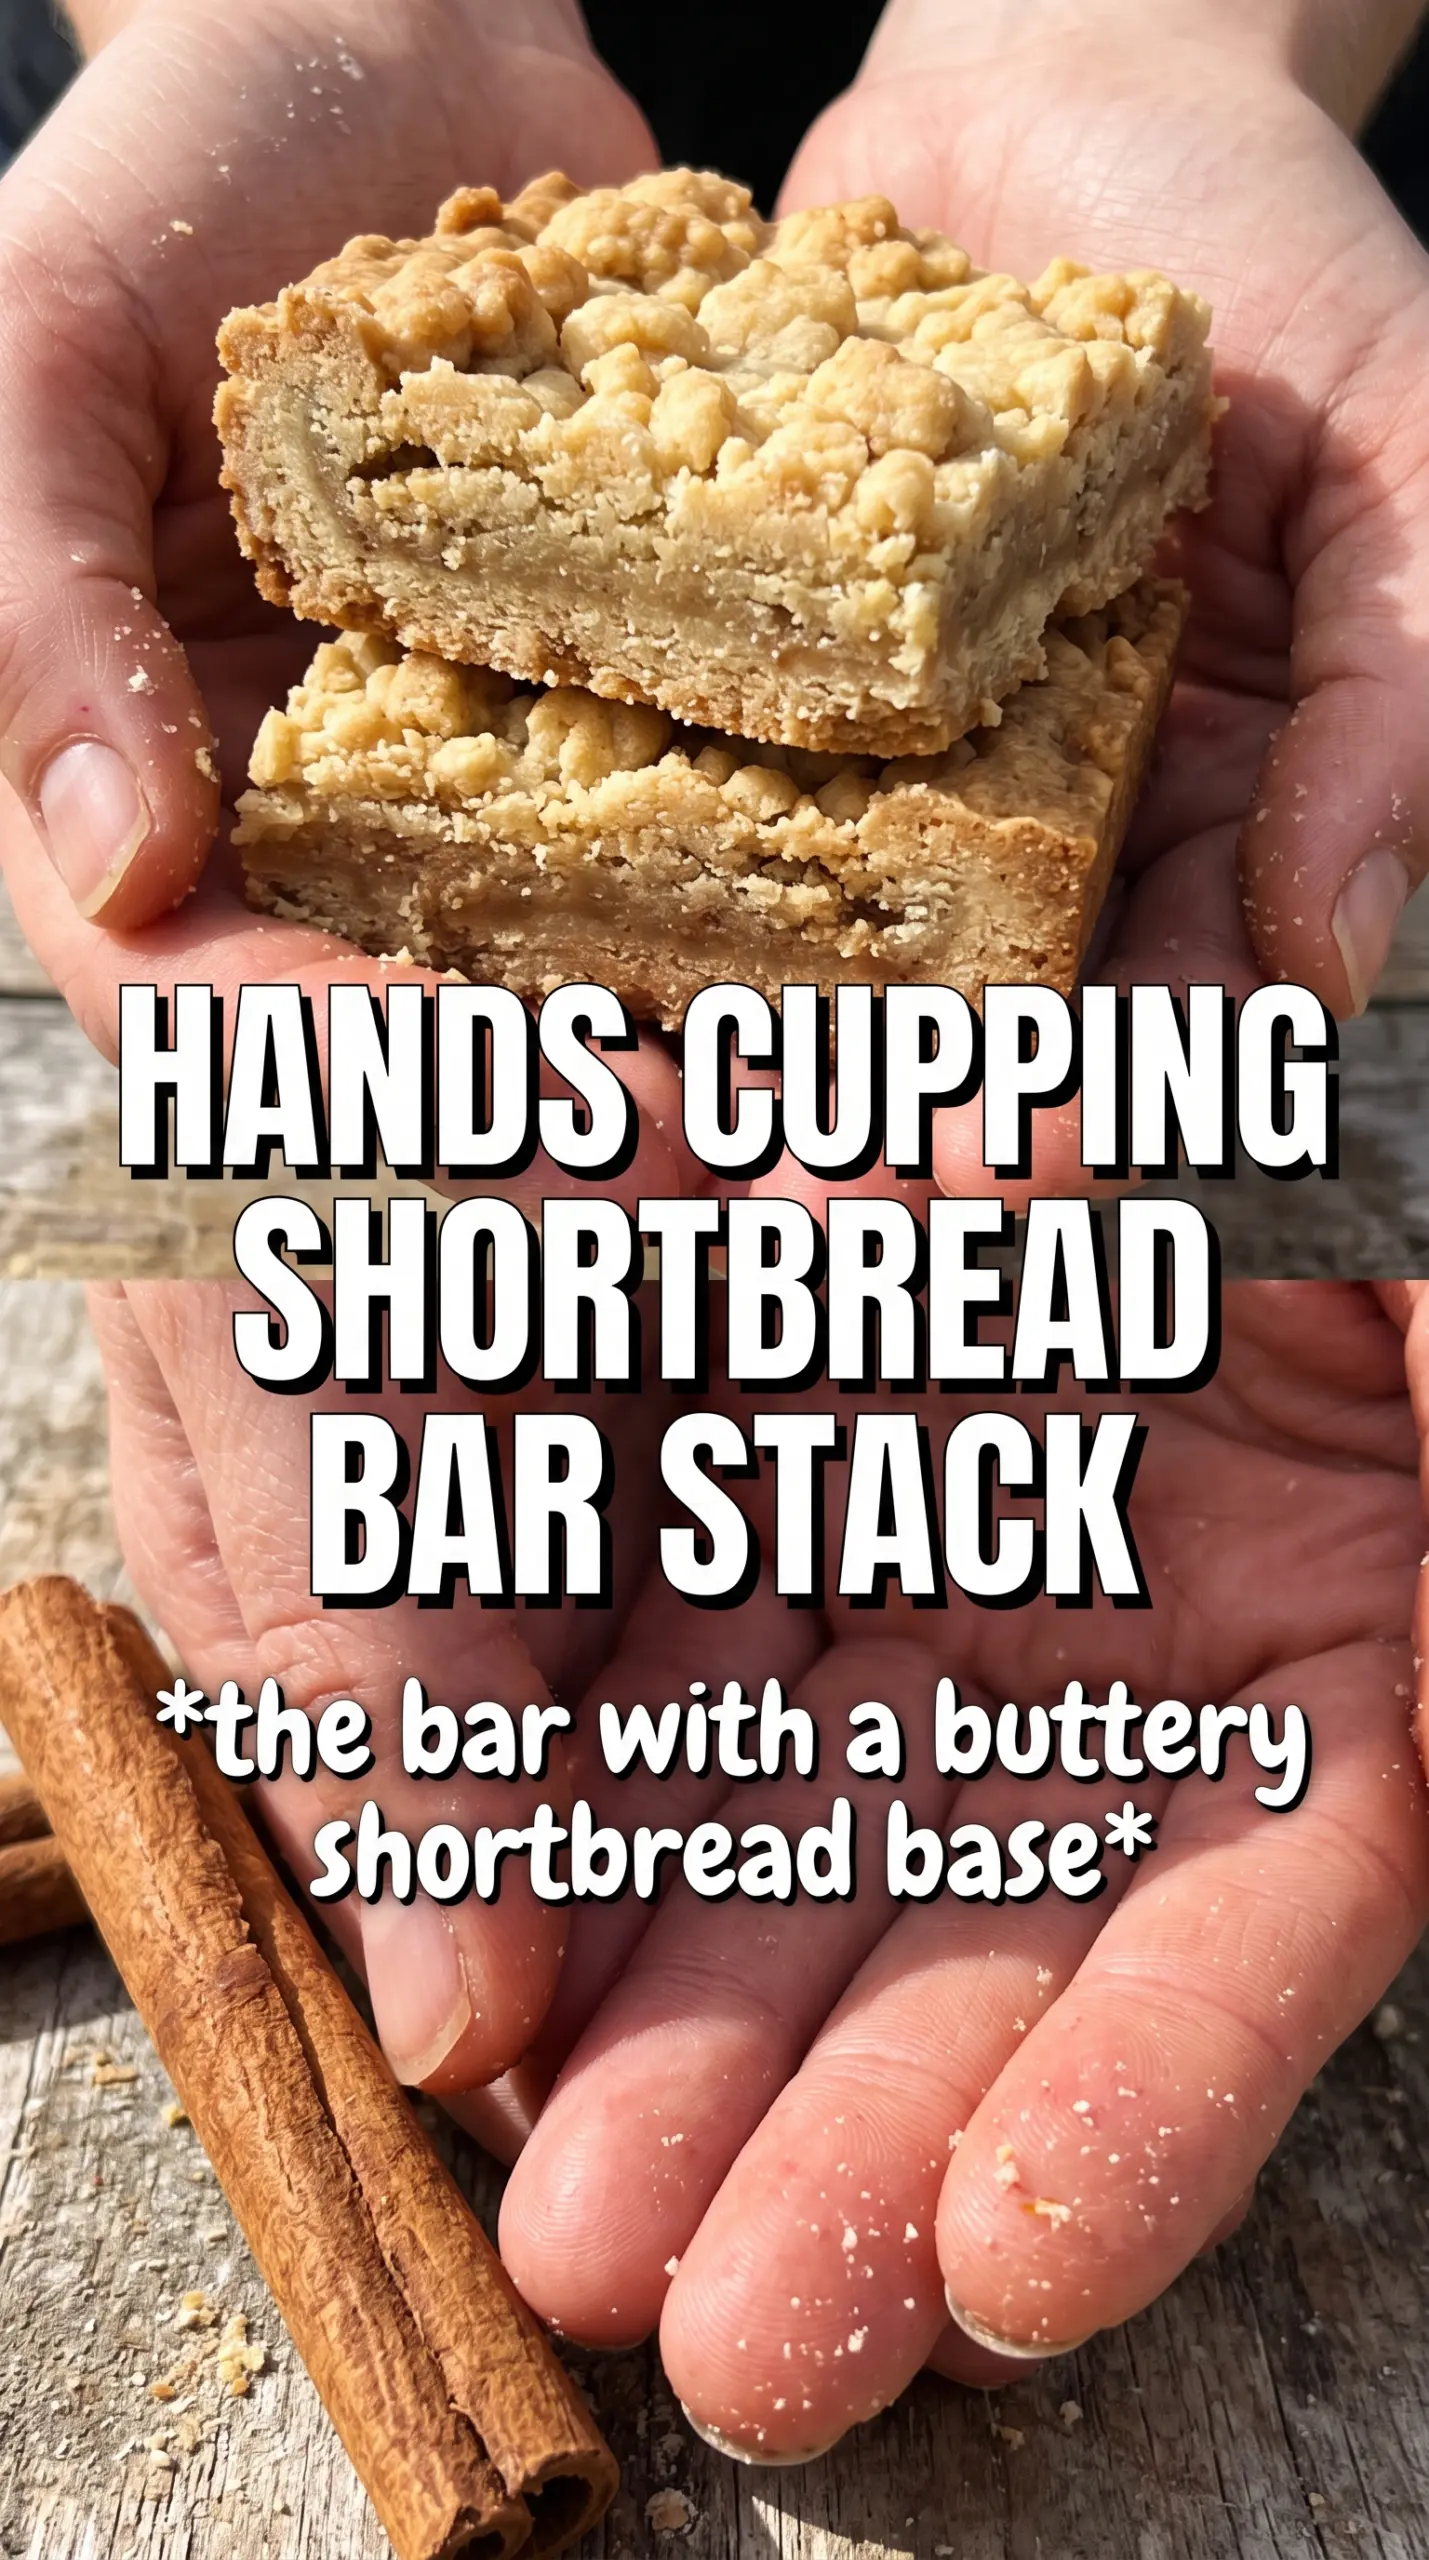
The apples carry the whole dessert, so their texture matters more than people expect. You want slices thin enough to soften fully, but not so thin that they disappear into applesauce. A mix of tart and sweet apples works best because the filling stays bright instead of leaning one-note sweet.
The cinnamon and nutmeg do more than make it taste like apple pie. They warm the filling and help the caramel drizzle taste deeper once the bars are cooled. The lemon juice matters too; it keeps the apples from tasting flat and helps the filling stay lively after baking.
- Apples — Firm baking apples hold their shape better than soft snacking apples. If yours are very juicy, toss them with the sugar mixture and let them sit for a few minutes, then spoon the apples over the crust so you don’t pour excess liquid into the pan.
- Brown sugar in the base — It adds moisture and a deeper caramel note that plain white sugar won’t give you. That flavor carries through the whole bar.
- Caramel sauce — This is optional, but it pushes the bars from good to bakery-style. Add it after the bars cool so it sits on top instead of soaking into the crumble.
Building the Layers So the Bars Slice Cleanly
Mixing the Crumble Without Warming the Butter
Work the cold butter into the flour-oat mixture until you see a mix of coarse crumbs and smaller sandy bits. Stop as soon as the butter pieces are coated and no dry flour remains. If the butter starts melting into a paste, the topping will bake up greasy instead of crisp. A pastry cutter works well, but your fingertips are fine if you move quickly.
Pressing and Prebaking the Base
Press the reserved mixture into the parchment-lined pan and get it into the corners evenly. Bake it until the top looks just a shade dry and the edges are starting to color. That short head start is what protects the base from the apple juices. Pull it out and add the filling while it’s still hot, not after it cools.
Layering the Apples and Finishing the Bake
Toss the sliced apples with the sugar, spices, cornstarch, and lemon juice until every piece looks lightly coated. Spread them over the hot crust in an even layer, then scatter the crumble on top without pressing it down. Bake until the topping is deeply golden and you can see the fruit bubbling at the edges. If the top browns before the apples are done, lay a loose piece of foil over the pan for the last stretch.
Cooling Before You Slice
Let the pan cool all the way before lifting the bars out. Warm bars will fall apart because the cornstarch filling hasn’t set yet. Once they’re cool, the layers firm up and the knife will glide through cleanly. That’s the difference between neat dessert bars and a pan of soft crumble squares.
Three Ways to Work With What You Have
Make Them Gluten-Free
Use a 1:1 gluten-free baking blend in place of the flour and check that your oats are certified gluten-free. The texture will be a little more delicate, but the bars still hold well if you let them cool completely before cutting.
Lean Into a Sweeter Filling
If you want a richer dessert, swap half of the granulated sugar in the filling for brown sugar. That gives the apples a deeper caramel note, but the filling will taste a little less bright, so the lemon juice matters even more.
Add Nuts for Extra Crunch
A handful of chopped pecans or walnuts folded into the crumble adds a toasty finish and a little more bite. Keep the amount modest so the topping still feels like a crisp bar and not a nut-heavy granola square.
Storage and Reheating
- Refrigerator: Store covered for up to 4 days. The crumble softens slightly, but the flavor gets even better after the first day.
- Freezer: These freeze well. Wrap individual bars tightly and freeze for up to 2 months, then thaw in the fridge before serving.
- Reheating: Warm bars in a 300F oven for 8 to 10 minutes if you want the topping crisp again. The microwave will soften the crust, so use it only if you don’t mind a less crisp texture.