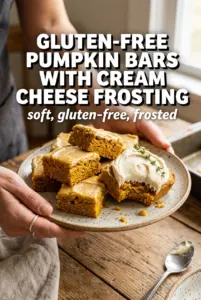
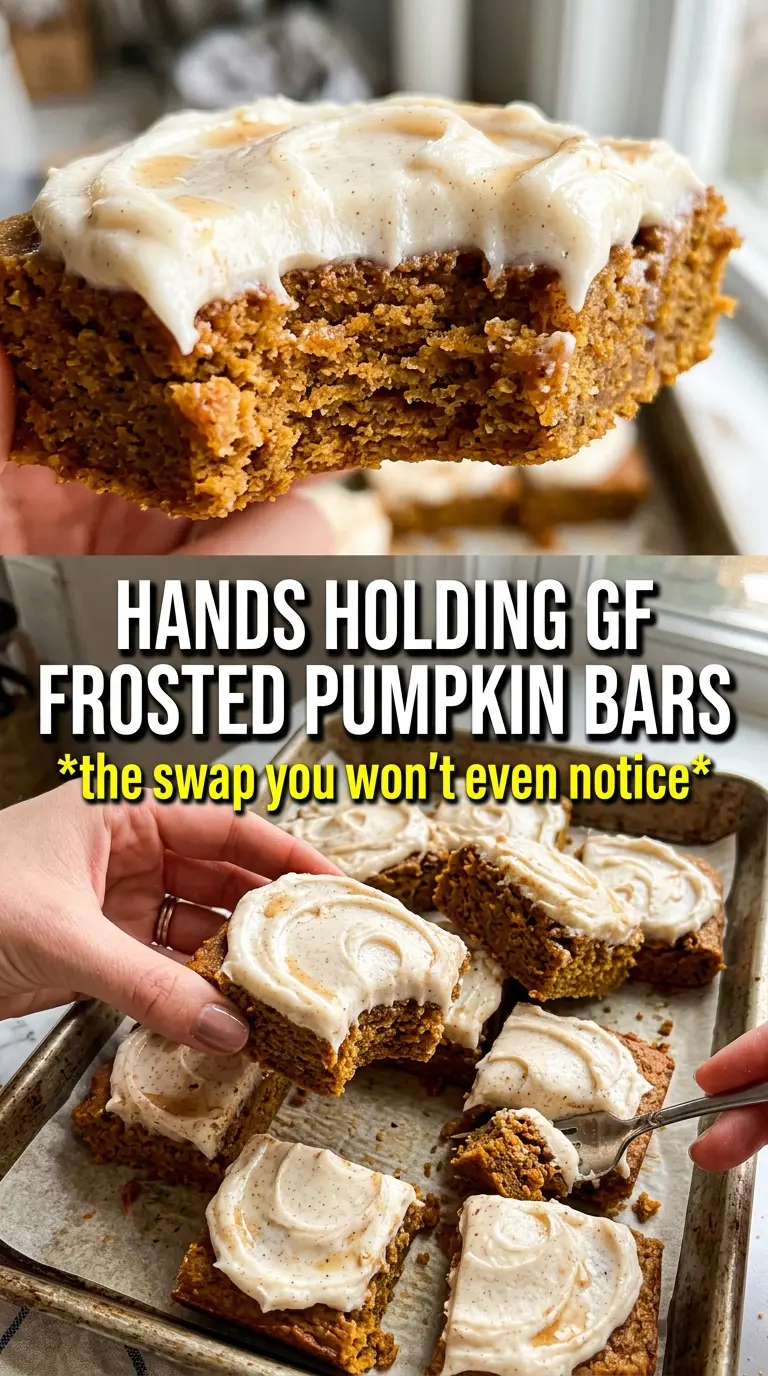
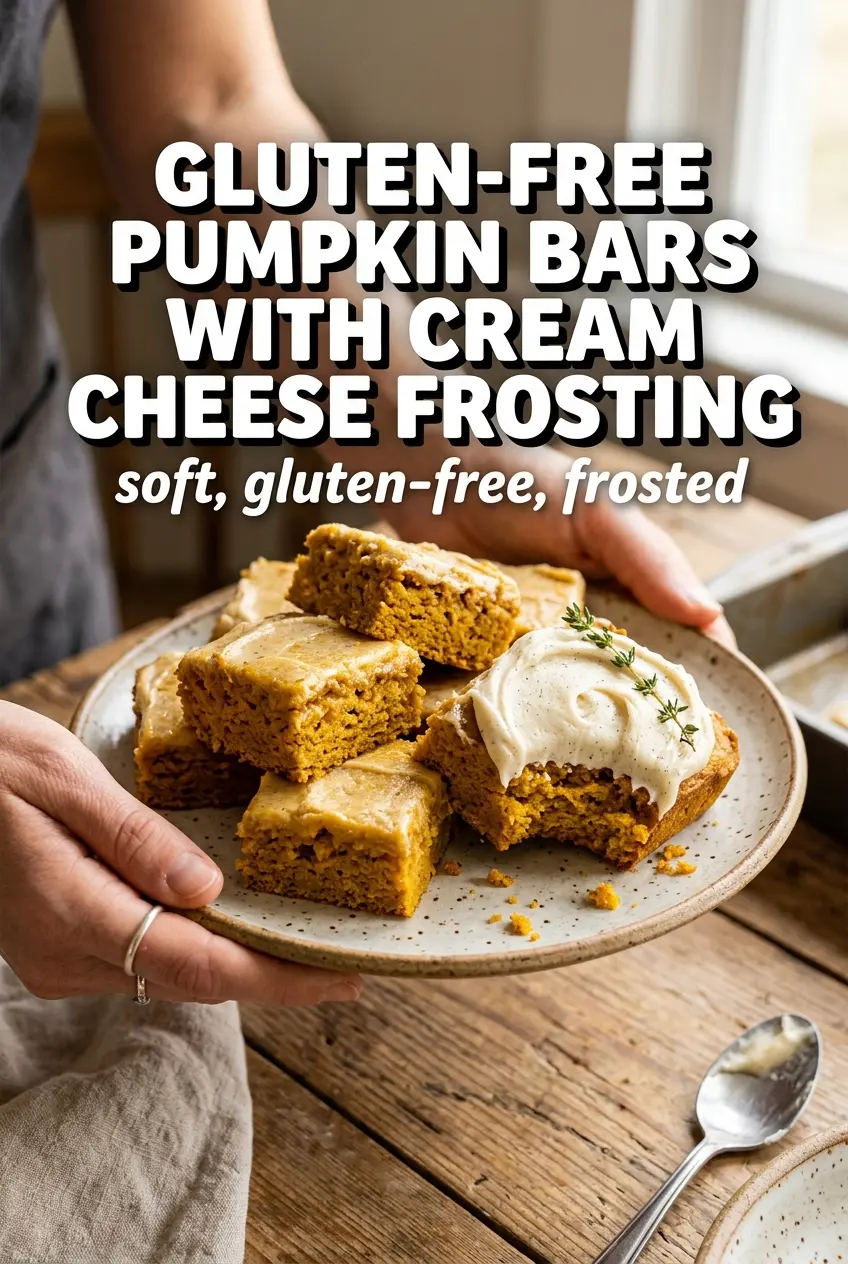
Gluten-free pumpkin bars should be soft, plush, and just sturdy enough to hold a thick layer of cream cheese frosting without crumbling at the first cut. This version gets there with a pumpkin batter that bakes up moist and tender, with cinnamon and pumpkin pie spice running through every bite, then gets finished with a frosting that sets into that classic tangy-sweet top people expect from a good pumpkin bar.
The trick is in the balance. Pumpkin puree brings moisture, but the batter still needs enough structure from a good gluten-free all-purpose blend with xanthan gum so the bars slice cleanly once cooled. Eggs do a lot of the lifting here, and the oil keeps the crumb soft even after a day in the fridge. On the frosting side, softened cream cheese and butter beat into a smooth base before the sugar goes in, which keeps it from turning grainy or loose.
Below, I’ve added the small details that matter: how to tell when the bars are baked through, how to keep the frosting from sliding, and which swaps work if you need a dairy-free version or want to bake these ahead for later.
The bars stayed incredibly soft after chilling, and the frosting spread like a dream once the bars were fully cool. I loved that the cinnamon in the frosting made the pumpkin flavor taste even deeper.
Love that thick cream cheese frosting and tender pumpkin crumb? Save these gluten-free pumpkin bars for the dessert table or the next time you need an easy pan of fall baking.
Why These Bars Stay Soft Instead of Crumbly
The biggest mistake with gluten-free pumpkin bars is treating them like a regular cake bar and pulling them before the center has fully set. Pumpkin batter holds a lot of moisture, and a gluten-free flour blend needs that full bake time to finish its structure. If you cut them while they’re warm, the crumb can look done on top but still fall apart at the knife.
The other place these bars go wrong is the flour blend itself. You want one with xanthan gum already included, because that binder helps replace the stretch and hold gluten would normally give you. Without it, the bars can turn sandy at the edges and gummy in the middle. A toothpick should come out clean or with a few moist crumbs, not wet batter, and the pan should look set in the center before it leaves the oven.
What Each Ingredient Is Doing in the Pumpkin Batter and Frosting
- Gluten-free all-purpose flour blend with xanthan gum — This gives the bars their structure. A blend without xanthan gum may still work, but the bars are more likely to crumble when sliced.
- Pumpkin puree — Use pure pumpkin, not pumpkin pie filling. Pie filling is already sweetened and spiced, which throws off both texture and flavor balance.
- Vegetable oil — Oil keeps the crumb tender even after chilling. Butter can work, but the bars won’t stay as soft the next day.
- Eggs — They provide the lift and the set. There isn’t a great direct swap here if you want the same cake-like texture.
- Cream cheese and butter — Both should be softened to room temperature before beating. Cold dairy leaves little lumps that never fully smooth out, and overbeating warm frosting can make it too loose.
- Powdered sugar — This sweetens and thickens the frosting at the same time. If you want a firmer top for cleaner cuts, add the full amount and chill the bars before slicing.
How to Mix, Bake, and Frost These Bars Without Ruining the Texture
Build the Dry Mix First
Whisk the gluten-free flour, baking powder, baking soda, pumpkin pie spice, cinnamon, and salt together until the color looks even. That step matters more than it seems, because leavening and spice can clump in a gluten-free flour blend. If the dry mix isn’t evenly combined, one bite can taste heavy while another tastes overly spiced.
Beat the Wet Ingredients Until Smooth
Mix the eggs, sugar, oil, pumpkin puree, and vanilla until the batter looks glossy and uniform. You’re not whipping in lots of air here; you’re building a smooth base that carries the flour evenly. If the pumpkin is still streaky, keep mixing before the dry ingredients go in, because streaks can leave pockets that bake unevenly.
Bake Until the Center Springs Back
Spread the batter into a greased 15×10-inch rimmed baking sheet and bake until the center is set and a toothpick comes out clean, usually 25 to 28 minutes. The bars should pull slightly from the sides of the pan and feel springy in the middle when lightly touched. If they bake past that point, they’ll still taste good, but the crumb gets drier than it needs to be.
Cool Completely Before Frosting
This is the step that protects the frosting. If the bars are even a little warm, the cream cheese frosting will melt, slide, and soak into the top instead of sitting in a thick layer. Let them cool all the way to room temperature, then frost and chill for 30 minutes before cutting for the cleanest slices.
Whip the Frosting Until It’s Fluffy
Beat the cream cheese and butter first until there are no lumps, then add the powdered sugar, vanilla, cinnamon, nutmeg, and milk. Keep beating until the frosting looks fluffy and spreadable. If it seems too loose, a little more powdered sugar tightens it up; if it seems stiff, a splash more milk loosens it without making it runny.
How to Adapt These Pumpkin Bars for Different Kitchens and Diets
Dairy-Free Frosting
Use dairy-free cream cheese and plant-based butter, then beat the frosting a little longer than usual so it turns smooth instead of grainy. The texture stays close to the original, but the tang is a touch milder, so the cinnamon in the frosting becomes more noticeable.
Lower-Sugar Frosting
You can cut the powdered sugar a little if you want a less sweet finish, but the frosting will be softer and less spreadable. For cleaner slices, keep at least some of the full amount or chill the bars longer before cutting.
Cupcake-Style Mini Bars
Bake the batter in a parchment-lined half-sheet pan only if you want thinner bars, or divide it into mini pans for thicker pieces with more frosting per bite. The smaller the portion, the faster it bakes, so start checking early and pull it as soon as the center springs back.
Storage and Reheating
- Refrigerator: Store covered for up to 5 days. The bars stay moist, and the frosting firms up a little, which helps with neat slicing.
- Freezer: Freeze unfrosted bars for the best texture, tightly wrapped and stored in a freezer bag for up to 2 months. Frosting can be frozen separately, but the texture is not quite as smooth after thawing.
- Reheating: These are best served chilled or at cool room temperature, not reheated. If you want the bars softer, let a slice sit out for 15 to 20 minutes; microwaving will melt the frosting and make the crumb greasy.
Answers to the Questions Worth Asking
Gluten-Free Pumpkin Bars With Cream Cheese Frosting
Ingredients
Equipment
Method
- Preheat oven to 350F and grease a 15x10 rimmed baking sheet, so the bars release easily after baking (visual cue: lightly coated baking sheet).
- Whisk the gluten-free all-purpose flour blend, baking powder, baking soda, pumpkin pie spice, cinnamon, and salt until evenly combined (visual cue: uniform speckled dry mix).
- Beat the eggs, granulated sugar, vegetable oil, pumpkin puree, and vanilla until smooth (visual cue: glossy batter with no streaks).
- Fold the flour mixture into the pumpkin mixture until just combined (visual cue: thick batter with no visible dry pockets).
- Spread the batter evenly in the prepared baking sheet (visual cue: smooth, level surface).
- Bake at 350F for 25-28 minutes, until a toothpick comes out clean (visual cue: edges set and center springs back slightly).
- Cool completely before frosting (visual cue: pan room temperature and surface no longer warm to the touch).
- Beat the cream cheese and butter until smooth (visual cue: silky mixture with no lumps).
- Add powdered sugar, vanilla, cinnamon, nutmeg, and milk, then beat until fully incorporated (visual cue: thick frosting that holds shape).
- Beat until very fluffy, then spread evenly over the cooled bars (visual cue: billowy frosting layer).
- Dust the top with cinnamon for a finishing layer (visual cue: light brown speckles across the frosting).
- Refrigerate for 30 minutes before cutting (visual cue: frosting firms so clean squares slice through).