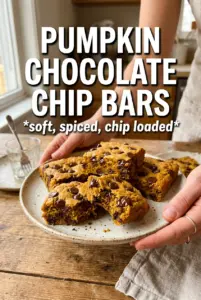
Pumpkin chocolate chip bars bake up soft, thick, and tender with just enough structure to cut into neat squares once they cool. The pumpkin keeps the crumb moist without turning cakey, and the chocolate chips melt into little pockets that keep every bite from feeling one-note. These are the kind of bars that disappear from the counter faster than you expect, especially when the edges get a little set and the center stays plush.
What makes this version work is the balance between the wet ingredients and the dry. Pumpkin puree brings moisture, but the oil keeps the bars soft for days instead of turning them dense. Two sugars matter here too: granulated sugar gives the bars a clean sweetness, while brown sugar adds a little depth that plays well with the spice and chocolate. The batter comes together fast, but the order matters. Whisk the wet ingredients until smooth, then fold in the dry just until the flour disappears so the bars stay tender instead of tough.
Below, I’ve included the small details that keep these bars from sinking in the middle or baking up dry, plus a few variations if you want to shift the spice, swap the chocolate, or make them fit what’s already in your pantry.
I baked these for a school bake sale and the pan came back empty. The bars stayed soft overnight, and the chocolate chips on top gave them that little crackly finish everyone kept pointing out.
Pumpkin chocolate chip bars stay extra soft and slice cleanly once cooled, so pin this for the days when you want a quick dessert that packs up well.
The Trick to Keeping These Bars Soft Instead of Gummy
The biggest mistake with pumpkin bars is treating the batter like cake batter and beating it too long. Once the flour goes in, stir only until the dry streaks disappear. Overmixing develops gluten, which makes the bars chewy in the wrong way and can give the center that dense, damp feel people mistake for underbaked.
These bars also need the right bake time, not just a clean toothpick. Pull them when the center is set and the toothpick comes out with a few moist crumbs, not wet batter. If the bars bake until the tester is completely dry, they’ll keep cooking as they cool and lose that soft pumpkin texture that makes them worth making in the first place.
- Pumpkin puree — Use plain pumpkin puree, not pumpkin pie filling. Pie filling already contains sugar and spices, which throws off the balance and can make the bars too sweet and too wet.
- Brown sugar — This adds moisture and a little molasses depth. Light brown sugar works fine here; dark brown sugar will make the bars taste a touch richer and darker.
- Vegetable oil — Oil keeps the crumb tender for days. Melted butter changes the texture and sets firmer, which isn’t a bad thing, but it won’t give you the same soft bar.
- Chocolate chips — Semi-sweet chips hold up well against the spice. If you use milk chocolate, the bars will taste sweeter and a little softer in flavor; dark chocolate makes them less sweet and more grown-up.
What Each Ingredient Is Doing in the Pan
- All-purpose flour — This gives the bars enough backbone to slice cleanly. A 1:1 gluten-free baking blend can work here if it contains xanthan gum, but the texture will be a little more delicate.
- Pumpkin pie spice and cinnamon — Pumpkin pie spice gives the familiar warm base, while the extra cinnamon keeps the flavor from tasting flat. If you’re out of pumpkin pie spice, use a little more cinnamon plus a pinch each of ginger, nutmeg, and cloves.
- Baking soda and baking powder — The two leaveners work together to lift the bars without turning them airy. That balance is what keeps the crumb soft and just a little dense in the best way.
- Eggs — These set the structure and help the bars slice cleanly once cooled. Room-temperature eggs whisk in more smoothly, but cold eggs still work if you mix until the batter looks fully uniform.
Mixing the Batter So the Bars Stay Tender
Whisking the Wet Base
Start by whisking the pumpkin, both sugars, oil, eggs, and vanilla until the mixture looks smooth and glossy. You want the brown sugar mostly dissolved and the eggs fully blended so the batter bakes evenly. If you still see streaks of egg white, keep whisking for another minute before adding the dry ingredients.
Bringing in the Dry Ingredients
Sprinkle the flour, spices, baking soda, baking powder, and salt over the wet mixture, then fold gently with a spatula. Stop as soon as the flour disappears. If you stir until the batter looks perfectly silky, you’ve gone too far and the bars can bake up tough around the edges.
Adding the Chocolate Chips
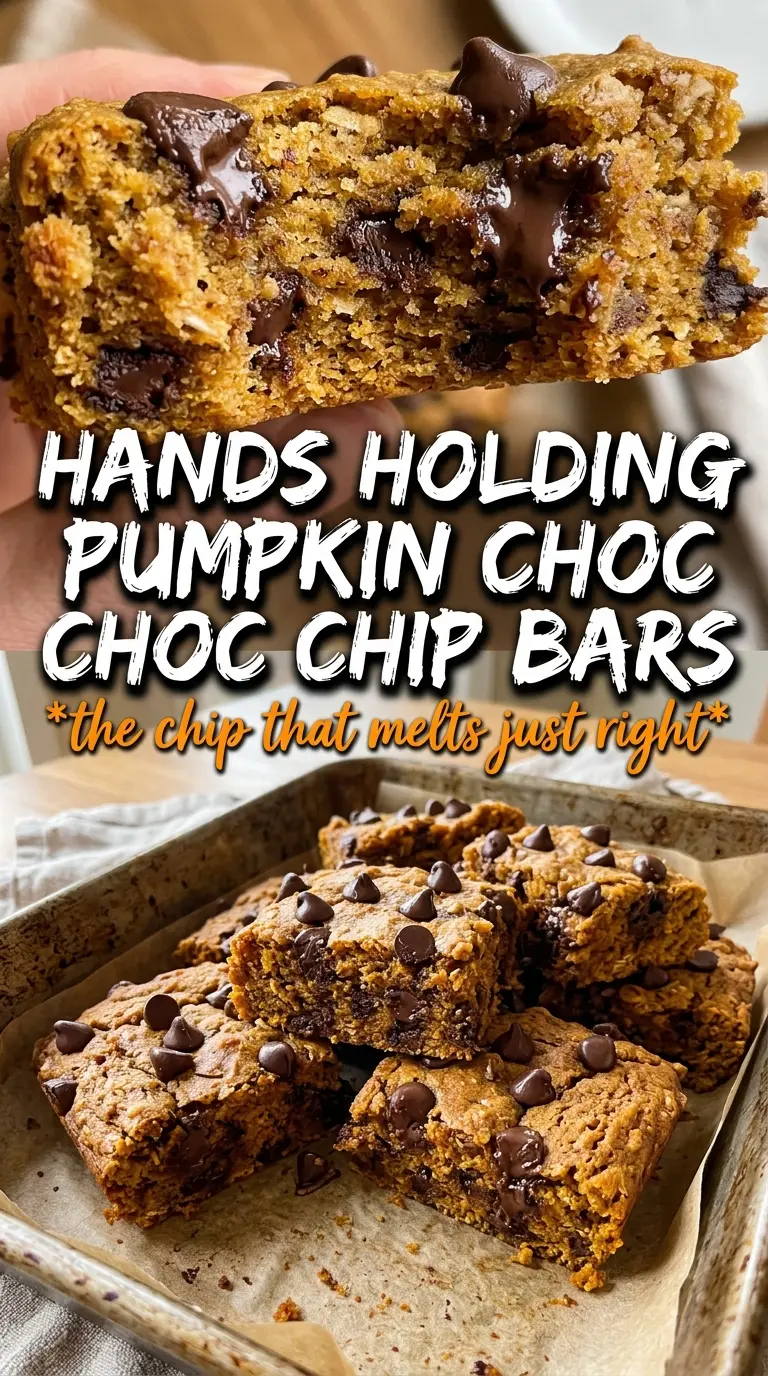
Fold in 1 1/2 cups of the chocolate chips, then spread the batter evenly into the pan. Scatter the remaining chips over the top so the bars bake with visible chocolate on the surface. That top layer gives you the best look and keeps the bars from feeling bare once they cool and are cut.
Baking and Cooling
Bake at 350°F until a toothpick inserted in the center comes out clean or with a few moist crumbs. The top should look set and slightly domed, and the edges should pull just a bit from the pan. Cool the bars completely before cutting; if you cut them warm, they’ll smear and collapse instead of slicing into neat squares.
How to Adapt These Bars for Different Kitchens and Cravings
Dairy-Free Without Changing the Texture
These bars are already dairy-free as written if your chocolate chips are dairy-free too. That’s one reason this recipe is easy to bring to a potluck or school event without juggling substitutions. Just check the label on the chips, since some semi-sweet brands sneak in milk ingredients.
Make Them a Little More Spiced
If you want the pumpkin to read a little stronger, add an extra 1/2 teaspoon of cinnamon or a pinch of ground ginger. That pushes the bars toward a warmer, more bakery-style flavor without changing the texture. Don’t overdo the spice or it can crowd out the chocolate.
Swap the Chocolate Chips
Chopped walnuts, pecans, or white chocolate chips all work here, but they change the balance. Nuts add crunch and a toasted flavor; white chocolate makes the bars sweeter and softer-tasting. If you use nuts, keep part of the chocolate on top so the bars still look like pumpkin chocolate chip bars at a glance.
Storage and Reheating
- Refrigerator: Store in an airtight container for up to 5 days. The bars stay soft, though the chocolate chips will firm up a bit after chilling.
- Freezer: These freeze well. Wrap individual bars tightly and freeze for up to 2 months, then thaw at room temperature.
- Reheating: Warm a bar in the microwave for 10 to 15 seconds if you want the chocolate soft again. Don’t overheat it or the crumb gets rubbery and the chocolate can turn greasy.
Answers to the Questions Worth Asking
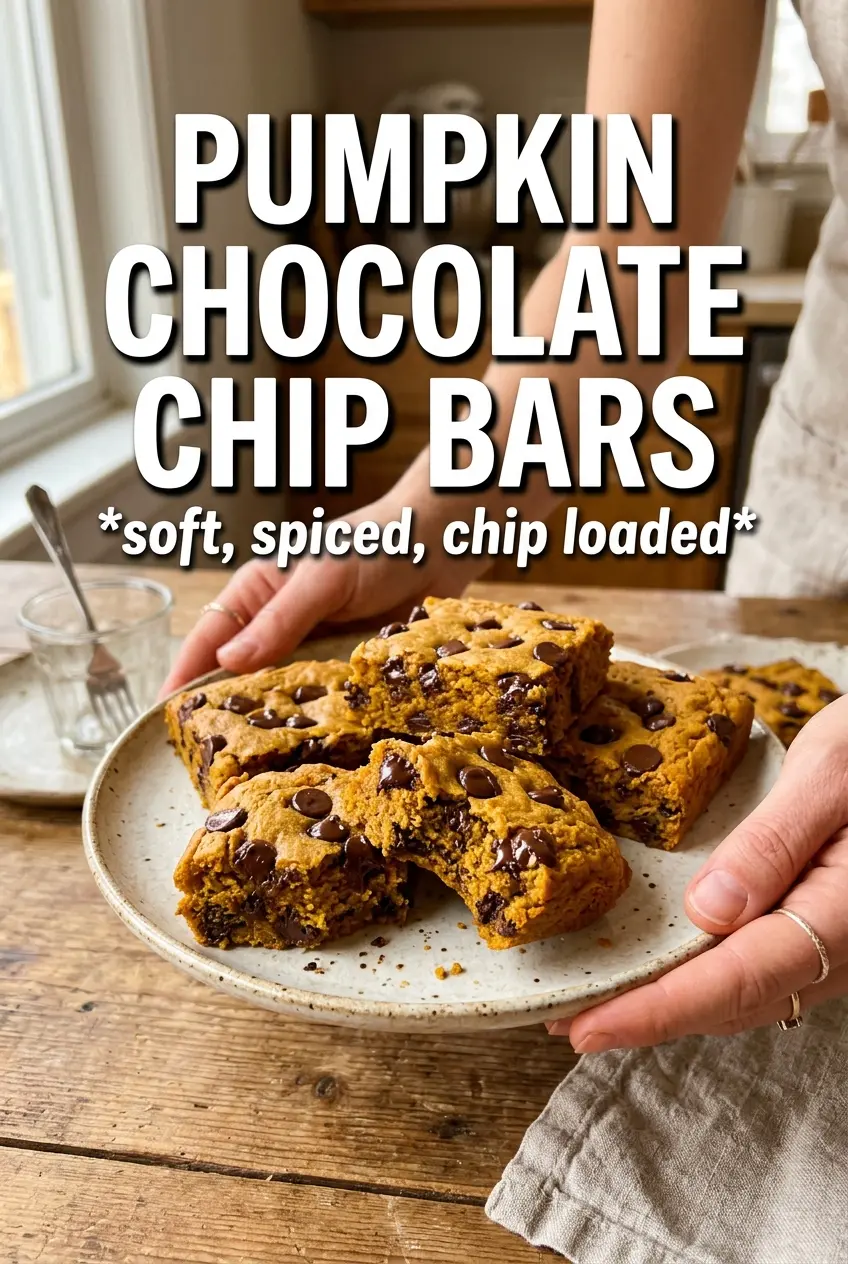
Pumpkin Chocolate Chip Bars
Ingredients
Equipment
Method
- Preheat oven to 350°F, then grease a 9x13 pan for easy release. Set the pan aside with a visible, lightly greased surface.
- Whisk all-purpose flour, pumpkin pie spice, cinnamon, baking soda, baking powder, and salt until evenly combined. The mixture should look uniform in color with no lumps of spice.
- Whisk pumpkin puree, granulated sugar, brown sugar, packed, vegetable oil, eggs, and vanilla extract until smooth. Stop when the batter looks glossy and free of streaks.
- Fold the dry mixture into the wet mixture until just combined. Stop as soon as you don’t see dry flour, so the bars stay tender.
- Fold in 1-1/2 cups semi-sweet chocolate chips. You should see dark chips suspended throughout the batter.
- Spread the batter evenly in the greased 9x13 pan. Aim for an even layer so the bars bake uniformly.
- Scatter the remaining semi-sweet chocolate chips over the top. The surface should be dotted with visible chocolate pockets.
- Bake at 350°F for 25-30 minutes until a toothpick comes out clean. The top should look set and lightly browned at the edges.
- Cool completely before cutting into bars. Cutting too soon will cause crumbs and smearing, while fully cooled bars slice cleanly.