Ingredients
Equipment
Method
Prep and preheat
- Preheat oven to 375F, then line a 9x13 pan with parchment so the bars lift out cleanly. Visual cue: parchment should cover the bottom and extend slightly up the sides.
Make the oat crust
- Combine rolled oats, all-purpose flour, brown sugar, cinnamon, and salt in the pan or a mixing area. Visual cue: the dry ingredients should look evenly speckled.
- Cut cold unsalted butter, cubed, into the dry mixture until it forms crumbly, uneven clumps. Visual cue: you should see pebble-like crumbs rather than wet dough.
- Reserve 1 cup of the oat mixture for topping, then press the remaining mixture firmly into the prepared pan. Visual cue: the base should be compact and flat with no loose gaps.
- Bake the crust for 12 minutes at 375F until it looks slightly set and lightly fragrant. Visual cue: edges look dry and the top is beginning to turn golden.
Add filling and bake
- Whisk pumpkin puree, evaporated milk, eggs, granulated sugar, pumpkin pie spice, cinnamon, ginger, salt, and vanilla until smooth. Visual cue: no streaks should remain and the mixture should look uniformly orange.
- Pour the filling over the hot crust in an even layer. Visual cue: the filling should settle level across the base.
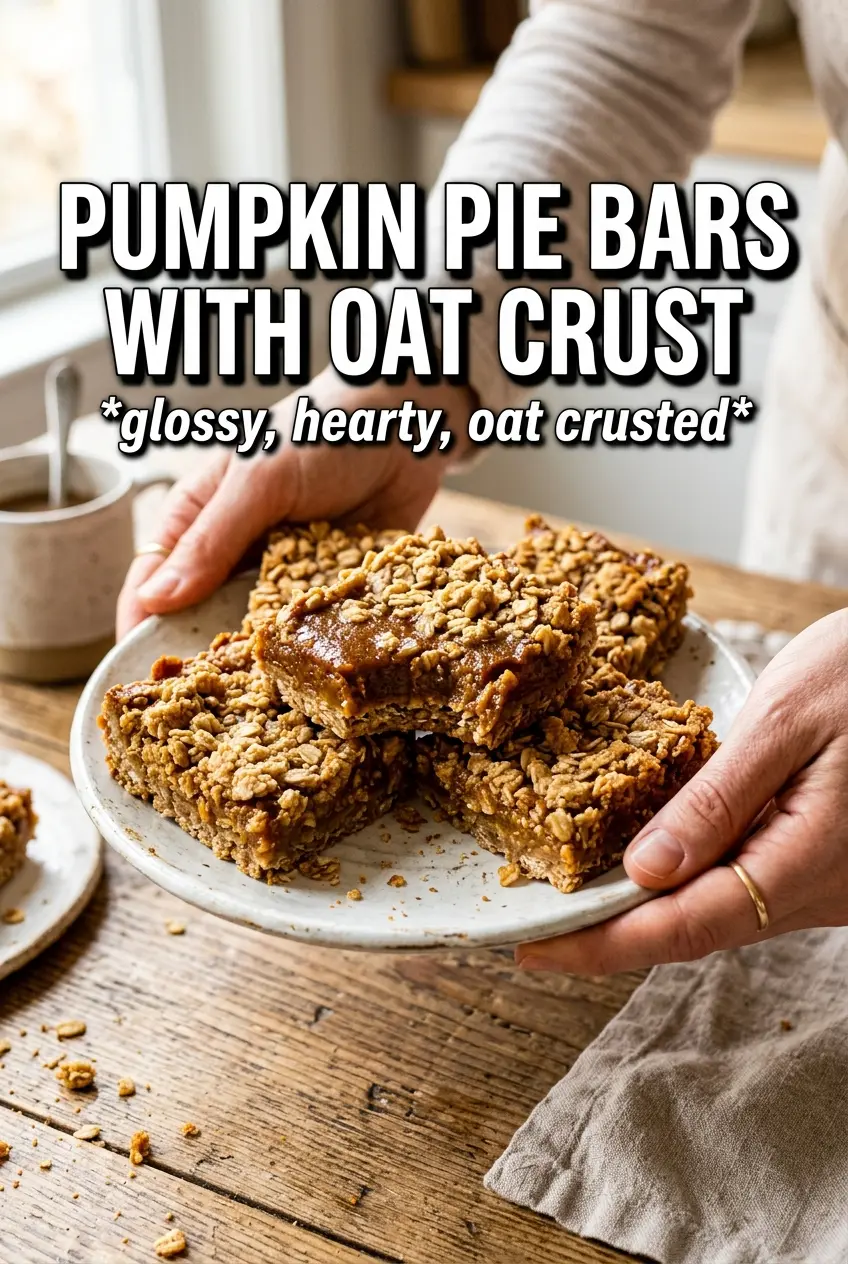
- Scatter the reserved oat crumble over the filling. Visual cue: the top should be covered with a craggy layer of oats.
- Bake 35-40 more minutes at 375F until the topping is golden and the filling is set. Visual cue: the center should jiggle only slightly and not look liquid.
Cool and slice
- Cool completely at room temperature so the bars firm up and slice neatly. Visual cue: the surface loses shine and feels set.
- Refrigerate 1 hour before cutting for the cleanest squares. Visual cue: edges look more defined and the filling holds together.
Notes
For the best texture, press the crust firmly so it stays cohesive after baking, and don’t shorten the cool time—warm bars are harder to cut cleanly. Store covered in the refrigerator up to 4 days; freeze up to 2 months for grab-and-go slices. If you need a dairy-free version, swap evaporated milk with a dairy-free evaporated-style milk (choose one that measures 1:1).