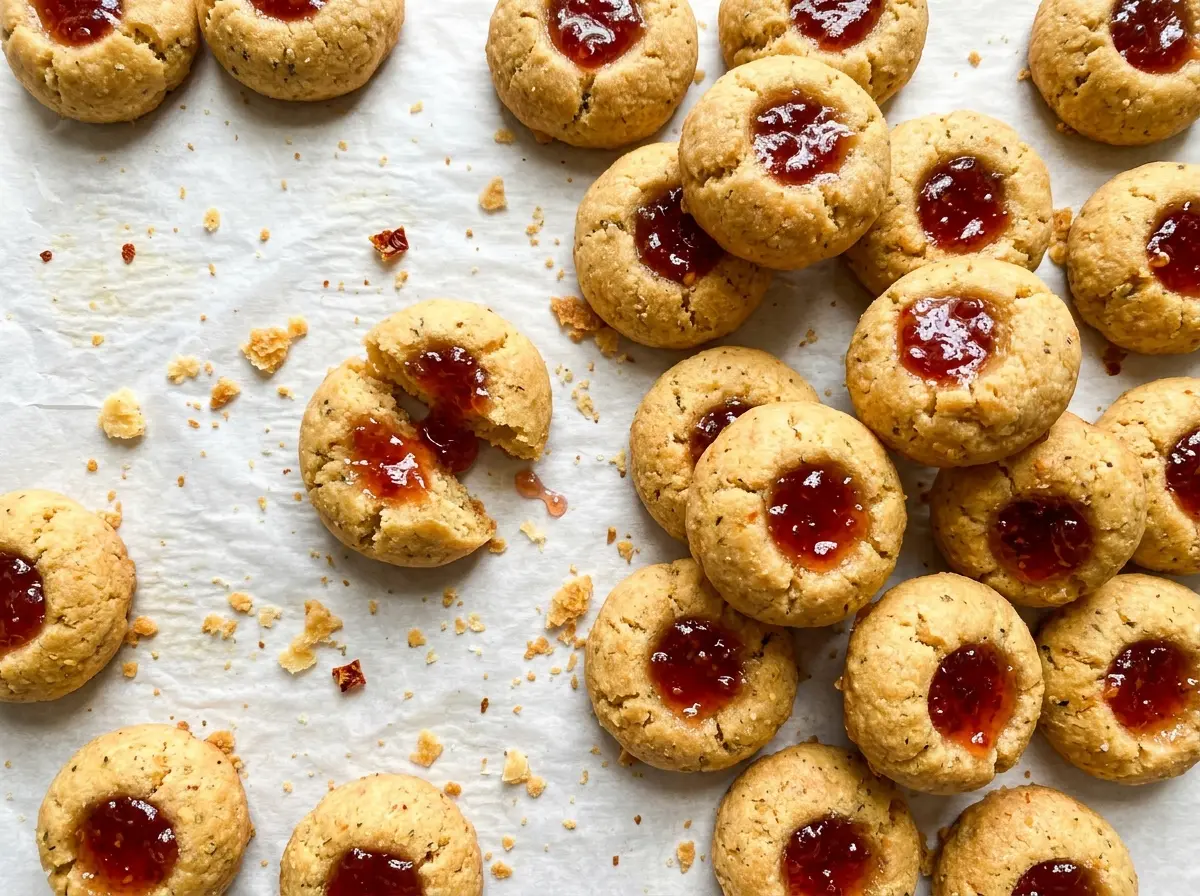
The edges turn lightly golden before the centers do, and the cheese smell hits you as soon as the pan comes out. That’s the moment these little bites start to feel more like a savory shortbread than a cheese cracker. Pepper Jelly Thumbprint Bites pair that buttery cheddar dough with a spoonful of sweet heat, so each one has a crisp-edged outside and a bright, sticky center.
I like that the dough comes together in one bowl, with no mixer or rolling pin to clean afterward. You mix softened butter with finely grated cheddar, work in the dry ingredients, and give the dough a short chill before shaping. That rest makes it easier to roll neat little balls and press in the wells without the dough feeling too soft.
The pepper jelly goes in after the first bake, then the bites return to the oven just long enough to warm the filling. They’re tidy enough to set out as an appetizer, but the buttery, sharp-cheddar base makes them worth sneaking from the pan while they’re still warm.
Kitchen Note
Press a deep well into every dough ball before baking; a shallow mark can close up as the bites bake. Keep the sides of each well intact so the pepper jelly has a little pocket to sit in.
Save these Pepper Jelly Thumbprint Bites for an appetizer with buttery cheddar edges and a sweet, peppery center.
Why These Cheddar Thumbprints Stay Compact Instead of Puffing Up
These bites aren’t miniature biscuits or sweet cookie dough with cheese added. There’s no egg or leavener in the mix, so they bake into a compact, tender bite rather than rising into a fluffy shape. That’s useful here: the dough needs to hold a small well for the pepper jelly, not puff up and crowd it out.
The butter and cheddar make the dough rich, while the flour gives it enough structure to roll and hold its shape. A short chill helps the butter firm before the dough goes into the oven, which makes shaping less messy. Expect a delicate, short texture rather than a chewy one. If you’re after a lofty, bread-like bite, this isn’t that; the appeal is the contrast between the savory, buttery base and the bright jelly on top.
That compact texture also means the bites are best handled gently when they’re hot. They firm as they rest on the baking sheet, so give them their full five minutes there before moving or serving them.
What Makes the Cheddar and Pepper Jelly Work Together

- Sharp cheddar — Its tangy, full flavor stands up to the sweet filling. A block of cheddar is a good buy, and finely grating it helps it mix evenly into the butter. Pre-shredded cheese often has a coating that can leave the dough less smooth.
- Unsalted butter — Softened butter blends with the cheese and gives the bites their tender, rich texture. Standard stick butter works well; tub spreads aren’t a reliable swap because their water and fat content can differ.
- All-purpose flour — This gives the dough enough structure to shape and bake without turning bready. Bleached or unbleached all-purpose flour is fine, but self-rising flour isn’t a direct substitute because it adds leavener and salt.
- Pepper jelly — The filling brings a sweet, peppery contrast to the sharp cheese. A grocery-store jar works; pick one with a flavor and heat level you enjoy. A thick apricot preserve can stand in for a milder, sweeter center, though it won’t have the peppery bite.
- Cayenne pepper — It adds background warmth without taking over the jelly. For a milder bite, leave it out; the cheddar and pepper jelly still carry the flavor.
From Cheddar Dough to Jammy Centers
Bring the Dough Together
In a medium bowl, mix the softened butter and finely grated cheddar until combined. Work in the flour, kosher salt, and cayenne until you have a cohesive dough, with no loose flour sitting at the bottom of the bowl. The mixture may look crumbly at first, so keep working it until it holds together when pressed. Stop once it’s cohesive rather than continuing to beat it.
Chill While the Oven Heats
Cover the dough and chill it for 20 minutes. During that time, heat the oven to 350°F and line an 18×13-inch rimmed baking sheet with parchment paper. The dough should be easier to handle after its rest, not warm and greasy. Keeping the sheet lined also makes it easier to lift the baked bites away cleanly.
Shape and Press the Wells
Roll the dough into 24 balls, about 1 inch each, and arrange them on the prepared baking sheet. Press a deep indentation into the center of each one. Aim for similar-sized balls so the bites bake at the same pace, and leave the dough intact around each well. A cracked edge can let the filling spread later.
Bake, Fill, and Let Them Set
Bake for 13–16 minutes, until the bites are set and the edges are lightly golden. Spoon 1/4 teaspoon pepper jelly into each indentation, then return the pan to the oven for 2 minutes. The jelly will warm in the wells while the cheese dough finishes baking. Let the bites rest on the baking sheet for 5 minutes before serving; they’re delicate straight from the oven.
Three Easy Ways to Change the Heat and Flavor
Use hot pepper jelly for more kick
Replace the regular pepper jelly with hot pepper jelly, using the same 1/4 teaspoon in each well. The sharp cheddar stays balanced, but the finish has a more noticeable heat.
Give the bites a smoky edge
Swap the sharp cheddar for the same amount of finely grated smoked cheddar. It adds a woodsy note that plays especially well with the sweet filling, while keeping the bites in the same savory, cheesy lane.
Make them gluten-free
Replace the all-purpose flour measure-for-measure with a cup-for-cup gluten-free flour blend made for baking. The dough may feel a little more delicate, so shape the balls gently and keep them close to 1 inch.
Storage and Reheating
- Refrigerator: Store cooled bites in an airtight container for 3–4 days. The jelly may turn a little tacky as it chills.
- Freezer: Freeze cooled bites in a single layer, then transfer them to an airtight container for up to 2 months. Thaw overnight in the refrigerator; the jelly may soften slightly.
- Reheating: Warm them in a 300°F oven just until heated through. Skip the microwave, which can heat the jelly unevenly and soften the bites.
Questions That Come Up While Making These Bites
Pepper Jelly Thumbprint Bites
Ingredients
Equipment
Method
- In a medium bowl, mix the butter and cheddar until combined, then work in the flour, salt, and cayenne until a cohesive dough forms.
- Cover and chill the dough for 20 minutes.
- Heat the oven to 350°F.
- Line an 18x13-inch rimmed baking sheet with parchment paper.
- Roll the dough into 24 balls, about 1 inch each.
- Arrange the balls on the baking sheet.
- Press a deep indentation into the center of each ball.
- Bake for 13–16 minutes, until the bites are set and the edges are lightly golden.
- Spoon 1/4 teaspoon pepper jelly into each indentation, then return the bites to the oven for 2 minutes.
- Let the bites rest on the baking sheet for 5 minutes before serving.