Caramel apple dessert cups hit that sweet spot between no-bake convenience and a dessert that looks like you spent all afternoon on it. The spoon goes through crisp graham crumbs, plush cinnamon cream cheese mousse, tender spiced apples, and a caramel finish that sinks into every layer. Served in clear glasses, they look polished enough for guests, but they come together with pantry ingredients and a skillet.
What makes these work is the balance of textures. The apples cook just until soft and syrupy so they hold their shape instead of turning into applesauce, and the mousse stays light because the whipped cream gets folded in after the cream cheese base is smooth. Chilling matters here, too. It gives the layers time to settle, which is what keeps the cups neat instead of loose and slouchy when you dig in.
Below, you’ll find the small details that make these dessert cups taste like a finished dessert instead of a few ingredients piled in a glass. The apple filling, the mousse texture, and the assembly order all matter more than they seem at first glance.
The apple layer stayed chunky and the mousse held its shape after chilling. I made them the night before, and the graham crumbs were still pleasantly crisp at the bottom.
Save these caramel apple dessert cups for an easy layered dessert with silky mousse, syrupy apples, and a crunchy graham base.
The Part That Keeps the Layers Distinct Instead of Muddy
The mistake with layered dessert cups is rushing the components while they’re still warm. Hot apple filling melts the mousse and turns the graham layer soggy fast. The fix is simple: cook the apples until they’re tender and glossy, then cool them completely before layering anything. That pause is what gives you clean layers you can actually see through the glass.
The other piece that matters is the mousse texture. The cream cheese mixture should be smooth before the whipped cream goes in, or you’ll end up with little tangy lumps hiding in the filling. Fold gently and stop as soon as the color looks uniform. Overmixing knocks out the air and leaves you with something dense instead of spoonable.
What Each Component Is Doing in the Bowl
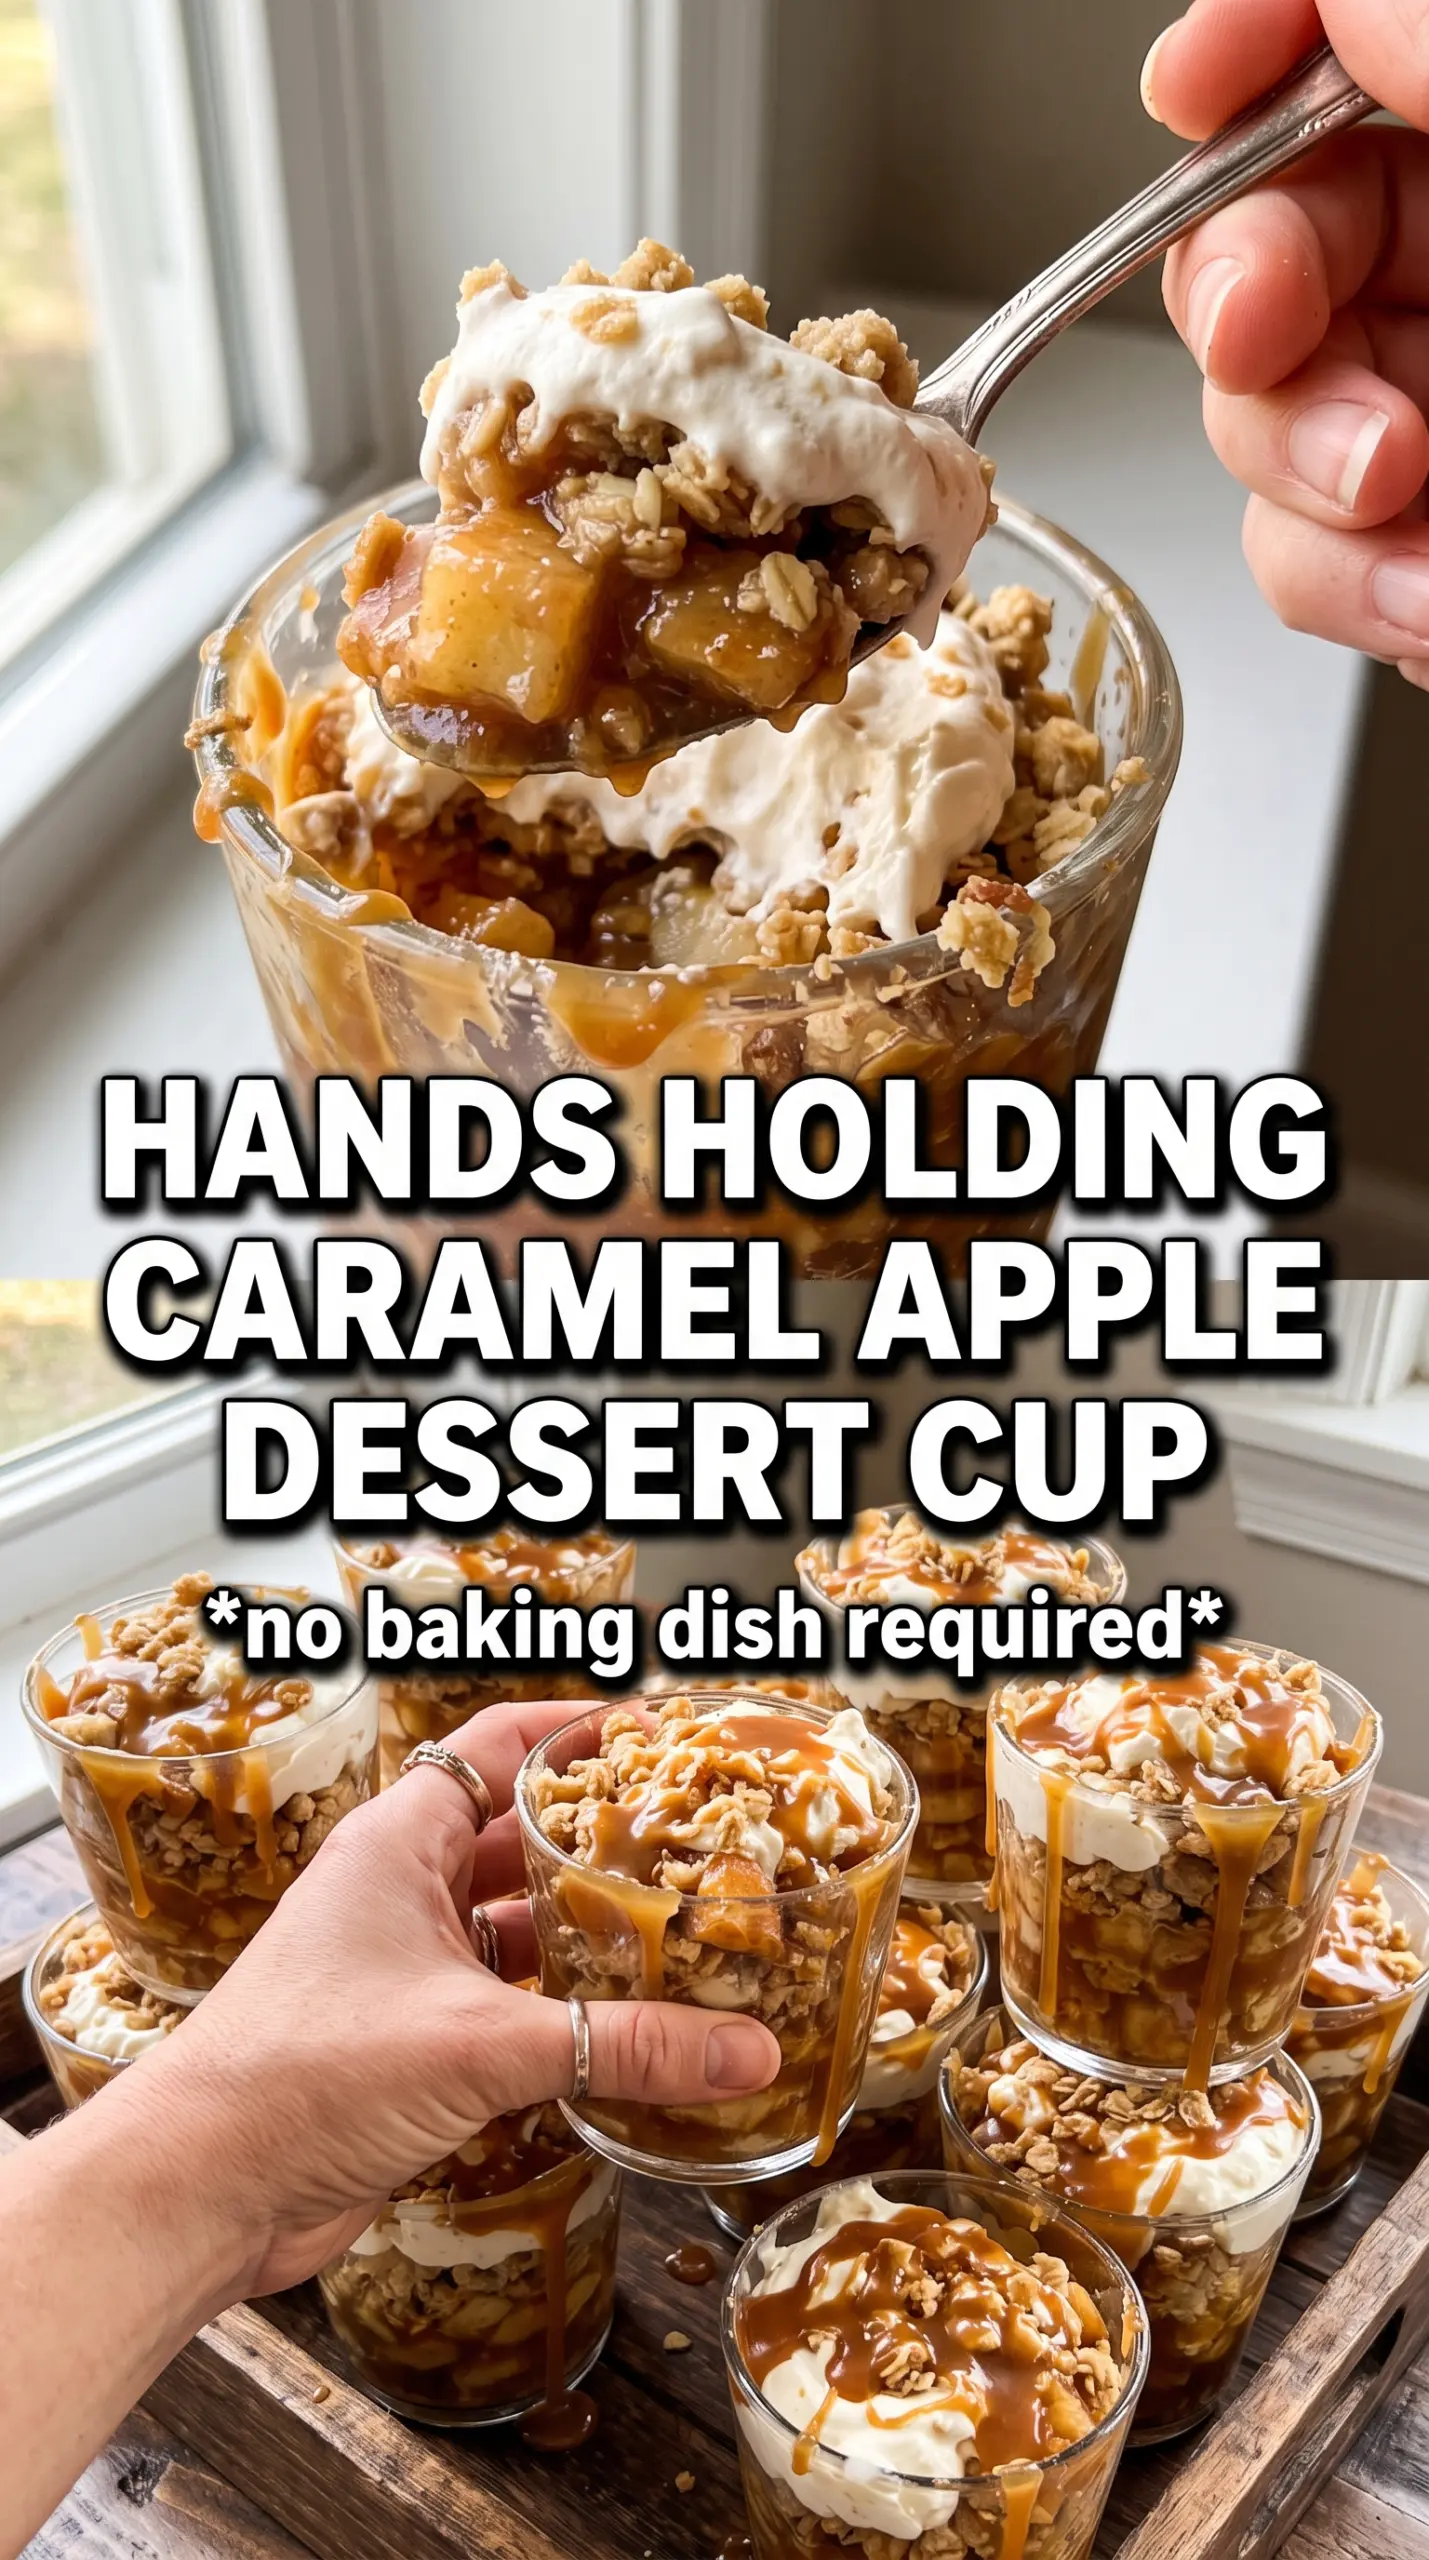
- Apples — Dice them small so they soften in the short cook time and spoon neatly into the cups. A firmer baking apple works best because it holds some shape after simmering. If you only have a softer apple, cut the pieces a little larger so they don’t collapse.
- Brown sugar, cinnamon, and nutmeg — This combination makes the apple layer taste like pie filling without needing extra thickeners. Brown sugar gives the syrup a deeper caramel note than white sugar would. If you’re out of nutmeg, skip it rather than replacing it with a heavy hand of clove.
- Cream cheese — This is the backbone of the mousse, giving it tang and body. It needs to be fully softened or it won’t whip smooth with the powdered sugar. Cold cream cheese is the fastest way to get a grainy filling.
- Heavy cream — Whipping it separately keeps the dessert light. Don’t pour it straight into the cream cheese base unless you want a looser filling that won’t hold a clean layer. Fold it in after it reaches stiff peaks.
- Graham crackers and butter — The butter binds the crumbs so the base stays sandy instead of dusty. If you want a firmer bottom, press the crumb mixture lightly into the cups before adding the mousse. For a shortcut, store-bought graham crumbs work just as well as crushed crackers.
- Caramel sauce — Use a pourable sauce, not a thick candy-like one, so it drizzles across the top and runs into the apple layer. Salted caramel works beautifully here if you want a sharper finish. If the sauce is too stiff, warm it for a few seconds before assembling.
Building the Dessert Cups So They Hold Their Shape
Cooking the Apple Layer
Put the diced apples, butter, brown sugar, cinnamon, and nutmeg in a skillet over medium heat. You want the apples to soften and the juices to turn glossy and syrupy, not dry up or scorch. Stir often so the sugar doesn’t catch on the bottom of the pan. When the cubes can be pierced easily with a fork but still keep their shape, pull the pan off the heat and let the filling cool all the way down before moving on.
Making the Graham Base
Mix the graham crumbs with melted butter until every crumb looks evenly coated and the mixture clumps when pressed. If it still looks powdery, add the butter slowly until it just comes together. This layer doesn’t need to be packed hard, but it should settle into the bottom of each cup without collapsing into dust. A loose, sandy base gives you the best contrast against the mousse.
Whipping the Mousse
Beat the softened cream cheese, powdered sugar, vanilla, and cinnamon until the mixture is completely smooth. In another bowl, whip the heavy cream to stiff peaks; it should hold its shape when you lift the whisk, not slide back into the bowl. Fold the whipped cream into the cream cheese mixture in batches, using a gentle motion so you don’t knock out the air. If the filling looks heavy or streaky, it usually means the cream was underwhipped or the cream cheese was still too cold.
Layering and Chilling
Spoon the graham mixture into the cups first, then add a layer of mousse, followed by the cooled apple compote and a caramel drizzle. Repeat if your cups have room, but stop before they’re overfilled or the top layer will smear when you move them. Chill for at least 30 minutes so the mousse firms up and the layers settle into clean stripes. That short rest is what makes them feel finished instead of freshly assembled.
How to Adapt These Dessert Cups Without Losing the Best Parts
Dairy-Free Version
Use a dairy-free cream cheese and a whipping-style coconut topping in place of the cream cheese and heavy cream. The filling won’t have quite the same tang, but it will still hold its shape and layer neatly if both replacements are well chilled before whipping.
Gluten-Free Crumble
Swap the graham crackers for your favorite gluten-free digestive-style cookies or gluten-free graham crackers. Keep the butter amount the same and crush the cookies finely so the base still compacts lightly in the cup instead of turning crumbly.
Make-Ahead Dessert for a Crowd
Cook the apples and make the crumble a day ahead, then whip and fold the mousse the day you assemble. The dessert cups hold best when the apple layer is fully cooled and the caramel goes on just before serving, which keeps the top layer from sliding.
Storage and Reheating
- Refrigerator: Store covered for up to 3 days. The graham layer softens over time, but the flavor stays great.
- Freezer: I don’t recommend freezing these. The mousse changes texture after thawing and the apples release too much liquid.
- Reheating: No reheating needed. Serve straight from the fridge, and if the caramel has firmed up, let the cups sit at room temperature for 10 minutes before serving.
Answers to the Questions Worth Asking
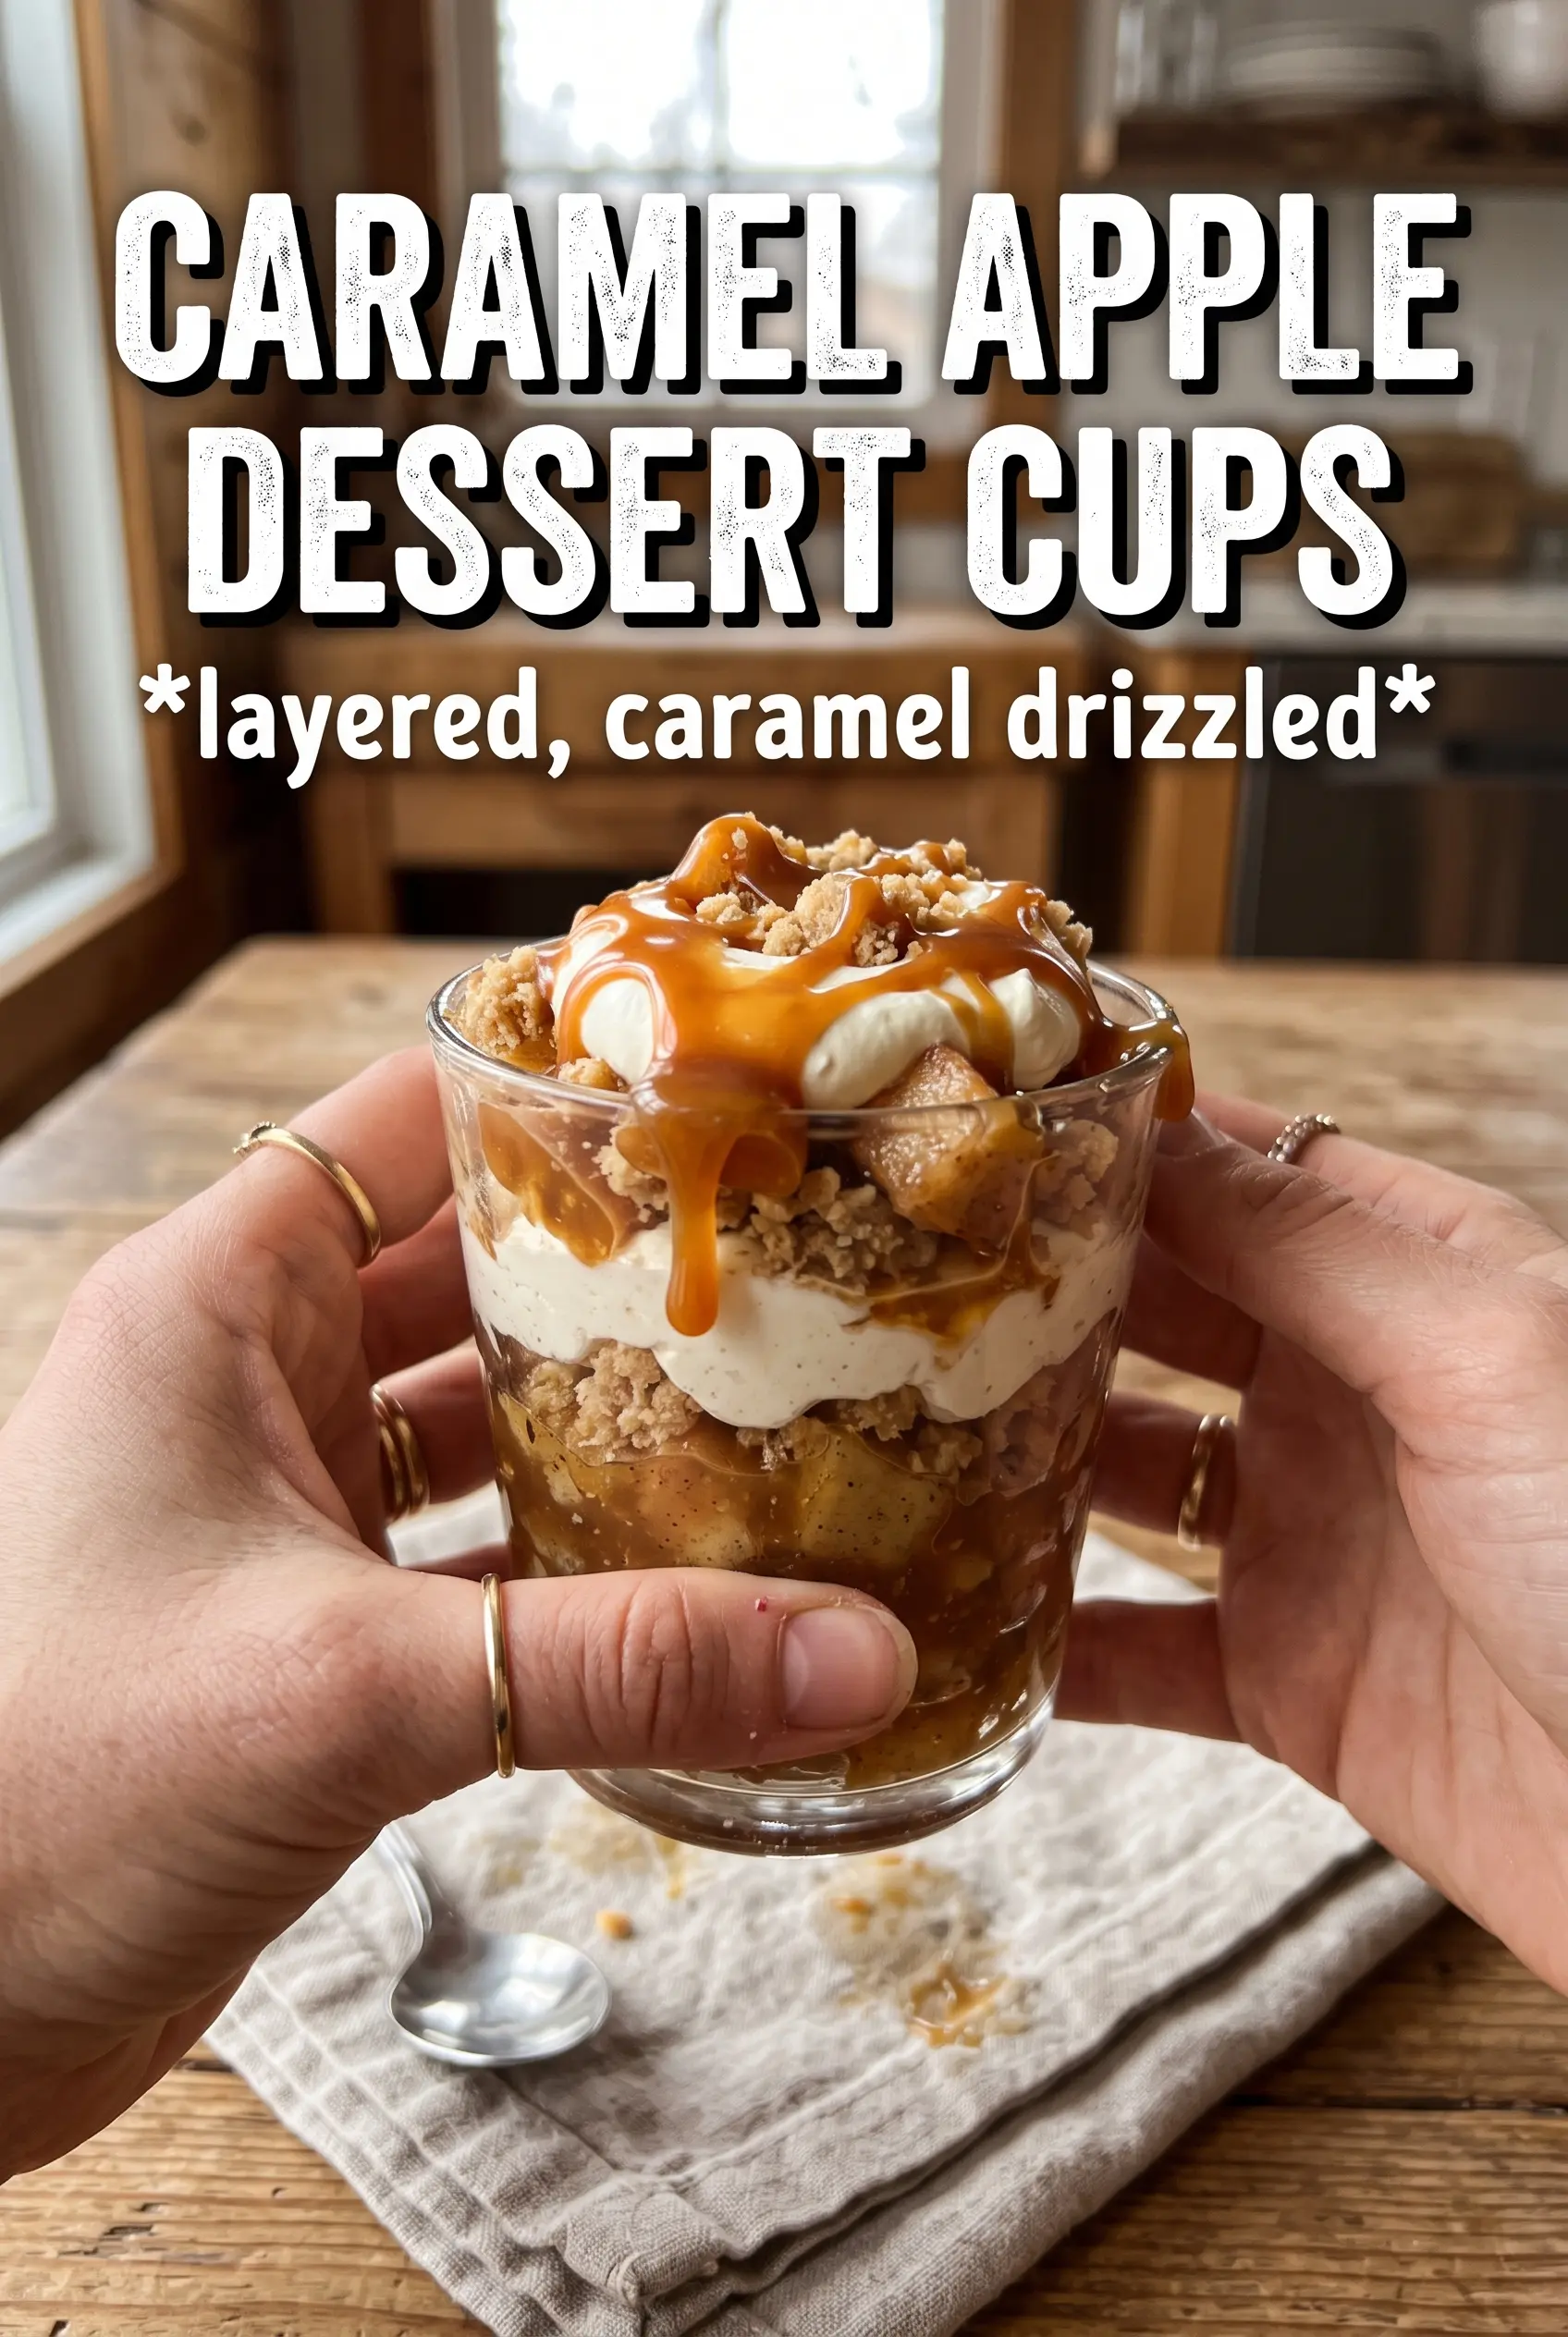
Caramel Apple Dessert Cups
Ingredients
Equipment
Method
- Cook the apples with butter, brown sugar, cinnamon, and nutmeg over medium heat for 8-10 minutes until softened and syrupy, stirring so the spices coat the fruit. Move the pan off the heat and cool completely.
- Combine graham cracker crumbs with melted butter until evenly moistened, then set aside to keep the crumble loose.
- Beat cream cheese, powdered sugar, vanilla extract, and cinnamon until smooth and well combined, scraping the sides for a uniform texture.
- Whip heavy cream to stiff peaks and fold it into the cream cheese mixture until no streaks remain, leaving the mousse airy.
- Layer in cups: graham cracker crumble, cream cheese mousse, spiced apple compote, and caramel drizzle—repeat layers until filled.
- Refrigerate for 30 minutes before serving so the layers set and the flavors meld.