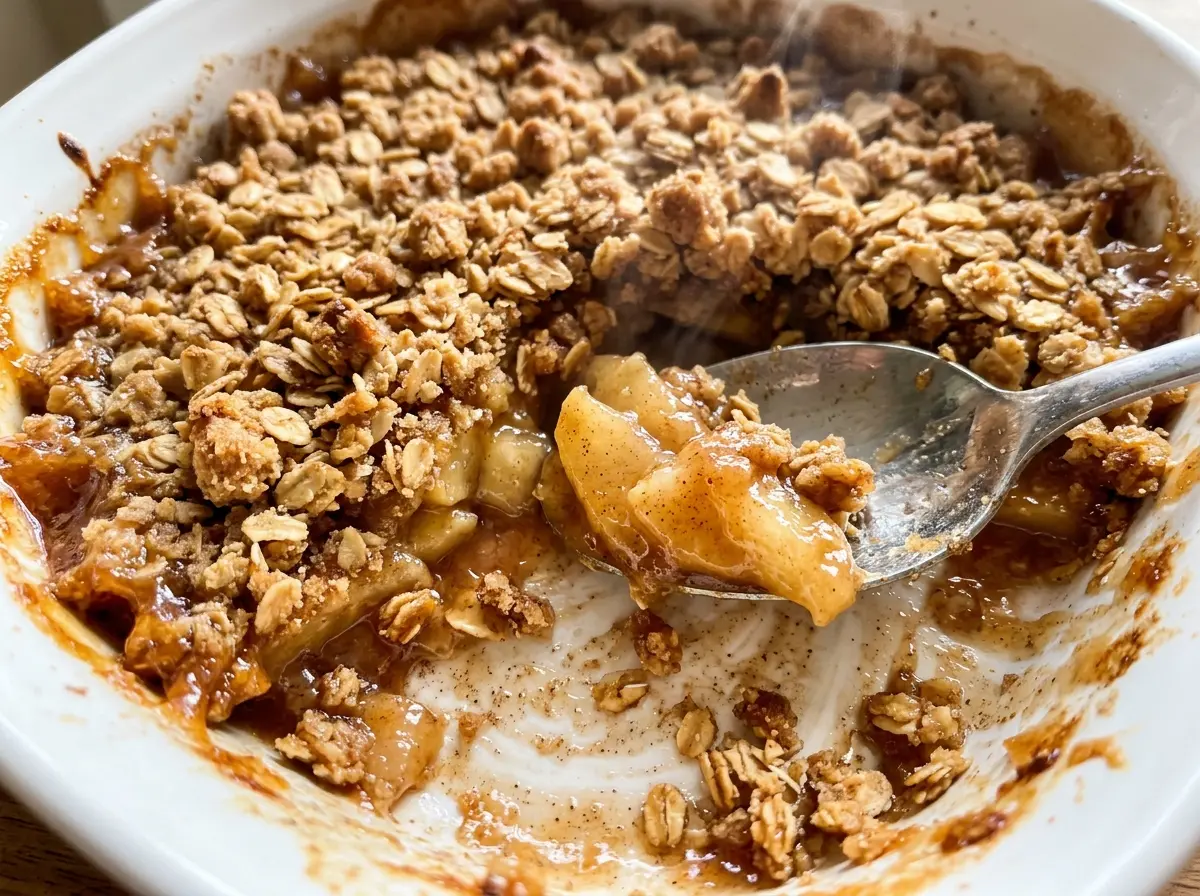
As the crisp bakes, the apples soften beneath the oat topping while caramel bubbles up around the edges of the dish. That contrast is what I want from Caramel Apple Crisp: a tender, tart filling under a browned topping that stays crumbly instead of disappearing into the fruit.
I use firm tart apples because they hold their shape through the long bake and keep the caramel from making the whole dish taste sugary. The filling gets some caramel before it goes into the oven, but I save the rest for after baking. That way the apple layer has a caramel note throughout, and the finishing drizzle still tastes distinct.
The topping comes together with cold butter rubbed into flour, oats, and brown sugar by hand. You’re looking for coarse crumbs, not a smooth dough; those uneven bits bake into a crisp, nubbly layer. Give the baked dish its full rest before serving, and the apples will settle into a spoonable filling beneath that golden top.
Kitchen Note
Stop rubbing the butter in while you can still see a few small pieces. Those uneven crumbs bake up crisp and craggy; if the mixture turns pasty, the topping can bake into a denser layer.
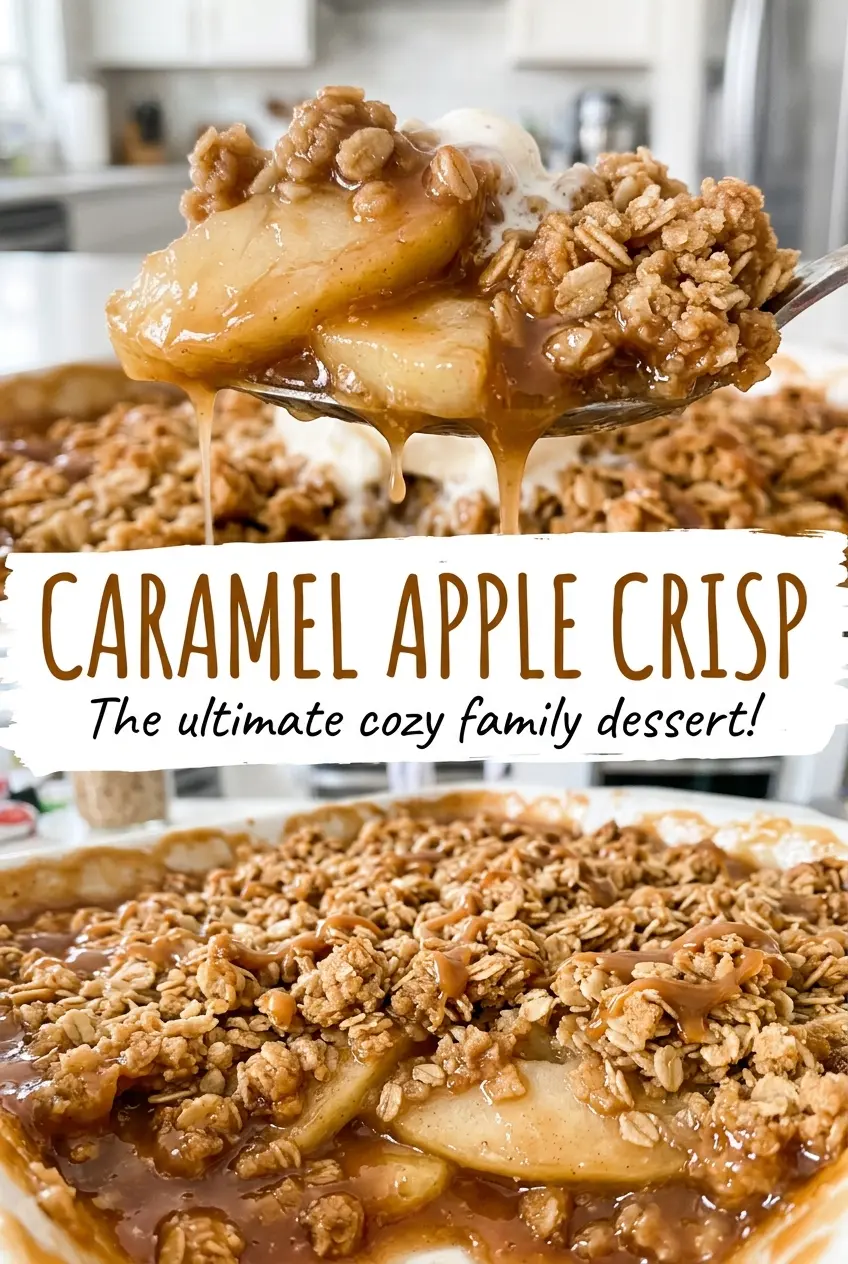
Save this Caramel Apple Crisp for its tart apple filling, golden oat topping, and caramel drizzle added just before serving.
Why the Caramel Is Split Between the Apples and the Finish
Putting all the caramel into the filling sounds like the fastest route to a rich crisp, but the flavor can get lost once it’s mixed with the apples and their juices. Here, some caramel coats the sliced fruit before baking. As the apples soften, that sauce blends into the filling and gives it a mellow sweetness under the tart fruit.
The remaining caramel goes on after the crisp has baked and rested. That drizzle stays on the surface, where you can taste its buttery sweetness alongside the crisp topping instead of only in the bottom of the dish. It also lets the apples stay the main event rather than turning the whole filling into a thick, candy-sweet layer.
Firm tart apples help balance both uses of caramel. Granny Smiths are a reliable choice, and another firm, tart variety works too. A soft or very sweet apple can lose its shape more quickly and make the filling taste heavier. Keep the slices even, too: thin pieces turn tender on schedule, while thick pieces may still have a firm bite when the topping is ready.
The Ingredients That Keep the Apples Tart and the Topping Craggy
- Firm tart apples — Granny Smiths stay pleasantly distinct after baking, while other firm tart apples bring a slightly different level of sweetness. Choose fruit that feels firm and has no bruised, soft spots. Very soft apples are more likely to collapse into the filling.
- Lemon juice and cornstarch — Lemon juice brightens the fruit and slows browning after slicing; bottled lemon juice is fine here. Cornstarch thickens the juices as the filling bakes, so don’t leave it out if you want a spoonable rather than watery layer.
- Caramel sauce — A pourable sauce is easiest to toss through the apples and drizzle over the finished crisp. A budget-friendly sauce works; you don’t need a specialty brand. If yours is too stiff to drizzle, warm it gently until it flows, then measure the portion for the finish.
- Old-fashioned rolled oats — Rolled oats give the topping its distinct, chewy-crisp texture. Quick oats make a finer, less substantial crumb, so stick with rolled oats if you want the topping to remain visibly textured.
- All-purpose flour and cold butter — Flour holds the topping together, while cold butter creates the little crisp pockets that brown in the oven. For a nuttier, slightly denser topping, replace up to half the all-purpose flour with whole-wheat flour. Keep the butter unsalted so the topping’s salt stays balanced.
Build the Layers Before the Apples Release Their Juice
Coat the Apples Evenly
Heat the oven to 375°F and lightly grease a 9×13-inch baking dish. Toss the peeled, cored, quarter-inch apple slices with lemon juice, cornstarch, cinnamon, and half of the caramel sauce in a large bowl. Take a moment to turn the fruit through the mixture so the starch isn’t left in dry pockets. Spread the coated apples evenly in the dish rather than piling them in the middle.
Make a Crumbly, Not Doughy, Topping
Stir the flour, rolled oats, brown sugar, and kosher salt together in a medium bowl. Add the cold butter cubes and work them in with your fingertips until the mixture forms coarse crumbs. If the butter starts to feel soft and greasy, pause briefly so it stays cool enough to form distinct bits. Scatter the topping across the apples in an even layer, without packing it down.
Bake Until the Apples Yield to a Knife
Bake for 45 to 55 minutes, until the topping is golden brown and a knife slides into the apples with little resistance. The fruit should be tender, not crunchy, and you’ll see bubbling juices around the edges. If the topping is golden but the apples still feel firm, give the dish more time and check again. Pulling it when the apples are still underdone leaves the filling with a hard bite.
Rest, Then Add the Last Drizzle
Set the crisp aside for 20 minutes before serving. The filling is bubbling hot straight from the oven, and that short rest gives it a chance to settle into a spoonable consistency. Drizzle the remaining caramel sauce over the top just before serving so its flavor stays easy to notice against the oats and fruit.
Ways to Shift the Fruit, Spice, or Topping Without Losing the Crisp
Use a Gluten-Free Crumb
Replace the all-purpose flour with a cup-for-cup gluten-free flour blend and use oats labeled gluten-free. The topping may be a little more delicate, but it still gives the fruit a crisp, crumbly cover.
Trade Some Apples for Firm Pears
Replace part of the apples with firm Bosc pears for a softer, floral fruit note. Choose pears that are still firm to the touch; ripe, soft pears can break down more than the apples and make the filling looser.
Give the Crumb a Ginger Note
Swap the cinnamon for half as much ground ginger for a sharper, warmer spice. Ginger is more assertive than cinnamon, so using less keeps it from taking over the tart apples and caramel.
Storage and Reheating
- Refrigerator: Cover and refrigerate leftovers for up to 4 days. The topping softens as it sits against the fruit.
- Freezer: Freeze baked, cooled portions in airtight containers for up to 3 months. Thaw overnight in the refrigerator; expect a softer topping than when freshly baked.
- Reheating: Warm portions in a 350°F oven until heated through. The microwave is quicker, but it softens the oat topping further.
Questions That Come Up Before the Crisp Goes in the Oven
Caramel Apple Crisp
Ingredients
Equipment
Method
- Heat the oven to 375°F.
- Lightly grease a 9x13-inch baking dish.
- In a large bowl, toss the apples with the lemon juice, cornstarch, cinnamon, and 1/2 cup caramel sauce.
- Spread the apple mixture evenly in the prepared dish.
- In a medium bowl, stir together the flour, oats, brown sugar, and salt.
- Work in the butter with your fingertips until the mixture forms coarse crumbs.
- Scatter the topping evenly over the apples.
- Bake for 45 to 55 minutes, until the topping is golden brown and the apples are tender when pierced with a knife.
- Let the crisp rest for 20 minutes.
- Drizzle with the remaining 1/4 cup caramel sauce before serving.