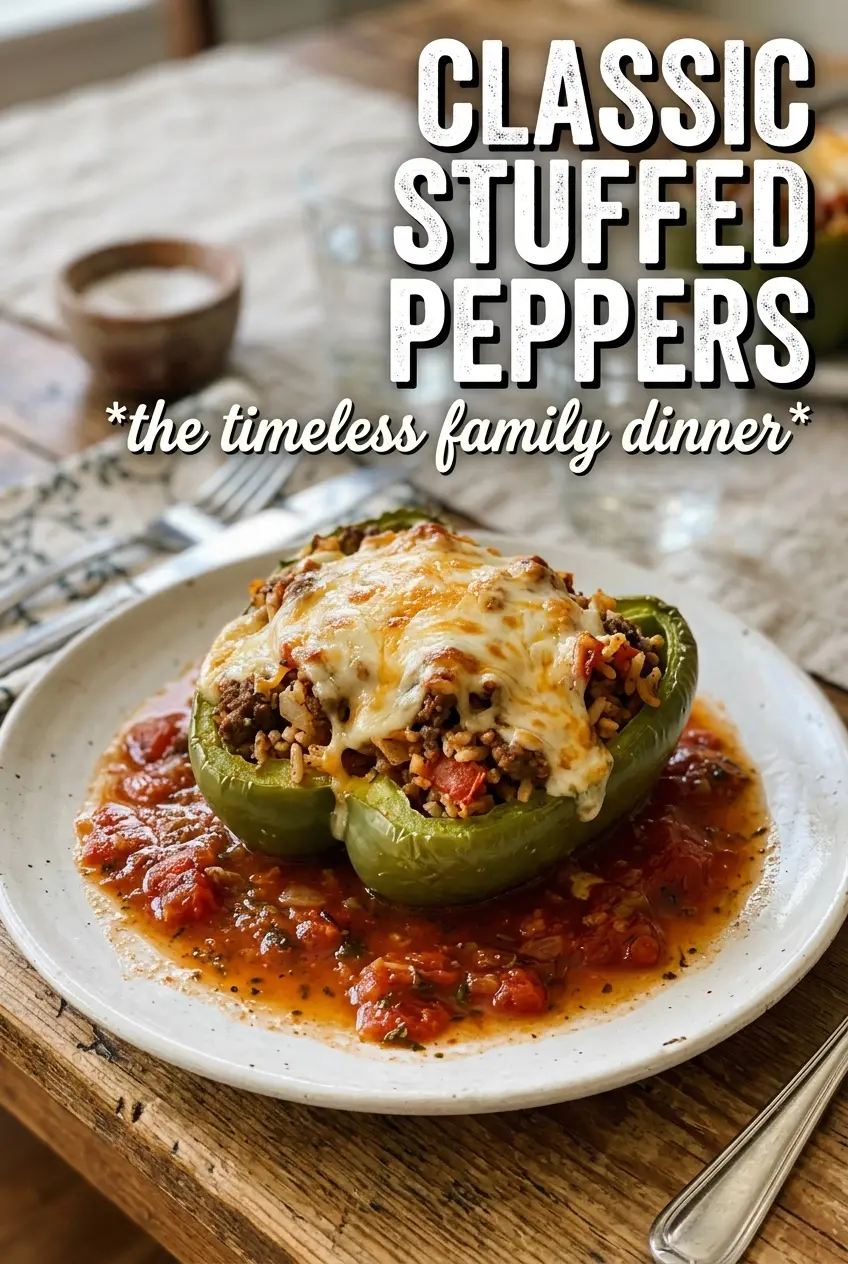
Classic stuffed peppers deliver that rare combination of tender, sweet pepper shells and a savory filling that holds together instead of spilling out onto the plate. The best versions have a little structure in the rice, plenty of seasoned beef, and just enough tomato sauce to keep everything moist without turning soupy. When the mozzarella melts over the top and the peppers soften at the edges, it’s the kind of dinner that feels familiar in the best way.
This version works because the filling is cooked before it goes into the peppers, which means the beef is browned, the onion has a chance to sweeten, and the garlic stays fragrant instead of raw. Draining the fat before adding the rice and tomatoes keeps the filling hearty instead of greasy, and dividing the tomato sauce gives you moisture in the filling plus a little extra on top for a baked finish. The peppers themselves also matter: choose ones that can sit upright so the filling stays put and bakes evenly.
The filling stayed moist without getting soggy, and the peppers were tender but still held their shape. My husband went back for a second one before I even sat down.
Save these classic stuffed peppers for an easy baked dinner with savory beef, rice, and melted mozzarella.
The Trick to Keeping the Peppers Tender Without Letting Them Collapse
The biggest mistake with stuffed peppers is chasing a fully soft pepper and ending up with one that splits before it reaches the table. You want the peppers tender enough to bite through, but still sturdy enough to hold the filling. Baking them covered first traps steam and gets them moving in the right direction, then uncovering and finishing with cheese gives you a better texture than blasting them uncovered the whole time.
If your peppers are thick-walled, they’ll need the full covered bake to soften. Thin-walled peppers cook faster, so start checking near the end of the first bake. The sweet spot is a pepper that yields when pressed with a fork but doesn’t slump when you lift it from the pan.
What Each Ingredient Is Doing in the Filling
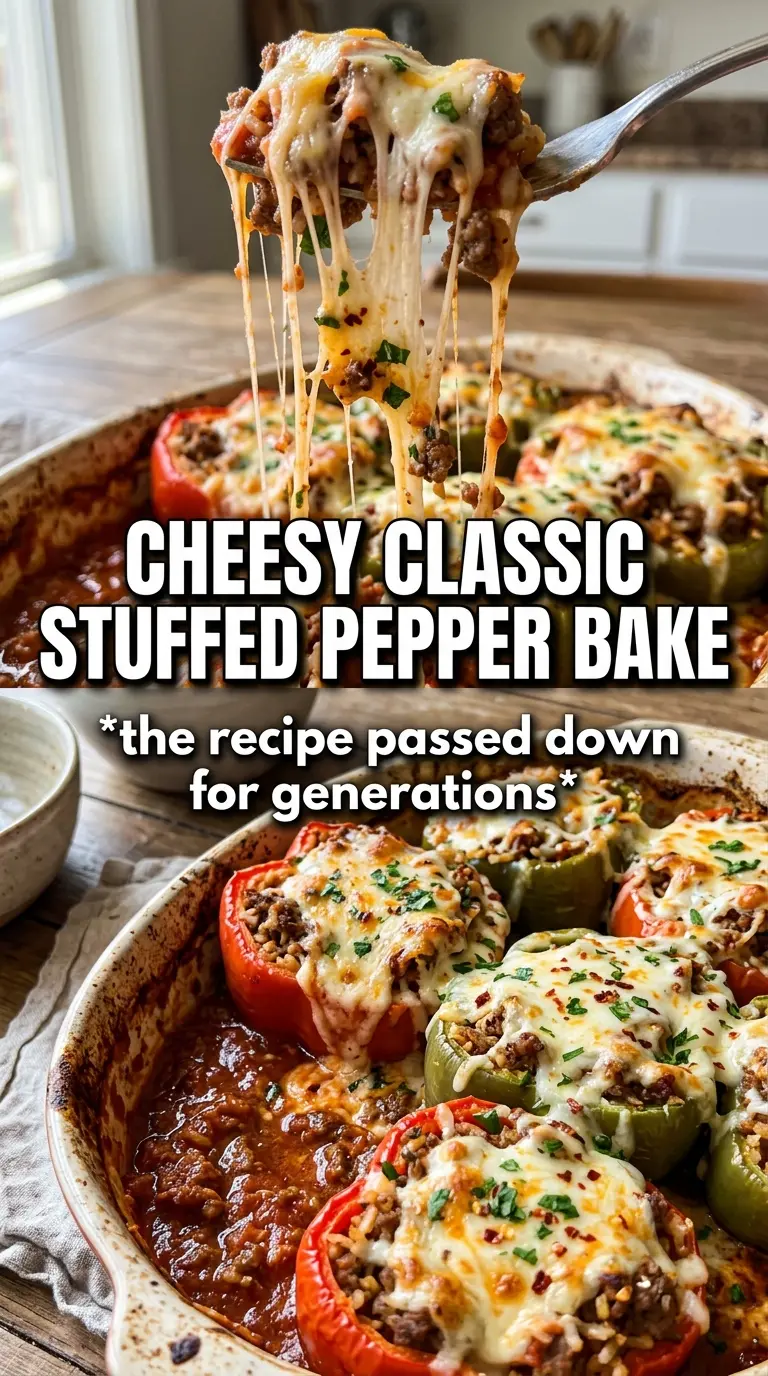
- Bell peppers — Use large peppers with flat bottoms if you can. They hold the filling better and bake more evenly. Any color works, though red, orange, and yellow bring a sweeter finish than green.
- Ground beef — This is the backbone of the filling, so choose beef with enough fat for flavor but not so much that the mixture turns greasy. If you use a very lean grind, the filling can taste a little dry unless you keep the tomato sauce generous.
- Cooked white rice — Cold or leftover rice is ideal because it stays separate and absorbs the sauce without turning mushy. Fresh rice works too, but let it cool a bit before stirring it in so the filling doesn’t get gummy.
- Tomato sauce and diced tomatoes — The sauce adds moisture and ties the filling together, while the drained diced tomatoes give you little bursts of texture. Don’t skip draining the diced tomatoes or the peppers can turn watery in the oven.
- Mozzarella — This gives the top that melted, stretchy finish. Pre-shredded works, but freshly shredded melts a little cleaner if you have time.
- Worcestershire and Italian seasoning — Worcestershire deepens the beefy flavor, and Italian seasoning keeps the filling from tasting flat. Neither one makes the dish taste strongly of itself; they just round it out.
Building the Filling So It Bakes Up, Not Out
Brown the Beef and Onion First
Cook the ground beef with the diced onion over medium-high heat until the beef loses its pink color and the onion looks translucent and glossy. You want some browning in the pan, because that’s where the deeper flavor comes from. If liquid pools instead of evaporating, the pan is too crowded or the heat is too low, and the filling will taste steamed instead of savory. Drain the fat before adding anything else so the rice and tomatoes don’t sit in grease.
Season While the Pan Is Still Hot
Stir in the garlic, Italian seasoning, Worcestershire sauce, salt, and pepper right after draining. The heat wakes up the garlic and spices without burning them, and the Worcestershire sinks into the beef while the mixture is still warm. If you wait too long, the seasoning sits on top instead of blending through the filling.
Finish the Filling With Rice and Tomato
Add the cooked rice, drained diced tomatoes, and most of the tomato sauce, then stir until everything is evenly coated. The mixture should look moist and spoonable, not wet enough to puddle. If it seems loose, let it sit for a minute or two before stuffing the peppers; the rice will drink up some of the sauce and the filling will tighten as it rests.
Bake, Then Cheese, Then Finish
Spoon the filling into the pepper shells, top with the remaining tomato sauce, and cover the dish with foil. The foil keeps the peppers from drying out while they soften. After the first bake, uncover them, add the mozzarella, and return them to the oven until the cheese melts and spots of golden color appear at the edges. That final uncovered bake is what gives you a finished top instead of just a layer of softened cheese.
How to Adapt These Stuffed Peppers for Different Tables
Turkey Instead of Beef
Ground turkey works well if you want a lighter filling, but it needs the onion, Worcestershire, and tomato sauce to keep it from tasting flat. Use the same method, and don’t overcook it in the skillet or it can turn dry before it even goes into the peppers.
Dairy-Free Finish
Skip the mozzarella or use a dairy-free shredded blend that melts well. The peppers will still bake up nicely because the filling carries the dish; you lose the creamy top, but not the comfort-food feel.
Brown Rice or Quinoa
Swap in cooked brown rice for a nuttier texture, or use cooked quinoa for a slightly lighter, more toothsome filling. Both absorb sauce well, but quinoa gives a looser bite and brown rice keeps more chew.
Storage and Reheating
- Refrigerator: Store leftovers in an airtight container for up to 4 days. The peppers soften a little more as they sit, but the flavor holds up well.
- Freezer: Stuffed peppers freeze well. Cool completely, wrap each pepper or pack them tightly in a freezer container, and freeze for up to 3 months.
- Reheating: Reheat covered in a 350°F oven until hot in the center, about 20 to 25 minutes from the fridge. In the microwave, use medium power and a covered dish so the filling warms through before the pepper turns mushy.
Answers to the Questions Worth Asking
Classic Stuffed Peppers
Ingredients
Equipment
Method
- Preheat the oven to 375°F so it’s ready for baking.
- Cut the tops off the bell peppers and remove the seeds, then place the peppers in a baking dish and set aside.
- Brown the ground beef with the diced onion over medium-high heat, then drain the fat.
- Add the minced garlic, Italian seasoning, Worcestershire sauce, salt, and pepper, and stir until fragrant.
- Stir in the cooked white rice, the drained diced tomatoes, and 3/4 of the tomato sauce until the mixture is combined.
- Spoon the filling into each prepared pepper, top with the remaining tomato sauce, and cover the dish with foil.
- Bake covered for 30 minutes, until the peppers start to soften (visual cue: peppers look slightly wilted and the sauce is bubbling).
- Uncover, sprinkle with the shredded mozzarella, and bake 15 more minutes until the peppers are tender and the cheese is golden (visual cue: melted cheese is browned in spots).