These Mexican-style stuffed peppers bake up with tender-crisp bell peppers, taco-seasoned beef, and a filling that stays hearty instead of turning mushy. The rice and black beans give the filling enough body to hold together, while salsa adds moisture and keeps every bite from tasting dry. When the cheese melts over the top and browns at the edges, you get the kind of weeknight dinner that disappears fast.
The trick here is balancing moisture and structure. Too much liquid and the peppers collapse before the filling is hot; too little and the rice tastes flat. A quick simmer with taco seasoning gives the beef a deeper, more unified flavor, and the salsa does double duty as seasoning and sauce. I like using cooked Mexican rice instead of plain rice because it carries the taco flavors better and makes the filling taste finished, not patched together.
Below you’ll find the small details that matter most: how to keep the peppers upright, when to par-cook them, and what to change if you want a spicier pan or a lighter one. The process is straightforward, but a few choices make the difference between good stuffed peppers and the kind people ask for again.
The filling held together perfectly and the peppers were tender but not soggy. I par-cooked them for 3 minutes like suggested, and they baked up beautifully with the cheese browned on top.
Save these Mexican-style stuffed peppers for a cheesy Tex-Mex dinner with taco beef, rice, and black beans.
The Trick to Stuffed Peppers That Hold Their Shape
The biggest failure with stuffed peppers is rushing the pepper itself. If the shells go into the oven completely raw, the filling can finish before the pepper does, which leaves you cutting through a firm wall instead of a tender one. A short par-cook in the microwave softens the structure just enough without making the peppers collapse.
The other thing that matters is moisture control. The beef mixture should look saucy in the skillet but not loose enough to puddle at the bottom of the peppers. The little bit of water in the baking dish creates steam under the foil, which finishes the peppers evenly and keeps the filling from drying out before the cheese has a chance to melt.
What Each Ingredient Is Actually Doing in These Peppers
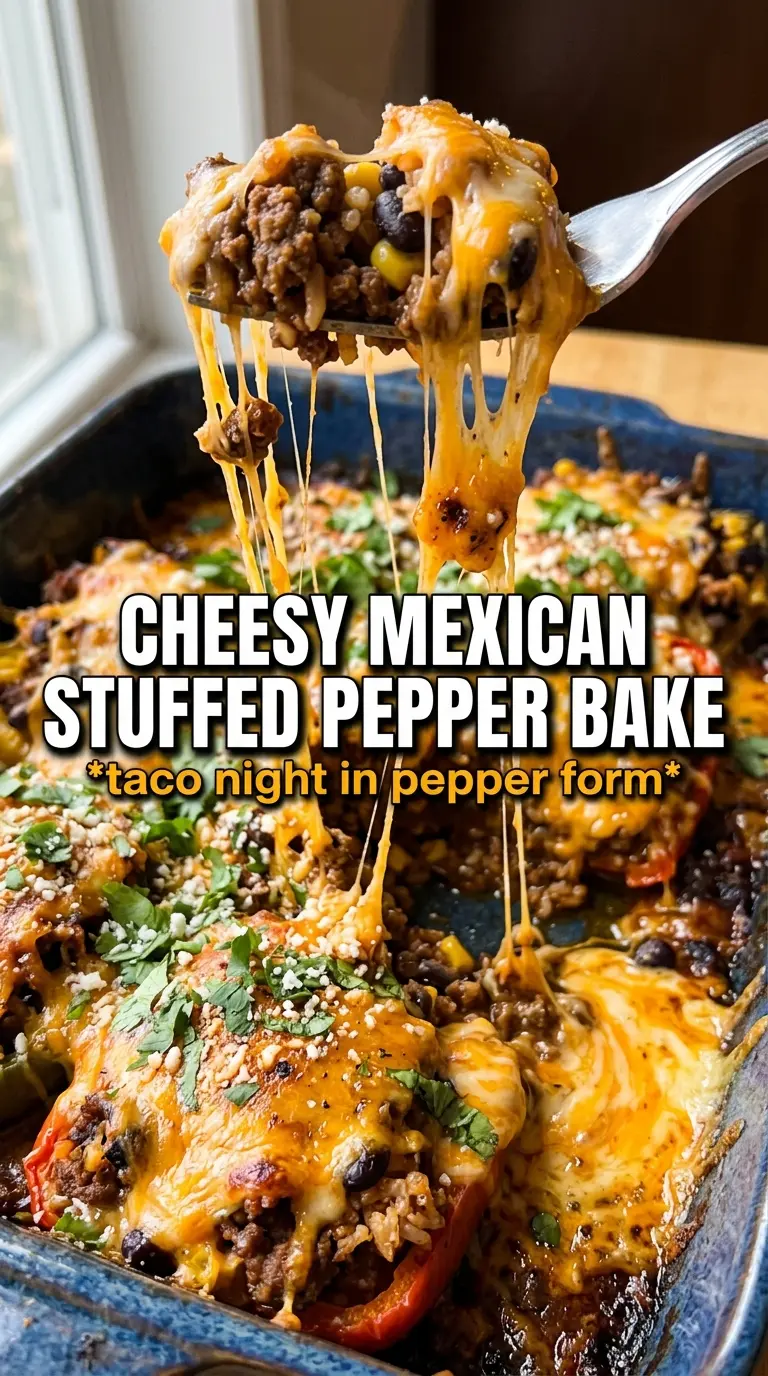
- Bell peppers — These are the vessel and the vegetable side all at once. Choose peppers that sit flat so they don’t tip in the baking dish, and use any color you like; red and yellow run sweeter, while green gives you a more savory edge.
- Ground beef — This is the backbone of the filling. A lean-to-moderate fat beef works best because it stays flavorful without leaving the mixture greasy; if you swap in ground turkey, add a little extra salsa or a spoonful of oil so the filling doesn’t taste dry.
- Taco seasoning — This gives you the cumin, chile, garlic, and paprika base that makes the dish taste like taco night instead of plain seasoned meat. A packet works fine here, but if yours is very salty, taste before adding anything extra.
- Mexican rice — Cooked rice turns the filling into something spoonable and substantial. Plain white rice works in a pinch, but Mexican rice brings more flavor into every bite because it already carries tomato and spice.
- Black beans and corn — These stretch the filling in a way that feels deliberate, not cheap. Drain the beans well so they don’t water down the mixture, and use frozen corn straight from the bag if that’s what you have.
- Salsa — This is the moisture and the seasoning in one ingredient. Chunky salsa gives the filling more texture, while a smoother salsa blends in and makes the mixture a little saucier.
- Mexican cheese blend — The top needs a cheese that melts cleanly and browns well. Pre-shredded cheese is convenient, but if you shred your own, it melts a little smoother because it doesn’t have anti-caking starch coating every strand.
Building the Filling So It Stays Hearty, Not Watery
Brown the Beef First
Cook the ground beef in a skillet over medium heat until it’s fully browned and no pink remains. Drain the fat if there’s a lot in the pan, because too much grease can pool inside the peppers and make the filling slide apart. Once the taco seasoning and water go in, let the mixture simmer for about 3 minutes until the liquid thickens and clings to the meat.
Fold in the Rice, Beans, Salsa, and Corn
Stir in the cooked rice, black beans, salsa, and corn until everything looks evenly coated. At this point the mixture should hold together when you scoop it, not drip off the spoon. If it looks wet, let it cook another minute or two on the stove before filling the peppers, because excess moisture shows up later as a soggy bottom.
Fill, Cover, and Finish with Cheese
Stand the peppers in a baking dish and pack the filling in generously, mounding it slightly on top. Pour about 1/4 inch of water into the bottom of the dish, then cover tightly with foil so the peppers steam as they bake. After 25 minutes, uncover and keep baking until the cheese is melted, golden in spots, and the peppers yield easily to a knife tip.
Swap in ground turkey for a lighter filling
Ground turkey works well here, but it needs a little help because it doesn’t bring the same richness as beef. Use it with the same seasoning and add a small drizzle of oil if the pan looks dry. The result is lighter and a touch leaner, though the filling tastes a little cleaner and less savory than the beef version.
Make it vegetarian with extra beans and peppers
Skip the beef and use an extra can of black beans plus a handful of chopped sautéed onions if you want more body. The filling won’t have the same meaty chew, but it still bakes up hearty and satisfying. A little extra salsa helps replace the moisture and keeps the filling from feeling dry.
Go gluten-free without changing the texture
This recipe is naturally close to gluten-free, but the taco seasoning packet is the ingredient to check. Use a certified gluten-free blend if needed, and the rest of the dish stays the same. The texture and bake time don’t change.
Storage and Reheating
- Refrigerator: Store leftovers in an airtight container for up to 4 days. The peppers soften a bit more as they sit, but the flavor gets even better.
- Freezer: These freeze well. Cool completely, wrap tightly, and freeze for up to 2 months; thaw in the refrigerator before reheating so the peppers don’t turn watery.
- Reheating: Reheat covered in a 350°F oven until hot in the center, or microwave in short bursts. Don’t blast them on high heat for too long or the peppers turn limp before the filling warms through.
Answers to the Questions Worth Asking
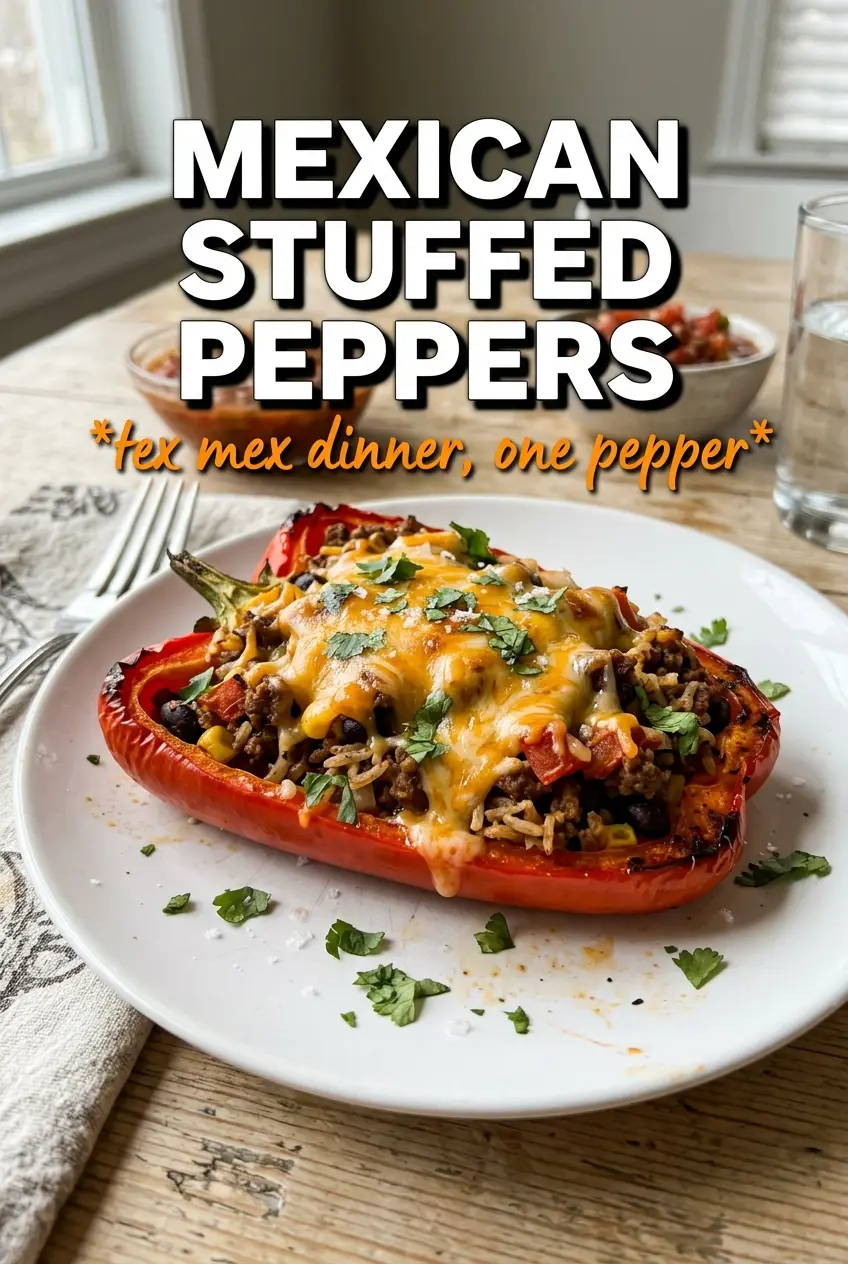
Mexican-Style Stuffed Peppers
Ingredients
Equipment
Method
- Preheat oven to 375°F (190°C). Make sure the rack is positioned in the middle for even browning.
- Brown ground beef in a skillet until no longer pink, then drain excess fat. Add taco seasoning and water, and simmer for 3 minutes to thicken slightly.
- Stir in cooked Mexican rice, black beans, salsa, and corn until fully combined. Cook for 1–2 minutes just to heat through and meld flavors.
- Cut tops off the bell peppers and remove seeds, then stand them in a baking dish. For softer peppers, par-cook in the microwave for 3 minutes.
- Fill each pepper generously with the beef mixture, then top with shredded Mexican cheese blend. Press the cheese lightly so it stays on top during baking.
- Pour 1/4 inch of water into the bottom of the dish, cover with foil, and bake for 25 minutes. Uncover and bake for 10 more minutes until the cheese is golden and bubbly.
- Serve hot with sour cream and cilantro, and add jalapeños to taste. Let stand 2 minutes so the filling sets slightly before slicing or scooping.