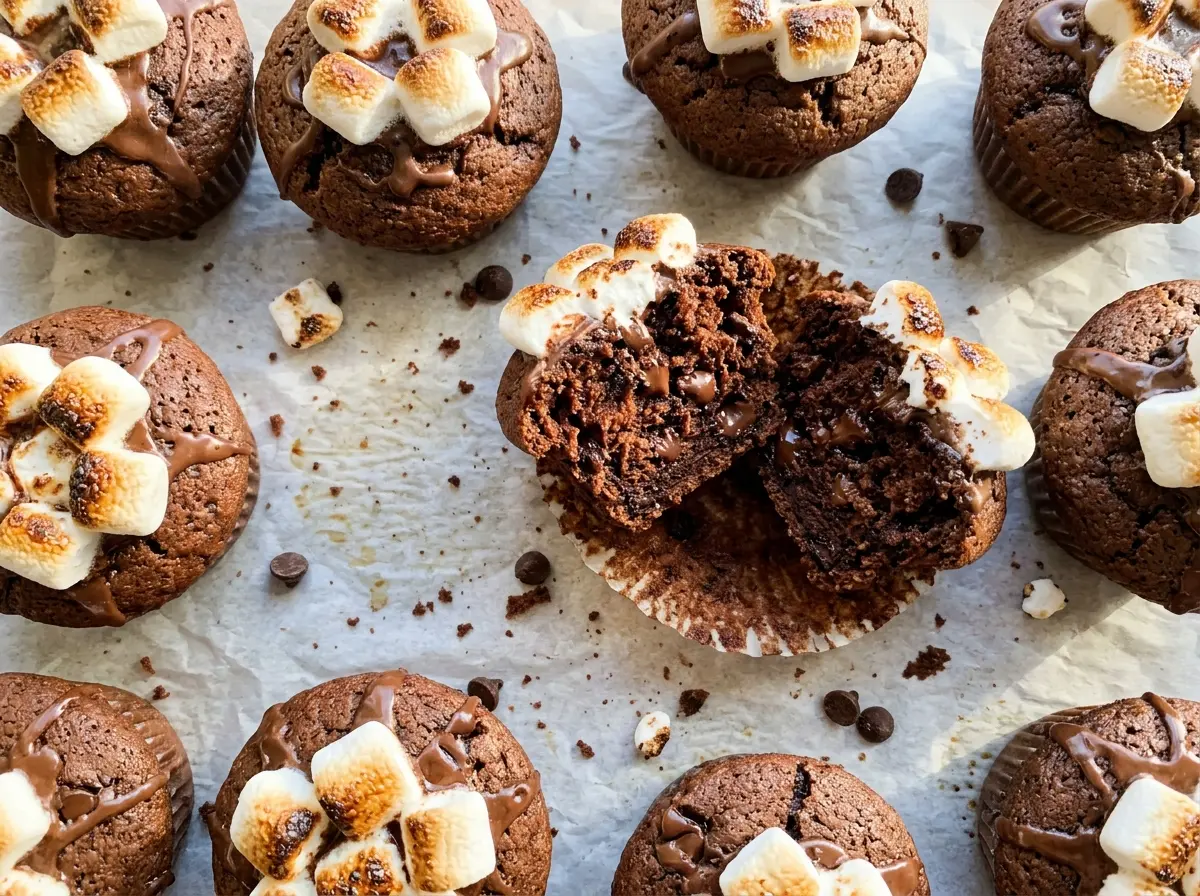
The first tray looked like a batch of ordinary chocolate muffins until the mini marshmallows went on. They softened against the hot tops and made each one look like a mug of hot chocolate in muffin form. I wanted the centers to stay tender, though, not turn into dense little cakes, so I kept the mixing simple and stopped as soon as the dry flour disappeared.
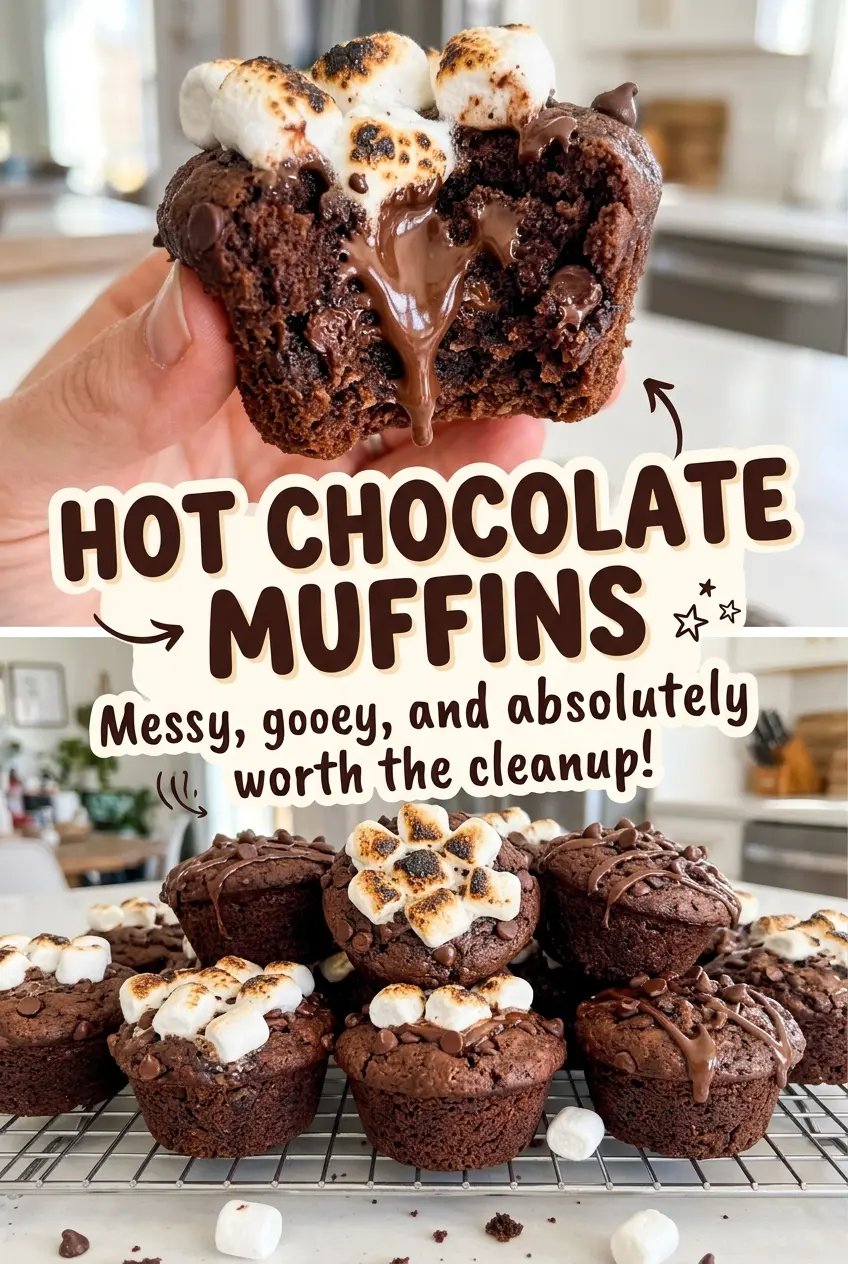
These Hot Chocolate Muffins get their chocolate flavor from cocoa, with semisweet chips tucked through the crumb and marshmallows added after baking. That timing keeps the topping where it belongs instead of letting it disappear into the batter. They’re easy to portion into a standard muffin pan, and the finished muffins have soft centers with little pockets of melted chocolate under a pillowy top.
Kitchen Note
Press the mini marshmallows onto the tops gently while the muffins are still hot. A light touch keeps them on the surface instead of pushing them down into the soft crumb.
Save these Hot Chocolate Muffins for a cozy chocolate bake with soft centers and a mini marshmallow finish.
Why These Muffins Taste Like Hot Chocolate, Not Just Cocoa Cake
Cocoa gives the batter its deep chocolate base, but cocoa alone can taste a little one-note in a muffin. Semisweet chocolate chips add pockets of chocolate that soften as the muffins bake, so you get a different texture in each bite. The mini marshmallows finish the hot-chocolate idea without making the crumb sticky or overly sweet.
That distinction comes down to where each kind of chocolate goes. The cocoa is whisked with the dry ingredients, which spreads its flavor evenly through the batter. The chips are folded in at the end, leaving distinct bits rather than turning the whole mixture into a melted-chocolate batter. The marshmallows stay on top and soften from the muffins’ residual heat after baking. Together, those layers give you a cocoa-rich muffin with little chocolate pockets and a soft, sweet finish—without asking one ingredient to do every job.
What Keeps the Cocoa, Buttermilk, and Chocolate in Balance
- Natural cocoa powder — It gives the muffins their familiar cocoa taste and dark color. A standard unsweetened natural cocoa from the grocery store works well; there’s no need to buy a specialty brand. Keep it unsweetened so the batter’s sugar stays in balance.
- Buttermilk — Its acidity and thickness help give the crumb a tender texture. Plain kefir works as an equal-volume swap if that’s what you have; regular milk is thinner and less tangy, so it won’t give quite the same result.
- Neutral oil — Oil keeps the crumb soft after the muffins cool, and a basic canola or vegetable oil is fine. Melted butter can stand in at the same volume for a buttery taste, though the cooled crumb will feel a little firmer.
- All-purpose flour — It gives the muffins enough structure to hold the chips and topping without making the crumb heavy. A cup-for-cup gluten-free baking blend formulated for muffins and cakes is the most practical swap, with a slightly more delicate texture.
- Eggs — The eggs help bind the batter and support its rise. Use large eggs; smaller ones leave the batter with less structure, and there isn’t a simple one-for-one substitute that keeps the same tender muffin crumb.
- Semisweet chocolate chips — They bring concentrated chocolate bites without making the muffins too sweet. Chopped semisweet chocolate works in the same quantity by volume and gives you a mix of small flecks and larger melted pockets.
- Mini marshmallows — Their small size makes them easy to spread across the muffin tops. They soften into a light topping, so use fresh marshmallows that aren’t stuck together or dried out.
Mixing and Baking the Muffins Without a Tough Crumb
Whisk the Dry Ingredients Until the Cocoa Is Even
Heat the oven to 375°F and line a 12-cup standard muffin pan with paper liners. Whisk the flour, natural cocoa, sugar, baking powder, baking soda, and salt in a large bowl until no visible cocoa clumps remain. Cocoa tends to gather in small pockets, so break those up with the whisk before adding anything wet. An even dry mixture helps keep one muffin from tasting more bitter or rising differently from the next.
Combine the Wet Ingredients Separately
In a medium bowl, whisk the eggs, buttermilk, oil, and vanilla until the mixture looks smooth and uniform. The eggs should be fully blended rather than leaving streaks of yolk or white. Keeping the wet and dry mixtures separate until this point gives you better control over mixing. Pour the wet mixture into the flour mixture when you’re ready to fold the batter together.
Fold Just Until the Flour Disappears
Use a spatula to fold the wet mixture into the dry ingredients until no dry streaks remain. The batter will look thick, and a few small lumps are fine; stirring until it looks perfectly smooth works the flour too much and can make the muffins tough. Fold in the semisweet chips at the end so they’re distributed without extra mixing. Divide the batter evenly among the prepared cups.
Bake, Then Add the Marshmallow Tops
Bake for 18 to 22 minutes, until a toothpick inserted into the center of a muffin comes out with a few moist crumbs. Wet batter on the toothpick means the centers need more time, while a completely clean toothpick can mean they’ve gone a little far. As soon as the pan comes out of the oven, press the mini marshmallows onto the muffin tops. Let the muffins rest in the pan for 5 minutes, then transfer them to a wire rack and cool for at least 10 minutes before serving.
Easy Swaps for Different Dietary Needs and Chocolate Preferences
A Dairy-Free Batch
Replace the buttermilk with unsweetened soy milk stirred with lemon juice, then let it stand for 5 minutes before mixing. Use dairy-free semisweet chips and marshmallows as well. The muffins will still be tender, though the plant-based milk won’t have quite the same body as buttermilk.
A More Intense Chocolate Bite
Swap the semisweet chips for bittersweet chocolate chips. The cocoa base stays the same, but the pockets of chocolate taste less sweet and more pronounced against the marshmallow topping.
Storage and Reheating
- Refrigerator: Store in an airtight container for up to 4 days. The chilled crumb firms up, and the marshmallow topping may become sticky.
- Freezer: Freeze the cooled muffins in a single layer until firm, then transfer them to a freezer-safe container for up to 2 months. Thaw at room temperature; the marshmallow tops may be a little less pillowy.
- Reheating: Warm one muffin in the microwave for about 10 seconds, then add a few seconds if needed. Avoid heating it for too long at once, since the marshmallow can get hot and sticky before the center is warm.
Questions That Come Up When Baking Hot Chocolate Muffins
Hot Chocolate Muffins
Ingredients
Equipment
Method
- Heat the oven to 375°F.
- Line a 12-cup standard muffin pan with paper liners.
- Whisk the flour, cocoa powder, sugar, baking powder, baking soda, and salt in a large bowl.
- In a medium bowl, whisk the eggs, buttermilk, oil, and vanilla until combined.
- Pour the egg mixture into the flour mixture and fold just until no dry streaks remain.
- Fold in the chocolate chips.
- Divide the batter evenly among the muffin cups.
- Bake for 18 to 22 minutes, until a toothpick inserted into the center of a muffin comes out with a few moist crumbs.
- Immediately press the mini marshmallows gently onto the hot muffin tops.
- Let the muffins rest in the pan for 5 minutes.
- Transfer the muffins to a wire rack.
- Cool for at least 10 minutes before serving.