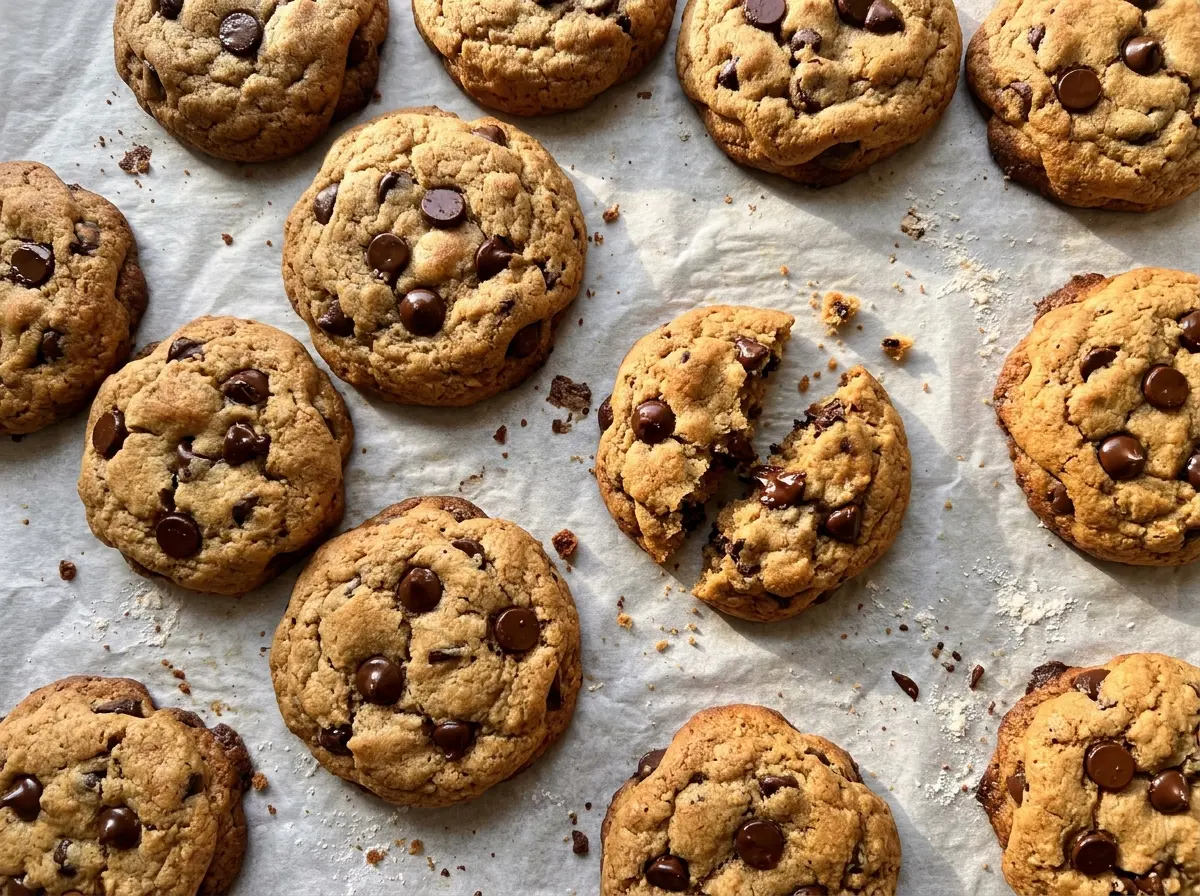
The edges are the first part of these cookies to turn golden, while the centers still look a little soft. That’s the moment to take the pan out of the oven. These dairy free chocolate chip cookies finish setting as they cool, so waiting for the centers to look fully baked can leave them drier than you want.
I cream dairy-free butter with both sugars, then chill the dough before baking. That short rest makes the dough easier to portion and gives the butter time to firm up again after mixing. Use dairy-free butter sticks and chocolate chips, and the cookies stay dairy-free without changing the familiar soft-center, lightly golden-edge result. You’ll get 18 cookies, with enough chocolate in every batch to make each bite count.
Kitchen Note
I spoon the flour into the measuring cup and level it rather than scooping straight from the bag. Flour packed into a cup can make the dough stiff, and adding extra butter afterward won’t bring the cookie texture back into balance.
Save these dairy free chocolate chip cookies for a bake day when you want soft centers and golden edges without dairy.
Why These Cookies Use More Brown Sugar Than White
The sugar balance shapes the cookie as much as the butter does. Packed light brown sugar brings moisture and a gentle molasses note, which helps keep the centers tender. Granulated sugar contributes a drier sweetness and helps the edges bake up with a little more crispness. Here, brown sugar leads, while a smaller amount of granulated sugar keeps the result from leaning too soft or cakey.
Replacing all the brown sugar with granulated sugar would take away some of that moist, chewy quality. Going the other direction and using only brown sugar would change the spread and leave the cookies softer throughout. I keep both in the dough, then let the oven finish the contrast: lightly golden edges around centers that still look slightly soft. It’s a small ratio, but it’s what makes the texture feel like a chocolate chip cookie rather than a sweet biscuit.
What Each Ingredient Brings to These Dairy-Free Cookies

- Dairy-free butter sticks — Stick-style butter gives the dough a solid fat structure that works for creaming and portioning. A premium brand isn’t necessary; choose a dairy-free stick product you like the taste of, and soften it enough to beat smoothly without letting it turn greasy.
- Light brown and granulated sugar — The brown sugar’s molasses adds moisture, while granulated sugar helps balance the texture. Light brown sugar keeps the flavor gentle; darker brown sugar would bring a deeper molasses taste.
- All-purpose flour — It gives the cookies structure without making them bready. A standard all-purpose flour works well here; specialty flour isn’t needed for this dough.
- Egg and vanilla — The egg binds the dough and contributes moisture, while vanilla rounds out the sweetness. Imitation vanilla is fine if that’s what you keep on hand; there’s no need to buy an expensive bottle for this batch.
- Dairy-free chocolate chips — These add chocolate throughout the cookies while keeping the ingredient list dairy-free. Check the package carefully if dairy avoidance is important, since chocolate chips aren’t automatically dairy-free just because they’re labeled semisweet.
Mixing and Baking the Dough Without Overworking It
Cream the Butter and Sugars Until Smooth
Beat the softened dairy-free butter with the brown sugar and granulated sugar in a large bowl for about 2 minutes. Stop when the mixture looks creamy and the sugar is worked through the butter; it doesn’t need to look fluffy like whipped frosting. If the butter is still cold and lumpy, it won’t cream evenly. If it has melted or looks oily, the dough may spread more than you expect.
Add the Egg, Then Mix in the Dry Ingredients
Beat in the egg and vanilla until they’re combined with the butter mixture. In a separate medium bowl, whisk the flour, baking soda, and kosher salt so the leavener and salt don’t stay in little pockets. Add that mixture to the large bowl and mix only until no dry flour remains. Once the flour disappears, stop; extra mixing can make the cookies tougher.
Fold in the Chips and Chill the Covered Dough
Fold in the dairy-free chocolate chips with a spatula, scraping the bottom of the bowl so the chips are distributed through the dough. Cover the bowl and chill the dough for 30 minutes. The dough should feel firmer and less sticky after chilling, which makes it easier to scoop into even portions. Don’t skip the cover, since exposed dough can dry out at the surface.
Scoop Even Portions and Watch the Edges
Heat the oven to 350°F and line two baking sheets with parchment paper. Scoop the dough into 18 portions of about 1 1/2 tablespoons each, leaving about 2 inches between portions so the cookies have room to spread. Bake for 10–12 minutes, until the edges are lightly golden and the centers still look slightly soft. If you wait for the centers to look firm in the oven, the cookies can bake past their soft stage.
Let the Cookies Set Before Moving Them
Leave the cookies on the baking sheets for 5 minutes after baking. They’ll be fragile while hot, so lifting them right away can break the soft centers. After that short rest, transfer them to a wire rack to cool. The edges should hold their shape as the cookies finish setting.
Two Useful Ways to Adapt the Dough
Use a Cup-for-Cup Gluten-Free Flour Blend
For a gluten-free batch, replace the all-purpose flour with the same volume of a cup-for-cup gluten-free baking blend made to replace wheat flour. The cookies may have a slightly more delicate or different texture depending on the blend, but the dough can be mixed and portioned the same way.
Swap Chips for Chopped Dairy-Free Chocolate
Use the same volume of chopped dairy-free chocolate in place of the chips. The pieces will vary in size, giving you some small flecks and some larger chocolate pockets instead of evenly sized chips. Check that the chocolate is dairy-free before adding it.
Storage and Reheating
- Refrigerator: Keep cooled cookies in an airtight container for up to 1 week. They’ll be firmer when cold; let one sit at room temperature if you prefer a softer bite.
- Freezer: Freeze cooled cookies in an airtight container or freezer bag for up to 2 months. Thaw at room temperature before serving.
- Reheating: Warm a cookie in the microwave for about 8 seconds. Longer heating can make it overly soft and hot in the middle.
Questions That Come Up When Baking These Cookies
Dairy Free Chocolate Chip Cookies
Ingredients
Equipment
Method
- In a large bowl, beat the dairy-free butter, brown sugar, and granulated sugar until creamy, about 2 minutes.
- Beat in the egg and vanilla until combined.
- In a medium bowl, whisk together the flour, baking soda, and salt.
- Add the flour mixture to the butter mixture and mix just until no dry flour remains.
- Fold in the dairy-free chocolate chips.
- Cover the bowl and chill the dough for 30 minutes.
- Heat the oven to 350°F.
- Line two baking sheets with parchment paper.
- Scoop the dough into 18 portions, about 1 1/2 tablespoons each, spacing them about 2 inches apart on the baking sheets.
- Bake for 10–12 minutes, until the edges are lightly golden and the centers still look slightly soft.
- Let the cookies cool on the baking sheets for 5 minutes.
- Transfer the cookies to a wire rack to cool.