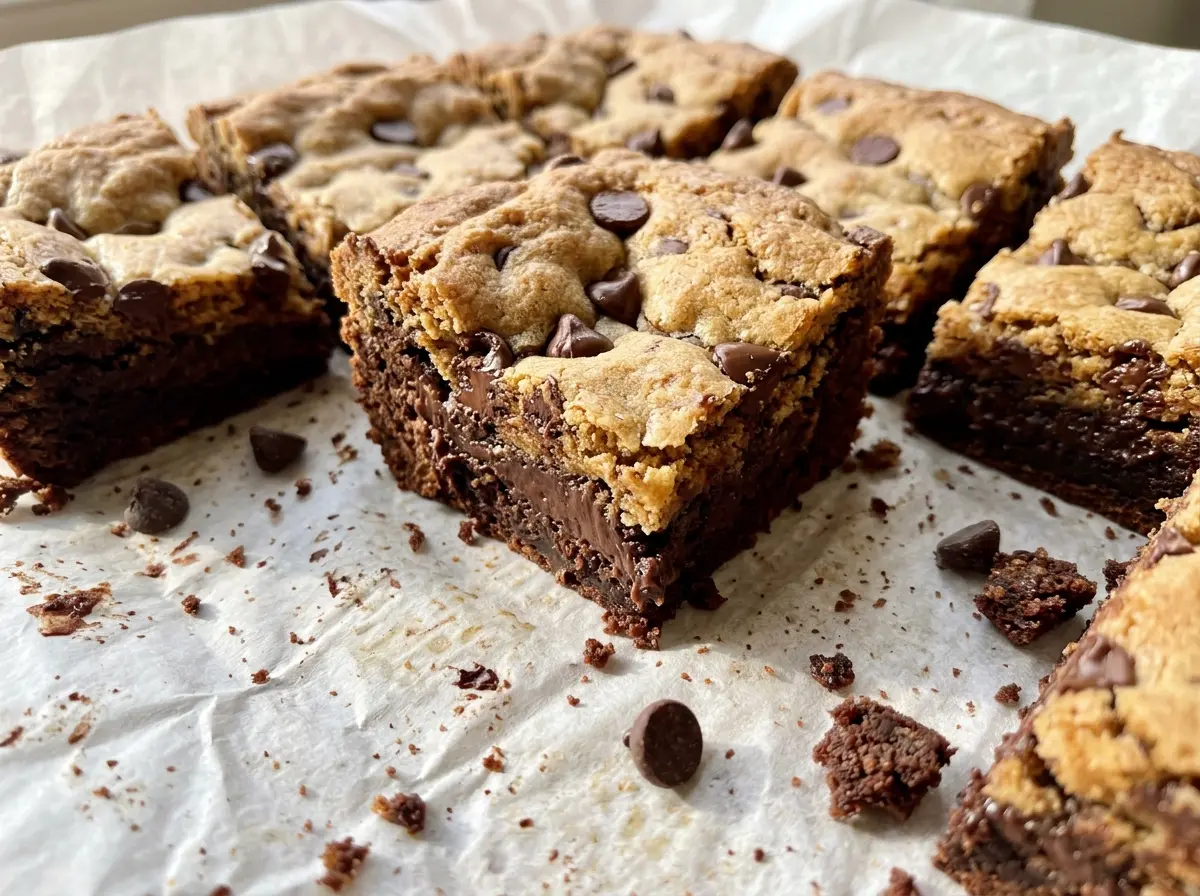
The cookie layer starts turning golden at the edges while the brownie batter stays tucked underneath, and that contrast is what makes these bars fun to cut into. Chocolate Chip Cookie Brownies bake in one 9×13-inch pan, with a cocoa brownie base and chocolate chip cookie dough spooned across the top. You get two familiar bakes in each square without having to juggle separate pans.
I keep the layers distinct rather than swirling them together. The brownie batter spreads into an even base, while spoonfuls of cookie dough leave little windows of brownie showing through. Those open spots also give you the right place to check the center with a toothpick, so you’re judging the brownie layer instead of poking into a cookie dough mound. Once the top is golden at the edges and the brownie area gives you a few moist crumbs, the bars are ready to cool into fudgy, cookie-topped squares.
Kitchen Note
Portion the granulated sugar before you start mixing. Both layers use it, but the brownie base needs the larger share, and separating the portions now keeps the cookie dough from getting the wrong amount.
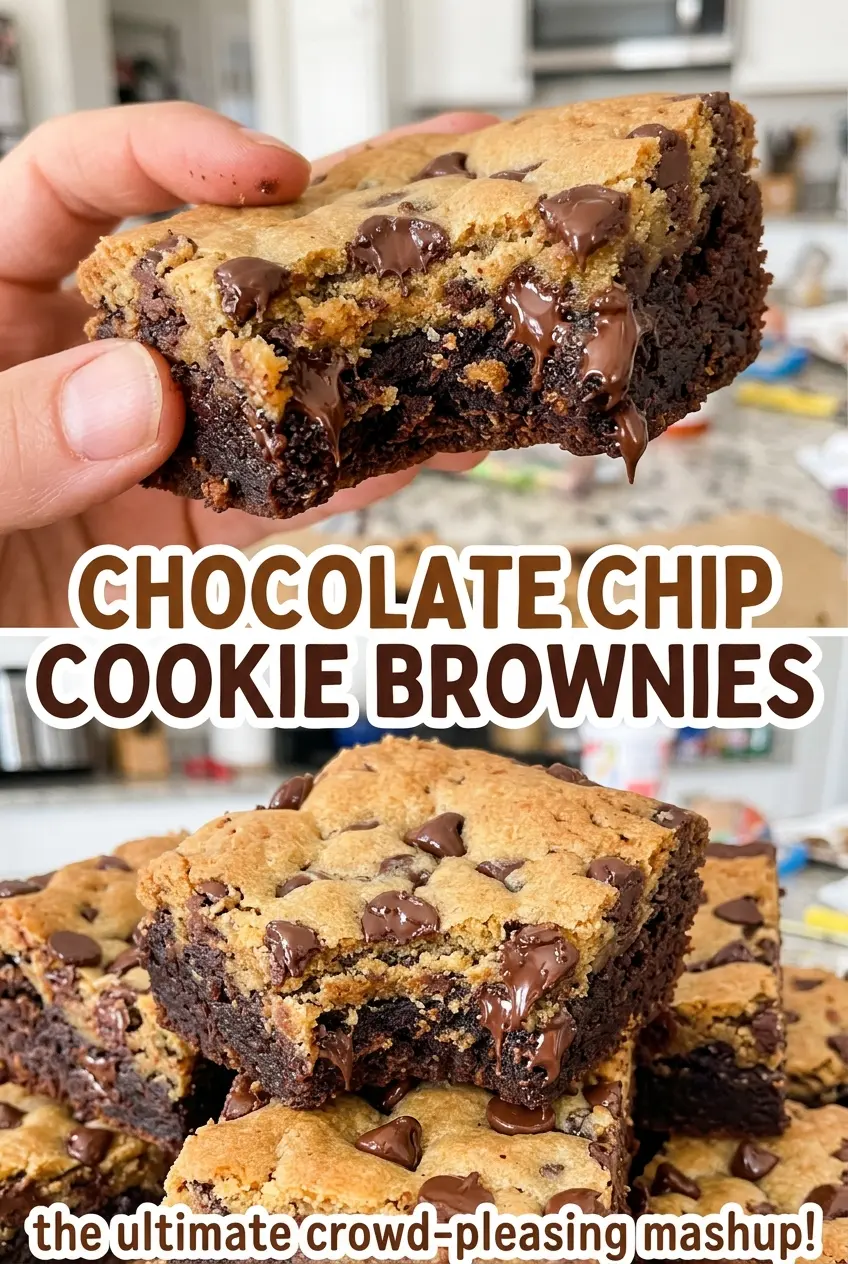
Save these Chocolate Chip Cookie Brownies for a bake when you want a fudgy brownie base and golden chocolate chip cookie topping in every square.
Why These Two Layers Should Stay Separate
It’s easy to think of the cookie dough as a topping that should cover every inch, but keeping some brownie visible gives this bake its character. The brownie batter spreads into a continuous base; the cookie dough stays in separate pockets on top. When you cut the pan, each piece has a different balance of the two layers, and the edges of the cookie dough get a chance to turn golden.
A full cookie-dough blanket would hide the brownie surface and make it harder to check how the center is baking. A swirl has the opposite problem: it blends the batters instead of letting you see and taste the distinct brownie and cookie textures. The open patches aren’t a flaw to smooth over. They’re part of the design, and they give you a clear spot to test the brownie without hitting a chocolate chip or cookie dough.
That difference matters when you’re serving the pan, too. Some squares will have a little more cookie on top, and others will show more brownie. The bars still come from the same batch, but the uneven pattern makes the layers easy to recognize rather than turning them into one uniform bite.
What Gives the Brownie Base and Cookie Top Their Different Textures
- Unsweetened cocoa powder — Cocoa gives the brownie batter its chocolate base without adding extra liquid. An ordinary unsweetened cocoa powder works well here; there’s no need to buy a premium brand for this baked layer.
- Light brown sugar — Its molasses-rich moisture helps the cookie layer stay tender, while the granulated sugar keeps the sweetness from relying on brown sugar alone. Pack it firmly when measuring so the amount is consistent.
- Unsalted butter — The brownie layer uses melted butter, while the cookie layer starts with softened butter. Those different states suit the two mixing methods, so don’t melt all the butter together and expect the cookie dough to cream the same way.
- All-purpose flour — Flour gives the cookie dough enough structure to sit in spoonfuls on top of the brownie base. Measure it without compressing it into the cup; packed flour can make the dough stiff and the finished cookie layer dry.
- Semisweet chocolate chips — Semisweet chocolate balances the sweet cookie dough and holds its shape in the oven. A standard bag works just fine; the chips don’t need to be a specialty brand.
- Eggs and vanilla — The eggs bind each layer, and vanilla rounds out both batters. Keep the eggs divided between the bowls so the brownie and cookie mixtures each get the amount intended for their texture.
Build the Brownie Base Before Adding the Cookie Dough
Get the Pan Ready
Heat the oven to 350°F and coat a 9×13-inch baking pan with cooking spray. Use the full-size pan so the two layers spread at the intended thickness. Set out the ingredients for both bowls, keeping the melted brownie butter separate from the softened cookie-layer butter. The separate butter textures are important for mixing the two batters properly.
Whisk and Spread the Brownie Batter
Whisk the melted butter with the brownie portion of granulated sugar, then whisk in two eggs and the brownie portion of vanilla. Fold in the cocoa powder, brownie-layer flour, and its portion of fine salt just until no dry streaks remain. Don’t keep stirring after the flour disappears; the goal is a smooth, evenly mixed batter, not extra aeration. Spread it evenly across the prepared pan.
Mix the Cookie Dough
Beat the softened butter with the light brown sugar and remaining granulated sugar until creamy. Beat in the remaining egg and vanilla, then mix in the cookie-layer flour, fine salt, and baking soda. Fold in the semisweet chocolate chips last so they’re distributed through the dough. The cookie dough will be thicker than the brownie batter, which makes it easy to portion on top.
Top the Brownie Batter and Bake
Drop spoonfuls of cookie dough over the brownie batter, leaving patches of brownie visible between them. Bake for 32 to 38 minutes. Look for golden edges on the cookie dough, then insert a toothpick into an exposed brownie area near the center; a few moist crumbs are the cue to stop. A toothpick pushed into a cookie mound won’t tell you as much about the brownie underneath.
Let the Layers Set Before Cutting
Cool the pan completely, about 1 hour, before cutting. The brownie and cookie layers are soft while warm, so cutting too early can drag the layers together and leave ragged edges. Once cool, slice the pan into 24 bars.
Two Useful Ways to Adapt the Cookie Brownies
Make the Brownie Patches More Prominent
Use smaller spoonfuls of the same cookie dough and space them farther apart, keeping plenty of brownie batter visible. You’ll get more brownie in each square and a lighter scatter of golden cookie topping, without changing the ingredients.
Make a Gluten-Free Batch
Replace the all-purpose flour in both layers with a cup-for-cup gluten-free flour blend that includes xanthan gum. The cookie layer may be a little more delicate when cut, so let the pan cool completely before slicing and lift the bars carefully.
Storage and Reheating
- Room temperature: Keep the cooled bars in an airtight container for up to 3 days. The cookie edges soften a little as they sit.
- Freezer: Freeze the cut bars in a tightly wrapped, airtight container for up to 2 months. Thaw at room temperature before serving.
- Reheating: Warm one bar in the microwave for about 8 to 10 seconds if you want it slightly warm. Longer heating can make the cookie layer tough and the chocolate overly hot.
Questions That Come Up While Baking These Bars
Chocolate Chip Cookie Brownies
Ingredients
Equipment
Method
- Heat the oven to 350°F.
- Spray a 9x13-inch baking pan with cooking spray.
- Whisk the melted 1/2 cup unsalted butter with 1 cup granulated sugar.
- Whisk in 2 eggs and 1 teaspoon vanilla extract.
- Fold in the cocoa powder, 1/2 cup flour, and 1/4 teaspoon salt until no dry streaks remain.
- Spread the brownie batter evenly in the pan.
- Beat the softened 1/2 cup unsalted butter with the packed brown sugar and remaining 1/4 cup granulated sugar until creamy.
- Beat in the remaining egg and 1 teaspoon vanilla extract.
- Mix in the remaining 1 1/4 cups flour and 1/2 teaspoon salt with the baking soda.
- Fold in the chocolate chips.
- Drop spoonfuls of cookie dough over the brownie batter, leaving some brownie batter visible between them.
- Bake for 32 to 38 minutes, until the cookie dough is golden around the edges and a toothpick inserted into an exposed brownie area near the center comes out with a few moist crumbs.
- Cool completely in the pan, about 1 hour, before cutting.