Golden baked mac and cheese lands in the kind of sweet spot that keeps people coming back for seconds: creamy in the middle, bronzed and a little crisp on top, with noodles that hold their shape instead of dissolving into mush. The best versions don’t rely on a pile of random cheese to carry them. They build a sauce that stays smooth in the oven and gives you those stretchy, spoonable bites everyone fights over at the table.
This version uses a classic roux, whole milk, and evaporated milk for a sauce that thickens without turning heavy. The evaporated milk gives the filling a little more body and helps it stay silky after baking, while sharp cheddar brings the punch and Gruyere or Colby Jack rounds it out. Cooking the pasta just shy of done matters too, because it finishes in the oven instead of going soft before it ever hits the table.
Below, I’ve included the small details that keep the sauce from getting grainy and the top from drying out before the center is hot. Those are the differences between a pan that looks good and a pan people remember.
The sauce stayed smooth all the way through baking, and the top got that perfect cheesy crust without drying out the noodles underneath. I also loved that the mustard and smoked paprika gave it a little more depth than the usual baked mac.
Save this baked mac and cheese for the nights when you want a bubbling cheese crust and a creamy center that holds together.
The Sauce Breaks When the Cheese Goes In Too Fast
Baked mac and cheese fails most often at the sauce stage, not in the oven. If the milk base is too thin, the noodles drink it up and leave you with a dry casserole. If the cheese goes into a boiling sauce, it can turn grainy or greasy instead of melting into a smooth coat around every piece of pasta.
The fix is simple: build a real bechamel, let it simmer until it lightly coats the back of a spoon, then pull the heat down before the cheese goes in. You want the sauce hot enough to melt the cheese, not so hot that it splits it. That one shift is what keeps the finished dish creamy after baking instead of oily around the edges.
What Each Cheese Is Actually Doing Here
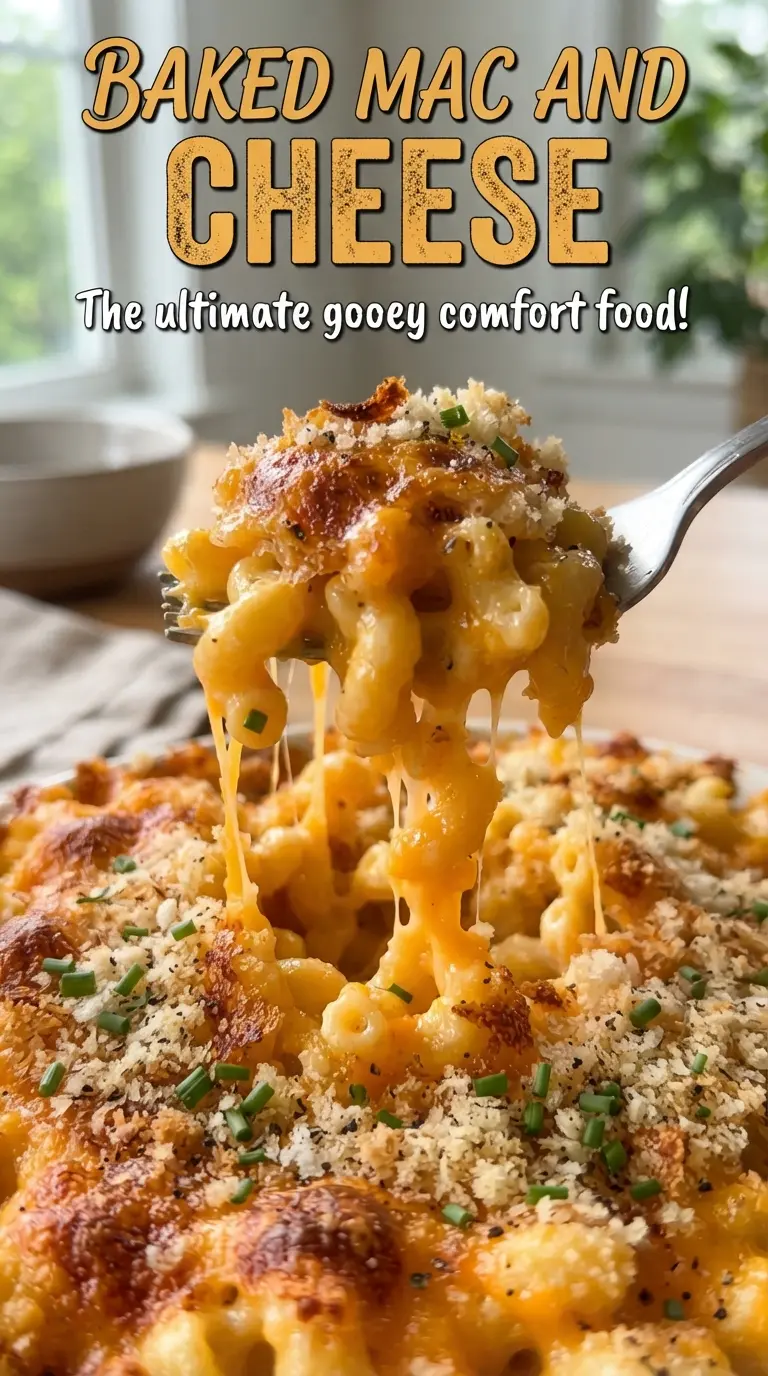
- Sharp cheddar — This is the main flavor. It melts well enough for a baked casserole, but sharp cheddar still gives you the tang you want in mac and cheese. Pre-shredded cheese works in a pinch, but block cheese melts smoother because it doesn’t carry the anti-caking starch that can make the sauce a little pasty.
- Gruyere or Colby Jack — Gruyere adds nuttiness and a deeper savory finish. Colby Jack is milder and softer, so it gives you a silkier melt if that’s the direction you want. Either one helps mellow the sharp cheddar without dulling the whole dish.
- Evaporated milk — This is the quiet insurance policy in the recipe. It brings body and a little extra richness without making the sauce overly heavy. Regular milk alone will work, but the finished texture won’t be quite as plush.
- Dry mustard and smoked paprika — Neither one should jump out as a separate flavor. They sharpen the cheese and keep the casserole from tasting flat. If you skip them, the dish still works, but it loses the depth that makes people keep going back for another spoonful.
Building the Bake So the Center Stays Creamy
Cooking the Pasta Short
Boil the macaroni for about 2 minutes less than the package says and drain it well. The pasta keeps cooking in the oven, and if you take it all the way to soft on the stovetop, the final texture turns mushy. You want the noodles still a little firm in the center when they go into the sauce.
Making the Roux
Melt the butter, whisk in the flour, and cook it for about a minute until it smells a little nutty and looks smooth, not sandy. That short cook takes away the raw flour taste and gives the sauce enough structure to thicken without turning gluey. If the butter and flour seize up, keep whisking and add the milk slowly.
Thickening the Milk Base
Pour in the milk and evaporated milk gradually while whisking, then let the mixture simmer until it lightly coats a spoon. The sauce should look glossy and slightly thick, not stiff. If it’s still thin when the cheese goes in, it will stay thin after baking and pool in the bottom of the dish.
Melting the Cheese and Baking
Take the pan off the heat before stirring in the cheese. Add it in handfuls and stir until each addition disappears before the next goes in. Fold in the pasta, top with the remaining cheese, and bake until the edges are bubbling and the top is deeply golden. Let it rest for 10 minutes before serving so the sauce settles instead of running everywhere when you scoop it.
Ways to Adjust It Without Losing the Right Texture
Gluten-Free Version
Use a good 1:1 gluten-free flour blend in the roux and cook it the same way. The sauce should still thicken properly as long as the blend includes starches and a binder. Use gluten-free pasta that holds its shape well, since some brands soften faster in the oven.
Dairy-Free Adaptation
Swap in unsalted plant-based butter, an unsweetened milk alternative with some body, and dairy-free shreds that melt well. The flavor changes the most here, and the finish won’t be as rich as the original, but the roux still gives it structure. Pick a product labeled for melting instead of one meant only for topping.
Extra-Crusty Top
For a browner, more textured top, mix a handful of fine breadcrumbs with the final cheese layer. It adds a little crunch and helps the surface hold onto color. This works best if you like contrast between the creamy center and a firmer lid.
Storage and Reheating
- Refrigerator: Store covered for up to 4 days. It firms up as it chills, so the sauce won’t look as loose as it does fresh from the oven.
- Freezer: It freezes well in portions for up to 2 months. Wrap tightly and thaw in the fridge before reheating so the sauce warms evenly instead of separating.
- Reheating: Reheat covered in the oven at 325F with a splash of milk stirred in if it looks dry. The biggest mistake is blasting it uncovered in the microwave, which turns the edges rubbery while the center stays cold.
Questions I Get Asked About This Recipe
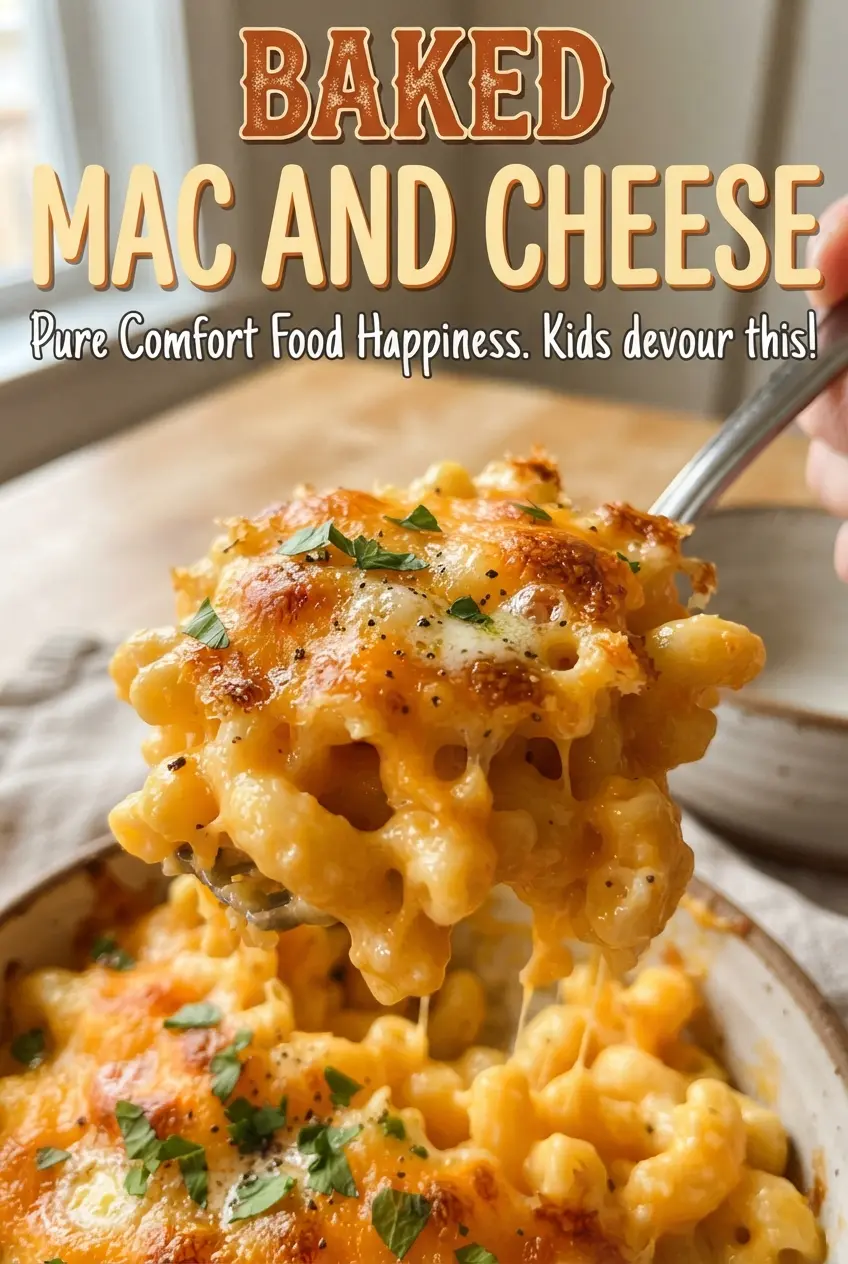
Baked Mac and Cheese
Ingredients
Equipment
Method
- Preheat oven to 350F, and butter a 9x13-inch baking dish so it won’t stick.
- Cook elbow macaroni 2 minutes less than package directions, then drain.
- Melt butter, whisk in all-purpose flour, and cook 1 minute.
- Slowly whisk in whole milk and evaporated milk until smooth.
- Simmer 5-6 minutes until thickened, then season with salt, black pepper, dry mustard, and smoked paprika.
- Stir in 3 cups shredded sharp cheddar and 1 1/2 cups Gruyere or Colby jack until melted, then fold in the pasta.
- Pour the mixture into the buttered baking dish, then top with the remaining cheese.
- Bake 25-30 minutes at 350F until bubbly and golden, then rest 10 minutes before serving.