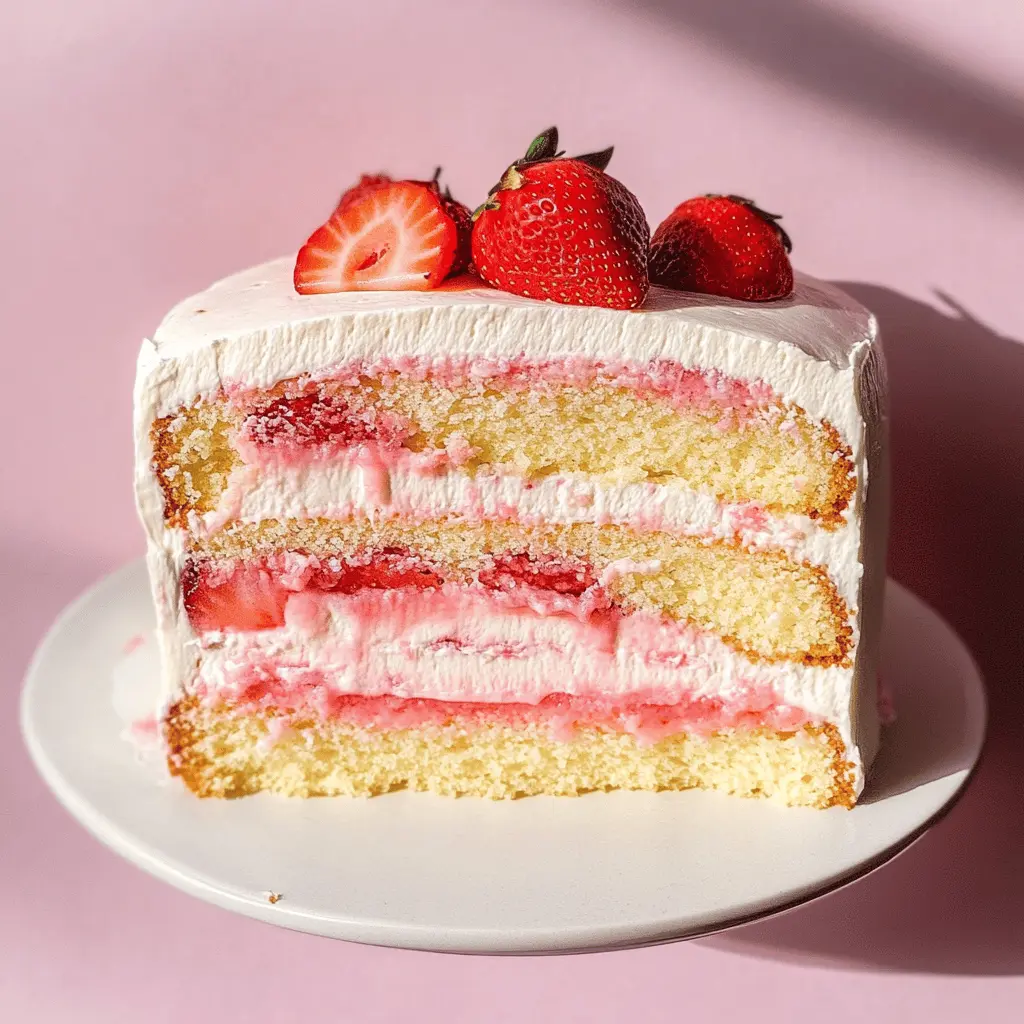
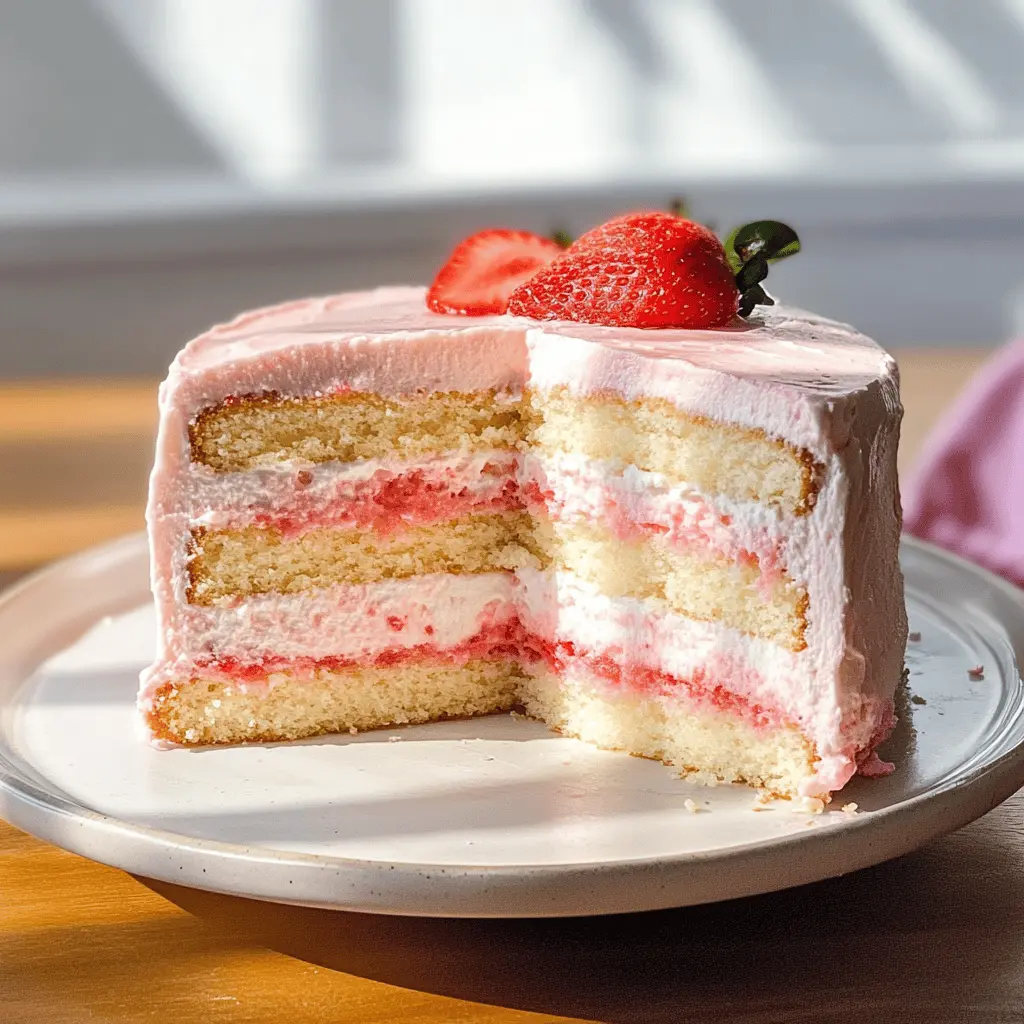
This light and fluffy strawberry shortcake layer sponge cake is a real treat! With layers of soft sponge cake, fresh strawberries, and creamy whipped topping, it’s sweet and simple.
There’s nothing quite like sliced strawberries peeking through cake layers—talk about a feast for the eyes! My family devours this, and I bet yours will too! 🍰❤️
Key Ingredients & Substitutions
All-Purpose Flour: This flour is essential for the cake’s structure. If you’re gluten-free, you can substitute it with a gluten-free all-purpose blend. Just make sure it has xanthan gum for the right texture.
Sugar: Granulated sugar is standard for sweetness. You might use coconut sugar or a sugar substitute like Stevia for fewer calories, but it may alter the taste a bit.
Unsalted Butter: For the best flavor, use unsalted butter so you can control the saltiness. If dairy-free or vegan, opt for vegan butter or applesauce for moisture, but note it may change the texture slightly.
Heavy Whipping Cream: This is essential for fluffy frosting. If you prefer a lighter version, coconut cream works well too, though it adds a hint of coconut flavor which is lovely!
Strawberries: Fresh strawberries are a must for this recipe. If they’re out of season, frozen strawberries can be used, but thaw and drain them first to avoid excess moisture.
How Can You Ensure Your Cake Layers are Perfectly Baked?
Making sure your sponge cake layers come out perfectly is key for a great shortcake. Here’s how to do it:
- Preheat your oven correctly and allow it to reach the desired temperature. An oven thermometer can help if you’re unsure.
- Grease and flour your pans thoroughly to prevent sticking. You could even line the bottom with parchment paper for extra safety!
- Check for doneness by inserting a toothpick in the center. If it comes out clean or with a few crumbs, your cake is ready.
- Let your cakes cool in the pans briefly to set, but transfer them to a wire rack to cool completely for better moisture control.
Following these steps will lead to softer, fluffier cake layers that are perfect to build your shortcake on! Enjoy baking!
How to Make Strawberry Shortcake Layer Sponge Cake
Ingredients You’ll Need:
For the Sponge Cake:
- 2 cups all-purpose flour
- 2 tsp baking powder
- 1/2 tsp salt
- 1/2 cup unsalted butter, softened
- 1 cup granulated sugar
- 2 large eggs
- 1 tsp vanilla extract
- 1 cup milk
For the Strawberry Filling:
- 2 cups fresh strawberries, hulled and sliced
- 1/4 cup granulated sugar (for macerating strawberries)
For the Whipped Cream Frosting:
- 2 cups heavy whipping cream
- 1/2 cup powdered sugar
- 1 tsp vanilla extract
For Garnish:
- Additional fresh strawberries, halved
- Strawberry puree (optional)
How Much Time Will You Need?
This delightful Strawberry Shortcake Layer Sponge Cake requires about 30 minutes of preparation time, plus an additional 25-30 minutes for baking. After that, let it cool for about an hour and chill for 1 hour before serving. So in total, you should plan for around 2 hours of time to enjoy this sweet treat!
Step-by-Step Instructions:
1. Prepare the Strawberries:
Start by taking your sliced strawberries and putting them in a bowl. Sprinkle 1/4 cup of granulated sugar over the berries. Give them a gentle toss and let them sit for about 30 minutes at room temperature. This will help draw out their lovely juices, making them perfect for the filling!
2. Make the Sponge Cake:
While the strawberries are macerating, preheat your oven to 350°F (175°C). Grab two 9-inch round cake pans and grease and flour them lightly, so your cakes don’t stick.
In a mixing bowl, sift together the flour, baking powder, and salt. Set it aside for later.
In a separate large bowl, cream together the softened butter and granulated sugar using an electric mixer until the mixture is light and fluffy. Add the eggs one by one, mixing well after each addition. Then stir in the vanilla extract.
Now it’s time to combine! Gradually add the dry ingredients to the butter mixture in three parts, alternating with the milk. Start and finish with the dry ingredients. Mix it just enough, so everything is combined—don’t over-mix!
3. Bake the Cakes:
Divide the batter evenly between the two prepared cake pans. Smooth the tops with a spatula. Place them in the oven and bake for 25-30 minutes, or until a toothpick inserted in the center comes out clean.
Once baked, remove the cakes from the oven and let them cool in the pans for 10 minutes. Then carefully transfer them to a wire rack to cool completely.
4. Prepare the Whipped Cream Frosting:
In a large bowl, pour the heavy whipping cream, powdered sugar, and vanilla extract. Using a mixer, beat on medium-high speed until the mixture forms stiff peaks. This means when you lift the beaters, the cream holds its shape well!
5. Assemble the Cake:
Once the cakes are completely cooled, place one layer on your cake stand or a serving platter. Spread a generous layer of whipped cream on top, followed by a layer of your delicious macerated strawberries (don’t forget some of the juice!). Place the second layer of cake on top of this.
Now, frost the top and sides with the remaining whipped cream. For a lovely finish, decorate with the halved strawberries and drizzle some strawberry puree on top if you like!
6. Chill and Serve:
Cover the cake with plastic wrap and refrigerate for at least 1 hour before serving. This will let all the flavors meld together nicely. When you’re ready, slice it up and enjoy your yummy Strawberry Shortcake Layer Sponge Cake!
Can I Use Other Berries Instead of Strawberries?
Absolutely! You can substitute strawberries with other berries like blueberries, raspberries, or blackberries for a delightful twist. Just make sure to adjust the sugar amount depending on the sweetness of the berries you’re using.
How to Store Leftovers?
Store any leftover cake in an airtight container in the refrigerator for up to 3 days. To keep the whipped cream from becoming watery, it’s best to slice servings and cover them individually. You can also freeze the sponge layers (without the frosting) wrapped tightly in plastic wrap for up to 3 months.
Can I Make the Sponge Cake in Advance?
Yes! You can bake the sponge cake a day ahead. Just let it cool completely, wrap it well in plastic wrap, and store it at room temperature until you’re ready to assemble the cake. For longer storage, you can refrigerate it for up to 2 days.
What Can I Use Instead of Heavy Whipping Cream?
If you’re looking for a lighter option or a dairy-free alternative, you can use coconut cream or an alternative whipped topping. Just remember that the texture and taste will differ slightly, so choose the option that best suits your preference!