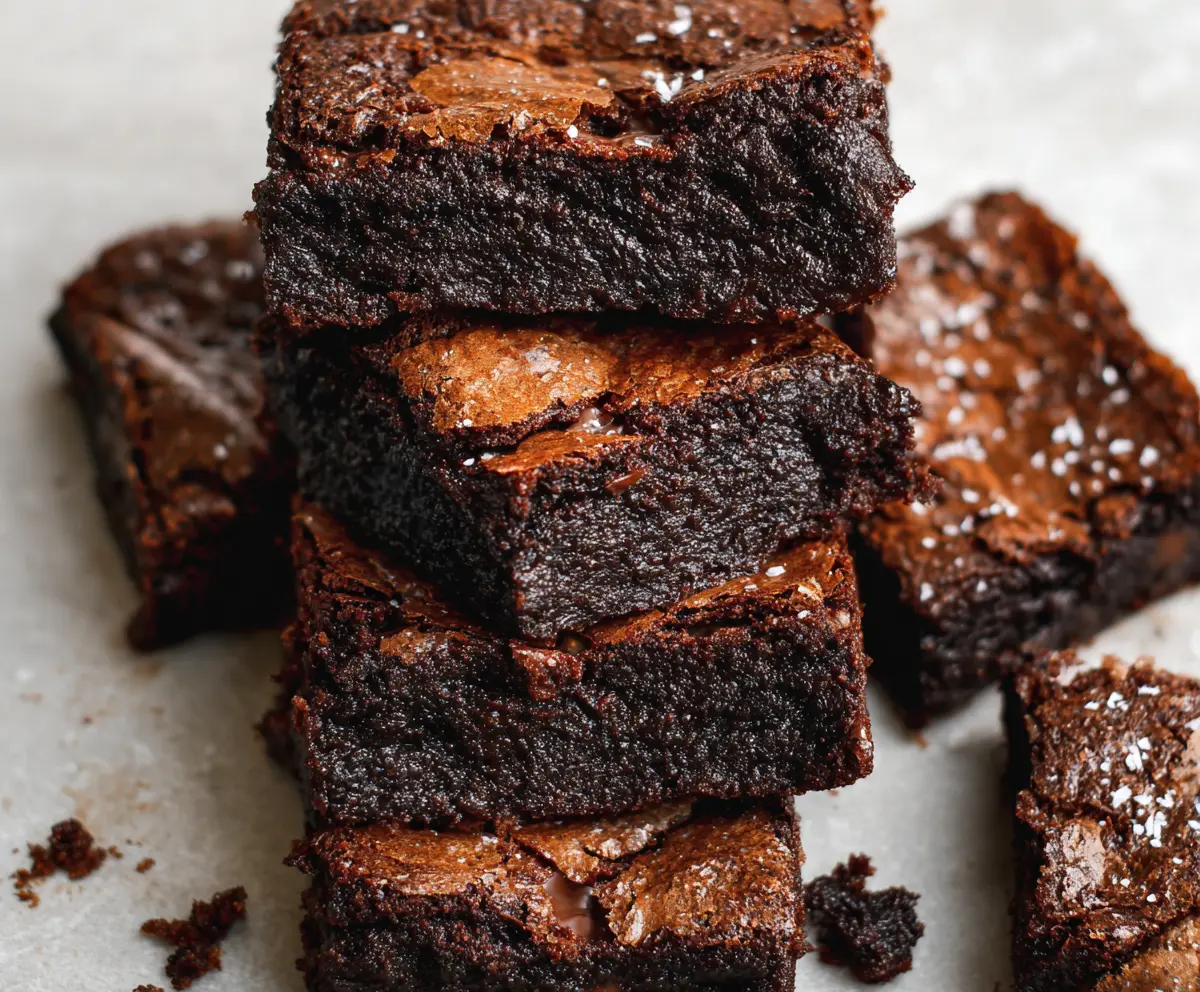
These rich fudgy chocolate brownies use sourdough discard to add a unique twist! They’re gooey, chocolatey, and super easy to whip up, making them perfect for any chocolate lover.
Trust me, you won’t be able to stop at just one! I love how simple it is to use leftover sourdough. Plus, you get the joy of delicious brownies without the waste. Yum! 🍫
Key Ingredients & Substitutions
Butter: Unsalted butter is best for controlling the saltiness of your brownies. If you’re dairy-free, coconut oil or plant-based margarine works well as a substitute.
Chocolate: Bittersweet or semisweet chocolate gives the best flavor. Don’t have either? Use good-quality cocoa powder mixed with a bit of extra sugar for a workaround!
Sourdough Discard: This is the star! Make sure it’s at room temperature for the best mixing. If you don’t have any, consider substituting with applesauce for a similar moisture level.
Flour: All-purpose flour is traditional, but for a gluten-free option, you could use a 1:1 gluten-free flour blend.
How Do I Prevent Overmixing for Fudgy Brownies?
The key to fudgy brownies is in how much you mix after adding the flour. Here’s how to keep that tenderness:
- Mix the wet ingredients until they’re well combined before adding flour.
- When you combine wet and dry ingredients, use a spatula to fold gently until you see no more dry flour. This usually takes just a couple of turns!
- Remember, it’s okay if there are a few lumps – overmixing can lead to tough brownies.
By keeping your mixing gentle and careful, you’ll achieve that perfect, fudgy texture that everyone loves!
Sourdough Discard Fudgy Chocolate Brownies
Ingredients:
- 1/2 cup (115g) unsalted butter
- 8 oz (225g) bittersweet or semisweet chocolate, chopped
- 1 cup (200g) granulated sugar
- 1/2 cup (100g) brown sugar, packed
- 3 large eggs
- 1 teaspoon vanilla extract
- 1/2 cup (120g) sourdough discard (unfed, room temperature)
- 3/4 cup (95g) all-purpose flour
- 1/4 cup (22g) unsweetened cocoa powder
- 1/2 teaspoon salt
- Optional: flaky sea salt for sprinkling on top
- Optional: 1/2 cup (90g) chocolate chips or chunks for extra melty chocolate texture
How Much Time Will You Need?
This recipe will take about 15 minutes to prepare and 25-30 minutes to bake. After baking, let the brownies cool for optimal texture before slicing into delicious squares. In total, you’re looking at around 1 hour for the entire process!
Step-by-Step Instructions:
1. Preheat the Oven:
First things first, preheat your oven to 350°F (175°C). This is the perfect temperature for achieving those fudgy brownies!
2. Melt Chocolate and Butter:
Grab a medium heatproof bowl and melt the butter and chopped chocolate together. You can do this over a double boiler or in the microwave in short bursts (just stir until smooth). Once melted, set aside to cool slightly.
3. Whisk Sugar and Eggs:
In a large mixing bowl, whisk together the granulated sugar, brown sugar, and eggs until everything is well combined and slightly thickened. This helps create that rich texture!
4. Add Wet Ingredients:
Next, add in the vanilla extract and sourdough discard into the sugar-egg mixture. Whisk until it’s all smooth. The sourdough discard brings a unique flavor!
5. Combine Chocolate Mixture:
Pour the melted chocolate and butter mixture into the wet ingredients and whisk gently until everything is incorporated. No rushing here – blend it slowly for the best results!
6. Mix Dry Ingredients:
In a separate bowl, sift together the flour, cocoa powder, and salt. This helps prevent lumps in your batter.
7. Fold Dry into Wet:
Now, gradually add the dry ingredients to the wet mixture using a spatula. Fold gently until there are no streaks of flour left, but be careful not to overmix. We want fudgy brownies, not tough ones!
8. Add Chocolate Chips:
If you’re feeling extra indulgent, fold in the chocolate chips or chunks at this point for some melty goodness.
9. Spread into Pan:
Pour the brownie batter into your prepared 8×8 pan, spreading it out evenly with a spatula.
10. Optional Topping:
If you like a little flavor boost, sprinkle a bit of flaky sea salt over the top of the batter. It complements the chocolate so well!
11. Bake:
Pop the pan into the oven and bake for 25-30 minutes. Look for the edges to be set and a toothpick inserted into the center to come out with a few moist crumbs. Don’t overbake!
12. Cool and Slice:
Once baked, let the brownies cool completely in the pan on a wire rack. This cooling step is crucial for the perfect texture. When cool, lift them out using the parchment paper and cut into squares.
13. Serve and Enjoy:
Finally, dig in and relish these ultra-fudgy, rich brownies made with sourdough discard! They’re a delightful treat, perfect for sharing or enjoying all by yourself!
This simple recipe creates brownies that are not only delicious but also give life to your sourdough discard. Enjoy baking!
Can I Use Active Sourdough Starter Instead of Discard?
While it’s best to use unfed sourdough discard for this recipe, you can use active starter too! Just make sure to measure the same amount. The flavors will be slightly different, but they should still turn out well!
How to Store Leftover Brownies?
Store any leftover brownies in an airtight container at room temperature for up to 3 days. If you want them to last longer, you can refrigerate them for up to a week, but they might lose a bit of that fudgy texture!
Can I Freeze These Brownies?
Absolutely! Once they’re completely cooled, wrap each brownie tightly in plastic wrap and then place them in a resealable bag or container. They can be frozen for up to 3 months. Thaw in the fridge or at room temperature when you’re ready to enjoy them again!
What Can I Substitute for Eggs?
If you need an egg substitute, you can use applesauce (1/4 cup per egg), mashed banana, or a commercial egg replacer. Just keep in mind that this may alter the flavor and texture slightly, but they’ll still be delicious!