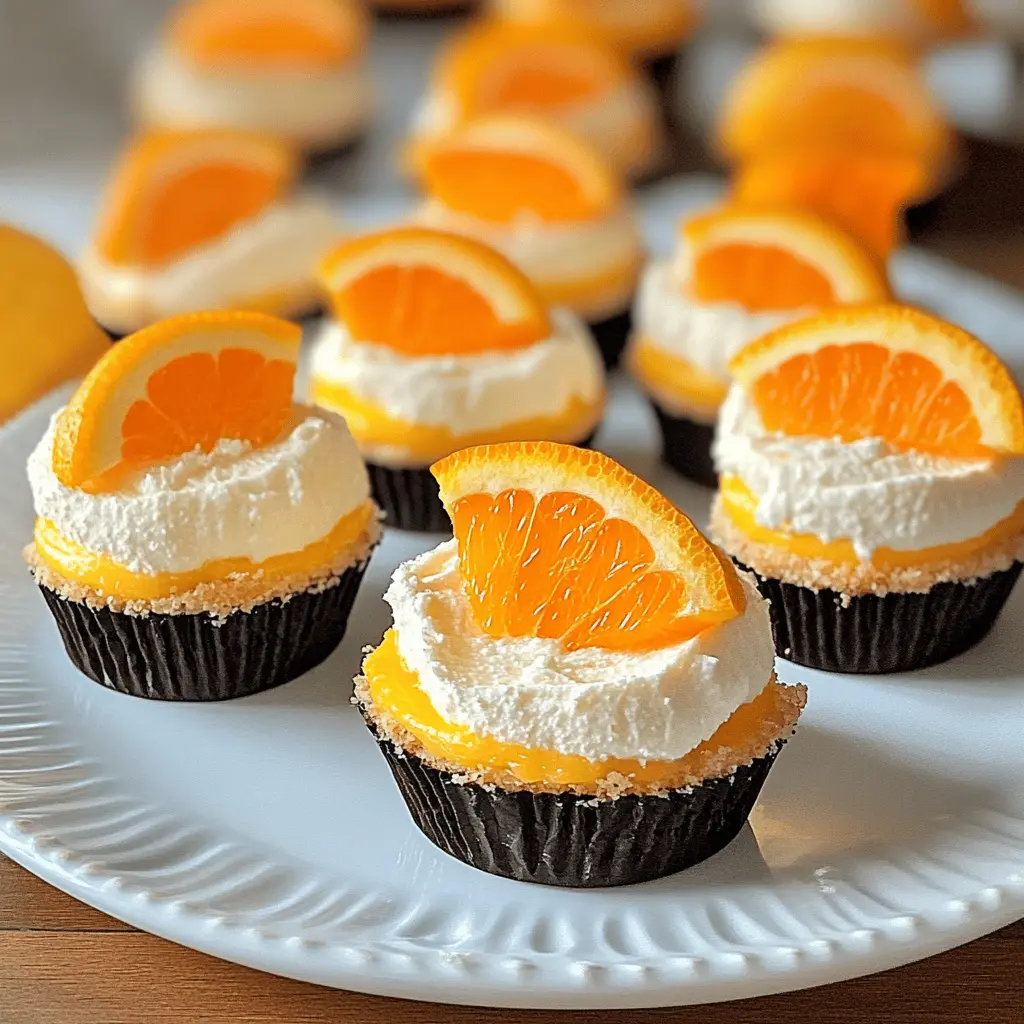
These Orange Creamsicle Mini Cheesecakes are a fun twist on a classic dessert! With a creamy orange filling and a buttery crust, they’re perfect for any sweet tooth.
They’re like summer in a tiny cupcake! I love serving these at parties—everyone can grab one and enjoy. Plus, they’re super easy to make, so you won’t be stuck in the kitchen!
Key Ingredients & Substitutions
Oreo Cookie Crumbs: The chocolatey flavor of Oreos is a perfect match for these cheesecakes. If you don’t have Oreos, you can use any chocolate cookie or even graham cracker crumbs for a different twist.
Cream Cheese: This is essential for that creamy texture. If you’re looking for a lighter option, you can substitute with low-fat cream cheese or Neufchâtel cheese, which works similarly in this recipe.
Sour Cream: This adds richness and tang. Greek yogurt is a great substitute if you’re out of sour cream or want a healthier option; just pick a plain variety to match the flavor.
Orange Juice and Zest: Freshly squeezed orange juice is best for a brighter flavor, but bottled juice will do in a pinch. Don’t skip the zest; it really enhances the orange flavor. If fresh oranges are unavailable, you can use store-bought zest, but fresh is always more vibrant.
Heavy Cream: This helps create a rich mouthfeel. You can replace it with coconut cream for a dairy-free option, which will give a subtle flavor of coconut along with the oranges.
What’s the Best Way to Make Sure My Cheesecakes Are Creamy and Smooth?
Achieving a smooth and creamy cheesecake is all about the mixing process. Start by making sure your cream cheese is softened; this helps it blend easily. Use an electric mixer at medium speed to whip until there are no lumps.
- Gradually add sugar and incorporate it well into the cream cheese.
- Add the other ingredients one at a time, mixing just until smooth. Over-mixing can add air, resulting in cracks during baking.
- If possible, use room-temperature ingredients. This creates a better emulsion and helps in achieving a fabulous texture.
How to Make Orange Creamsicle Mini Cheesecakes
Ingredients You’ll Need:
For the Crust:
- 1 1/2 cups Oreo cookie crumbs
- 1/4 cup unsalted butter, melted
For the Cheesecake Filling:
- 16 oz cream cheese, softened
- 1/2 cup granulated sugar
- 2 teaspoons vanilla extract
- 1 cup sour cream
- 2/3 cup orange juice
- 1 teaspoon orange zest
- 1/4 cup heavy cream
- 1/4 cup powdered sugar
- 1/4 teaspoon orange food coloring (optional)
For the Topping:
- Whipped cream (for garnish)
- Fresh orange slices (for garnish)
How Much Time Will You Need?
This recipe will take about 25 minutes for prep and baking, plus a chilling time of at least 4 hours or overnight for the best results. So all together, you’re looking at about 4 hours and 25 minutes to enjoy these delightful treats!
Step-by-Step Instructions:
1. Prepare the Crust:
First, preheat your oven to 325°F (163°C). In a medium bowl, mix the Oreo cookie crumbs with the melted butter until everything is evenly coated. Then, line a muffin tin with cupcake liners. Take about 1 tablespoon of the crumb mixture and press it firmly into the bottom of each liner to create a nice crust.
2. Bake the Crust:
Pop the crusts into your preheated oven and bake them for 8-10 minutes. Once they’re done, take them out and let them cool completely. This helps them firm up nicely!
3. Make the Cheesecake Filling:
Now, in a large mixing bowl, beat the softened cream cheese with an electric mixer until it’s creamy and smooth. Gradually pour in the granulated sugar and mix it all together until it’s fully blended. Add in the vanilla extract, sour cream, orange juice, and orange zest, blending until everything is smooth. If you want a bright orange color, add the optional food coloring and mix well!
4. Fill the Cheesecake Cups:
Take your cooled crusts and spoon the creamy cheesecake filling over them, filling each liner almost to the top. This is where all the magic happens!
5. Bake the Cheesecakes:
Place your filled muffin tin back in the oven and bake for 15-18 minutes. You’ll know they’re ready when the centers are set. Once baked, allow the cheesecakes to cool to room temperature, and then refrigerate them for at least 4 hours or overnight to set properly.
6. Garnish and Serve:
When you’re ready to serve, take out your mini cheesecakes and top each one with a dollop of whipped cream and a small slice of fresh orange. Enjoy tasting your delicious Orange Creamsicle Mini Cheesecakes! They are sure to be a hit!

Can I Use a Different Type of Cookie for the Crust?
Absolutely! If you prefer, you can use graham crackers, vanilla wafers, or even a gluten-free cookie for the crust. Just crush the cookies to a fine crumb texture and follow the same mixing instructions with melted butter.
How Can I Make These Cheesecakes Dairy-Free?
To make these mini cheesecakes dairy-free, substitute the cream cheese with a dairy-free cream cheese alternative, the sour cream with coconut yogurt, and use a dairy-free heavy cream. Check the consistency, adding a bit more liquid if necessary, to achieve the creamy texture.
Can I Make These Cheesecakes in Advance?
Yes! These mini cheesecakes can be made a day or two in advance and stored in the refrigerator. Just be sure to keep them covered with plastic wrap or in an airtight container to maintain their freshness!
What’s the Best Way to Store Leftover Cheesecakes?
Store any leftover mini cheesecakes in the refrigerator in an airtight container for up to 4 days. For longer storage, you can freeze them! Just wrap each cheesecake tightly in plastic wrap and then place them in a freezer-safe container. They can be thawed in the fridge overnight before serving.