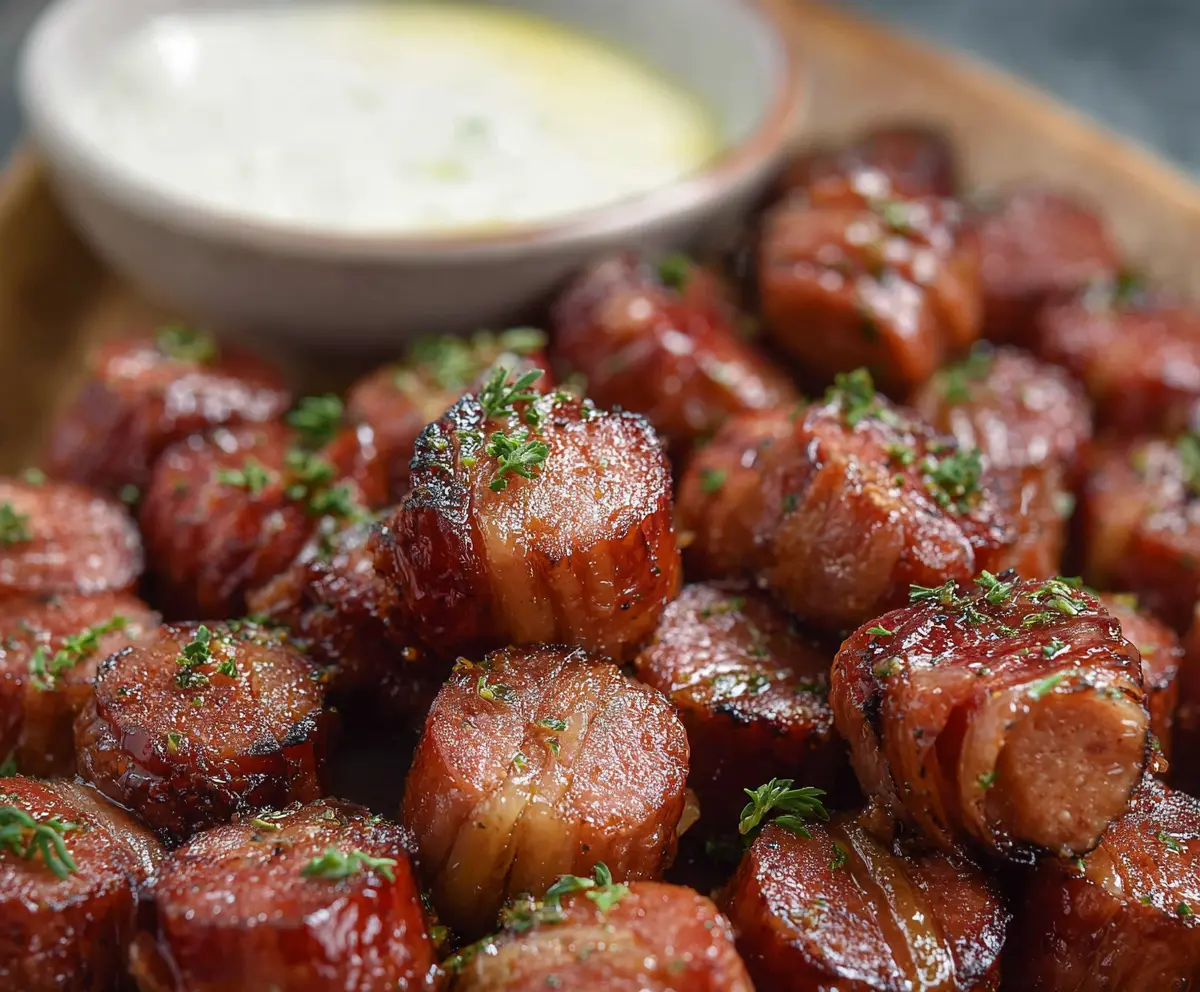
Hasselback Kielbasa Bites are fun little snacks that pack a big flavor! Crispy on the outside and juicy inside, these bites are made from delicious kielbasa sausages cut into thin slices, perfect for dipping.
These are a hit at any gathering, and they disappear faster than you can say “yum!” I like to serve them with mustard or BBQ sauce for extra zing—trust me, your friends will be coming back for seconds!
Key Ingredients & Substitutions
Kielbasa: This flavorful sausage is the star of the dish. If you can’t find kielbasa, any type of smoked sausage will work just as well! Turkey or chicken sausages are great lower-fat alternatives too.
Bacon: Traditional bacon adds a nice crispiness. Pancetta or turkey bacon is a good substitute if you’re looking for a slightly different flavor or want something leaner. Just keep in mind that cooking times may vary.
Brown Sugar: This ingredient helps with caramelization and adds a hint of sweetness. You could swap it for honey, maple syrup, or a sugar substitute depending on your taste preference or dietary needs.
Spices: Smoked paprika gives a great depth of flavor, but if you don’t have it, regular paprika or even a dash of chili powder can work. Adjust to your heat preference!
How Do You Make the Perfect Hasselback Cuts?
The hassleback cut is all about creating those thin slices that let the flavors infuse into the bites. Here’s how to do it right:
- Start by slicing each kielbasa into rounds about 1 to 1.5 inches thick.
- Place the sausage on a cutting board. To prevent cutting all the way through, place a wooden spoon on each side of the sausage. These will act as guides!
- Make thin cuts about 3/4 of the way down, spacing them evenly. This results in delicious pockets that will absorb the glaze and extra seasoning.
Take your time with this step—it’s worth it for the tasty results!
Hasselback Kielbasa Bites
Ingredients You’ll Need:
- 3 whole kielbasa sausages (about 12-15 oz each)
- 12 slices of bacon (enough to wrap each bite)
- 2 tablespoons olive oil or cooking oil
- 2 tablespoons brown sugar
- 1 teaspoon smoked paprika
- 1/2 teaspoon garlic powder
- Salt and black pepper, to taste
- Fresh parsley, chopped, for garnish
- Dipping sauce (such as ranch dressing, mustard, or your favorite creamy dip)
How Much Time Will You Need?
This delightful dish will take about 10 minutes of prep time and 30 minutes of cooking time. That’s just 40 minutes total to create a batch of tasty Hasselback Kielbasa Bites that are sure to be a hit!
Step-by-Step Instructions:
1. Preparing the Oven:
First things first, preheat your oven to 400°F (200°C). While that’s warming up, go ahead and line a baking sheet with parchment paper or aluminum foil. This will make cleanup a breeze later on!
2. Slicing the Kielbasa:
Now, let’s get to the kielbasa. Slice each sausage into rounds about 1 to 1.5 inches thick. The key here is to not cut all the way through—just leave a bit at the bottom to hold them together!
3. Hasselback Technique:
To create the beautiful hasselback effect, take a sharp knife and make thin, partial slices (about 3/4 of the way) across each piece of kielbasa. This not only looks great but also lets all those yummy flavors soak in!
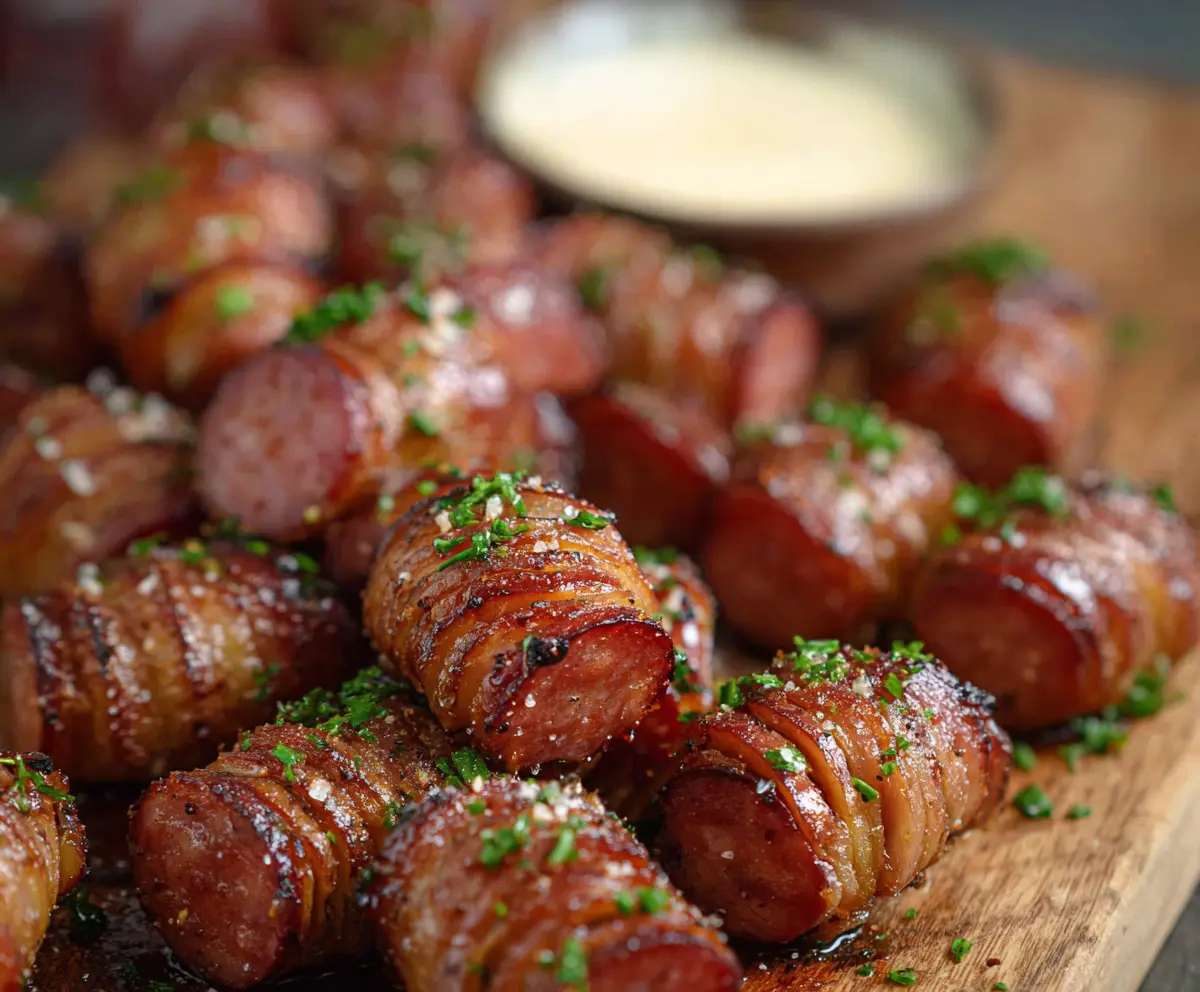
4. Wrapping with Bacon:
Next, take a slice of bacon and wrap it around each kielbasa piece. If your bacon is a bit long, you can use half a slice. Tuck the ends under, and if needed, you can secure them with a toothpick.
5. Arranging for Baking:
Place all your bacon-wrapped kielbasa bites on the lined baking sheet in a single layer, leaving a bit of space between each one.
6. Mixing the Glaze:
In a separate small bowl, mix together the olive oil, brown sugar, smoked paprika, garlic powder, salt, and pepper. This glaze is going to add a delicious flavor and caramelization!
7. Glazing the Bites:
Generously brush the glaze over each bacon-wrapped kielbasa piece. Make sure they are well-coated for the best flavor!
8. Baking:
Now, it’s time to bake! Place your baking sheet in the oven and let them bake for 25-30 minutes. Make sure to turn them halfway through so they cook evenly and get nice and crispy.
9. Optional Broiling:
If you want an extra crispy finish, turn on the broiler for 2–3 minutes once they are finished baking. Keep a close eye on them to prevent burning!
10. Garnishing and Serving:
Once they are out of the oven, sprinkle freshly chopped parsley on top for a pop of color. Serve them warm with your favorite dipping sauce.
Enjoy your irresistible Hasselback Kielbasa Bites—they’re perfect for parties, game days, or any time you crave a tasty snack!
Can I Use Beef or Turkey Kielbasa Instead?
Absolutely! You can use beef, turkey, or any other type of smoked sausage that you prefer. Just keep in mind that cooking times might slightly vary based on the type of sausage you choose.
What Can I Substitute for Bacon?
If you’re looking for a bacon alternative, try using turkey bacon or even prosciutto for a different twist. You can also skip the meat altogether and use a veggie bacon option if you want a vegetarian-friendly version!
How Should I Store Leftovers?
Store any leftover Hasselback Kielbasa Bites in an airtight container in the refrigerator for up to 3 days. To reheat, pop them in the oven or microwave until warmed through—I recommend the oven for a crispy finish!
Can I Make These Ahead of Time?
Yes! You can prepare the kielbasa bites and refrigerate them before baking. When you’re ready to eat, simply follow the baking instructions, adding a few minutes to the cooking time as needed if they are cold from the fridge.