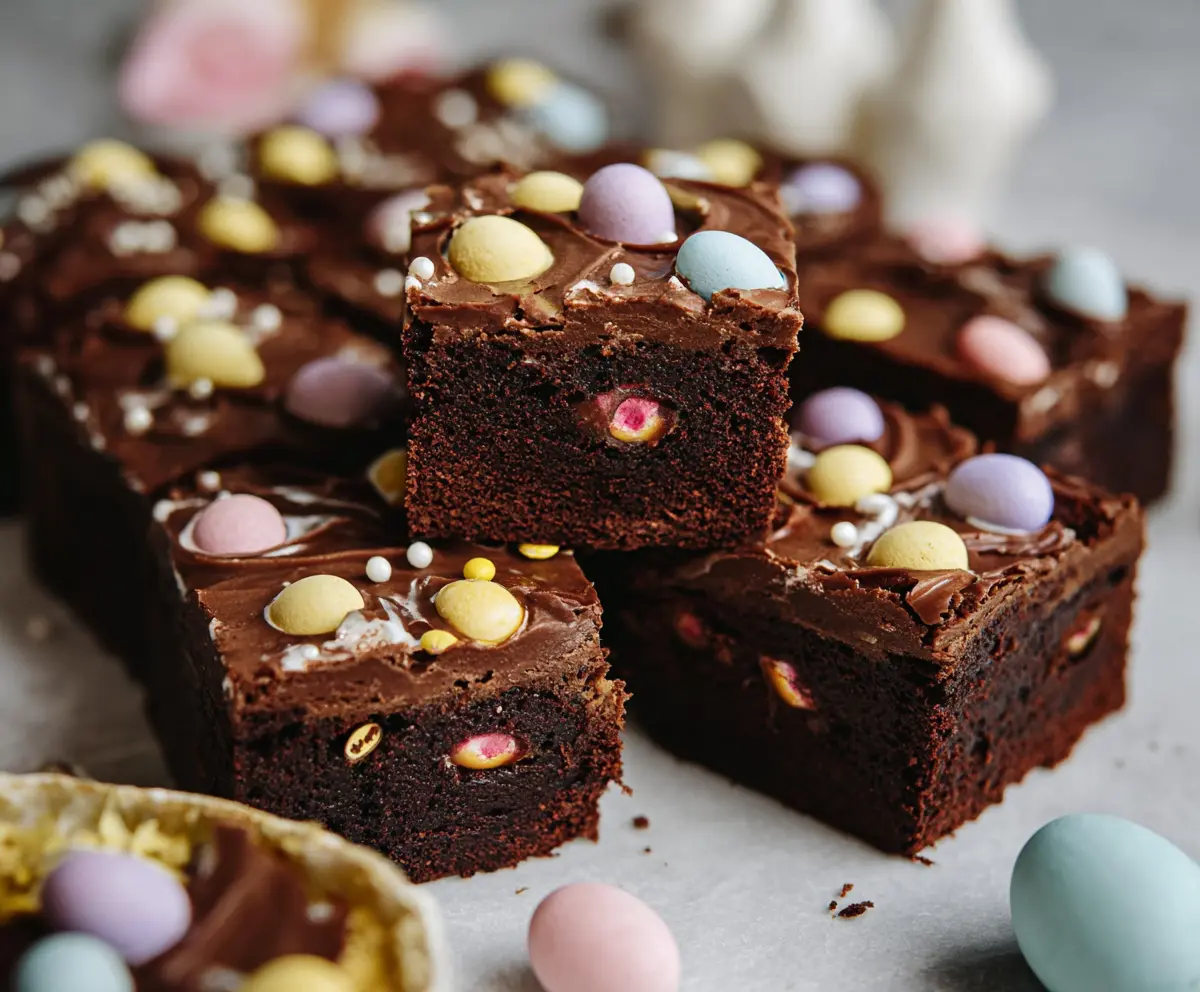
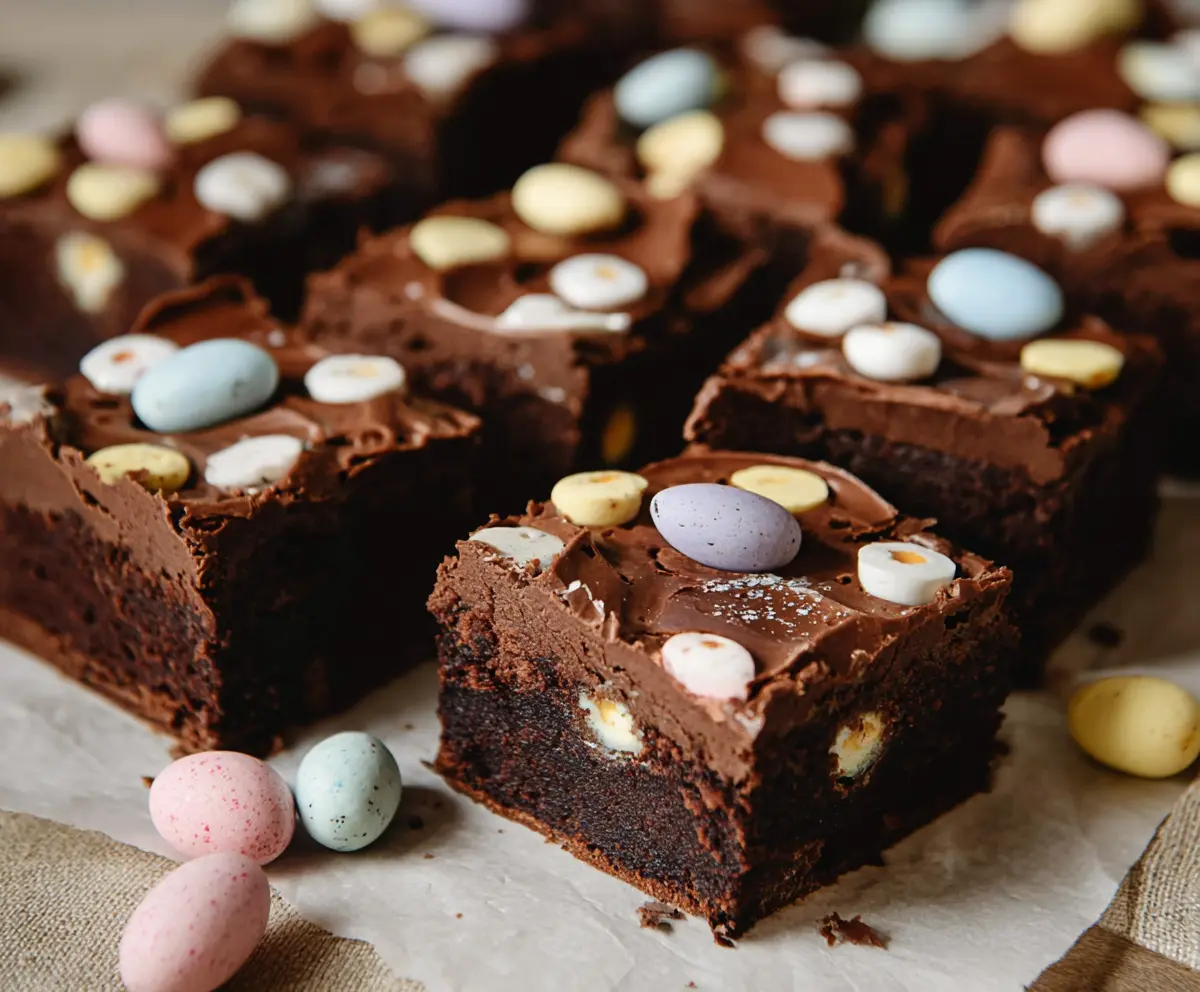
These Frosted Mini Egg Easter Brownies are a fun treat for spring! Rich, chocolatey brownies are topped with creamy frosting and colorful Mini Eggs for a delightful crunch.
Honestly, who can resist chocolate and candy together? I love to share these at gatherings—they’re always a hit! Plus, they’re super easy to whip up in no time.
Key Ingredients & Substitutions
Unsalted Butter: It keeps the brownies from being too salty. If you’re in a pinch, you can use salted butter; just reduce the added salt. I love using butter for flavor, but you can also try coconut oil for a dairy-free option.
Granulated Sugar: It provides sweetness and helps with the texture. If you’re looking to reduce sugar, try using coconut sugar or a sugar substitute like erythritol, keeping in mind it may alter the flavor a bit.
Cocoa Powder: Unsweetened cocoa is key for that rich chocolate flavor. If you want to experiment, Dutch-processed cocoa can give you a smoother taste. Just avoid sweetened cocoa blends!
Mini Eggs: These are fun for decoration and taste. If you can’t find them, consider using chocolate chips or chopped chocolate bars. I sometimes use nuts for extra crunch, too!
Powdered Sugar: This is essential for the frosting’s sweetness and texture. If you’re looking for a lower-sugar option, you can make a frosting using Greek yogurt and less sugar, but it will have a different consistency.
How Do I Achieve the Perfect Brownie Texture?
Getting brownies just right can be tricky! To achieve that fudgy texture, there are a few tips to follow:
- Don’t overmix the batter after adding flour; this can make them tough.
- Check for doneness at 25 minutes. A toothpick should come out with moist crumbs.
- Folding in chocolate chips is optional, but it adds to the fudginess if you like that texture.
- Let the brownies cool completely before cutting. This helps them set and keeps them from being gooey!
These small steps will help you make brownies that are rich, fudgy, and delicious every time! Enjoy baking!
Frosted Mini Egg Easter Brownies
Ingredients You’ll Need:
For the Brownies:
- 1 cup (2 sticks) unsalted butter
- 2 cups granulated sugar
- 4 large eggs
- 1 teaspoon vanilla extract
- 1 cup all-purpose flour
- 1 cup unsweetened cocoa powder
- 1/2 teaspoon salt
- 1/2 teaspoon baking powder
- 1 cup mini eggs (like Cadbury Mini Eggs), some for the batter and some for topping
- 1 cup semi-sweet chocolate chips (optional, for extra fudginess)
For the Frosting:
- 1/2 cup (1 stick) unsalted butter, softened
- 2/3 cup unsweetened cocoa powder
- 3 cups powdered sugar
- 1/3 cup milk
- 1 teaspoon vanilla extract
- Extra mini eggs and edible pearl sprinkles for decoration
How Much Time Will You Need?
This delightful treat takes about 15 minutes to prepare and then about 25-30 minutes to bake. Once baked, the brownies need to cool completely and the frosting will take an additional 30 minutes to set. In total, you’re looking at around 1 hour and 15 minutes to make and enjoy these festive brownies!
Step-by-Step Instructions:
1. Preheat and Prepare:
Start by preheating your oven to 350°F (175°C). Take a 9×13 inch baking pan and line it with parchment paper for easy removal later, or give it a light greasing with cooking spray.
2. Melt the Butter:
In a medium saucepan over low heat, melt the 1 cup of unsalted butter. Once melted, remove it from the heat and add the granulated sugar. Stir everything together until fully combined. This creates a delicious base for your brownies!
3. Add Eggs and Vanilla:
Now, beat in the eggs one at a time, making sure to mix well after each addition. Add the teaspoon of vanilla extract and stir to combine. This adds a lovely flavor to your brownies!
4. Mix Dry Ingredients:
In a separate bowl, whisk together the all-purpose flour, unsweetened cocoa powder, salt, and baking powder until they’re well mixed.
5. Combine Wet and Dry Ingredients:
Gradually fold the dry mixture into the wet mixture using a spatula or wooden spoon. Stir until just combined. If you’re looking for that extra fudginess, now’s the time to fold in the chocolate chips!
6. Add Mini Eggs:
Carefully fold in a handful of mini eggs into the batter. Be gentle so you don’t crush them—everyone loves those little surprises in every bite!
7. Pour and Smooth:
Pour the brownie batter into your prepared baking pan and smooth out the top with a spatula.
8. Bake to Perfection:
Pop the pan into the preheated oven and bake for 25-30 minutes. To check if they’re done, insert a toothpick into the center. It should come out with a few moist crumbs but no wet batter.
9. Cool in the Pan:
Once baked, let your brownies cool completely in the pan on a wire rack. Patience is key here!
10. Make the Frosting:
While the brownies cool, prepare the frosting. In a large bowl, beat the softened butter until it’s creamy. Gradually add the cocoa powder and powdered sugar alternately with the milk. Mix until you achieve a spreadable consistency, then stir in the vanilla extract.
11. Frost the Brownies:
Spread the rich chocolate frosting evenly over the cooled brownies. This is the best part—don’t be shy with the frosting!
12. Decorate:
Sprinkle the top of the frosted brownies with mini eggs and edible pearl sprinkles to make them festive and fun.
13. Set and Serve:
Let the frosting set for about 30 minutes. Once set, slice your brownies into squares and enjoy the delightful combination of flavors and textures!
Enjoy your festive and delicious Frosted Mini Egg Easter Brownies!
Can I Use Different Types of Cocoa Powder?
Yes, you can! While unsweetened cocoa powder is recommended for rich flavor, you can use Dutch-processed cocoa for a smoother taste. Just avoid using sweetened cocoa powders, as they can alter the sweetness of the brownies.
How Can I Make These Brownies Gluten-Free?
To make gluten-free brownies, substitute the all-purpose flour with a 1:1 gluten-free flour blend. Be sure to check that all other ingredients, especially the mini eggs and baking powder, are also gluten-free.
How Should I Store Leftover Brownies?
Store any leftover brownies in an airtight container at room temperature for up to 3 days. If you want to keep them fresh longer, you can refrigerate them for up to a week or freeze them for up to 3 months. Just wrap them well in plastic wrap and then place them in a freezer bag!
Can I Make the Frosting Dairy-Free?
Absolutely! To create a dairy-free frosting, simply use a dairy-free butter substitute and almond or oat milk in place of regular milk. The frosting will still be delicious and fitting for any dietary needs!