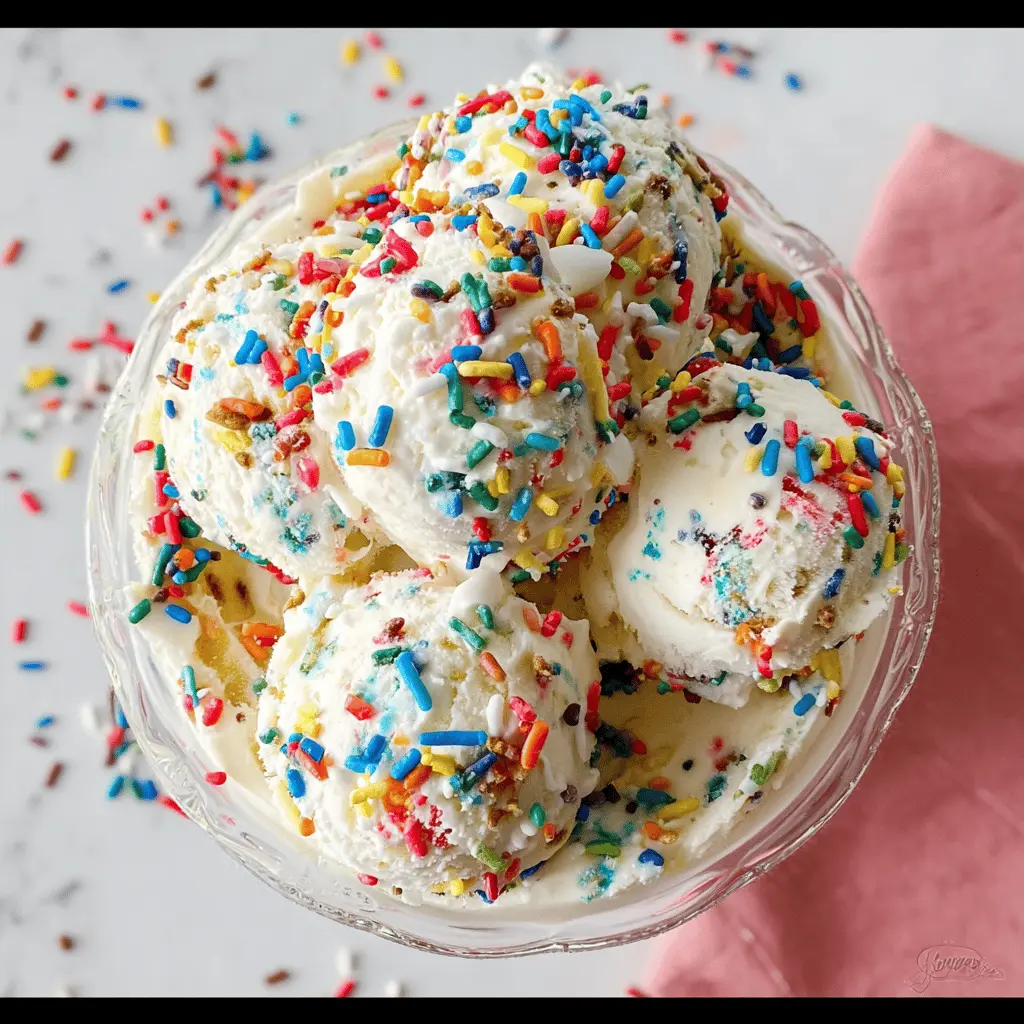
This Easy Birthday Cake Homemade Ice Cream is a sweet treat perfect for celebrations! It’s made with fluffy cake bits, creamy ice cream, and sprinkles to make every scoop feel like a party.
You can’t go wrong with cake and ice cream, right? I love to serve it in colorful bowls so everyone feels festive. Enjoying it on a hot day is the icing on the cake, literally! 🎉
Making this ice cream is super simple! Just mix, freeze, and scoop. It brings back childhood memories of the best birthday parties, and trust me, you’ll want seconds (or thirds!).
Key Ingredients & Substitutions
Heavy Cream: This is what gives your ice cream that creamy texture everyone loves. If you’re looking for a lighter option, you can substitute it with half-and-half, but the ice cream won’t be as rich. I personally prefer the full cream for that extra indulgence.
Whole Milk: It adds creaminess, but you can use 2% milk if that’s what you have on hand. Just be aware that the final texture will be slightly less creamy. Almond or oat milk can work too if you’re going dairy-free.
Granulated Sugar: This sweetens your ice cream. You can swap it with brown sugar for a deeper flavor, or use a sugar substitute like stevia for a lower-calorie option.
Funfetti Sprinkles: These add color and fun! If you can’t find them, regular rainbow sprinkles will do just fine, or you can even use chocolate chips for a different vibe!
Cake Crumbs: Adding these isn’t necessary, but they really enhance the birthday cake flavor. You can use any leftover cake or cupcakes. If you don’t have any, skip them; it’ll still be delicious!
How Do I Achieve the Creamiest Ice Cream?
The key to creamy homemade ice cream is maintaining a cold mixture and proper churning. Here’s how to make sure it turns out perfectly.
- Chill your mixing bowl and ingredients before starting. This helps with the freezing process.
- Follow the ice cream maker’s instructions carefully. If it needs more or less time, that can affect texture.
- Avoid over-churning—this can lead to ice crystals forming. Stop once you have a thick, soft-serve consistency.
- Transfer the ice cream to a container and freeze it for several hours after churning to get that firm texture.
With these tips, you’ll be able to enjoy a creamy, tasty ice cream that everyone will love for any special occasion!
Easy Birthday Cake Homemade Ice Cream
Ingredients:
- 2 cups heavy cream, cold
- 1 cup whole milk, cold
- 3/4 cup granulated sugar
- 2 teaspoons vanilla extract
- 1/2 cup funfetti or rainbow sprinkles (plus extra for garnish)
- 1/2 cup cake crumbs or bite-sized cake pieces (optional for extra birthday cake flavor)
How Much Time Will You Need?
This delicious ice cream takes about 10 minutes to prepare and approximately 25 minutes to churn. After churning, let it freeze for at least 4 hours or overnight to firm up. So, set aside a few hours for the full experience, but most of that time is just waiting while it freezes!
Step-by-Step Instructions:
1. Mix the Base:
In a large mixing bowl, combine the cold heavy cream, cold whole milk, granulated sugar, and vanilla extract. Use a whisk and stir until the sugar has fully dissolved and the mixture is nice and smooth. This step is super quick and exciting; you can already smell that vanilla!
2. Add Sprinkles and Cake Crumbs:
Carefully stir in the funfetti sprinkles and cake crumbs, if you chose to include them. It’s best to do this gently, ensuring that the colorful sprinkles are evenly spread throughout the mixture for that fun, festive look.
3. Churn the Ice Cream:
Pour the mixture into your ice cream maker. Follow the manufacturer’s instructions, which usually take about 20-25 minutes. You’ll see the mix starting to thicken up and transform into ice cream. Keep an eye on it, and once it reaches a thick, soft-serve consistency, it’s all set!
4. Freeze for the Perfect Texture:
Transfer your churned ice cream into an airtight container. Smooth the top with a spatula and sprinkle a few extra funfetti sprinkles on top for decoration (because who doesn’t love more sprinkles?). Cover the container and pop it in the freezer for at least 4 hours, or overnight for the best firmness.
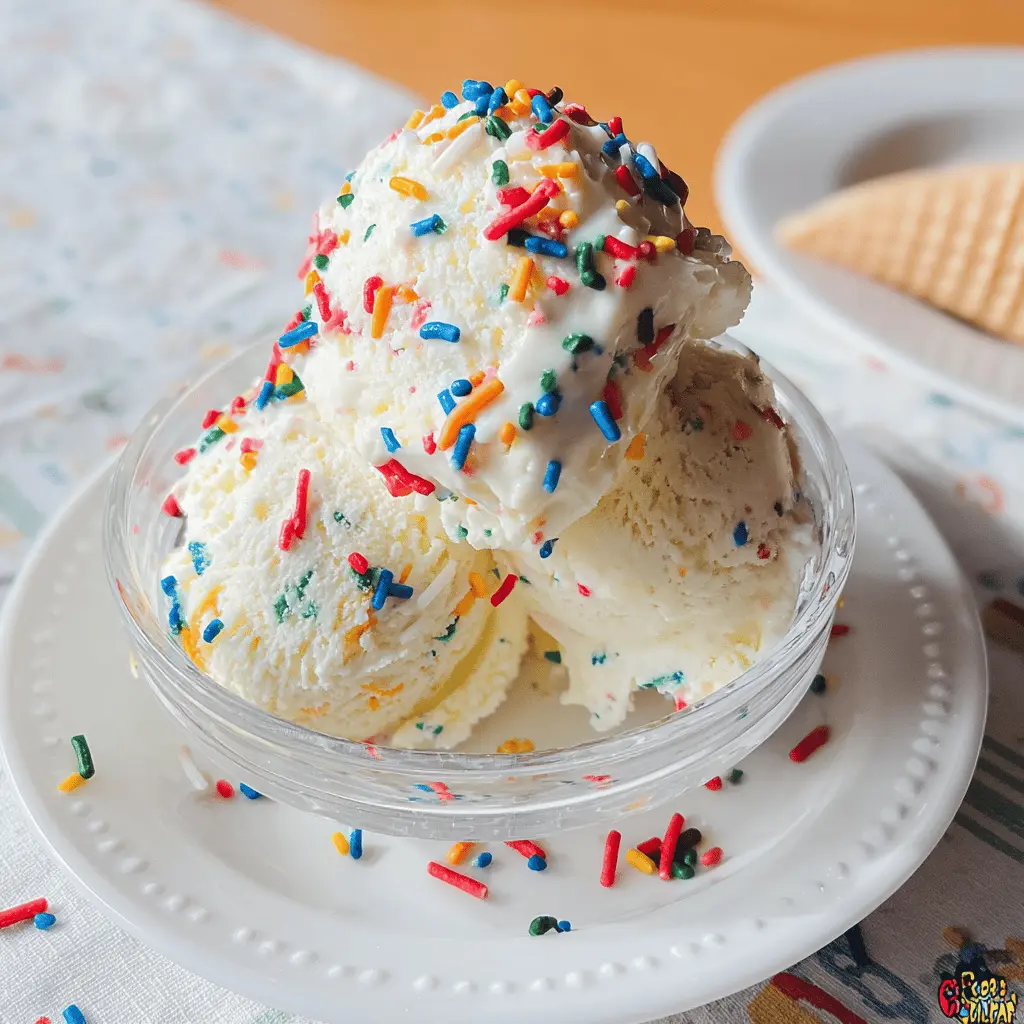
5. Serve and Enjoy!
When you’re ready to indulge, scoop that beautiful birthday cake ice cream into bowls or cones. Share the joy with friends and family, or keep it all for yourself—it’s that good! Enjoy the delightful flavors and textures, making every scoop feel like a celebration!
This creamy, colorful homemade birthday cake ice cream is incredibly easy to make and sure to delight everyone. Treat yourself and others to a sweet taste of joy!
Frequently Asked Questions (FAQ)
Can I Use a Different Type of Milk?
Yes! If you prefer a lighter version, you can substitute whole milk with 2% milk. For a dairy-free option, almond or oat milk works well, but the texture may be slightly less creamy than using whole milk.
How Long Can I Store This Homemade Ice Cream?
Your homemade birthday cake ice cream can be stored in an airtight container in the freezer for up to 2-3 weeks. Just make sure to store it well to prevent freezer burn!
Can I Add Other Mix-ins?
Absolutely! Feel free to get creative by adding chocolate chips, nuts, or other types of sprinkles. Just make sure they are added right before churning to keep the mix-ins evenly distributed.
What if I Don’t Have an Ice Cream Maker?
No worries! You can still make this ice cream without an ice cream maker. Pour the mixture into a shallow dish and freeze it. Every 30 minutes, stir it with a fork for about 3-4 hours until it’s creamy and fully frozen. This method will take longer, but it will work!